How to turn on skis
Learning how to turn on skis helps you to control your speed as well as your direction and get more efficient on the hill

So you’ve got yourself kitted out for the season with the best ski jacket and ski pants on the market, your lift ticket is active, now do you just bomb it down the mountain and see what happens? Contrary to what classic ski movies teach us, you don’t really want to just straightline downhill. Doing so will pick up a lot of speed and can be dangerous – at a certain point, the ski run is doing to change direction or you’ll come up on an obstacle like a tree or another skier and you’re going to have to be able to change direction. Learning how to turn on skis helps you to control your speed as well as your direction, and the better you get, the more efficient you can become at skiing – and that means you can take laps all day long. There’s truly no replacement for going out for a lesson or three with a qualified ski instructor, and of course lots and lots of practice, but if you like to do a little research before you head out, or just need a refresher after a long break from skiing, this simple guide outlines the basics of three fundamental turning techniques.
1. The snow plow turn
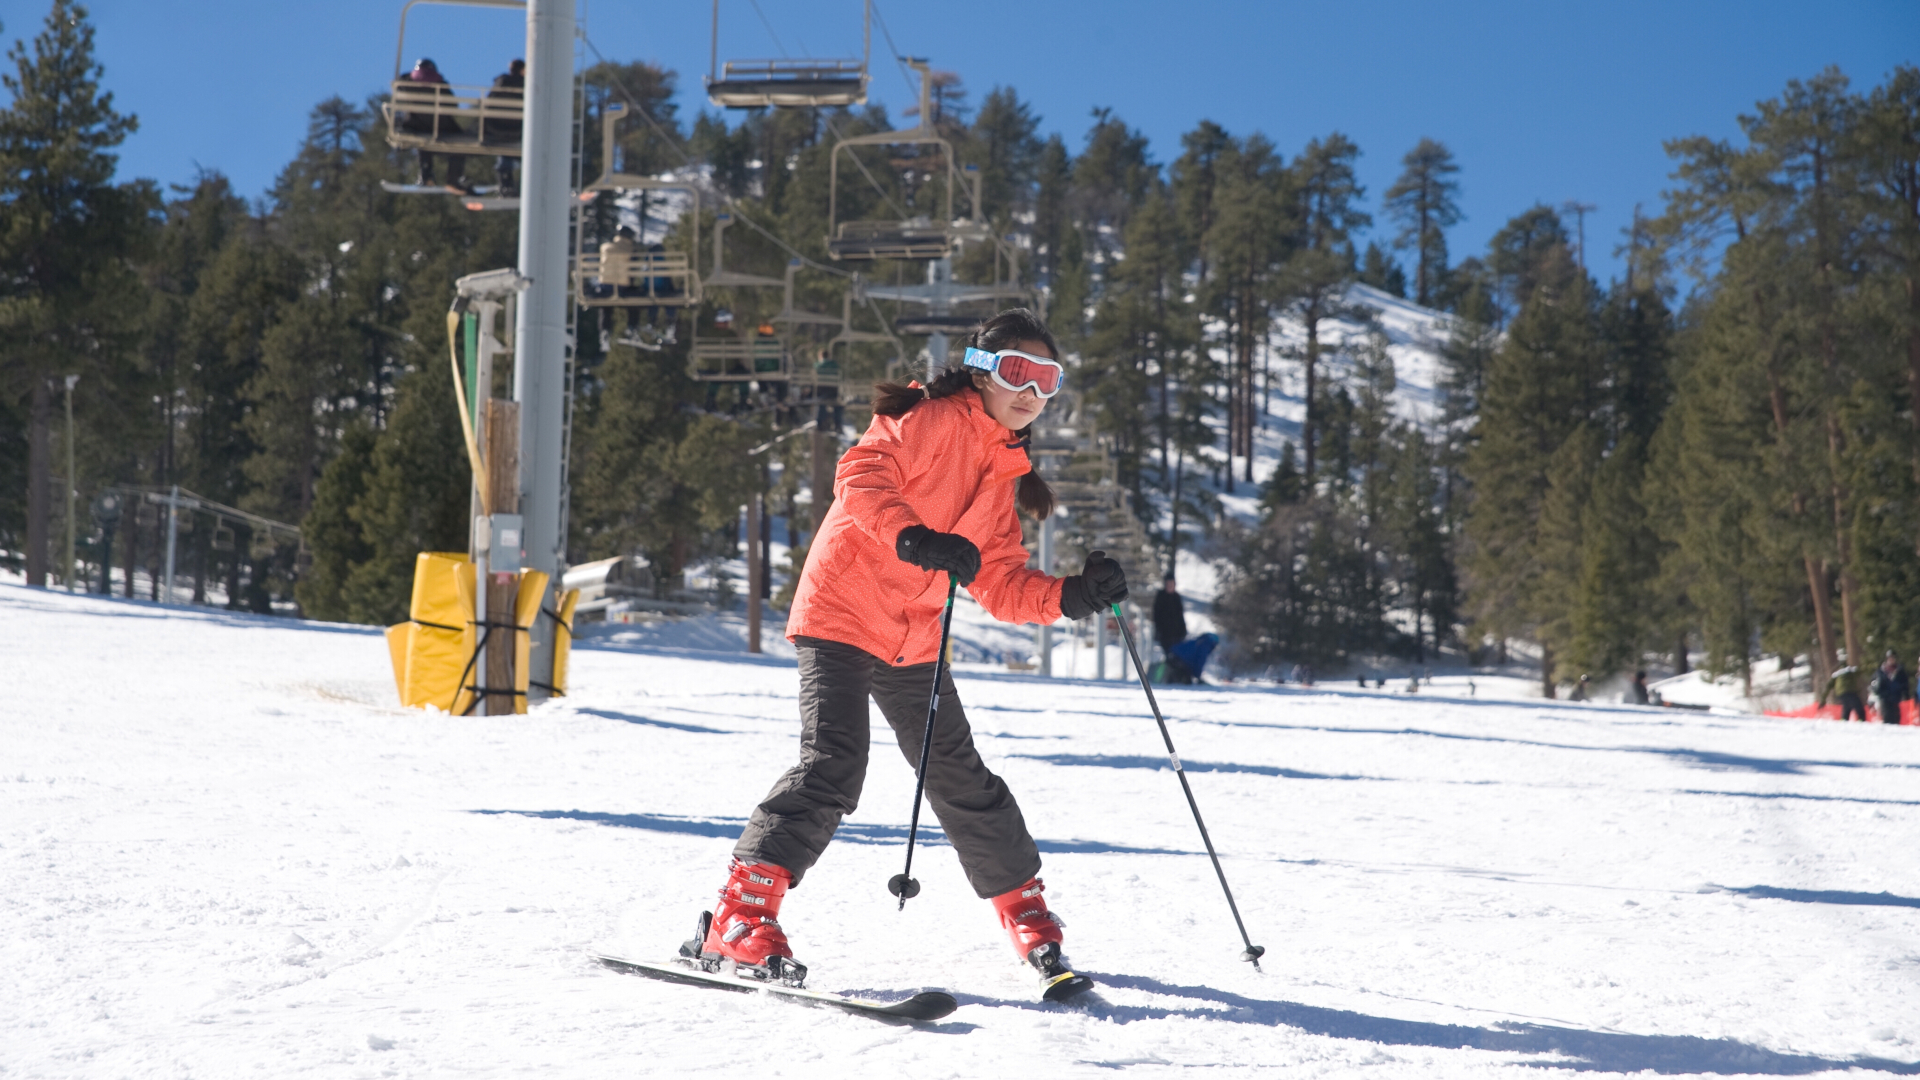
The snow plow, sometimes called “the wedge” or even “the pizza” is pretty much the first thing you’ll learn in ski school. In this technique, you push the outer edges of your skis out while turning the front tips in to create a wedge shape, or triangle, with your skis. This makes for an easy way to come to a stop when skiing, but it’s also the beginner method for initiating a turn.
Start by sliding down a mellow slope and make your snow plow. Now imagine that the front tips of your skis are an arrow and start to point them to the right. With both skis facing the right, lean your weight into the left hand ski a little and keep turning your skis parallel to the hill until you are facing slightly uphill, where you will come to a complete stop. Naturally, when you’re turning to the left, you’ll lean your weight into the right, or downhill, ski.
You can use this technique on steeper terrain, however it is important to note that you’ll be skiing across the hill now and need to be aware of uphill skiers coming down behind you. You also don’t want to be too close to the edge of the ski slope if you’re turning towards it lest you overshoot and end up hugging a tree. Another note on this style of turning: it creates major outer hip burn, so you’ll want to graduate on to the parallel turn method quickly or your ski day will most likely be very short!
2. The parallel turn
Once you’re comfortable with all the moving parts of skiing, like how to carry skis through the village without toppling over and how to get off a chairlift without causing a multi passenger pileup, you’ll probably start to covet the clean, easy looking turns of your fellow skiers.
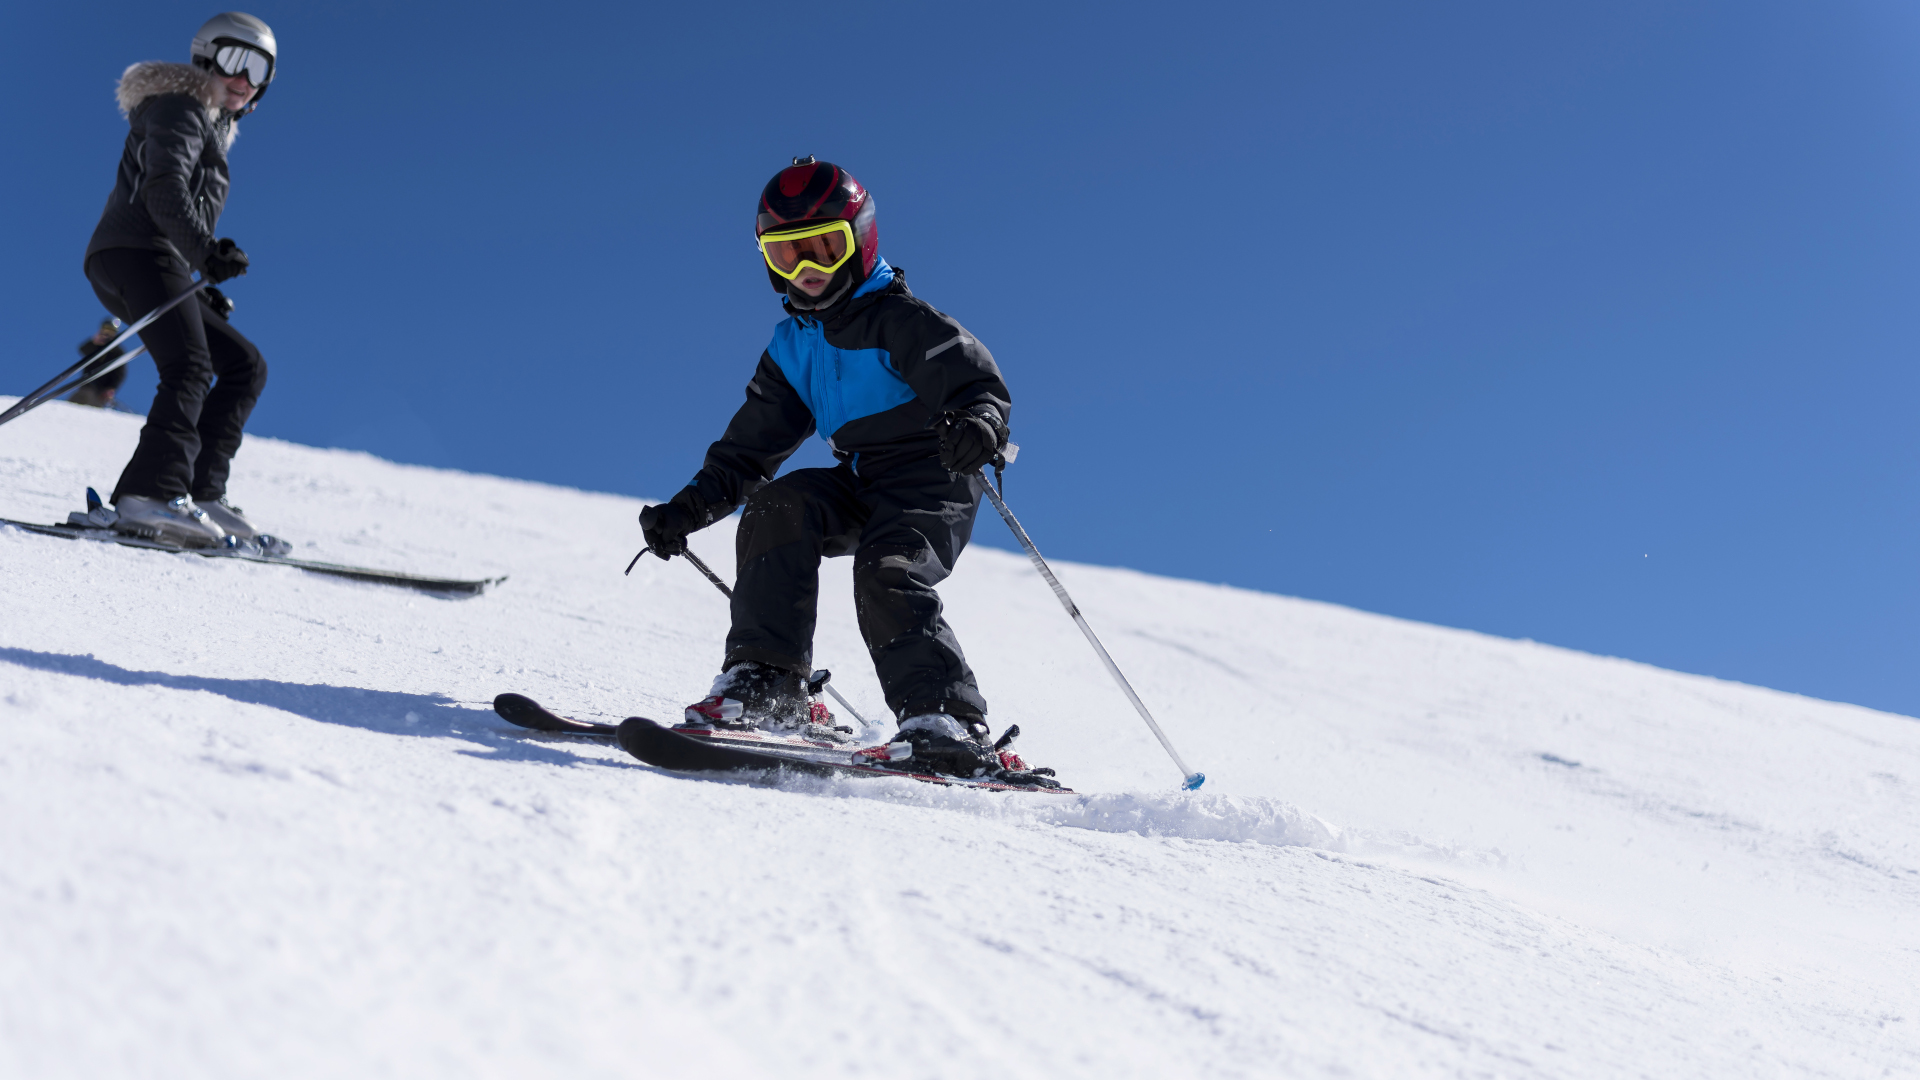
How is it that they can turn so effortlessly without pushing half the mountain’s snow down the hill, you wonder? They’ve mastered the art of the parallel turn. Just as it sounds, this technique means your skis stay parallel to each other while you turn (otherwise known as “the french fry” in ski school) and you turn by pivoting your hips.
Find a green run or a mellow blue to practice your parallel turns. Start with all the ski basics – keep your knees bent and your weight forward, feet about hip width apart and hands a little bit forward. Instead of rolling onto the inside edges of both skis to make your wedge, flatten your skis and bring them parallel to each other and hey presto! you’ll start moving downhill.
Advnture Newsletter
All the latest inspiration, tips and guides to help you plan your next Advnture!
To start exploring parallel turns, you’ll want to get back on your edges, but in a different way from the wedge. To turn to the right, plant your right pole, lean forward and start to turn your shoulders and hips slightly to the right (in the direction you want to go). Very slightly tip onto the pinkie toe edge of your right foot and the big toe edge of your left foot, so that the big toe edge of your right ski and the pinkie toe edge of your left ski lift a little. When you’ve completed the turn, flatten your skis once again, then plant your left pole and start to turn to the left, rolling to the pinkie toe edge of your left foot and big toe edge of your right foot, then flatten your skis as you complete the turn.
If you pick up a little too much speed for comfort at any point, you can just come back to the wedge till you feel comfortable again.
3. Carve turns
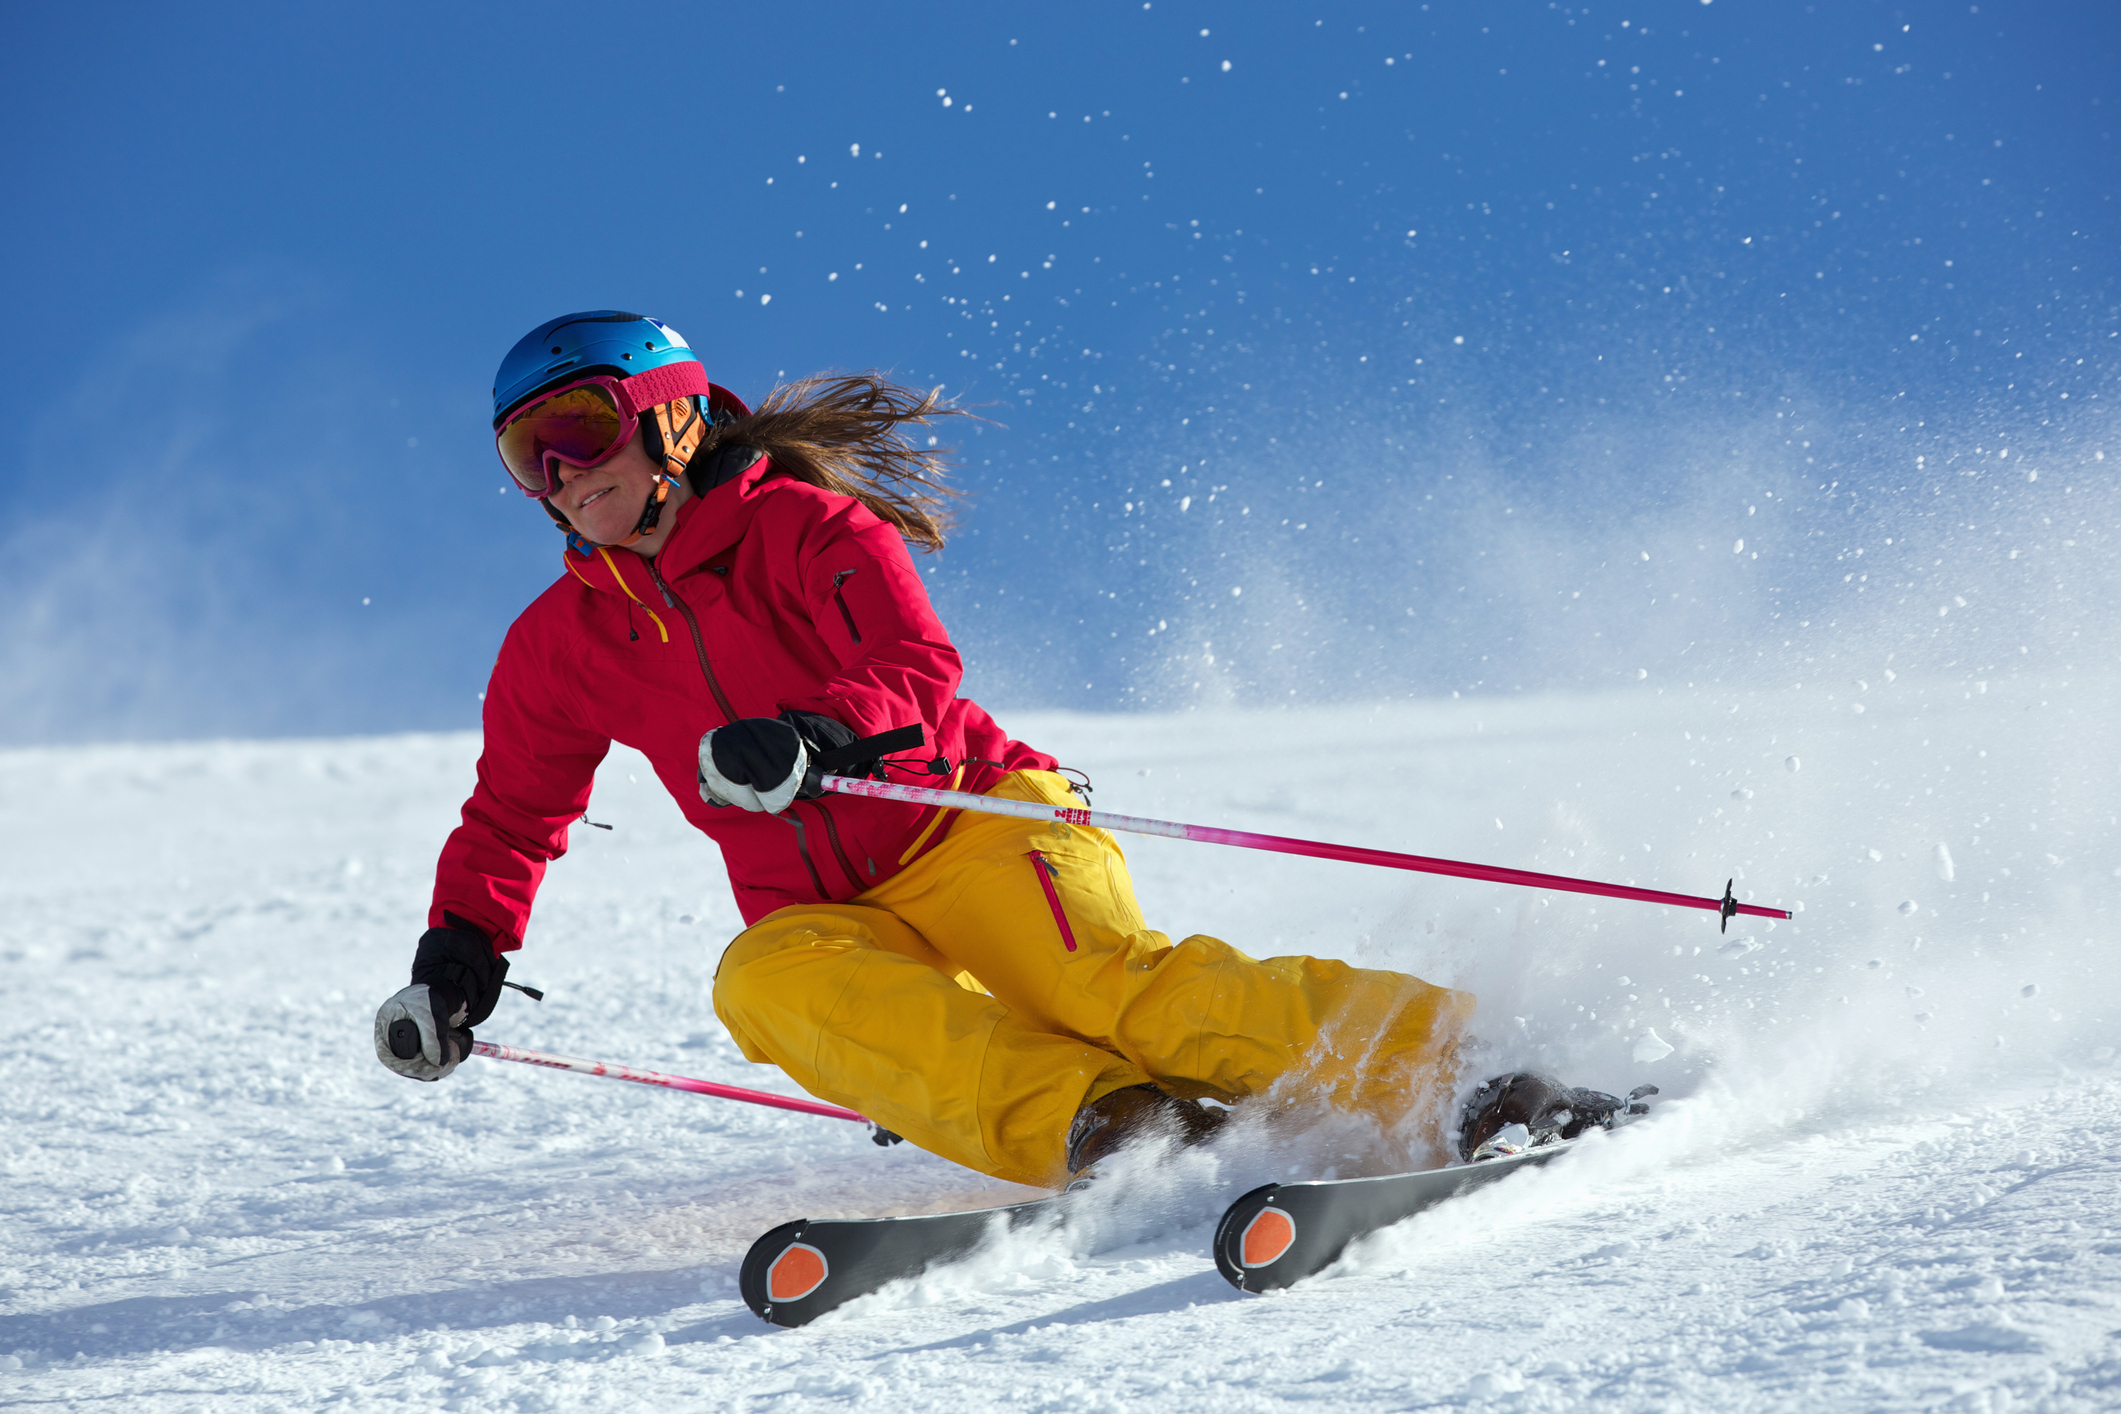
Once you’ve mastered your parallel turns, you’re going to be pretty happy cruising around the mountain without too much outer hip burn and after a while, you might start to covet yet another ski turn – the carve turn. This sexy-looking number is really a kind of parallel turn that requires lots of swivel hip action and lets you move faster, so save this for when basic parallel turns start to feel really easy and even boring.
In many ways, carving is just a really exaggerated version of parallel turns and it’s a good idea to practice some drills with an instructor to get comfortable with tipping over onto your edges. This bends your skis against their natural camber and the result is that you move in a curve. The result is that you make less of that “S” shape as you travel down hill and move faster in a straighter trajectory while your skis and hips move from side to side underneath you.
To get started, assume your basic skier position on a mellow blue slope and start skiing downhill with your skis parallel. When you’re ready to try a carve turn, push down into your skis to nearly straighten your legs and left your chest, then bend your knees a lot, roll onto the pinkie toe edge of your right foot and big toe edge of your left foot and push your skis to the left as you shift your hips to the right, keeping your shoulders facing downhill. Quickly straighten up to draw your skis back underneath you and briefly flatten them, only to bend your knees again and roll onto the pinkie toe edge of your left foot and big toe edge of your right foot as you push your skis to the right and shift your hips to the left. The movement won’t feel so much like turning, but you are in fact making small, quick turns and you can keep going like this all the way down the hill or until you get tired.
- The best ski socks: tested and rated on the slopes
Julia Clarke is a staff writer for Advnture.com and the author of the book Restorative Yoga for Beginners. She loves to explore mountains on foot, bike, skis and belay and then recover on the the yoga mat. Julia graduated with a degree in journalism in 2004 and spent eight years working as a radio presenter in Kansas City, Vermont, Boston and New York City before discovering the joys of the Rocky Mountains. She then detoured west to Colorado and enjoyed 11 years teaching yoga in Vail before returning to her hometown of Glasgow, Scotland in 2020 to focus on family and writing.
