How to keep your water bottle from freezing up during winter hikes
Frozen water bottles can leave you high and dry – here's our guide on how to keep your water bottle from freezing and stay hydrated in all conditions
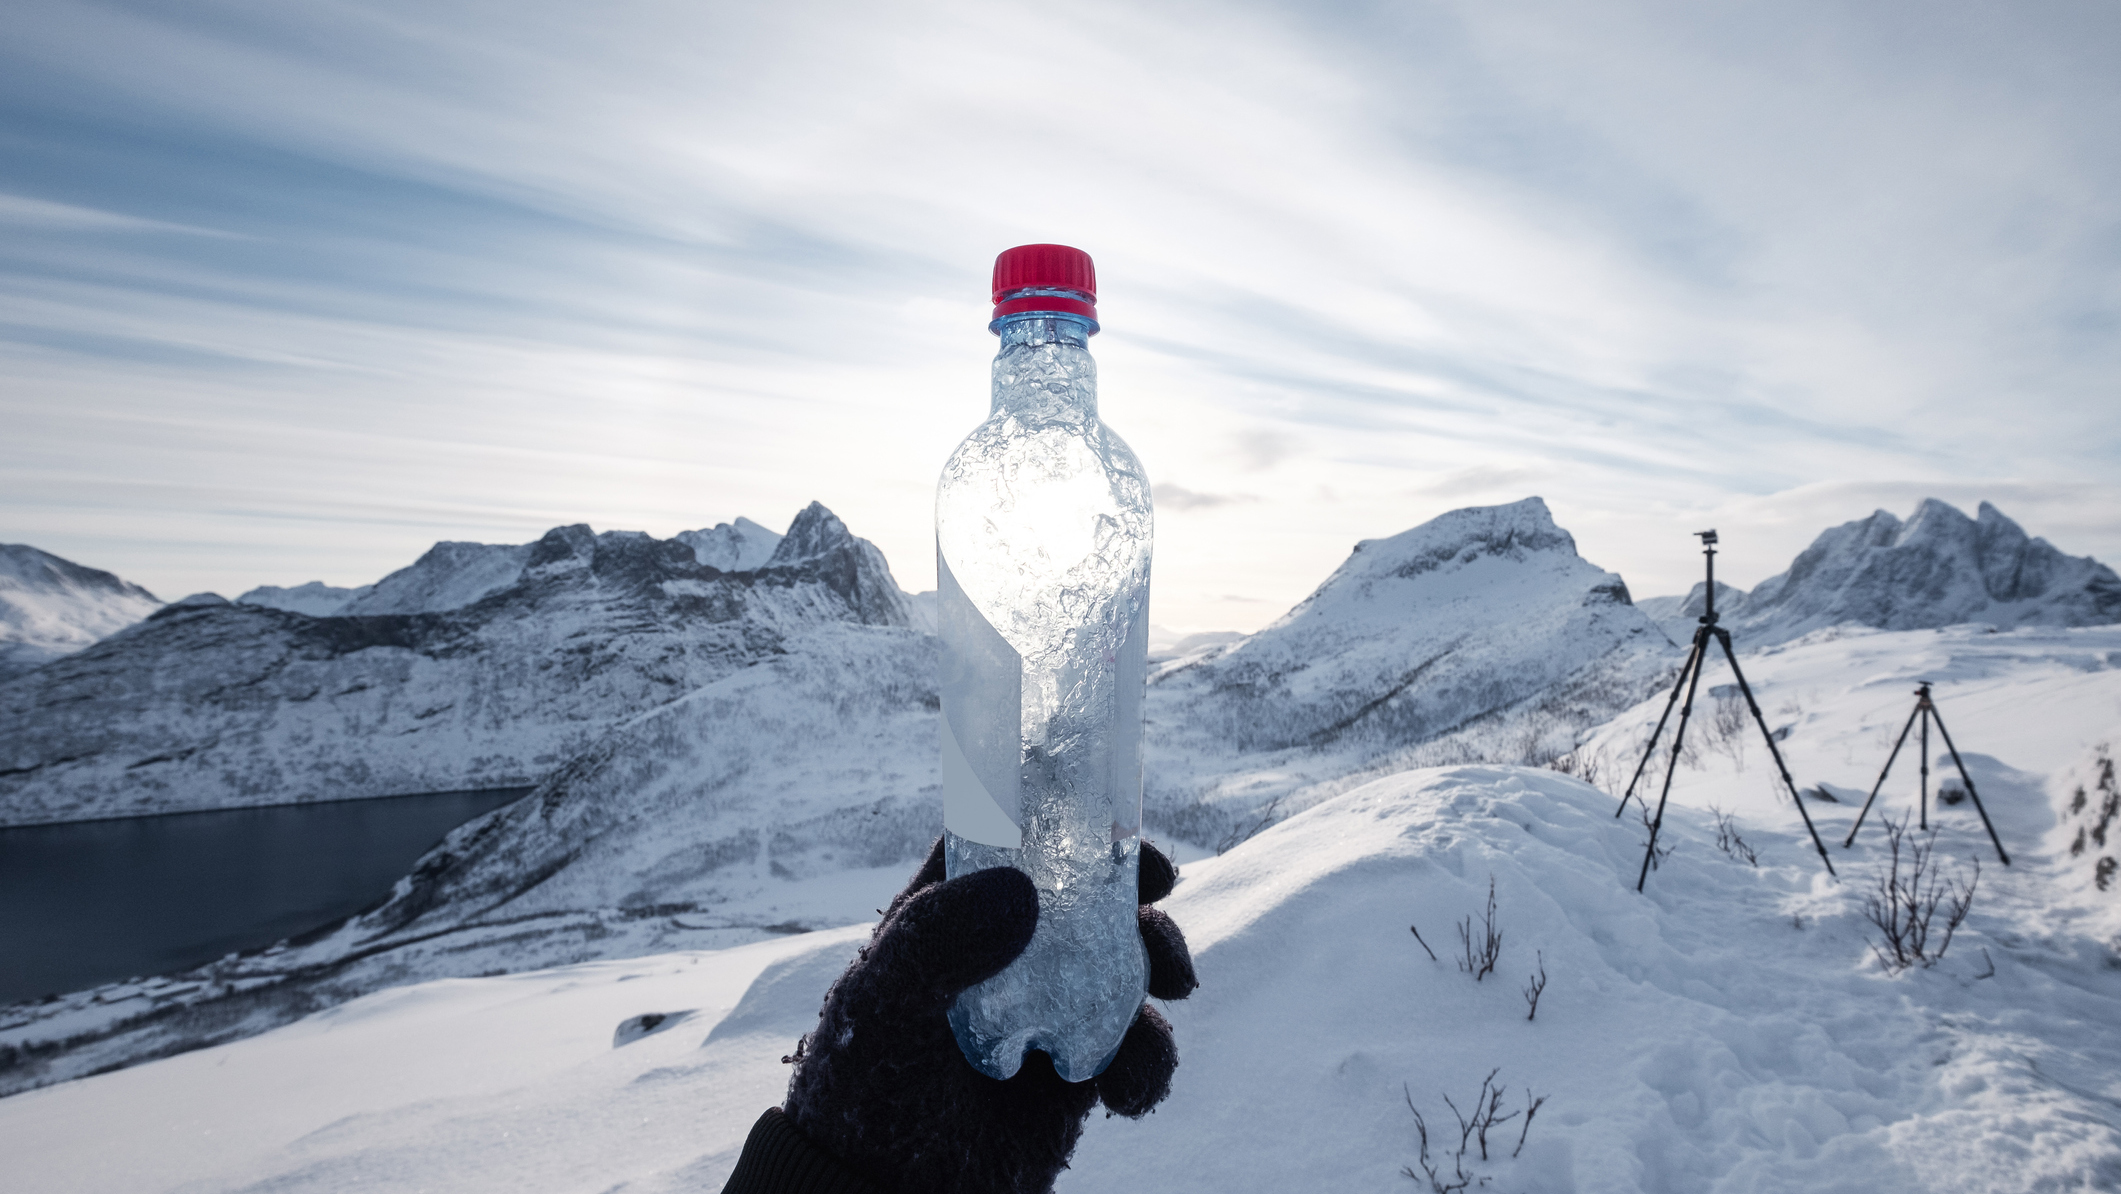
Winter hiking doesn’t seem like such thirsty work as climbing uphill on a hot summer’s day, but all that heavy breathing in the cold air and sweating definitely dehydrates you if you’re not sipping water regularly. It’s alarming then, when you pull out your water bottle to take a swig and discover that it’s not a drink at all but a frozen block of ice.
This can happen to a bottle or a hydration bladder too, as has happened to us when winter walking in Scotland's sub-zero Cairngorms National Park. Suffice to say, we quickly swotted up on how to avoid this occurrence. So what can you do?
Well, if you’re far from civilization and you don’t have a good method for melting snow, you might be in a real pickle, and by pickle we mean a life-or-death situation. The best approach is to go out prepared so this doesn’t happen to you in the first place.
Let’s take a look at how to keep your water bottle from freezing on a winter hike, from the best hiking water bottles for cold weather to how to pack it properly, to make sure you’re never left high and (literally) dry in the wild. Preparation begins before you even set off – skip the booze the night before, and drink a bottle of water or as much as you can at the trailhead before you set off.
Meet the expert
Julia has been heading out in winter for many years, both in Europe and the States. She moved the US for university, where she grew a love of the American wilderness. Now back in her native Scotland, she enjoys getting out when the Highlands has its winter coat on.
Today's best deals
Start with warm water
- Start with a warmer liquid than you would in summer
- Remember than not all hiking bottles and reservoirs are designed to take boiling water
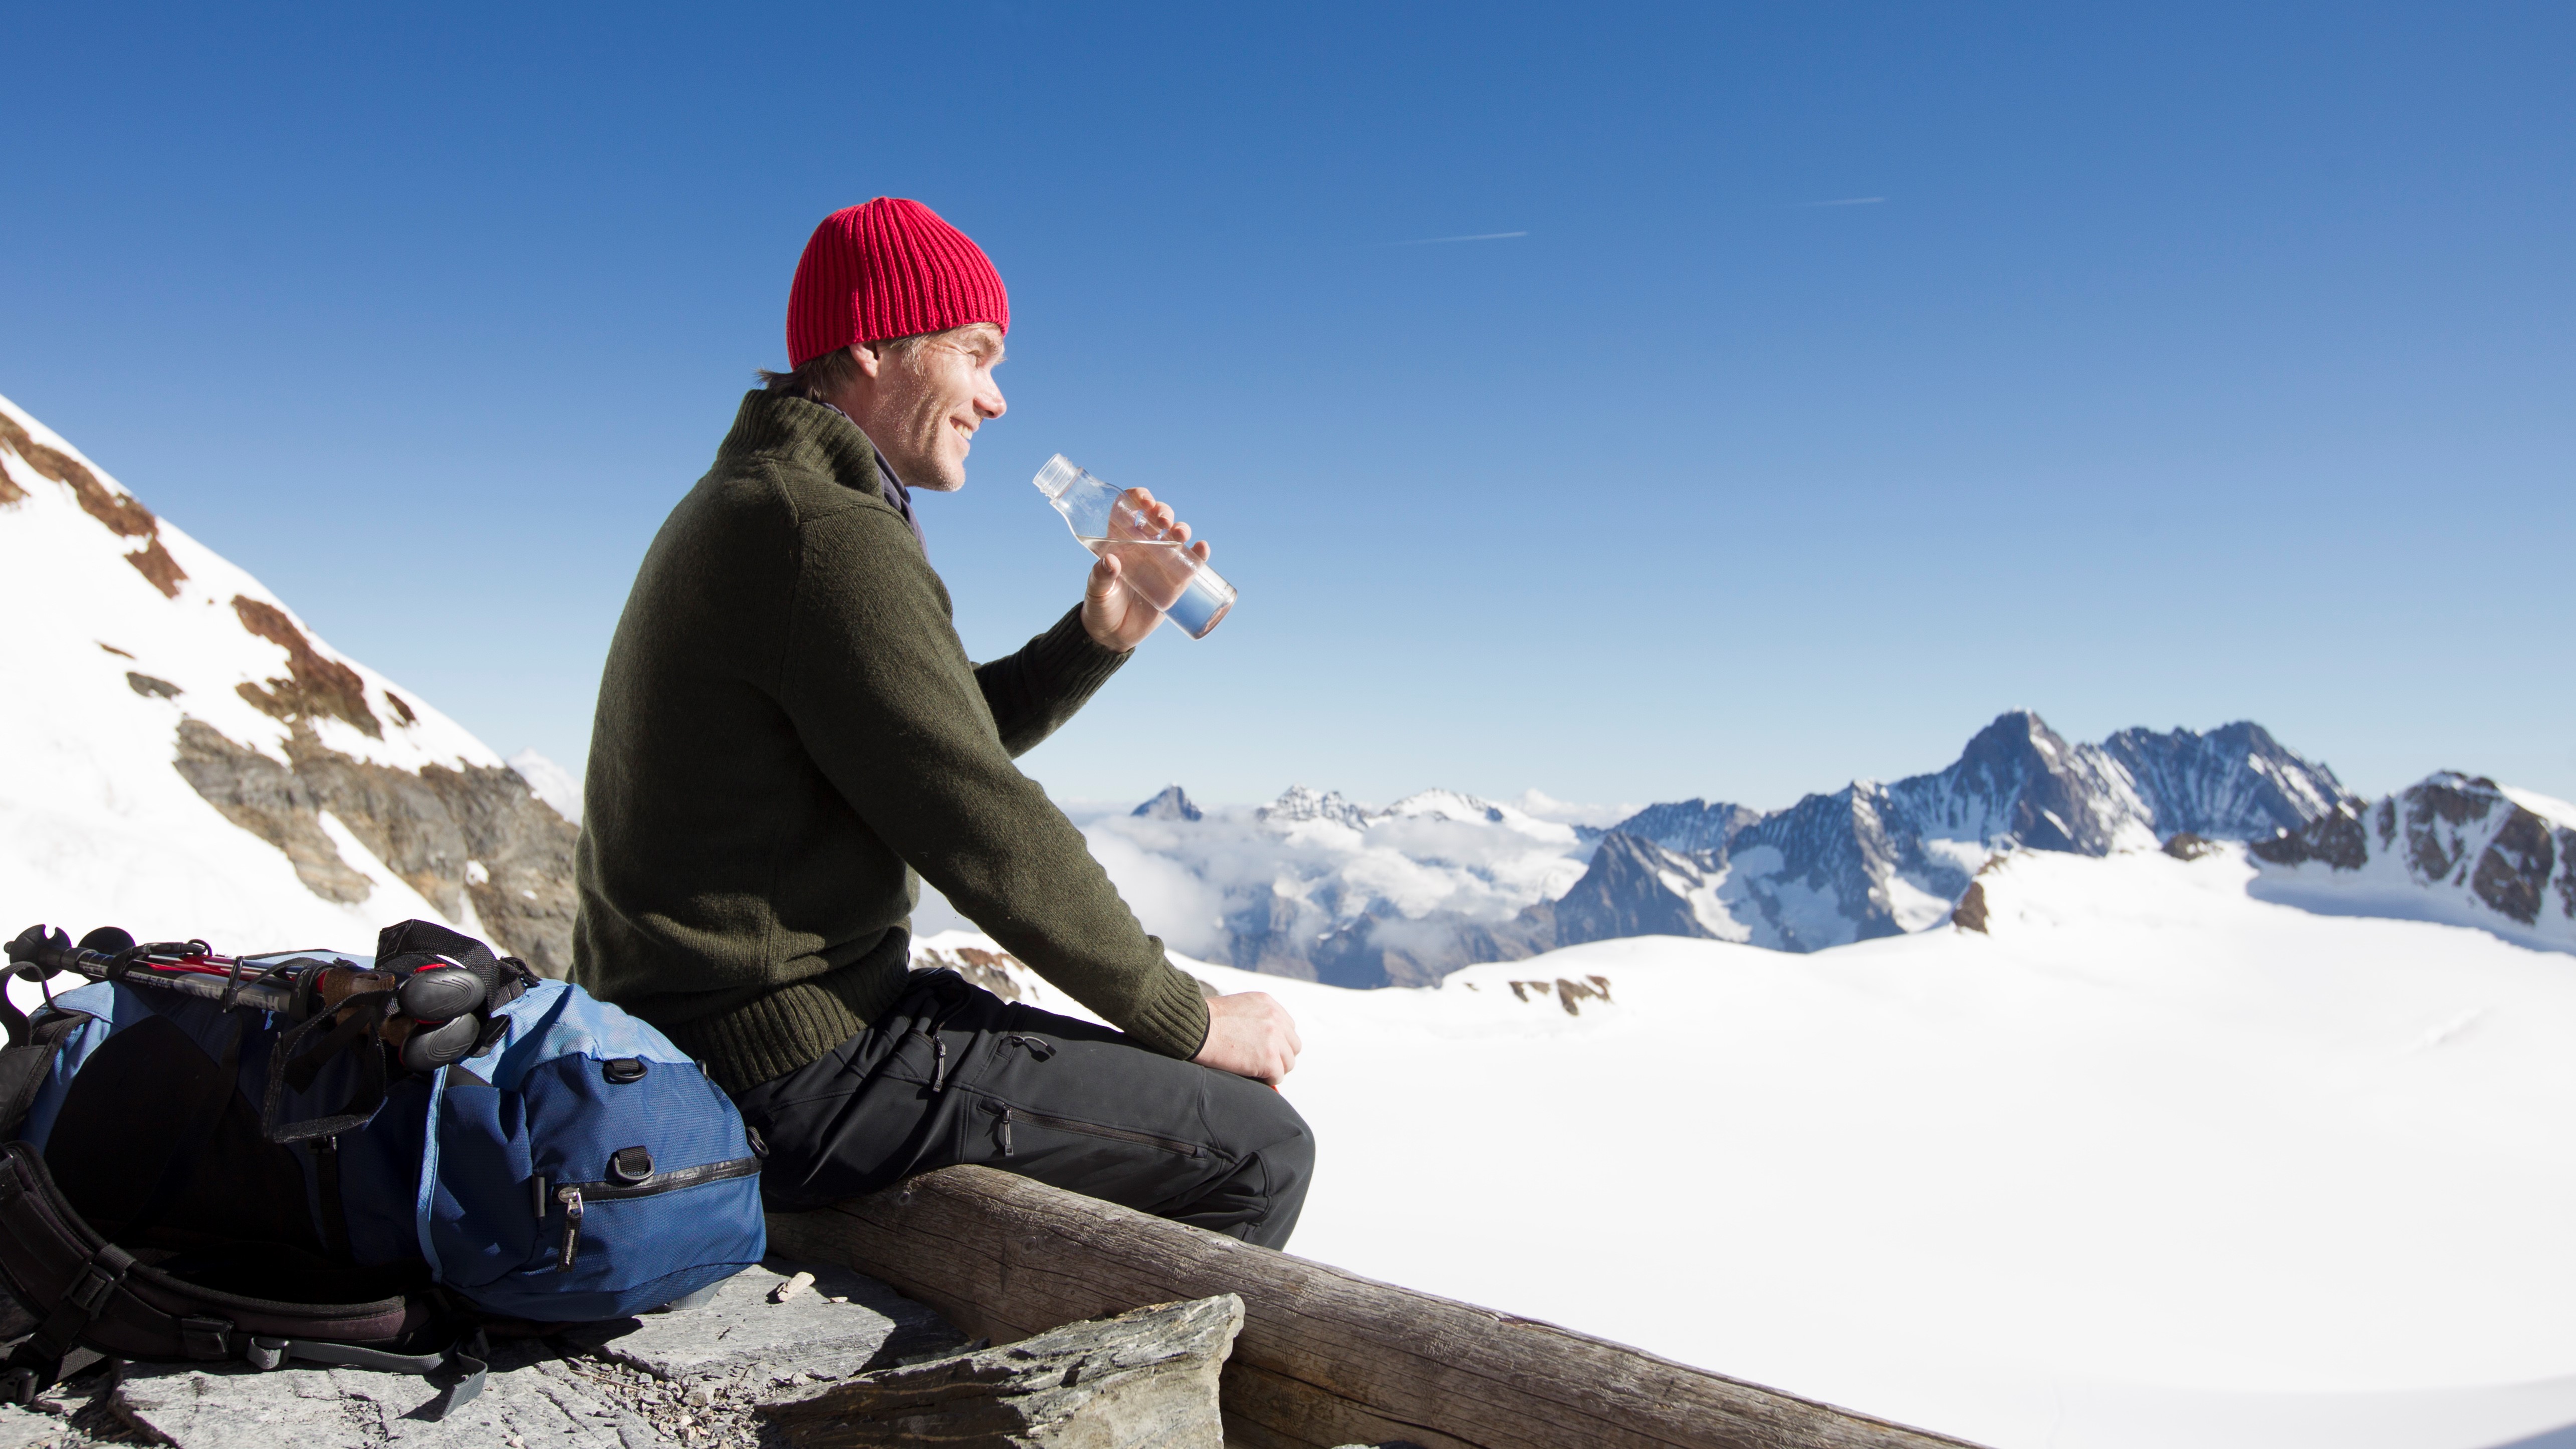
In summer, you might start with ice water in your bottle so that you can have a nice cool drink even after a few hours of hot weather hiking, and similarly you’ll want to start with warm water on frigid days. Not all water bottles or hydration bladders are designed to carry hot water, so don’t go crazy here, but start with warmer liquid and by your first water break it will be room temperature and will take much longer to actually freeze.
Invest in an insulated water bottle
- An insulated bottle will keep hot drinks hot in winter and cold drinks cold in summer
- Look for a bottle with a chug cap for easy drinking
If you’ve got a little cash to spend and you’ve been hiking with a non-insulated, narrow-mouth bottle, the first thing you can do to help yourself out is get a water bottle that’s better-suited to very cold temperatures. If you don’t mind drinking hot liquids, you can of course just switch to your hiking flask for winter, but an insulated water bottle like the Hydro Flask 32oz features vacuum insulation for both hot and cold drinks, so you can use it year-round.
In addition, a wider mouth on either your bottle or hydration bladder will be less likely to become completely obstructed with ice. If you find the wide mouth sloppy to drink out of, the Yeti Rambler 26oz is similar to the Hydro Flask but comes with a handy, removable “chug cap” for drinking.
Advnture Newsletter
All the latest inspiration, tips and guides to help you plan your next Advnture!
For non-insulated options, plastic is a better insulator than single-walled steel, but it carries health risks so make sure you go for BPA-free plastic if you’re not buying an insulated water bottle.
Insulate your bottle
- You can get insulated sleeves for regular water bottles and reservoirs
- While effective to a point, it won't match the performance of a dedicated insulated bottle
Quite happy with your water bottle or hydration bladder, thank you very much? No problem, you can insulate your existing one. You can buy insulating sleeves for both water bottles and hydration bladders that will add a layer of protection against freezing temperatures. We’ll be honest, this method won’t be as effective as an insulated bottle, but it will help and for shorter hikes, should suffice.
Pack it properly
- When packing, turn your bottle upside down
- Pack it as close as you can to your body
- Don't get it out too regularly to stop it from cooling down
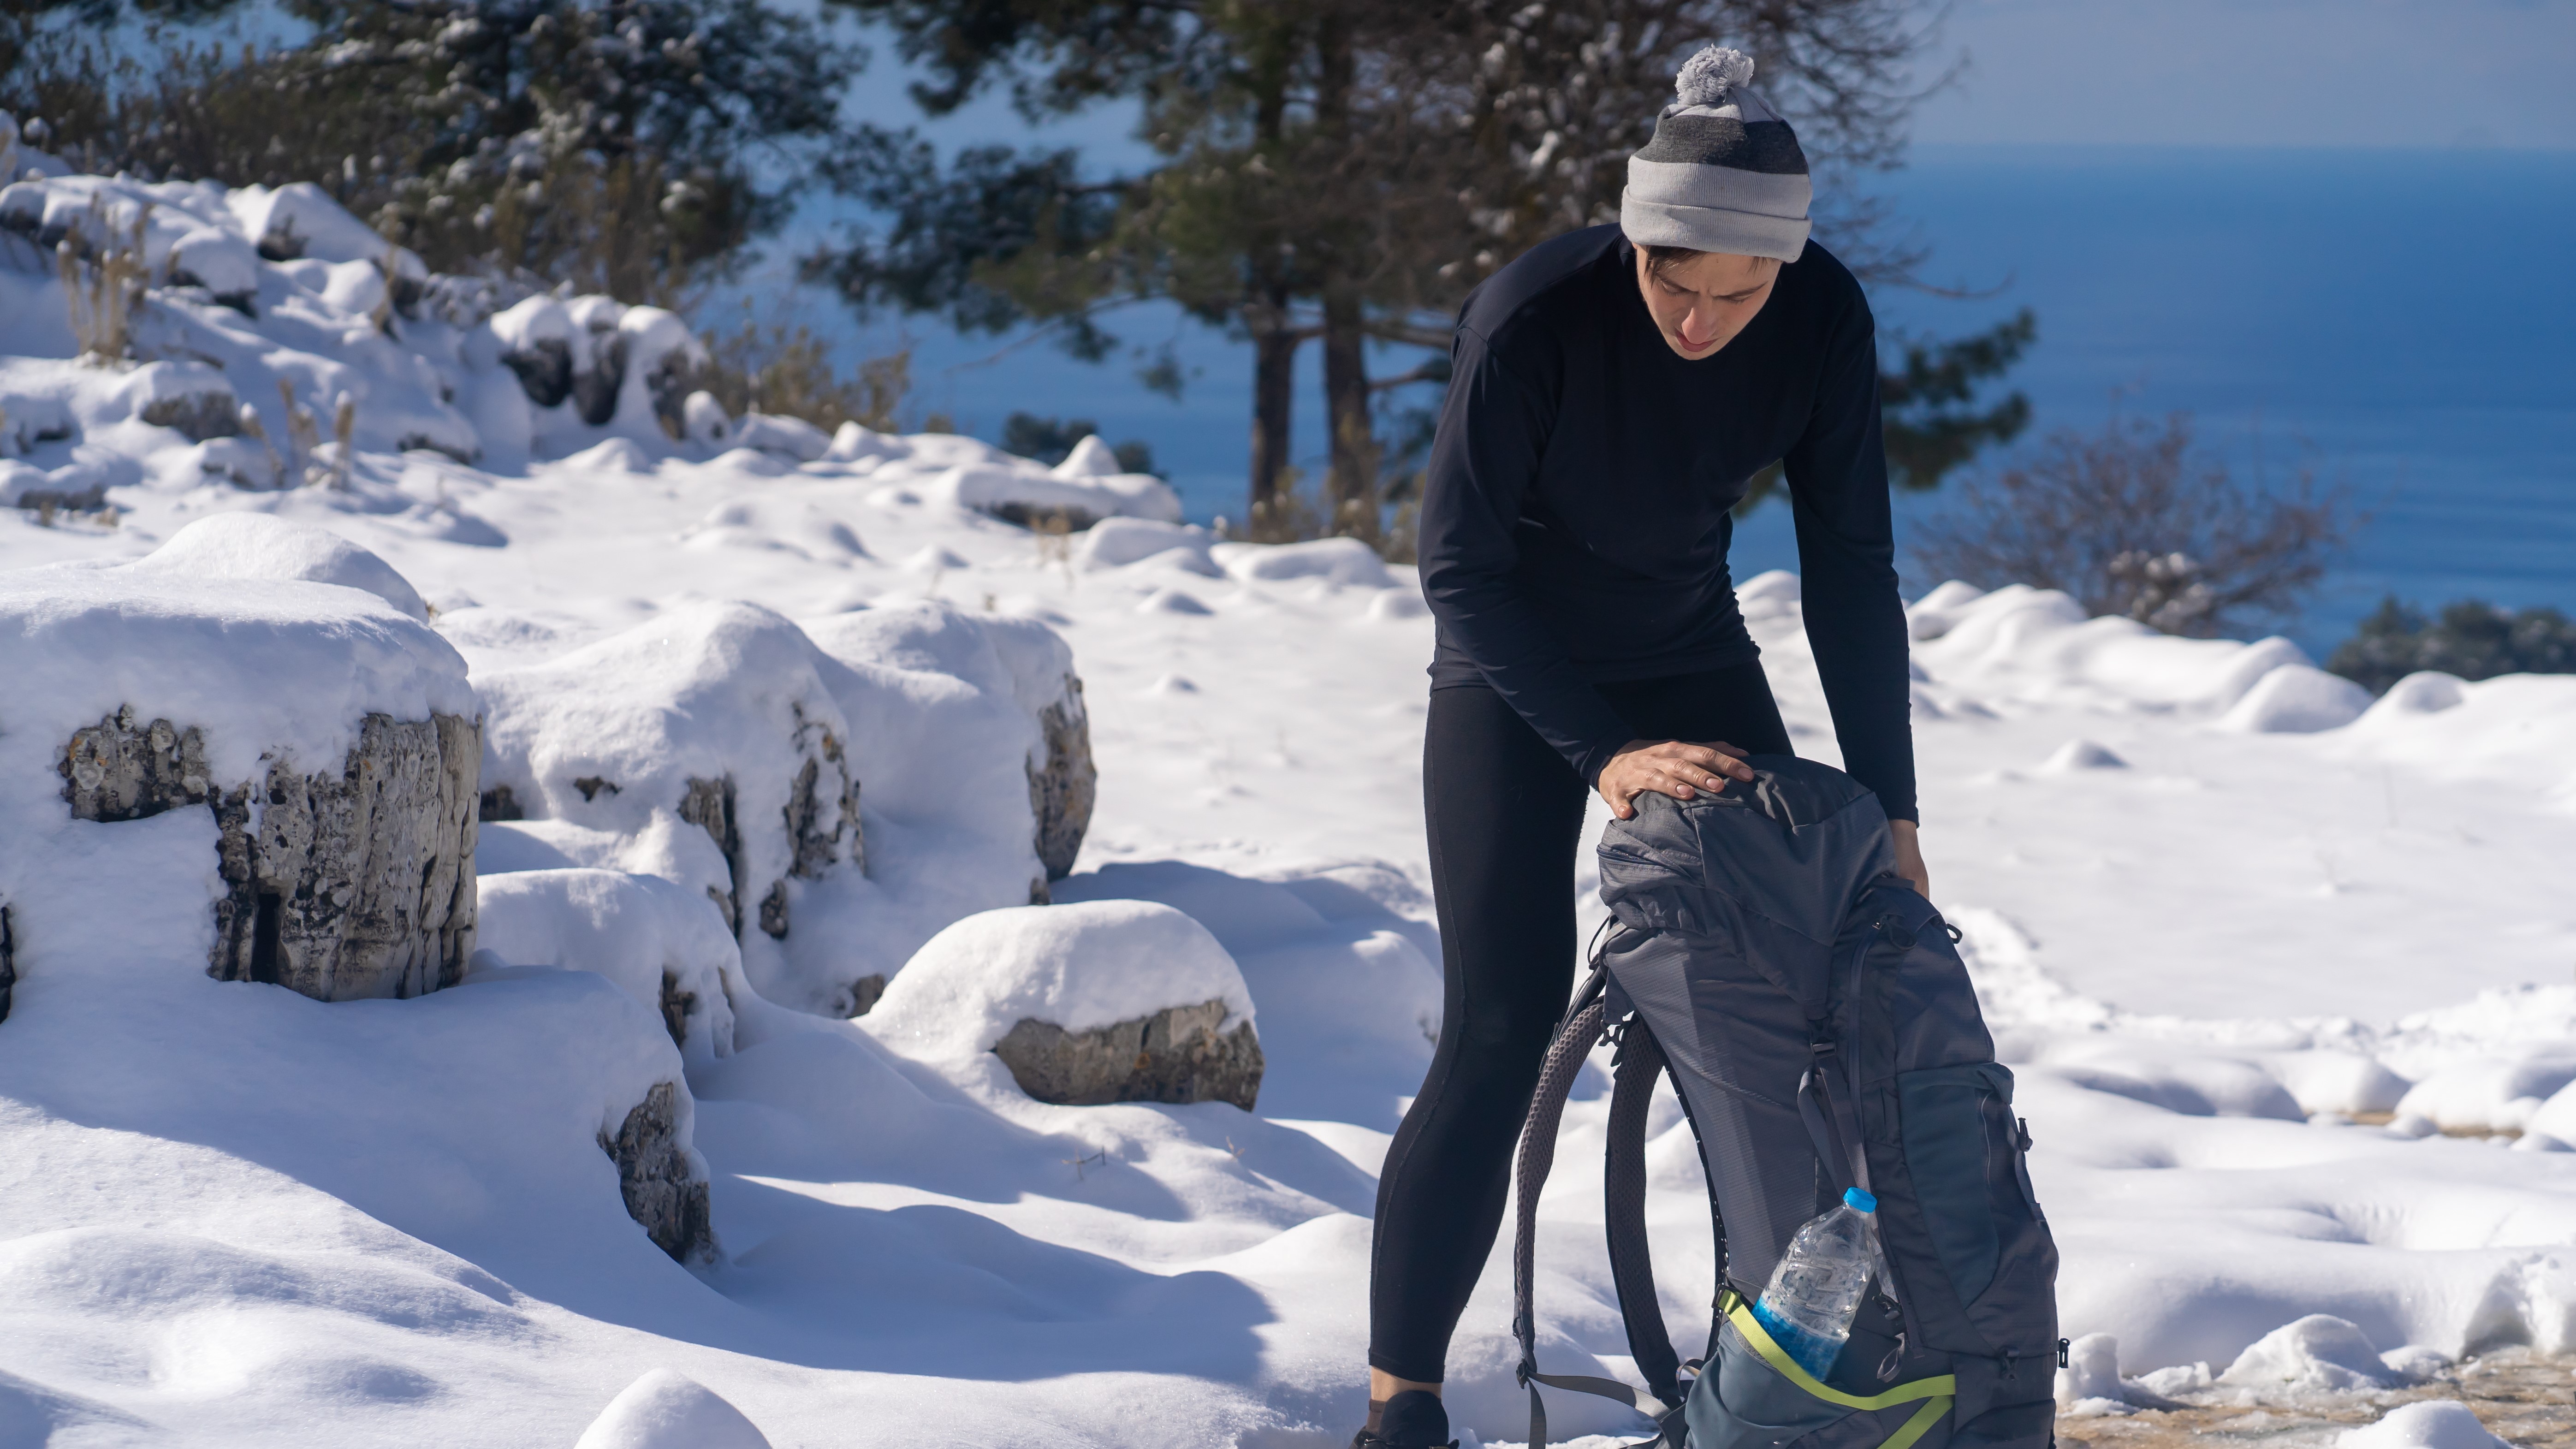
Once you’ve chosen your vessel and filled it with warm liquid, you also want to pack it properly to keep it as protected as possible from the biting wind. That means don’t stick it in one of the side pockets of your backpack or attach it with a carabiner where it will be totally exposed to cold air. No, pack your water bottle upside down, because it will freeze faster at the top where it comes into contact with air, and pack it closest to your body near the back wall of your backpack. Finally, don’t take it out of your backpack or unscrew the cap more than is absolutely necessary – it’s better to stop less often for a longer drink than continually expose it to cold air with frequent sipping.
Use a soft bottle
- A soft bottle is easier to wear close to your body
- They also take up less room in a pack
These days, you can buy convenient soft water bottles like the LifeStraw Peak Series Collapsible Squeeze which take up less room in your pack. They’re not any less prone to freezing, but they are easier to wear closer to your body – you might actually be able to tuck one inside your base layer against your skin or in an inner jacket pocket so your body heat can keep the water inside from freezing. This might get a bit annoying for a long trek, but for a very cold day hike it’s a worthy option.
Sleep with your water bottle
- Snuggle up with your bottle in your sleeping bag if you're camping
Finally, if you’re spending a night in the wilderness, don’t just chuck your water bottle into your tent when you’re getting ready for bed. Bring it into your sleeping bag with you so you and your water bottle can share body heat all night long.
Julia Clarke is a staff writer for Advnture.com and the author of the book Restorative Yoga for Beginners. She loves to explore mountains on foot, bike, skis and belay and then recover on the the yoga mat. Julia graduated with a degree in journalism in 2004 and spent eight years working as a radio presenter in Kansas City, Vermont, Boston and New York City before discovering the joys of the Rocky Mountains. She then detoured west to Colorado and enjoyed 11 years teaching yoga in Vail before returning to her hometown of Glasgow, Scotland in 2020 to focus on family and writing.

