9 expert tips on how to stay safe on mountain ridges
In the wake of a tragedy on a popular British ridge, our hiking expert shares his tips on how to stay safe on mountain ridges
- 1. Do your research
- 2. Check the weather forecast
- 3. Avoid high winds
- 4. Choose the right footwear
- 5. Never push your grade in challenging conditions
- 6. Do not climb anything you would not be confident downclimbing
- 7. Hire an instructor
- 8. Know how to call for help
- 9. The mountains will be there another day
A cold Arctic blast descended on Britain in the first days of 2025, bringing freezing temperatures and transforming the hills and mountains into potentially dangerous environments. On Thursday, January 2, high pressure brought blue skies and clear air – the sort of conditions that are a siren song to avid hill goers. Many, myself included, headed for the fells of the Lake District on that day to blow away the winter cobwebs.
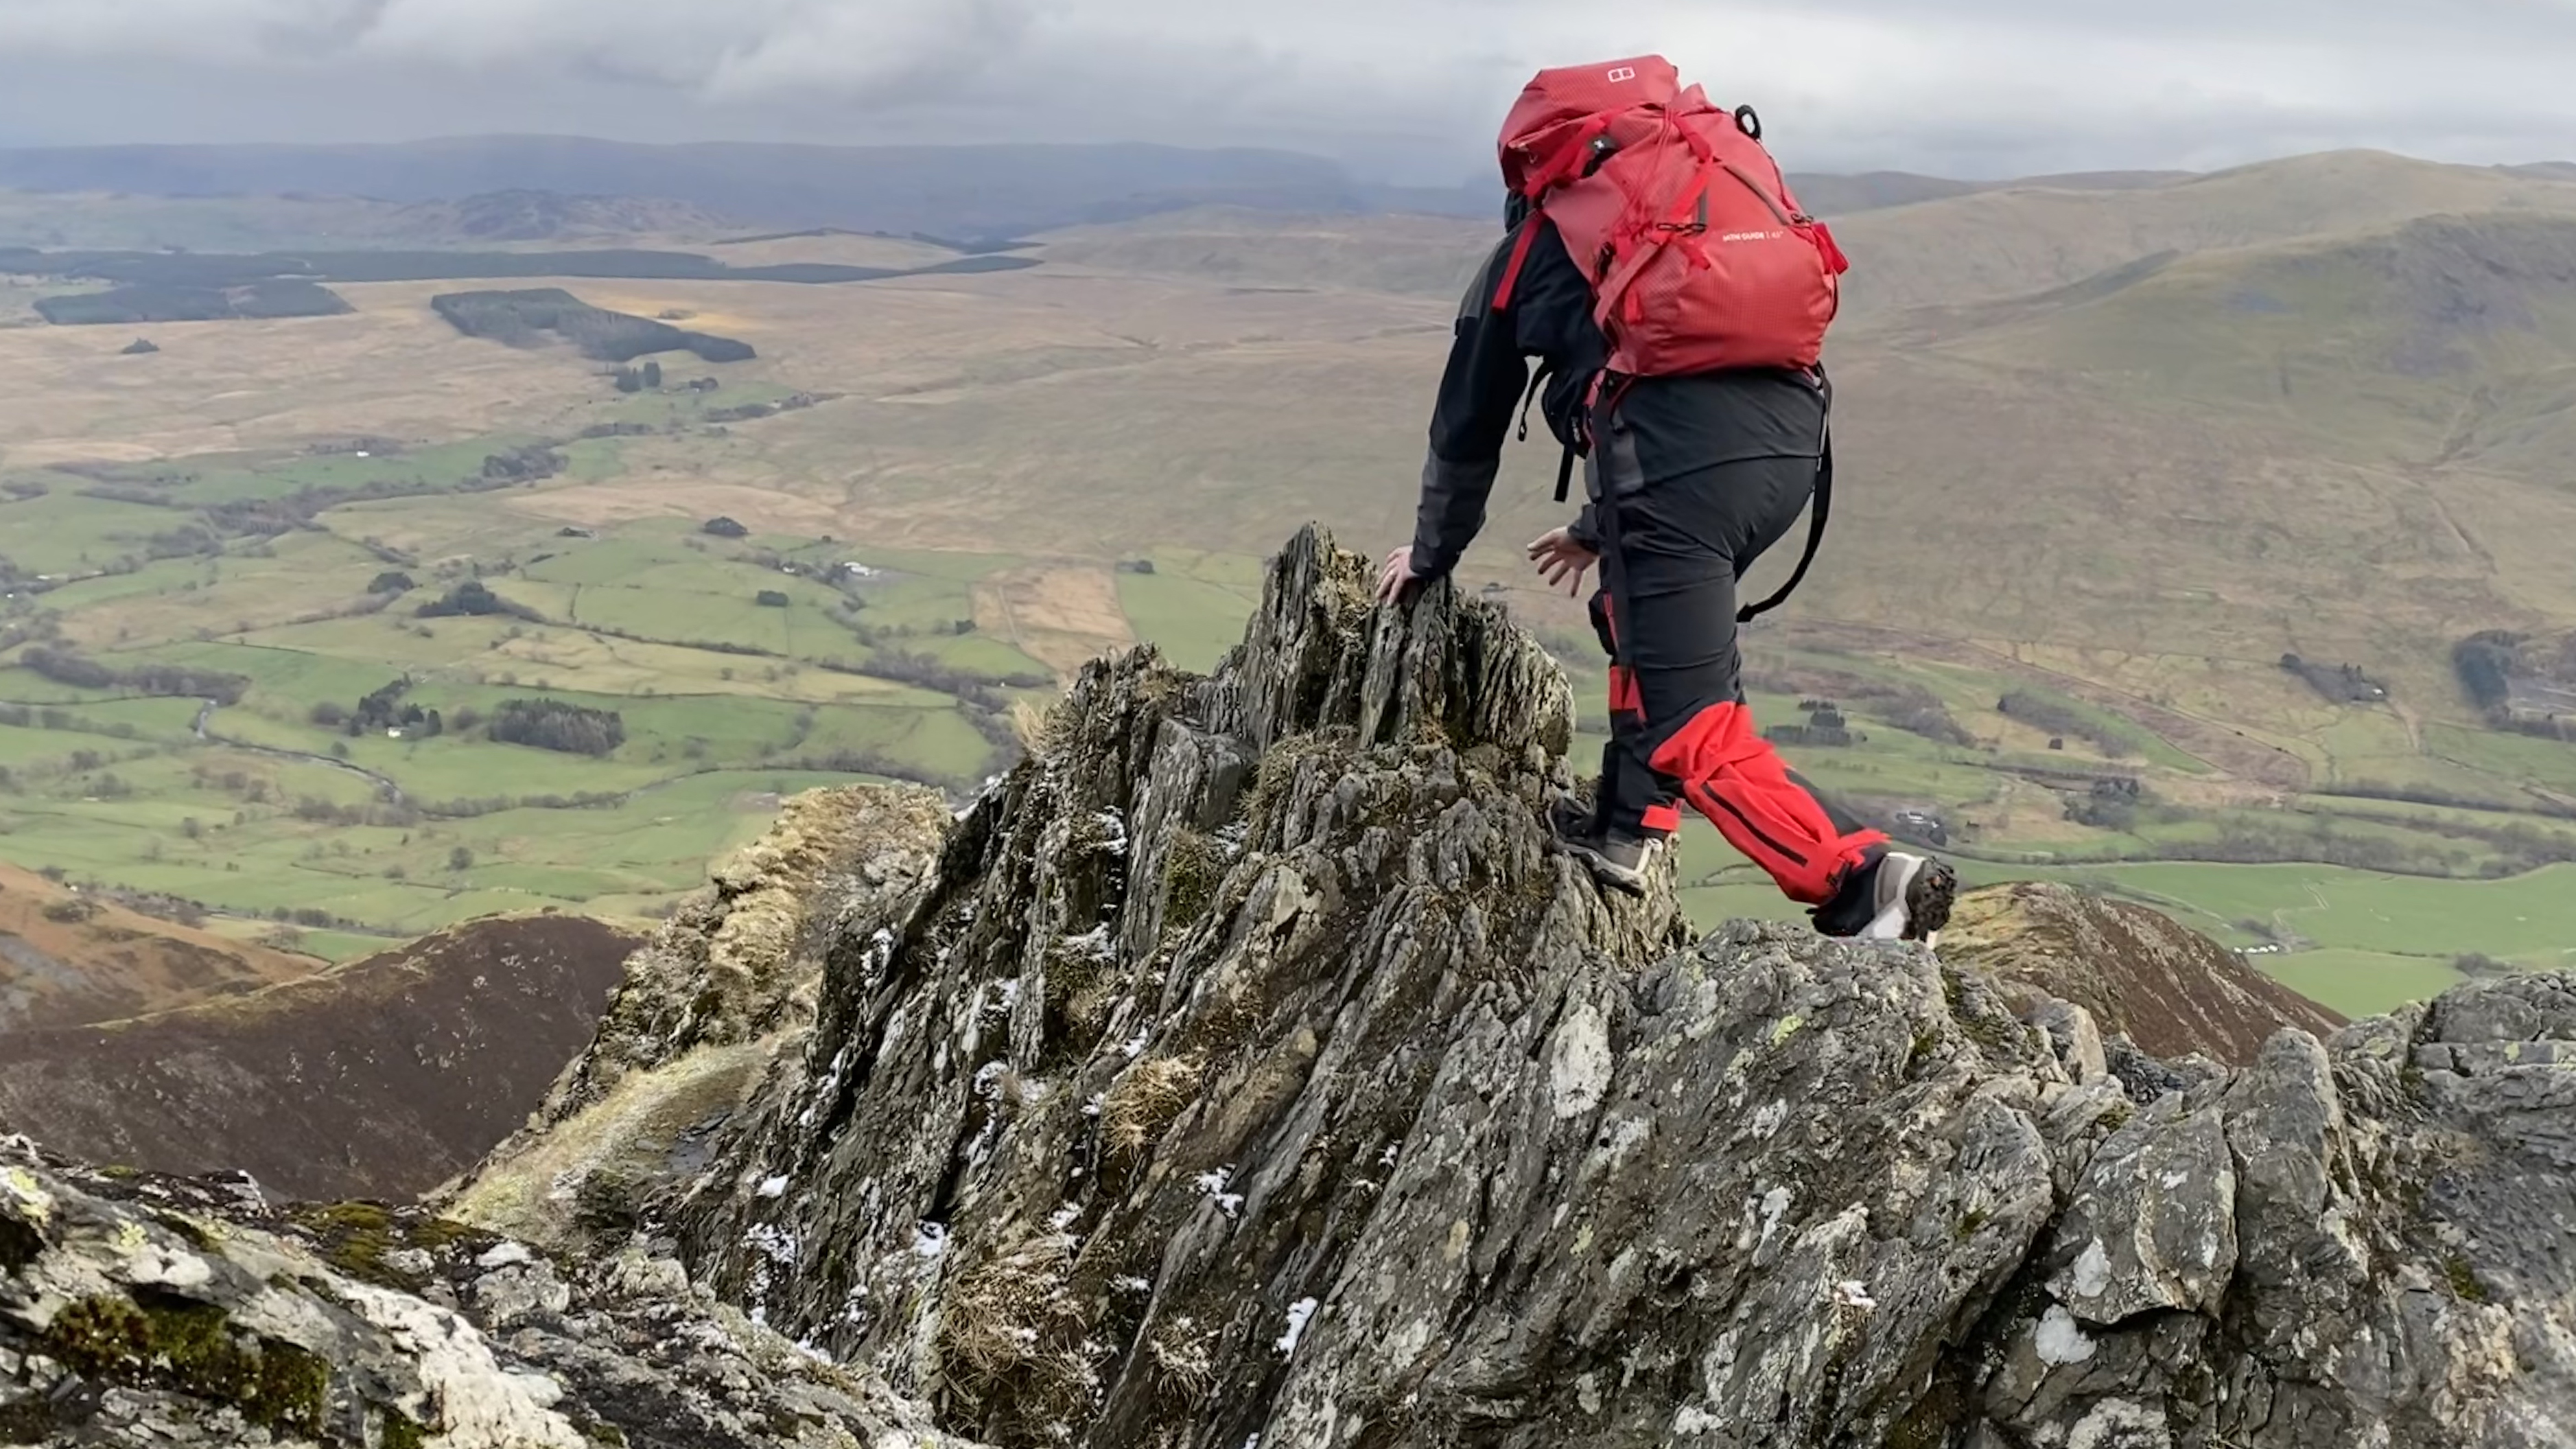
Around midday, members of the Keswick Mountain Rescue team were called out to an incident on the notorious Sharp Edge, a narrow crest of rock on Blencathra, a mountain in the national park's Northern Fells. This arête is a popular grade one scramble in summer and a serious mountaineering objective when covered in snow. The rock is well polished from the passage of countless hiking boots and is renowned for being dangerously slippery when wet or iced up, particularly a sloping section known as ‘the Bad Step’. The gully below this treacherous section is known to Mountain Rescue as ‘the Usual Gully’.
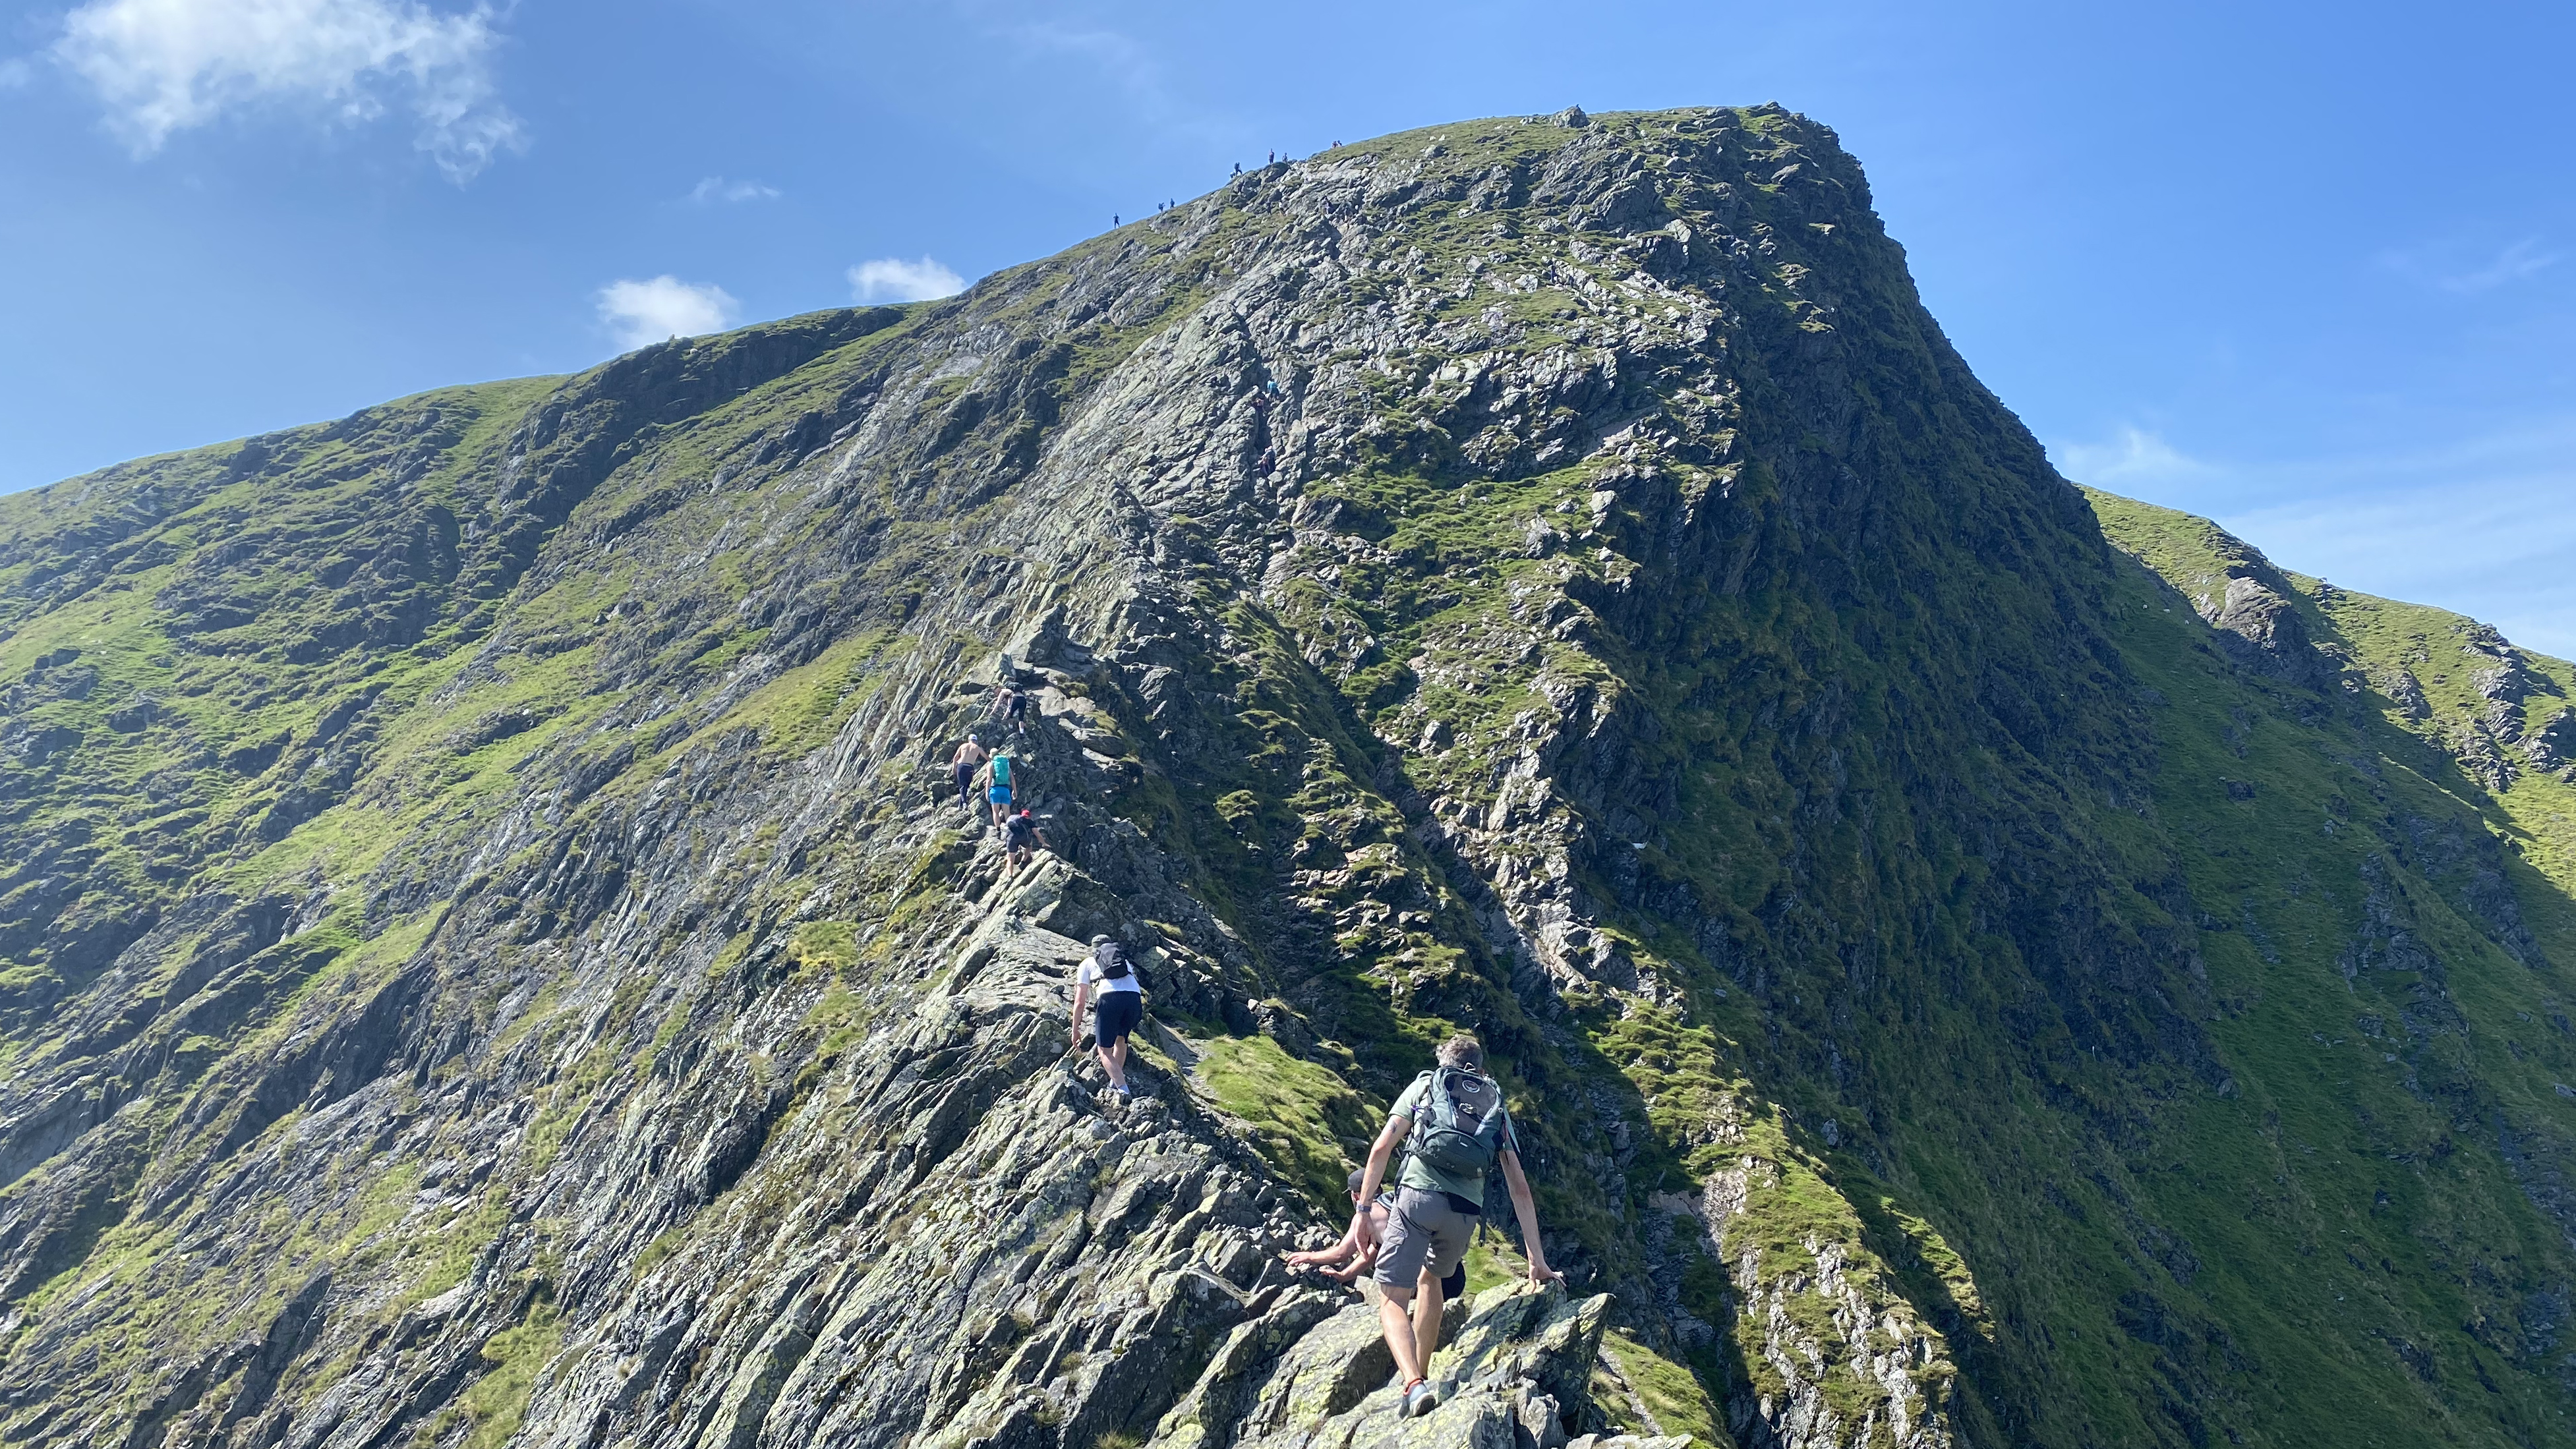
That day, when the rescuers arrived at Sharp Edge, they discovered that the casualty had tragically died, having fallen 230ft / 70 meters from the ridge. His body was airlifted from the scene by a coastguard helicopter.
According to Keswick Mountain Rescue there have been 11 recorded deaths on Sharp Edge between 1949 and 2018, not to mention the many incidents that didn’t end in a fatality. The popular Striding Edge on nearby Helvellyn is another notorious ridge that has been the scene of several deaths over the years.
So, it’s clear that there are serious risks involved when taking on narrow mountain ridges, even those that are perennially popular. As someone who has tackled my fair share down the years, including Sharp Edge on many occasions and in all kinds of conditions, here I share my top tips on how to stay safe on mountain ridges.
How to stay safe on mountain ridges
1. Do your research: Read up on the specifics of the ridge you plan to tackle.
2. Check the weather forecast: Find out what the conditions will be like and decide on the best course of action.
3. Avoid high winds: A strong gust has the potential to blow you off a narrow arête.
4. Choose the right footwear: Quality hiking or mountaineering footwear will provide better grip.
5. Never push your grade in challenging conditions: If you’re upping the difficulty, do so in kind conditions.
6. Don’t climb anything you wouldn’t be confident downclimbing: You could climb yourself into a trap.
7. Hire an instructor: A mountain guide will help you traverse ridges safely.
8. Know how to call for help: In case of an emergency, know how to call mountain rescue.
9. The mountains will be there another day: If in doubt, turn back and find another, safer way.
1. Do your research
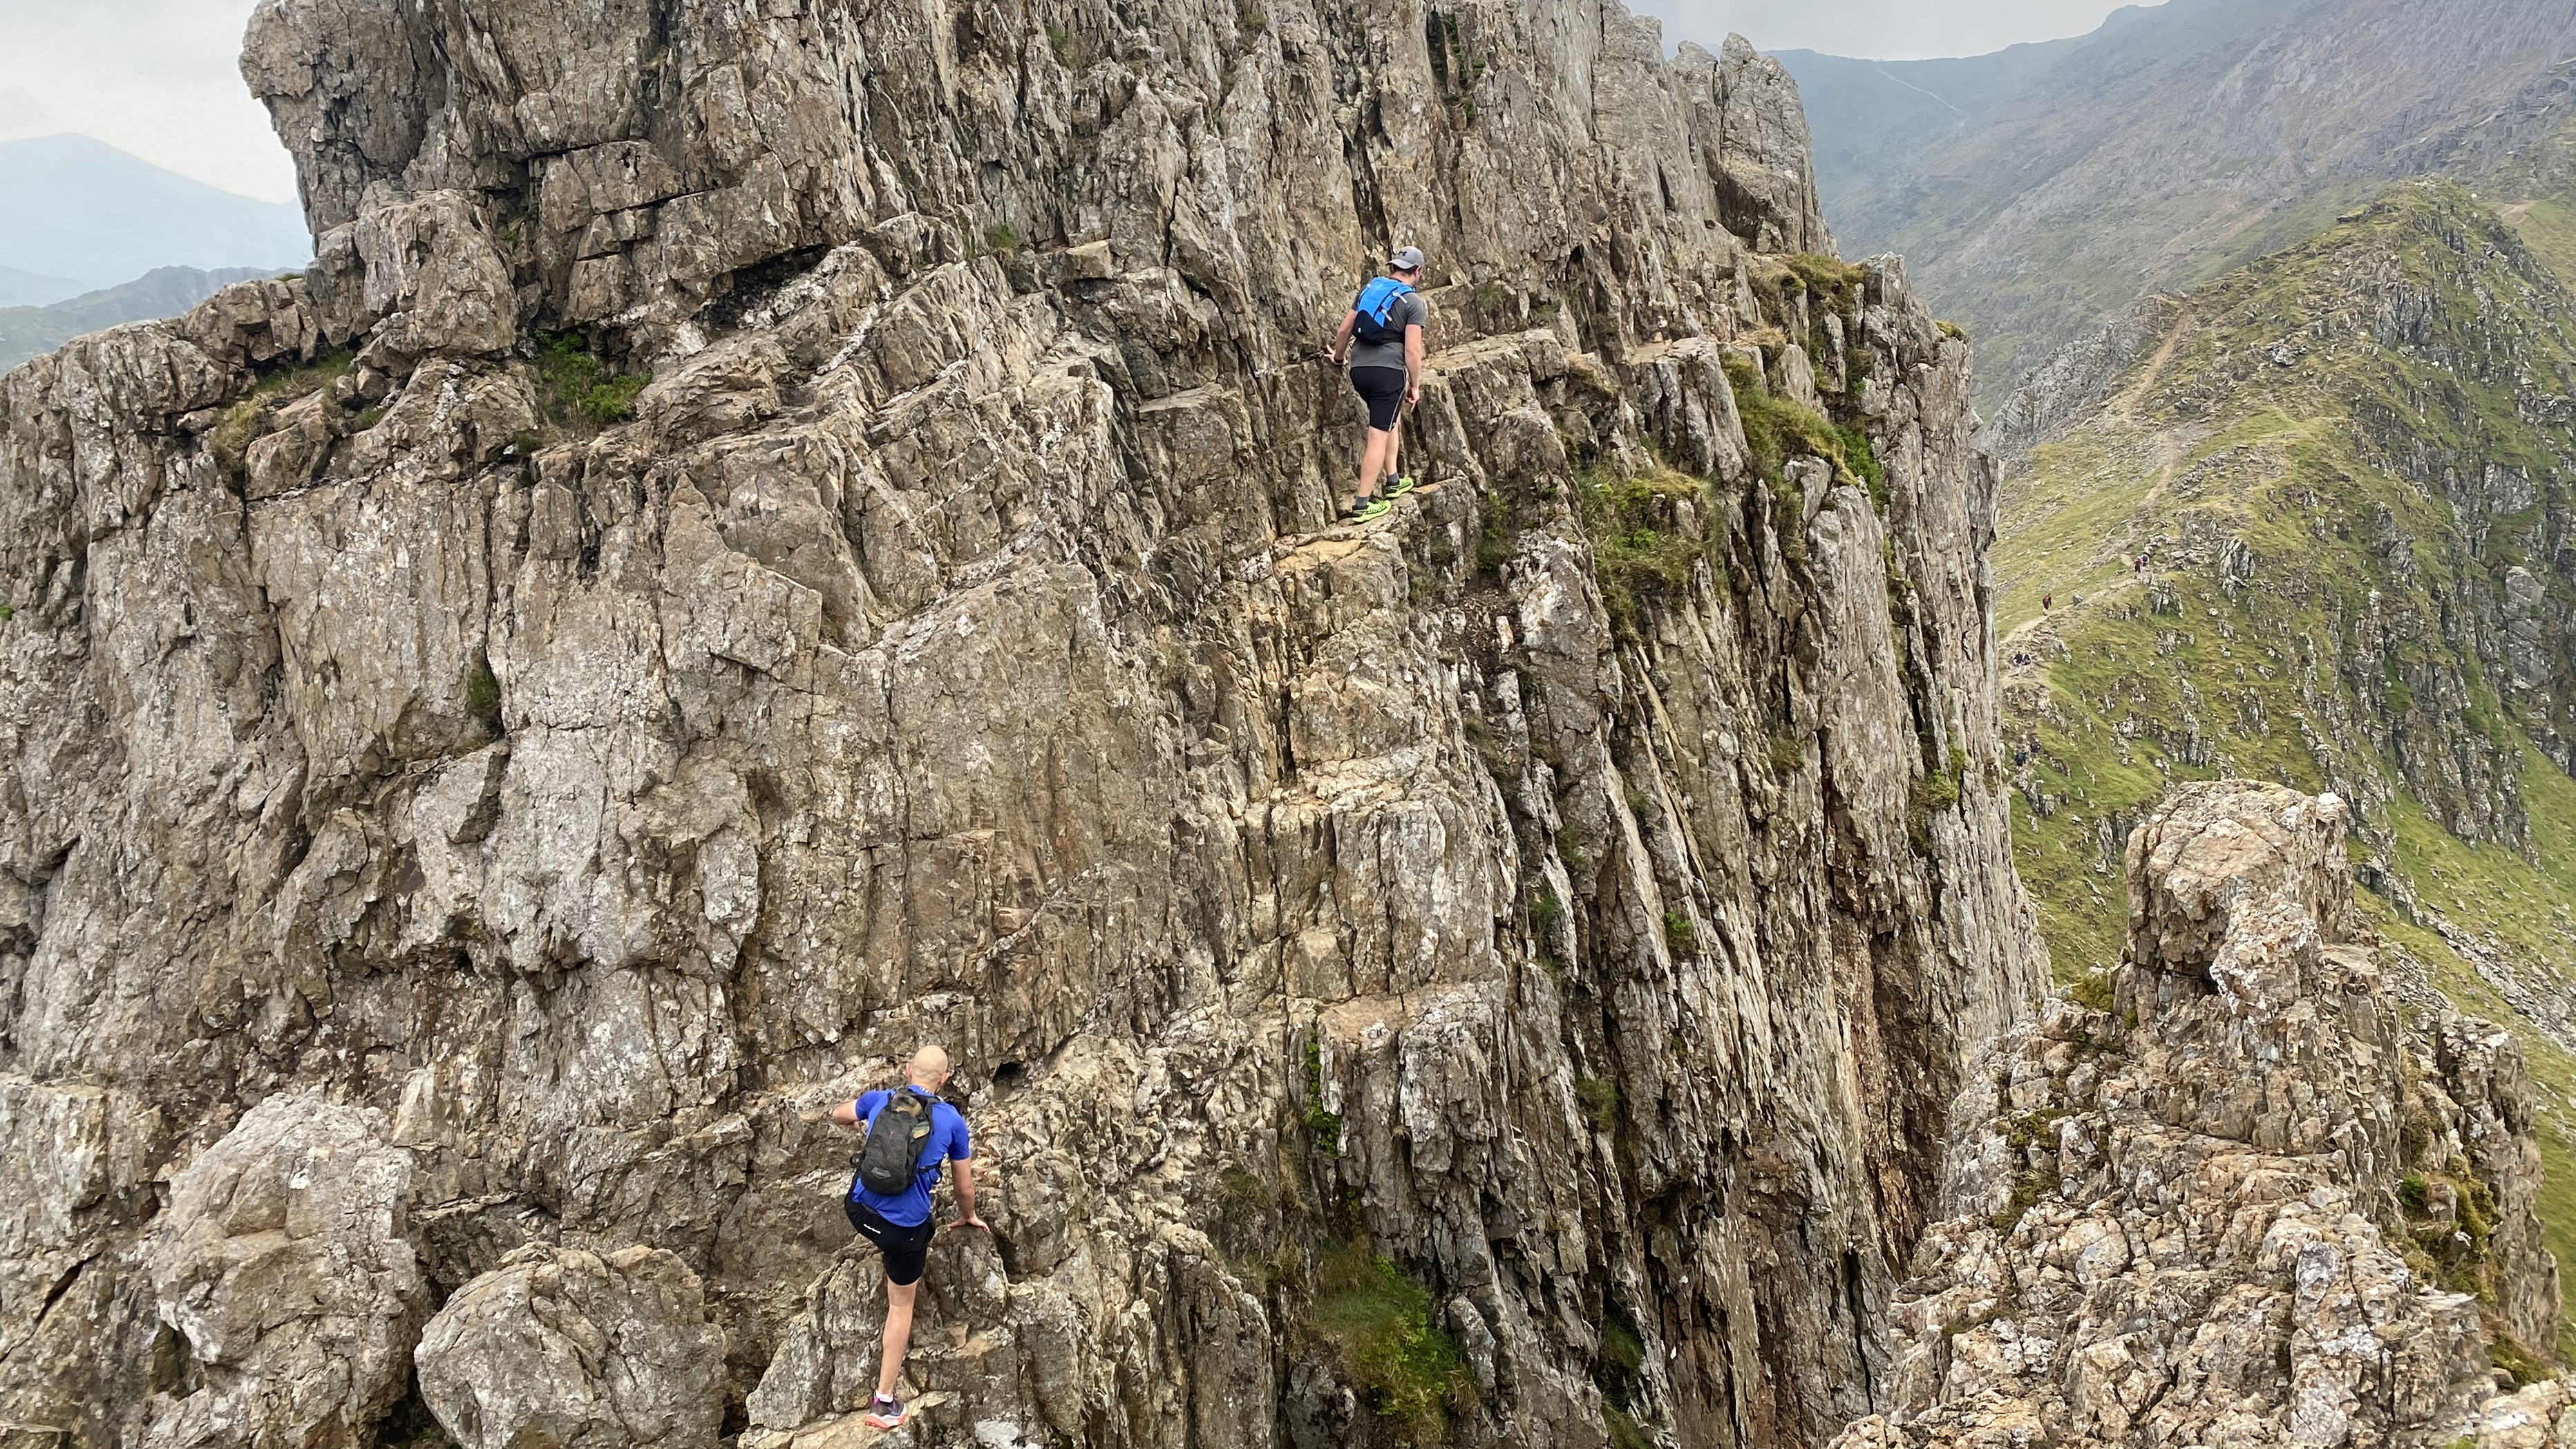
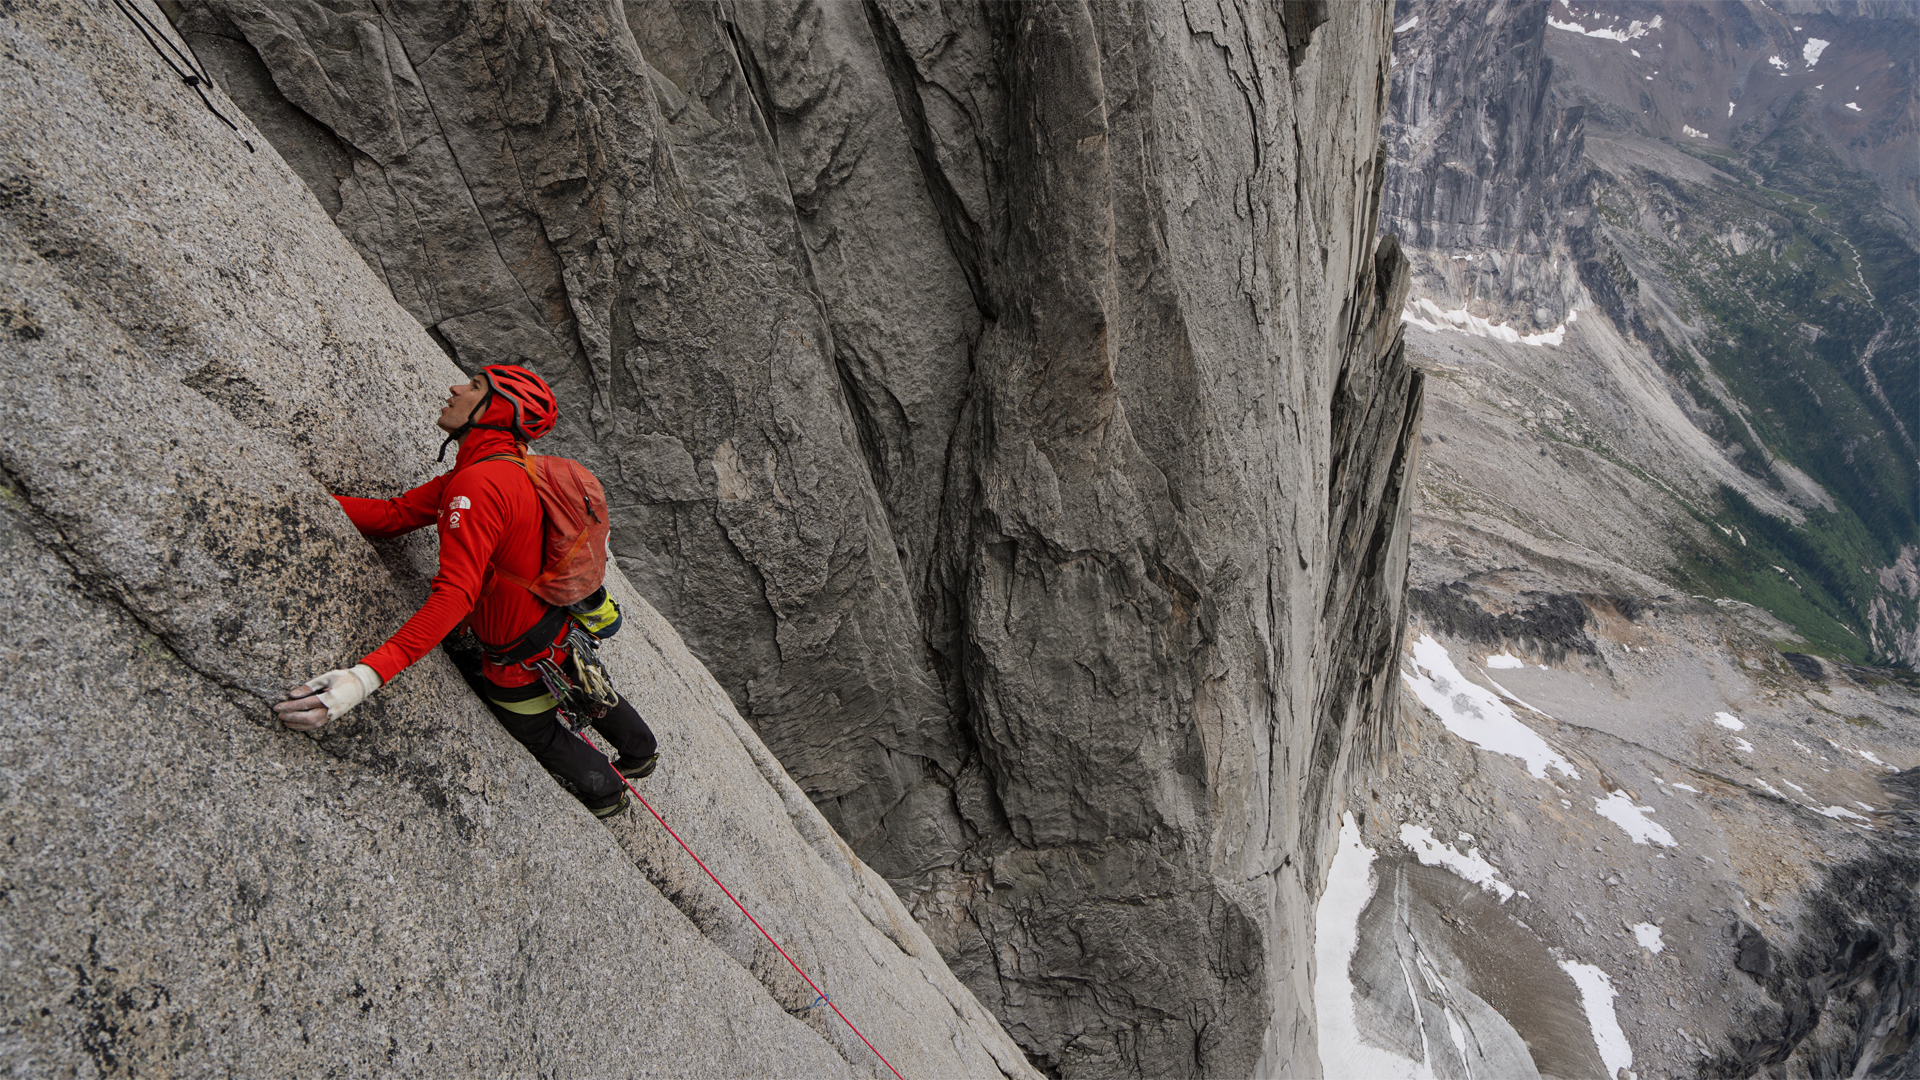
Every mountain ridge is different, with varying levels of difficulty, often denoted by a scrambling or climbing grade. Some are relatively level, narrow and potentially unnerving, like the infamous Crib Goch in Eryri (Snowdonia) National Park. Some have more ups and downs than a rollercoaster, like Scotland’s legendary Aonach Eagach. Others are a much broader labyrinth of rock, like Eryri’s Tryfan North Ridge. Many require climbing skills and equipment, like the Isle of Skye’s classic Black Cuillin.
Adverse weather makes a traverse all the more challenging, though not all ridges are affected in the same way. Sharp Edge becomes much more dangerous when wet, yet other ridges only become slightly more challenging. A narrow tightrope like Crib Goch or the Aonach Eagach are an absolute no-go in gusty conditions, while others are relatively safe in moderately high winds.
Here's the thing: there’s no way you could know all of this without doing your research beforehand. Read up on your intended route, watch videos so that you know what to expect and speak to people who’ve done it before. Collect as much information as you can on the ridge to make informed decisions before heading out. Take a guidebook along with you or detailed notes and images on your phone.
2. Check the weather forecast
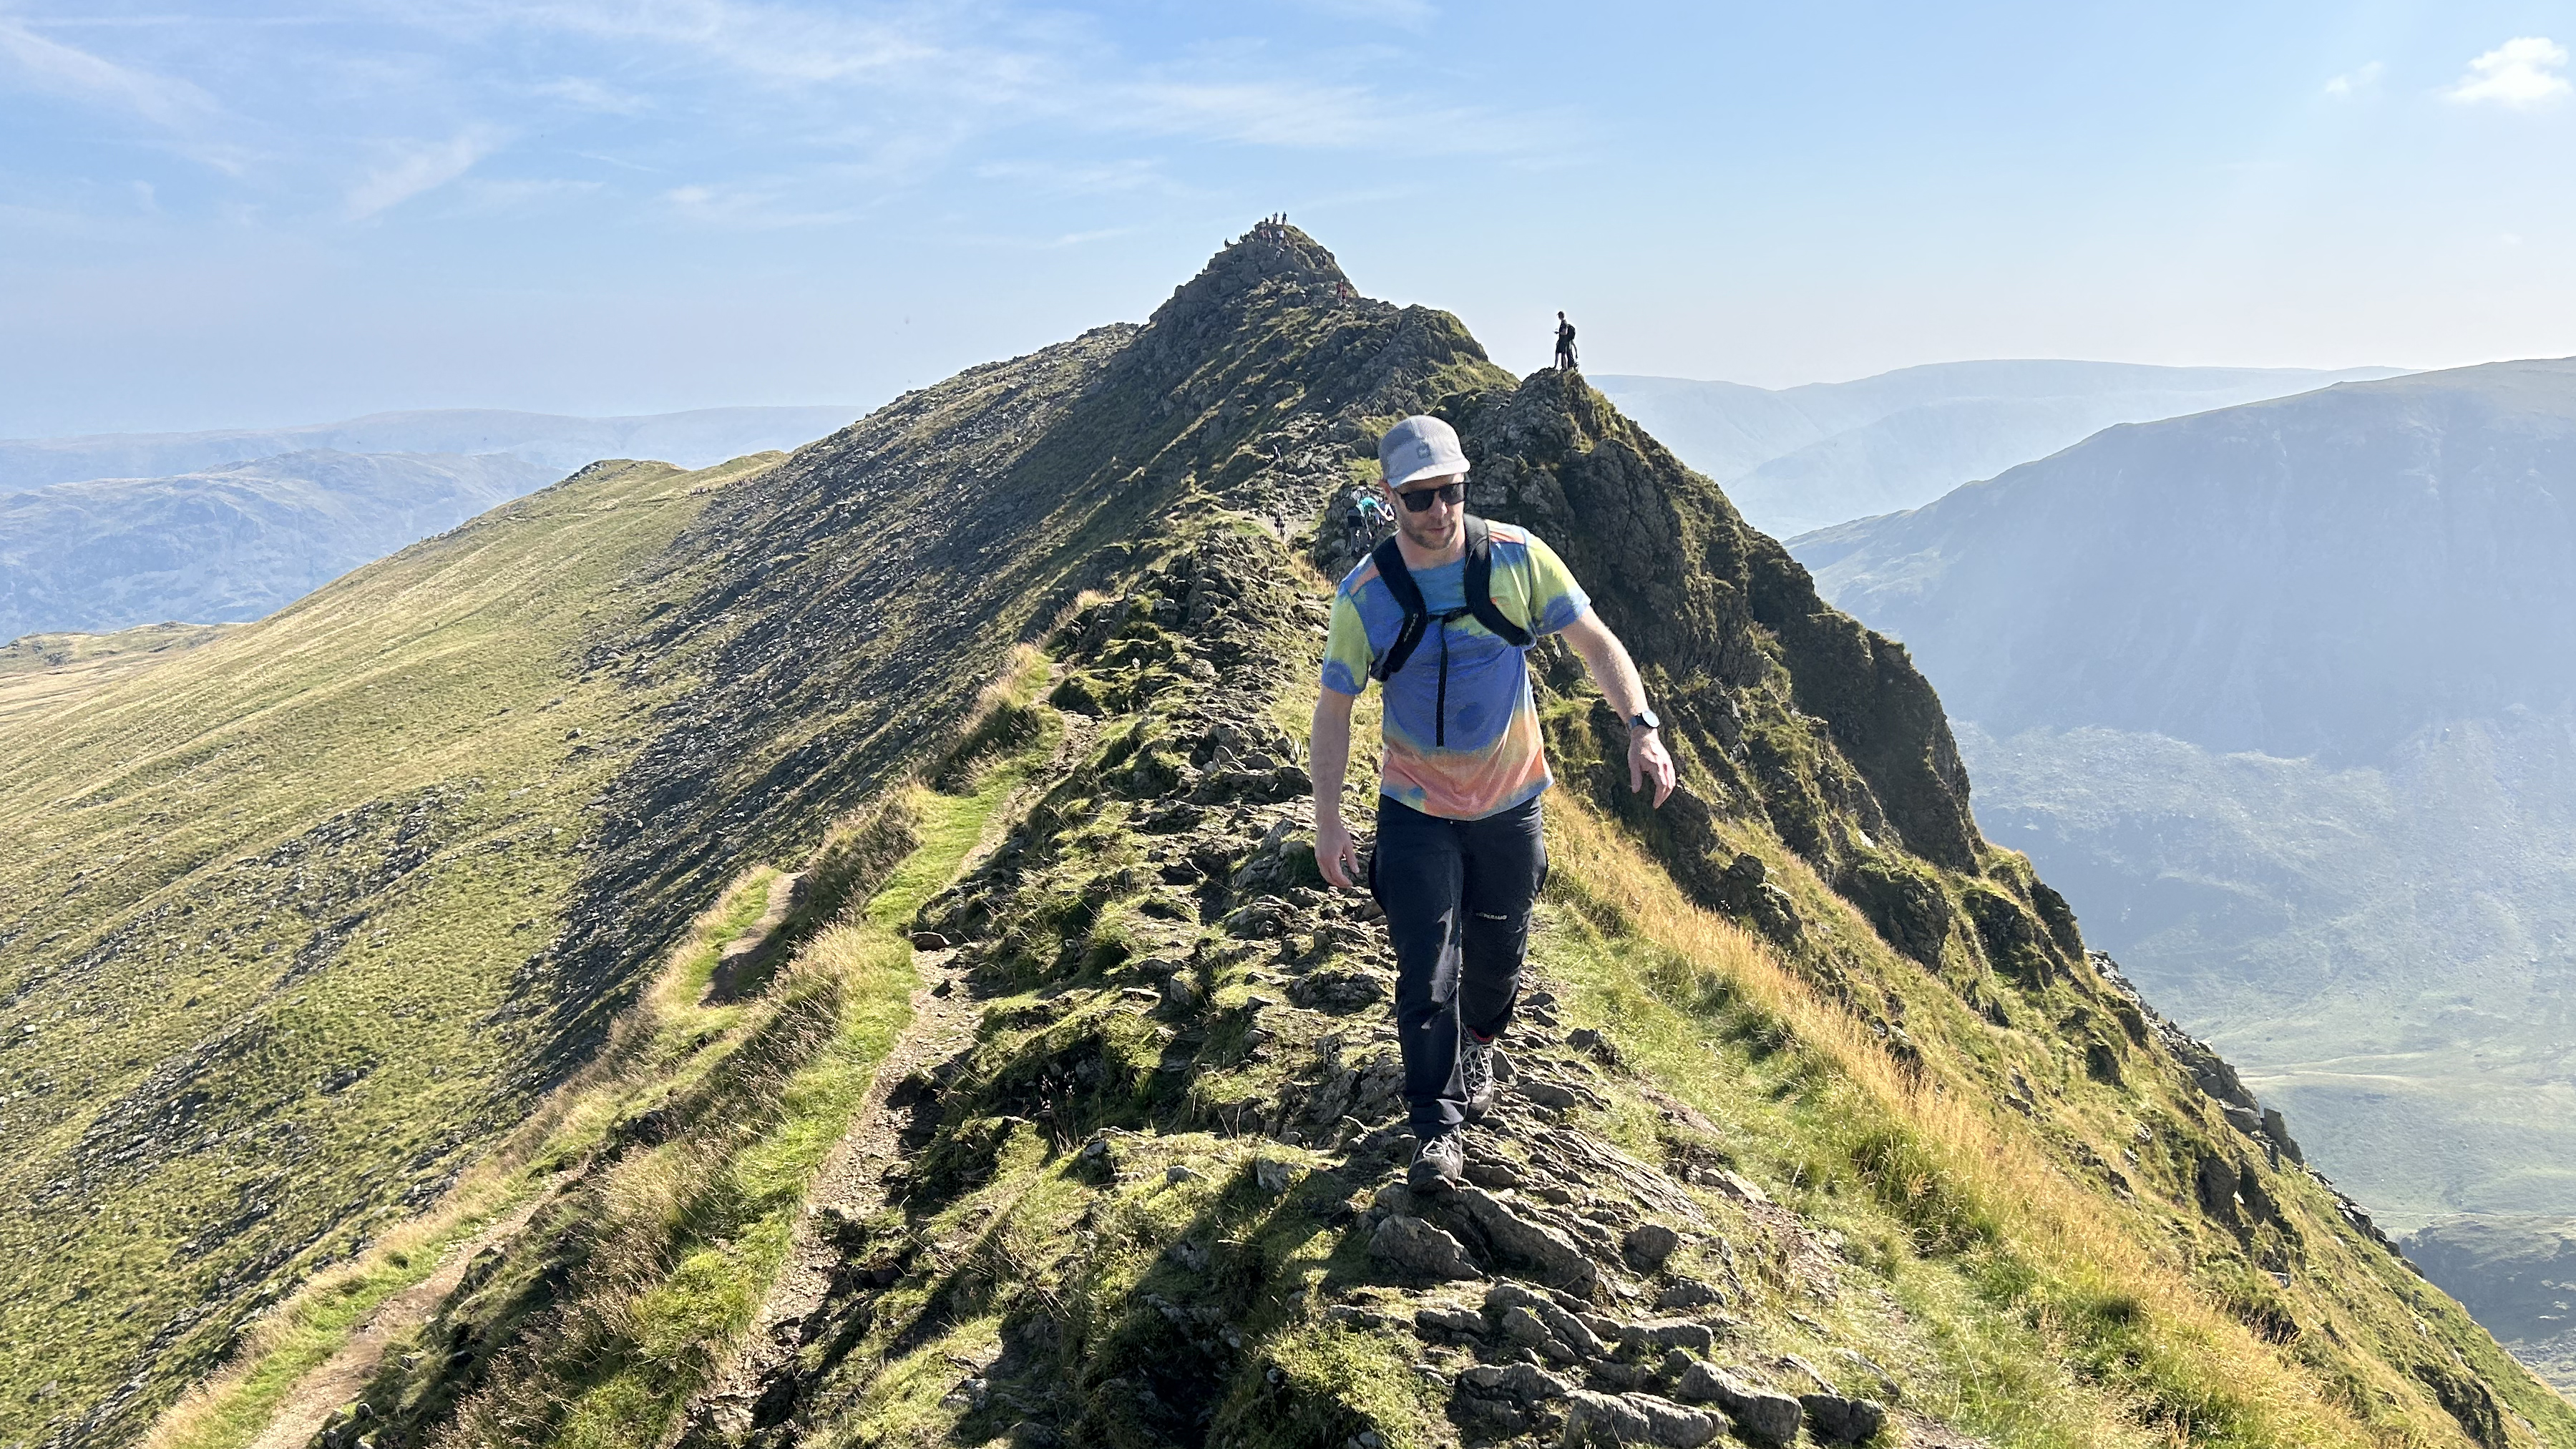
Once you have an idea of the character of your objective, you should check the weather forecast to see if it’s a goer or not. I’ve had my eyes on certain ridges only to turn to Plan B because of high winds or rain in the forecast. Make sure to consult a dedicated mountain weather forecast as it will have much more relevant detail than a standard forecast.
Your decision on whether or not to go for your objective will depend on your level of experience (see never push your grade in challenging conditions). A load of snow and freezing conditions will attract seasoned mountaineers to certain ridges but those without the necessary skills and equipment should avoid the more challenging ridges like the plague.
3. Avoid high winds
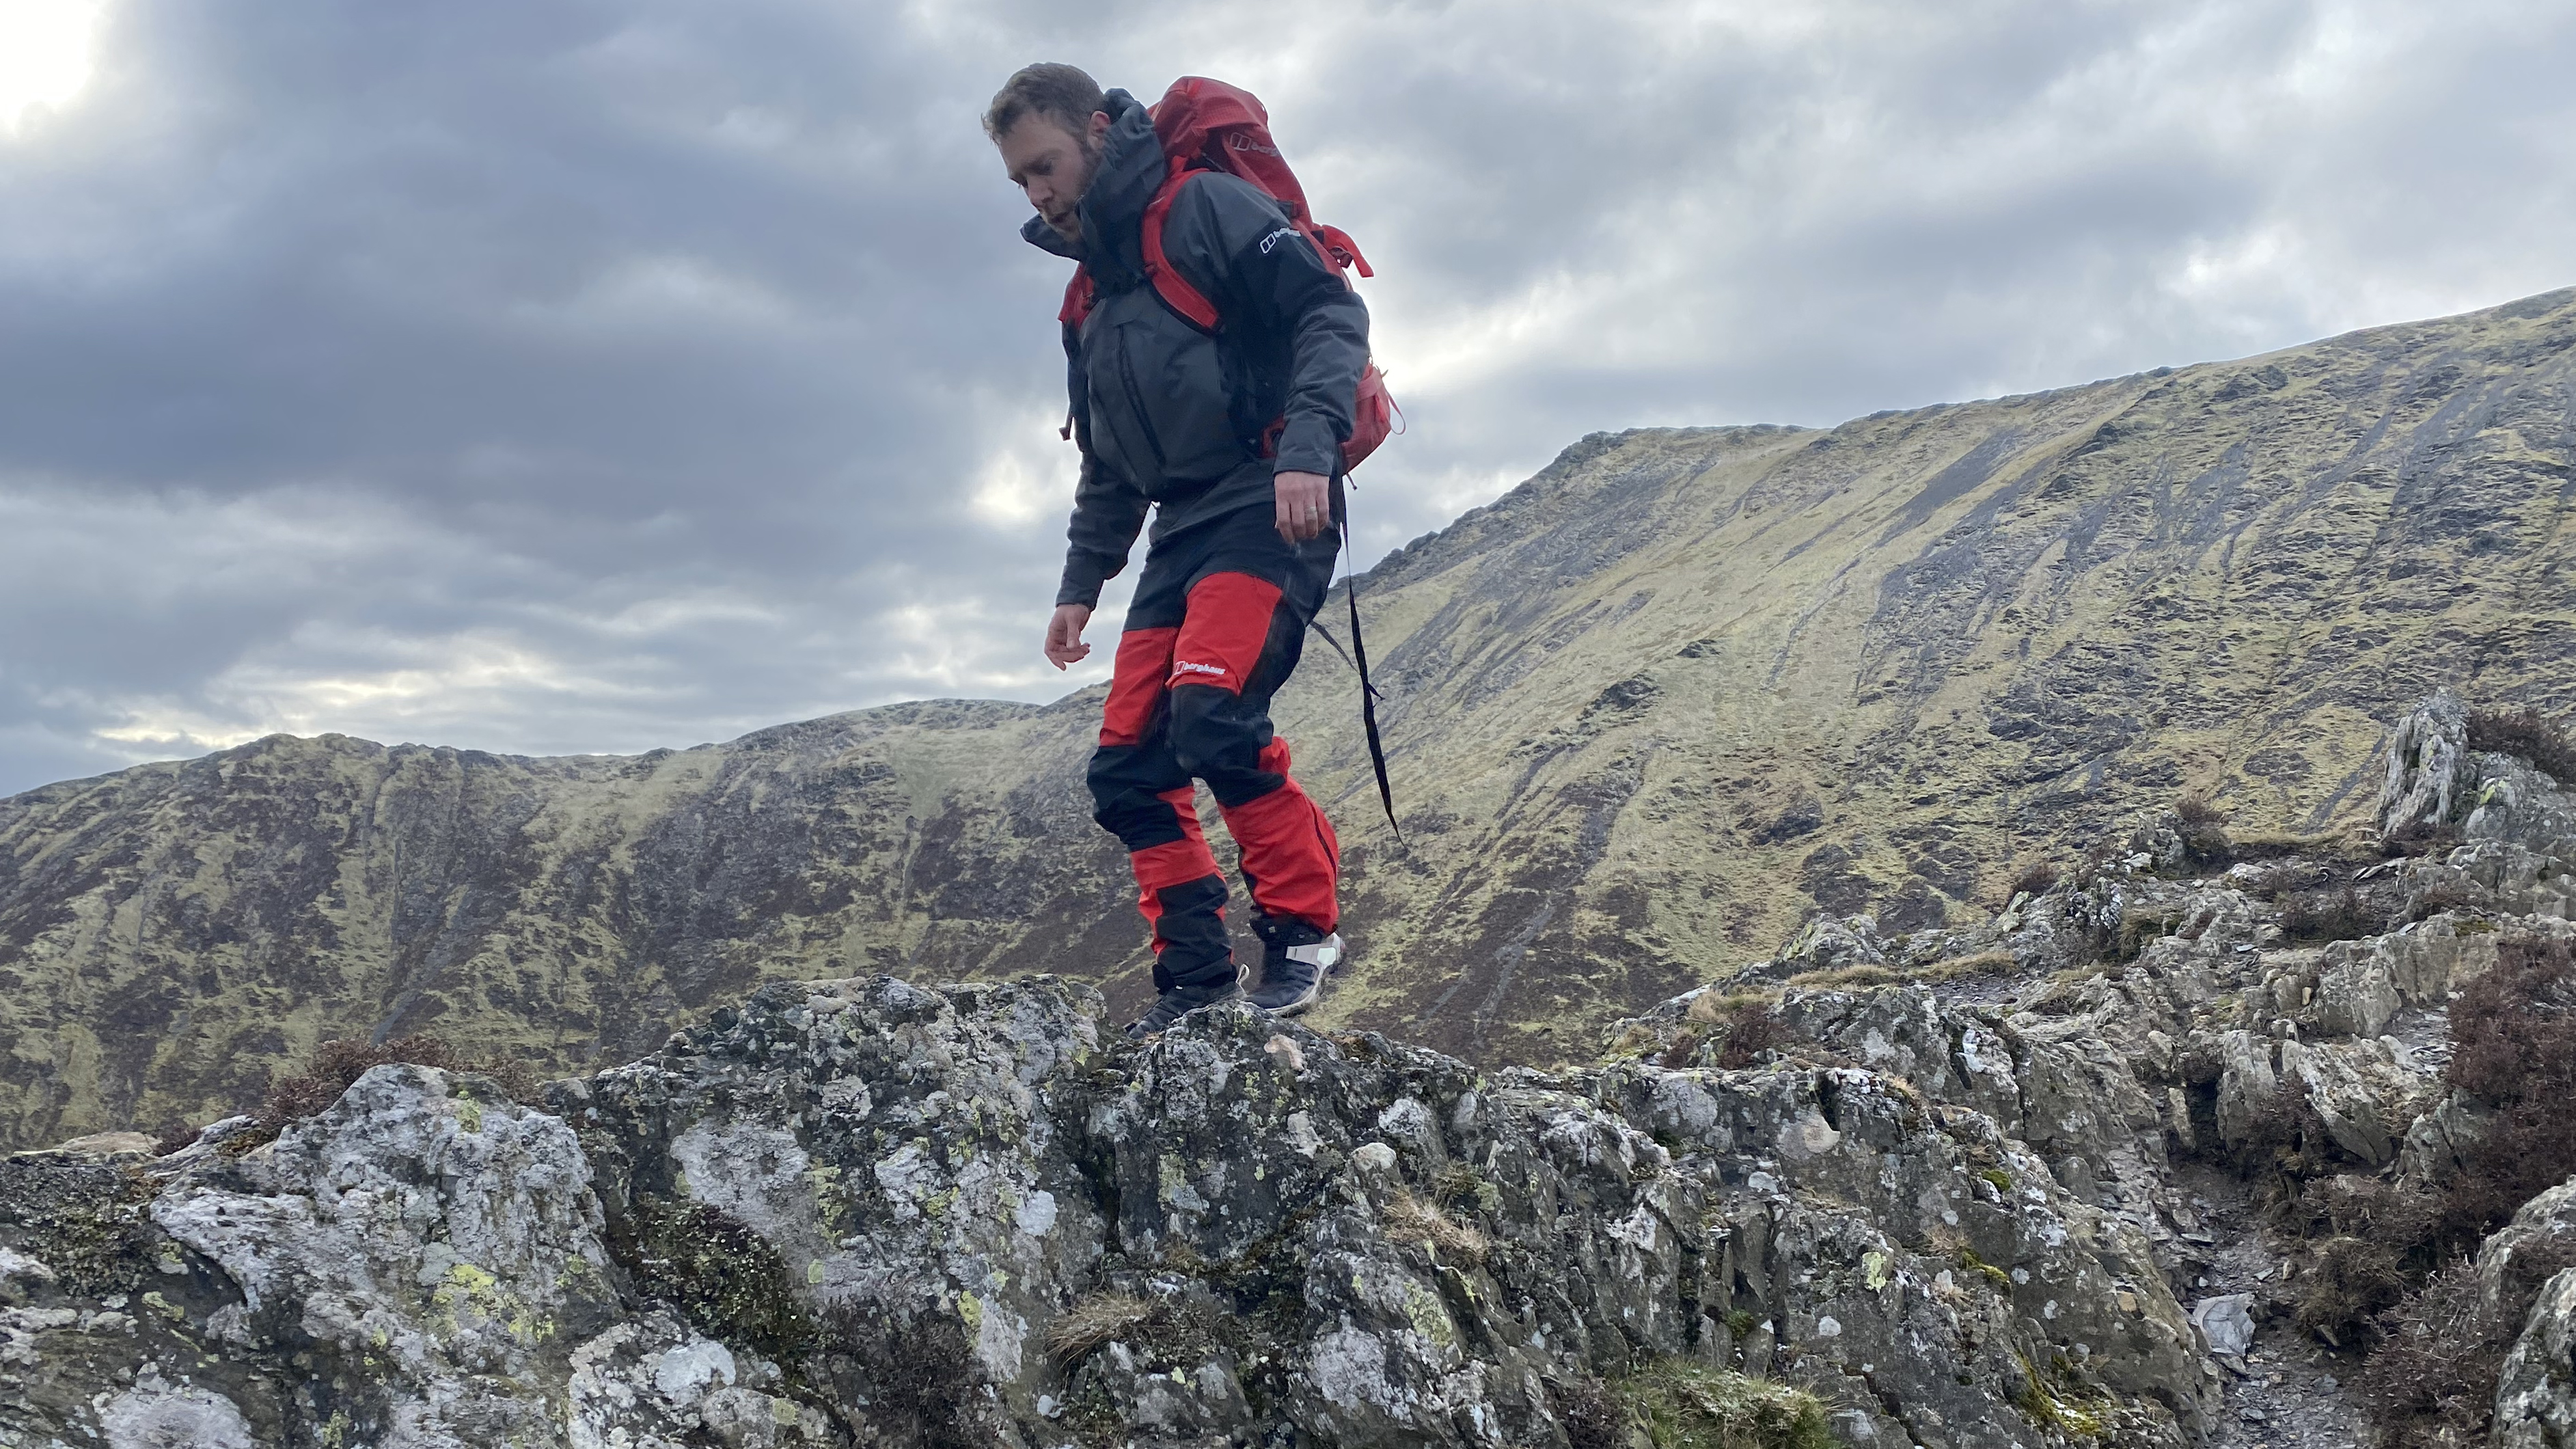
As mentioned, a strong, sudden gust can blow a hiker straight off a mountain ridge, with devastating consequences. These arêtes tend to be exposed places, so it’s likely that they’ll receive the full brunt of the prevailing winds. I’d always advise waiting for calm days with wind speeds of 25mph or less for taking on a narrow ridge. Pay attention to the stated speed of gusts in the forecast.
4. Choose the right footwear
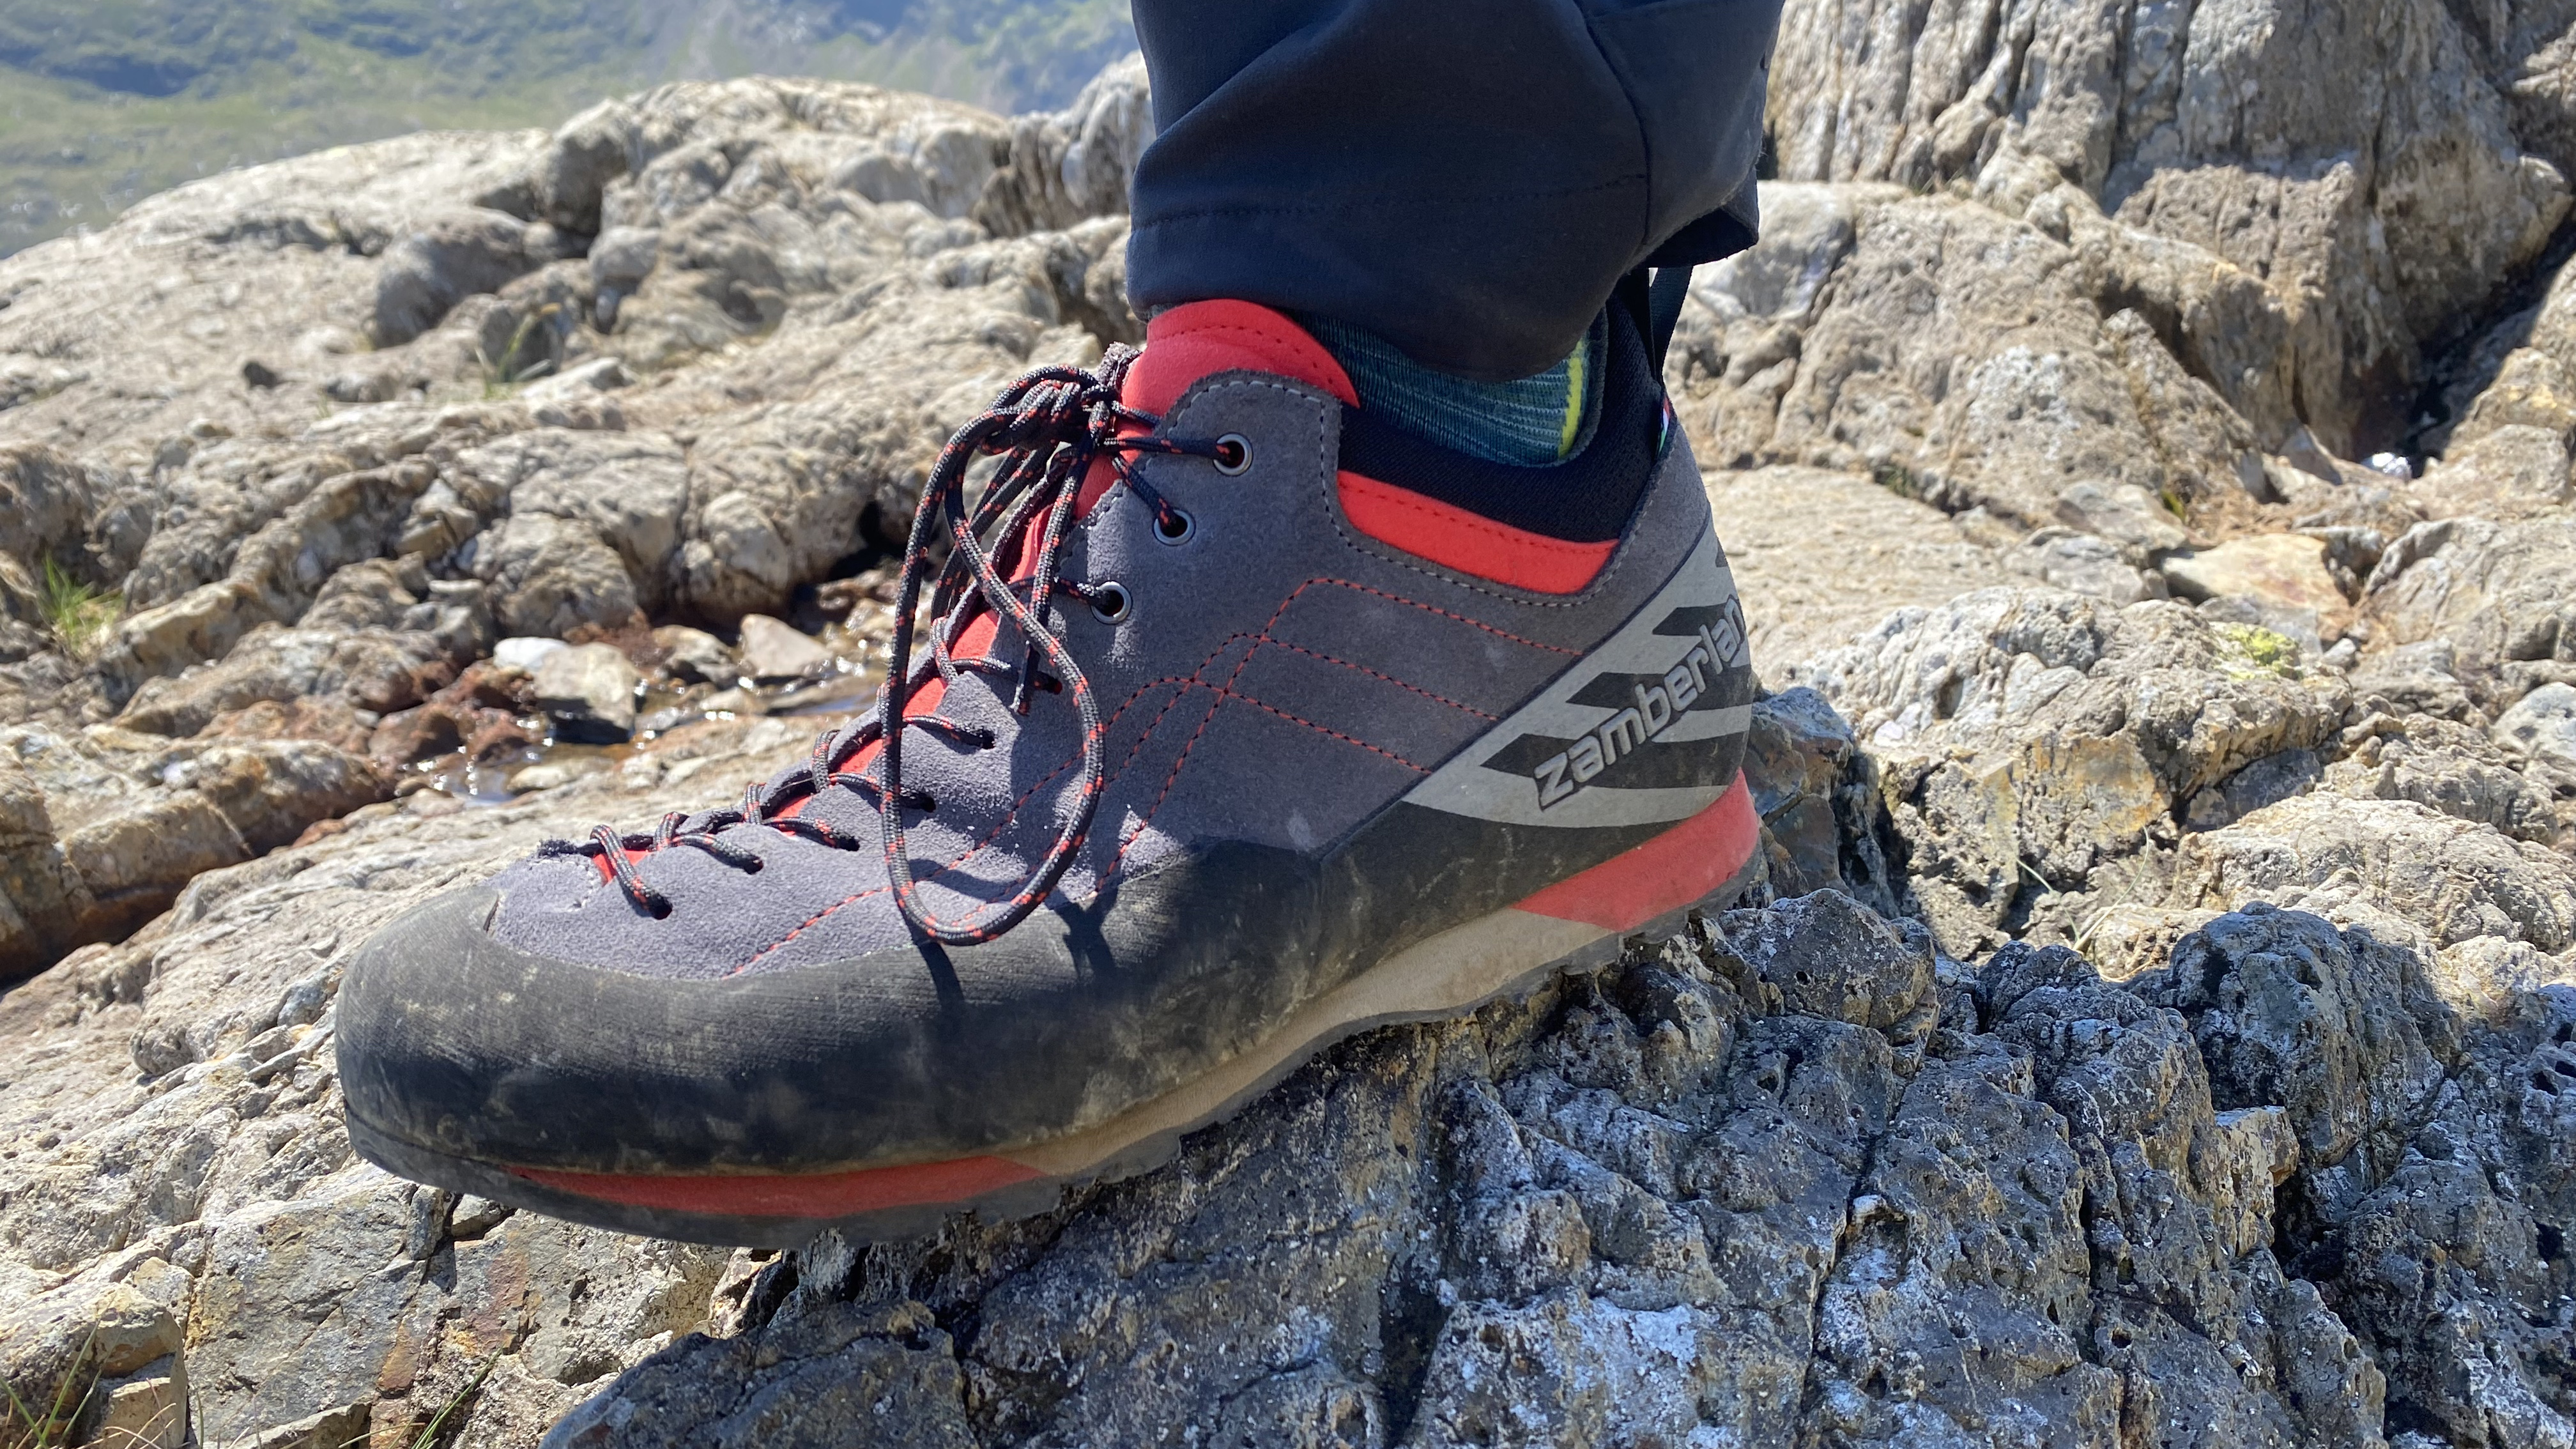
Sturdy hiking boots, approach shoes and mountaineering boots are all designed to grip scrambling terrain with aplomb and are the ideal footwear for ridge traverses. They tend to have a stiffer sole than other forms of outdoor footwear, providing a better hold when edging – a climbing term that describes the action of having only a small part of the shoe in contact with the rock. Meanwhile, their grippy rubber outsoles provide traction when smearing. Cheaper hiking shoes and trail running shoes won’t provide the same security and performance on rock but will be fine on ridges that involve nothing more challenging than standard hiking.
It should go without saying that mountaineering equipment is probably required in winter conditions. Mountain ridges that are serious enough to pose a risk of falling from pretty much always require an ice axe and crampons, with the skills and knowledge of how to use them. Microspikes and similar traction devices are better than nothing but are unlikely to be up to the task of the steep ground often faced on these sorts of traverses.
5. Never push your grade in challenging conditions
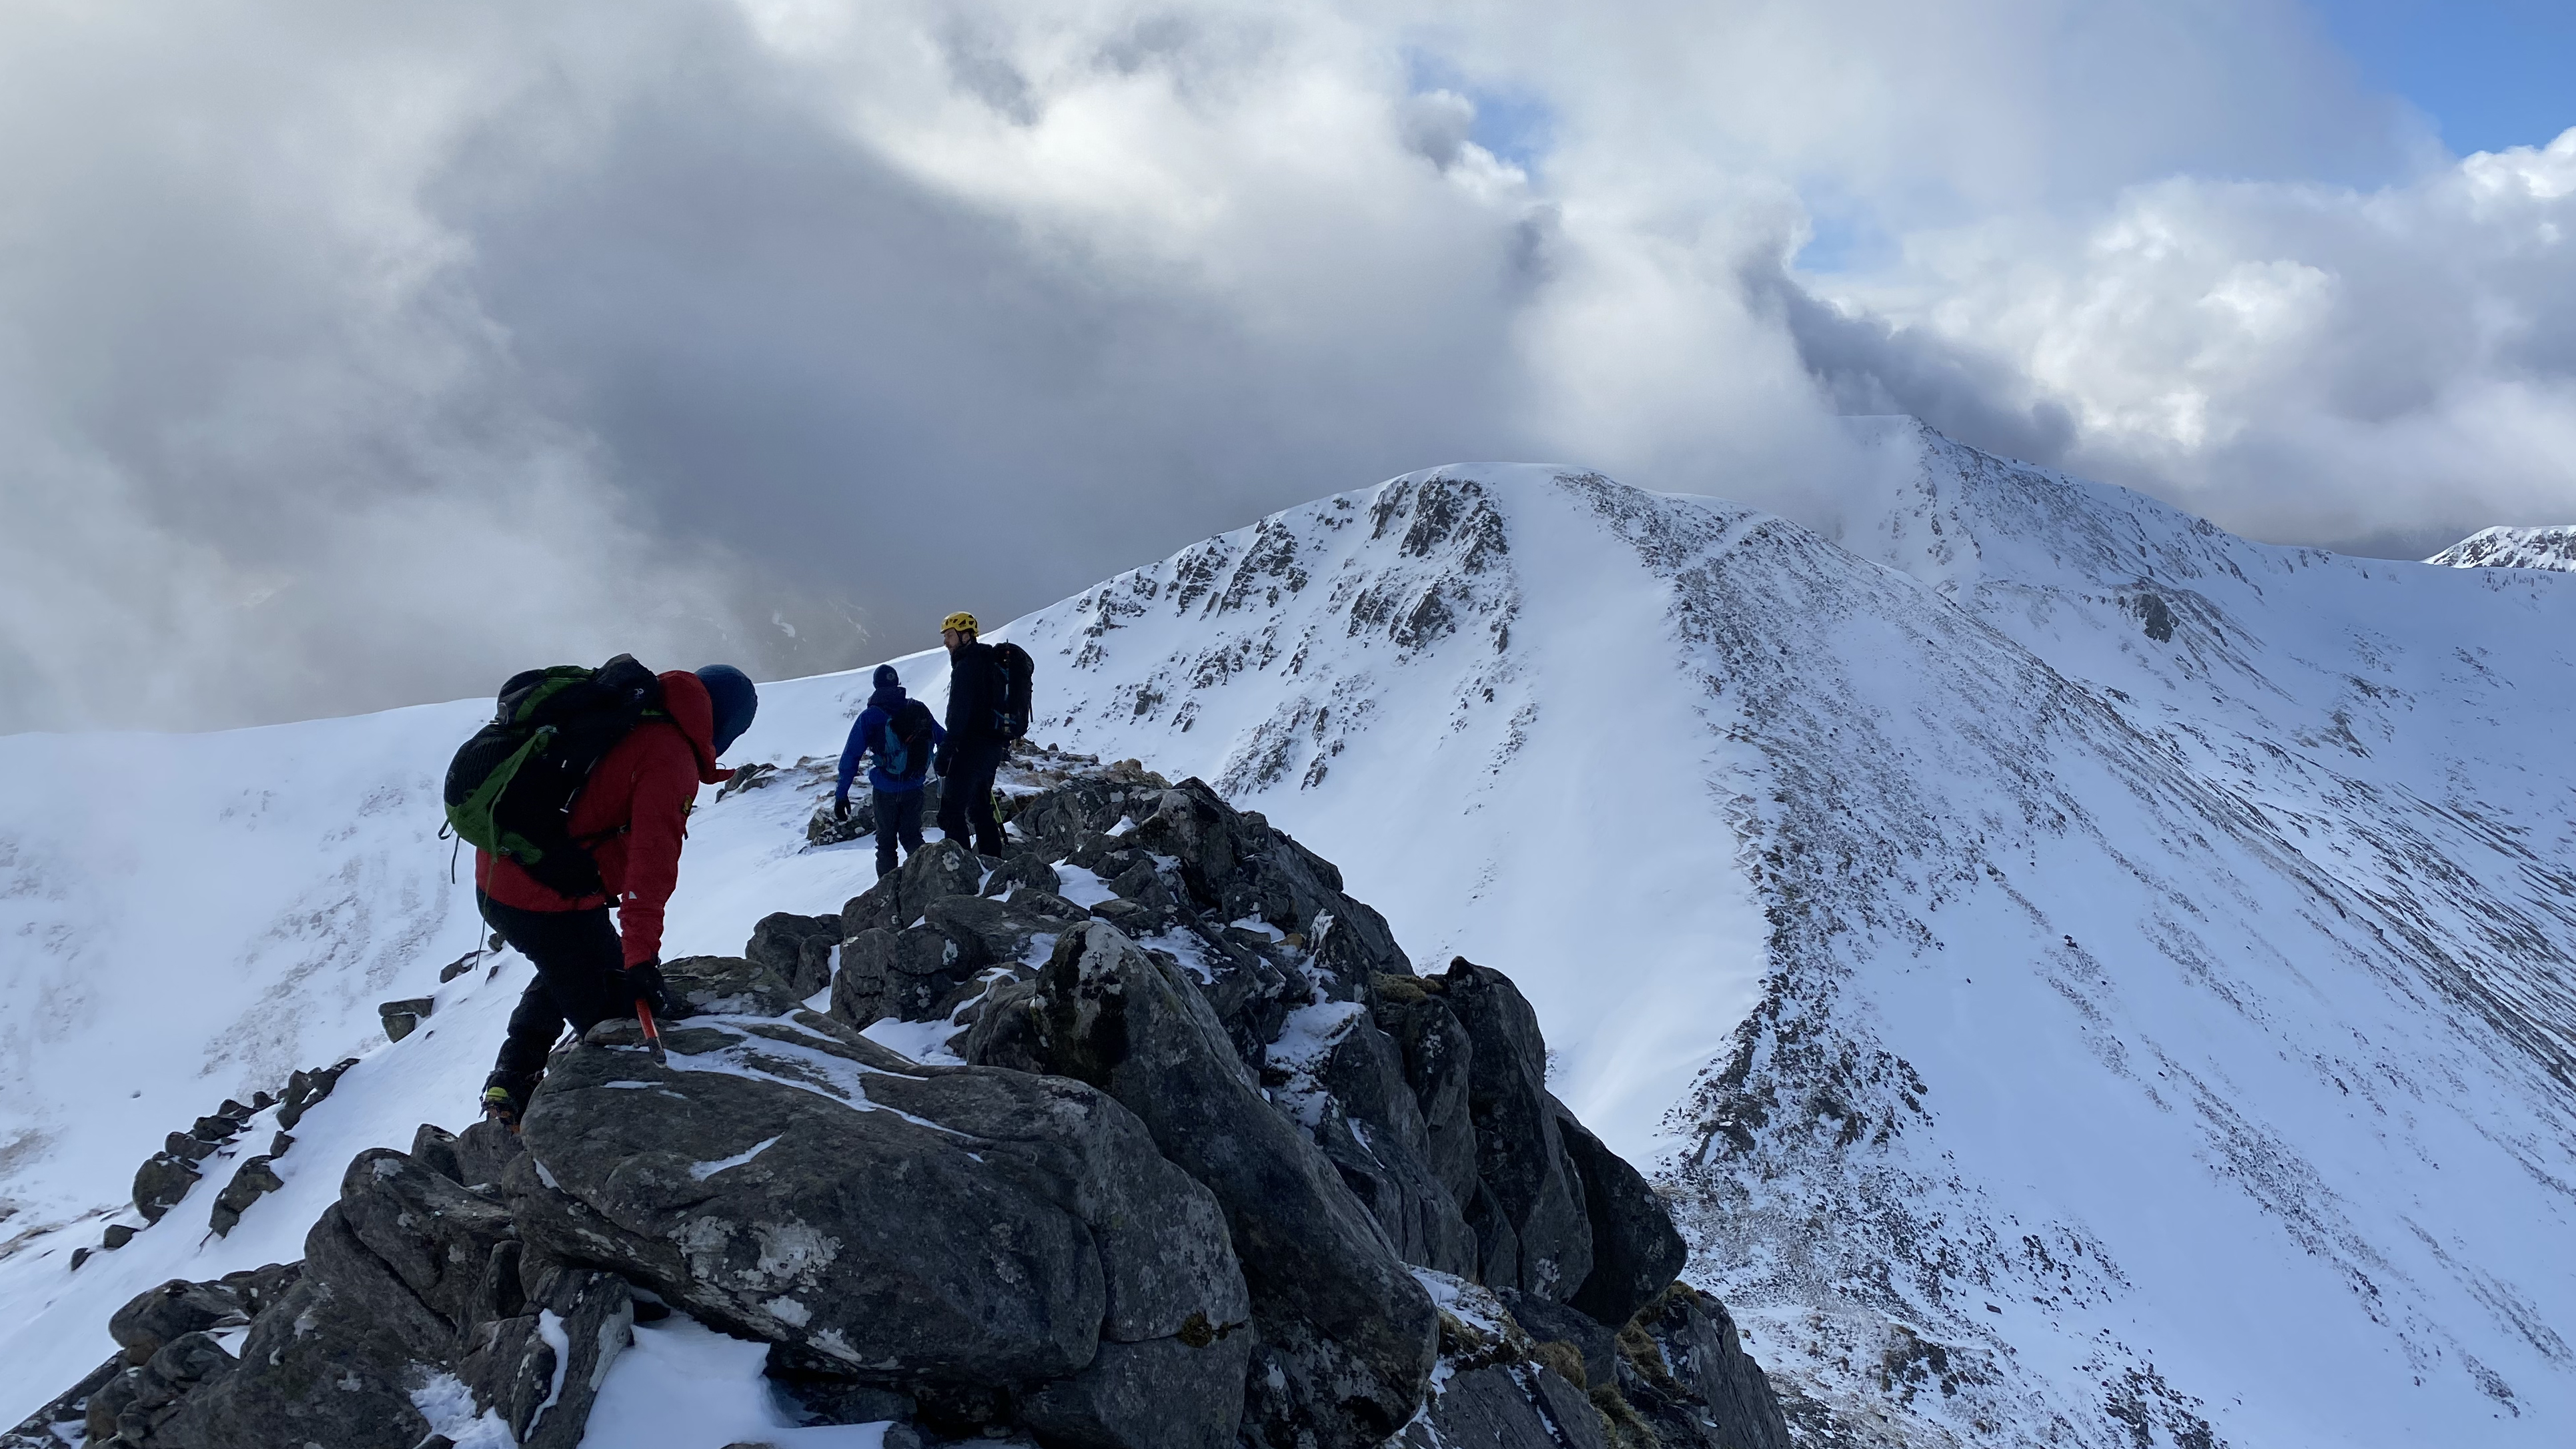
There’s no mountain police: you can go where you like. No one is going to stop you heading out to attempt an ambitious route and pushing your grade in the process. That's a personal decision. It's in this way that we expand our personal comfort zones, allowing us to consider ever more exciting and demanding routes in the mountains.
However, one piece of advice that I’d always give is not to up the ante when the conditions are against you.
As an example, if you’re eying up a grade 3 route having successfully completed a grade 2, wait for conditions to be on your side. I once had a bit of an epic on a route in Wales’ Eryri National Park on a route that was a summer grade 1 but became a winter grade 2/3 under snow and ice. Don’t underestimate the jump in difficulty that adverse conditions can bring.
6. Do not climb anything you would not be confident downclimbing
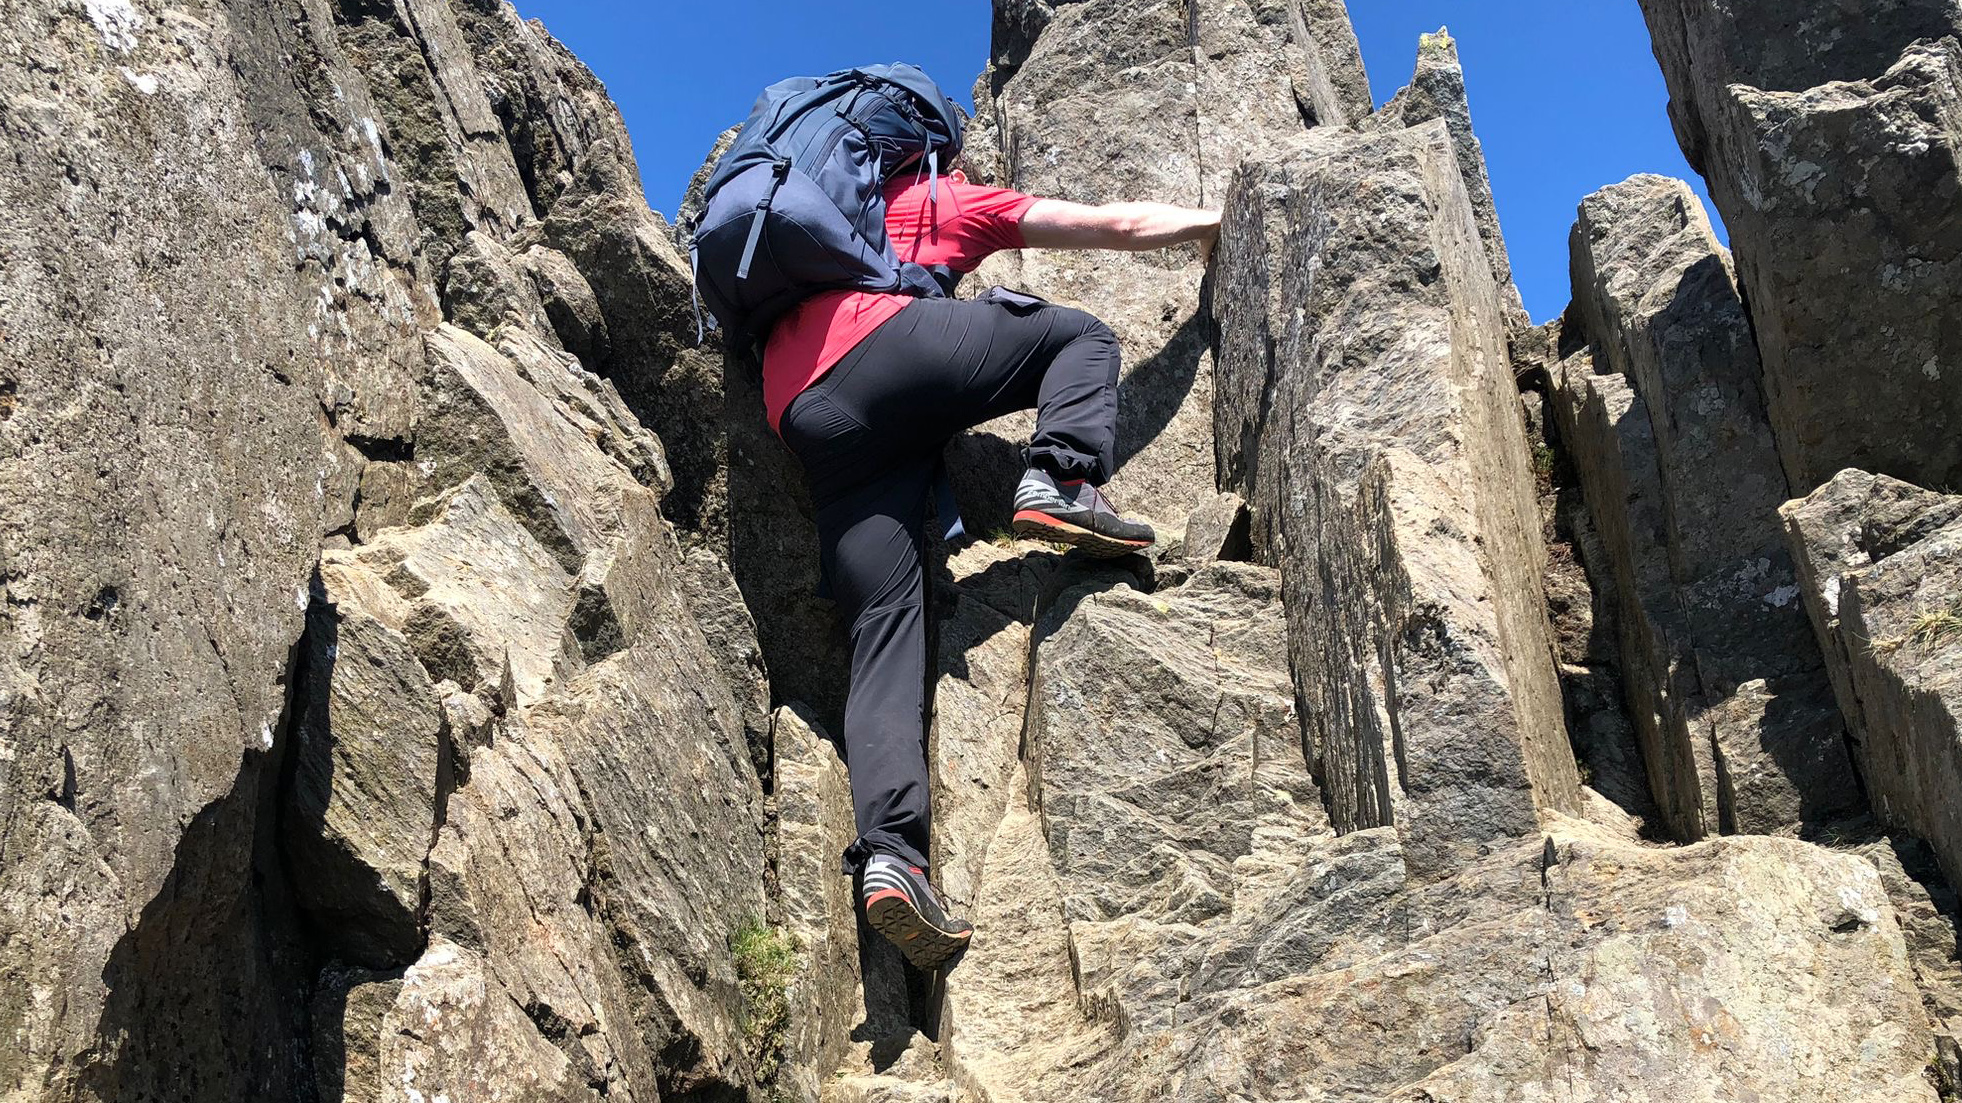
Mountain Rescue are often called out to people who climb themselves into a trap, too afraid to continue and daunted by the prospect of downclimbing a tricky section they’ve just come up. After all, climbing downwards is generally more difficult than climbing upwards. On some ridges, it’s possible to stray off the easiest route and end up on something much harder.
With this in mind, never climb a section that you wouldn’t be confident downclimbing, especially if you’re unsure of whether or not you’re following the correct line. Again, this is where researching your route beforehand comes into play. It’s better to make committing moves when safe in the knowledge that you’re on the right track. This is one of the reasons why having details of the route with you in guidebook form is a good idea.
7. Hire an instructor
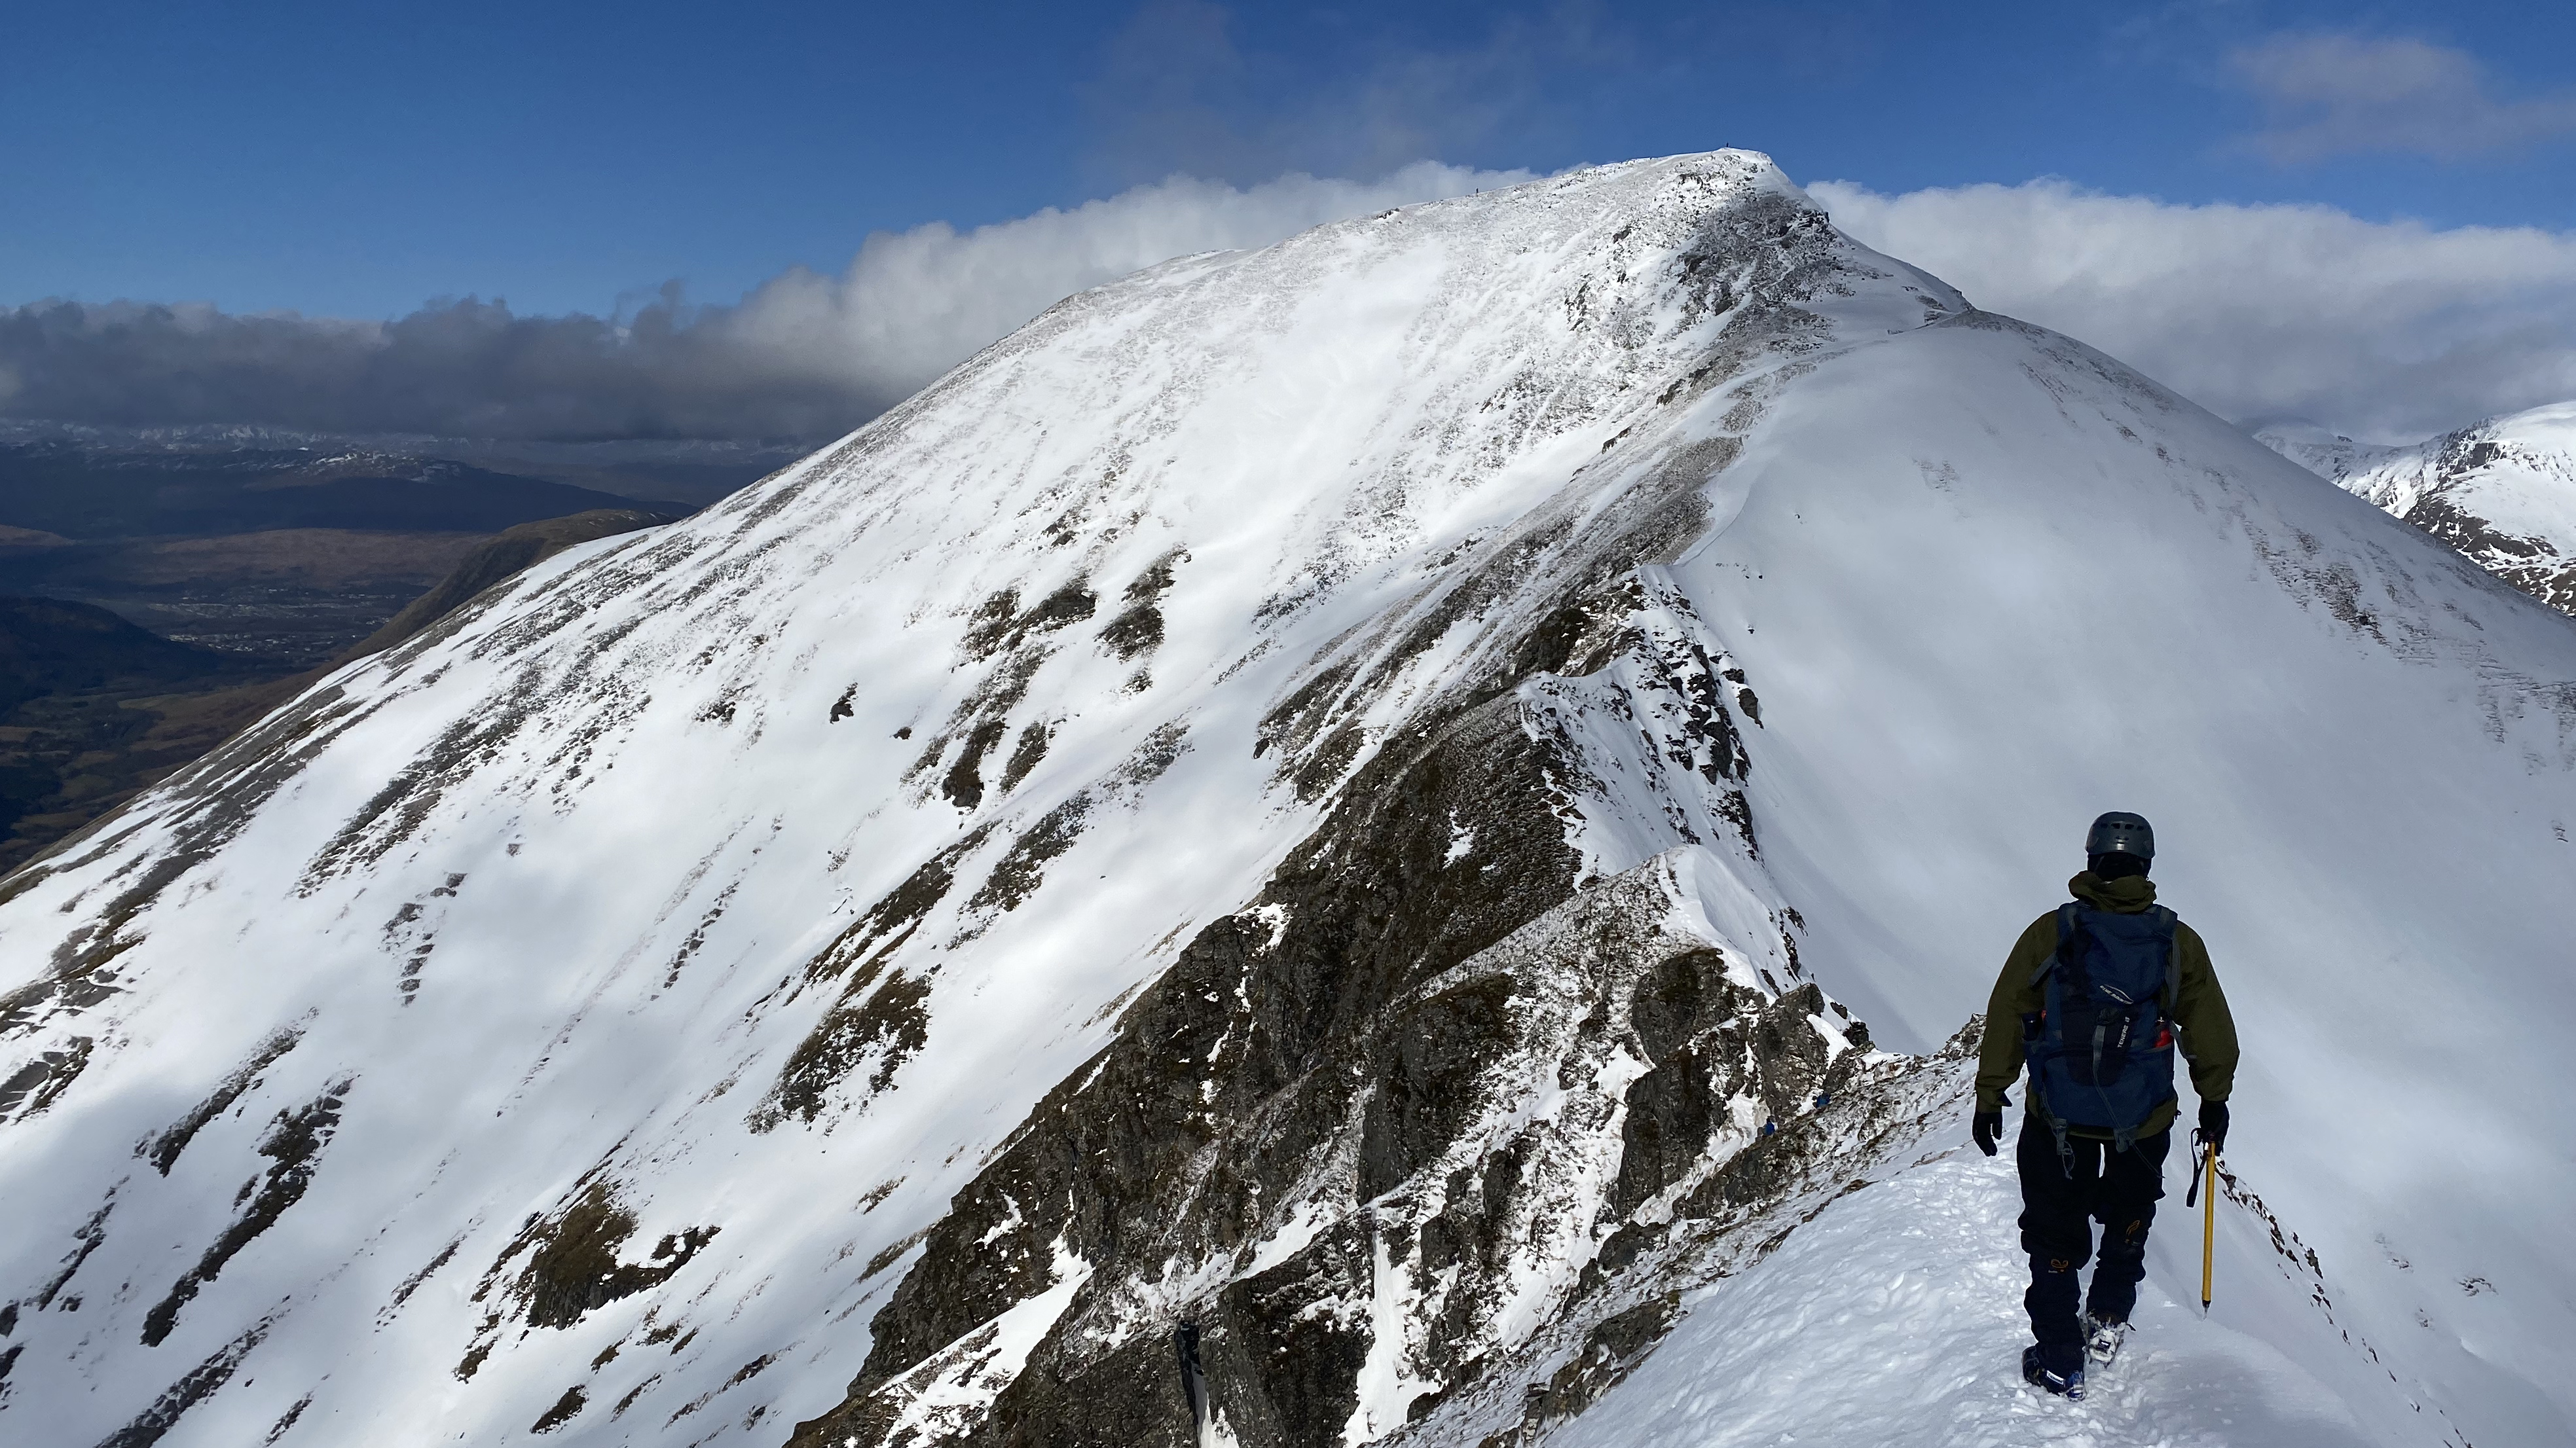
If there’s a route that you’re hankering to take on but you’re worried you don’t have the experience, skills or equipment to tackle it safely, hiring a mountaineering instructor is the way to go. Not only will they see you safely across, but they’ll be also able to teach you the advanced skills you’ll need to be more independent next time around.
Instructors and guides are absolute fonts of knowledge on their local mountains and you’ll likely learn loads that you wouldn’t have simply by heading into the hills on your own or with friends. Having a guide at your side also removes the stress of route finding, allowing you to fully concentrate on the enjoyment of the traverse.
8. Know how to call for help
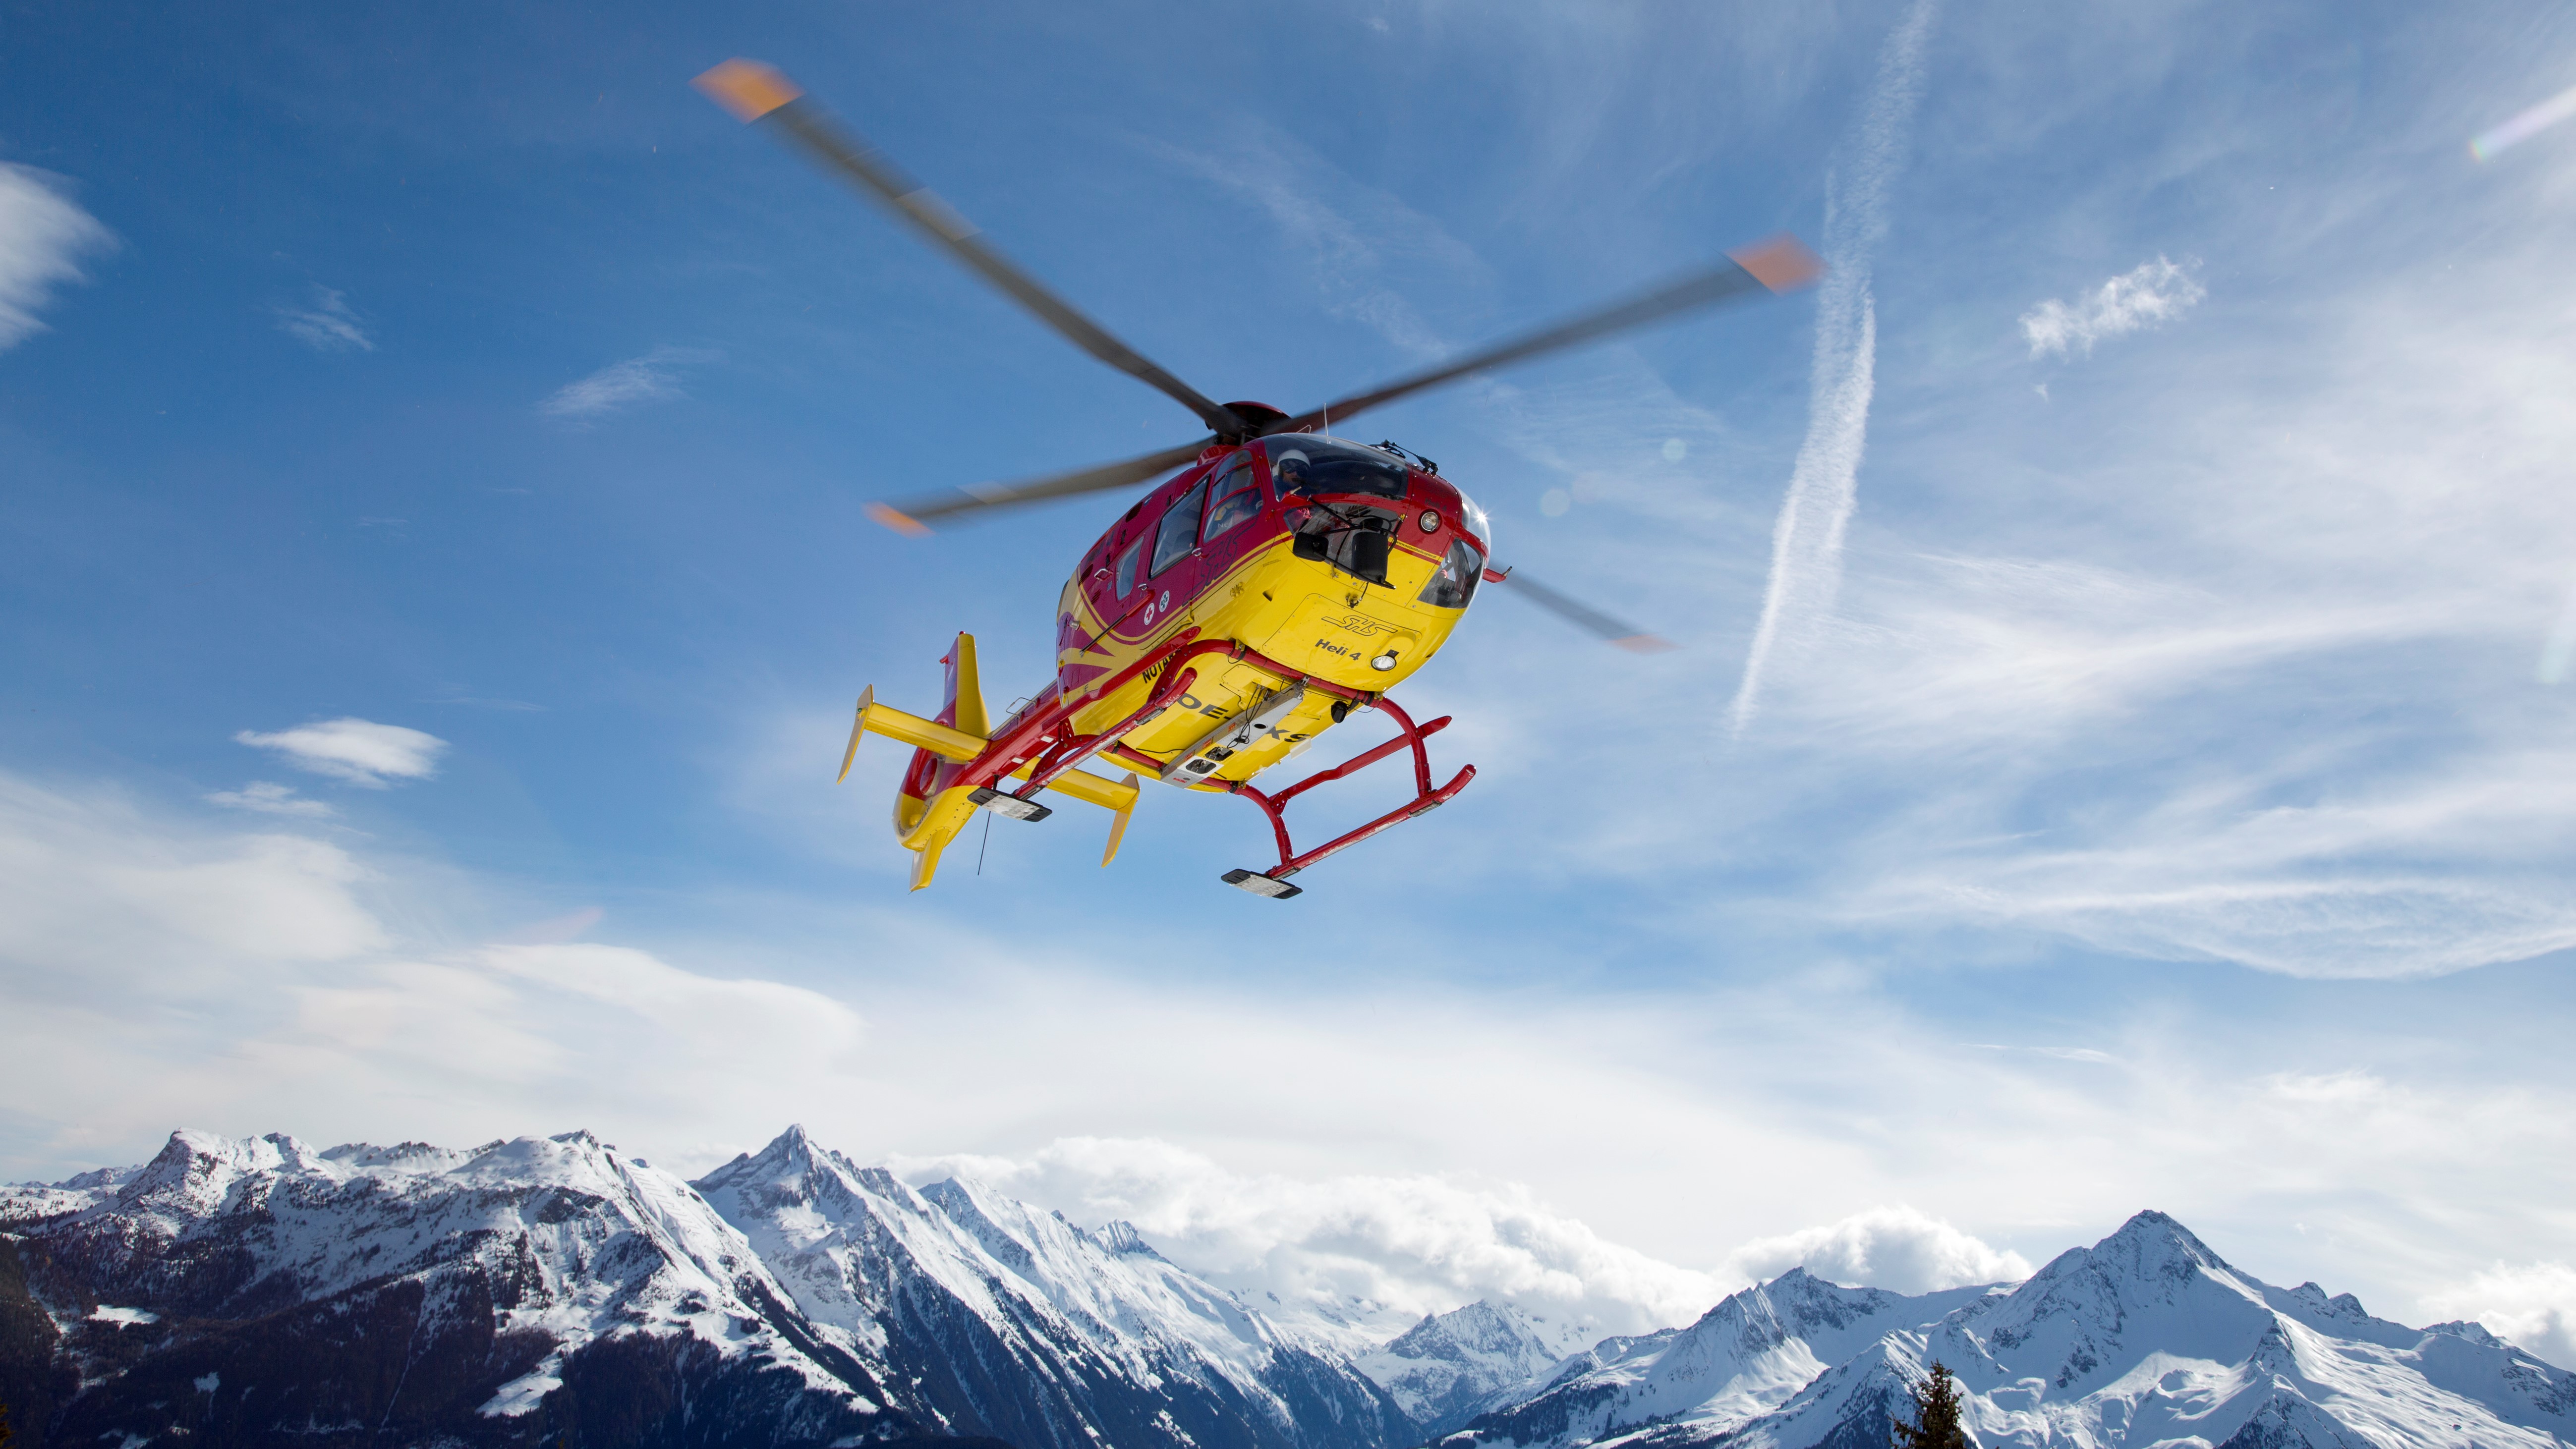
Should the worst happen and an emergency occur, knowing how to call Mountain Rescue is key. See the link in the previous sentence for specifics on how to do this in different parts of the world, but generally when you get through to Mountain Rescue they’ll ask for the following details:
- Location (ideally with a grid reference). On high mountains, you will also be asked to give an approximate altitude.
- Name, gender and age of the casualty.
- The details of the emergency and suspected injuries sustained.
- What the weather conditions are like.
- The number of people in your group.
- Your contact details.
If you’re unable to get a signal, there are several other ways to call for help in the mountains. Every first aid kit should have a whistle and many backpacks have an integrated one these days. You can also use your headlamp or flashlight to signal SOS with three short flashes, followed by three long flashes and other three short flashes.
9. The mountains will be there another day
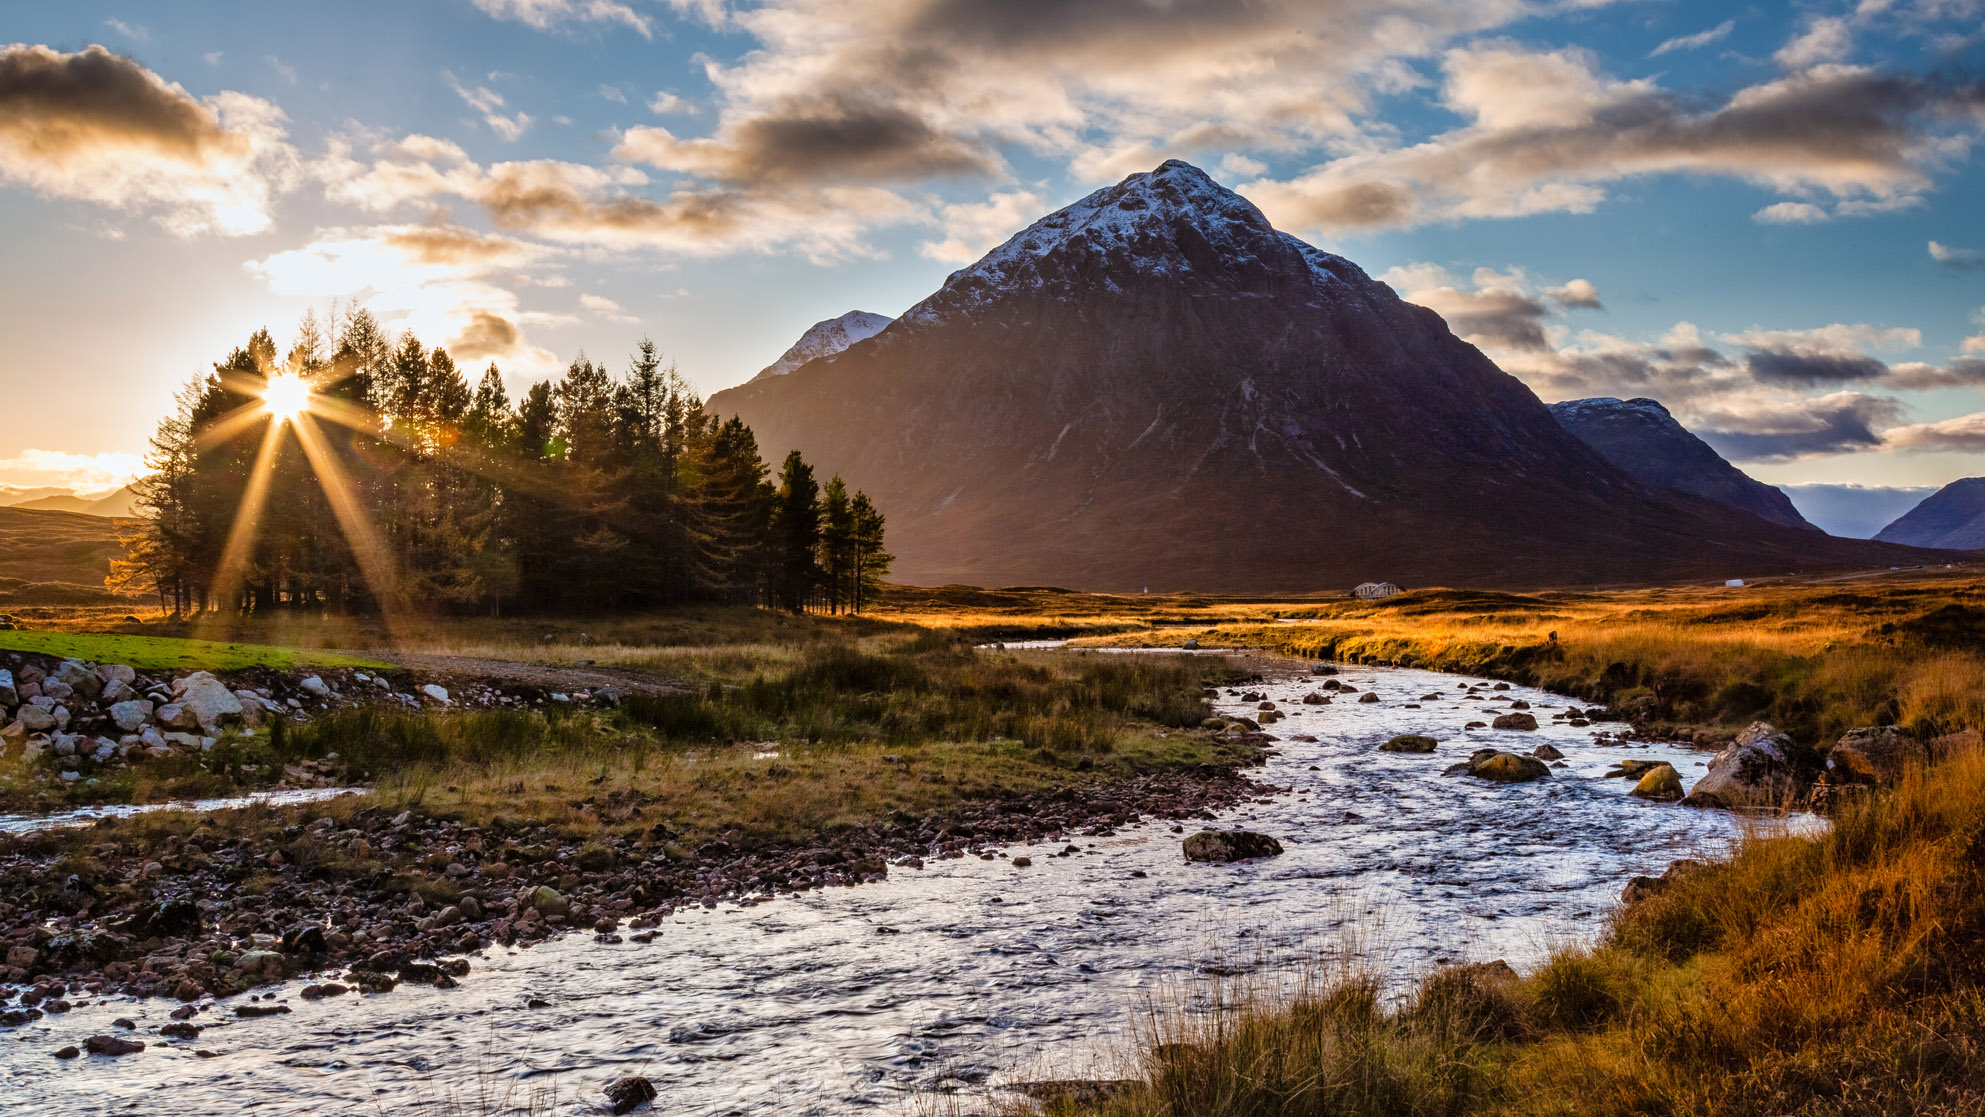
If in doubt – maybe you’re just not feeling it on the day or the weather looks like it’s about to make a turn for the worse – remember that the mountains will be there another day. Don’t hesitate to shift to a Plan B if necessary. As legendary British mountaineer Edward Whymper once said: “Do nothing in haste; look well to each step; and from the beginning think what may be the end.”
Alex is a freelance adventure writer and mountain leader with an insatiable passion for the mountains. A Cumbrian born and bred, his native English Lake District has a special place in his heart, though he is at least equally happy in North Wales, the Scottish Highlands or the European Alps. Through his hiking, mountaineering, climbing and trail running adventures, Alex aims to inspire others to get outdoors. He's the former President of the London Mountaineering Club, is training to become a winter mountain leader, looking to finally finish bagging all the Wainwright fells of the Lake District and is always keen to head to the 4,000-meter peaks of the Alps. www.alexfoxfield.com
