Repairing socks: how to do it quickly and simply
We walk you through repairing socks with an easy-to-follow guide for hikers and runners

If you toss your socks in the trash every time your big toe pops out the end, you're definitely not alone, but repairing socks is absolutely possible for runners, hikers and anyone who’s rubbing holes through their socks at a rate of knots. Specialist socks like your best hiking socks can be pretty expensive and it seems a waste to throw them away when, perhaps, you could mend them. Some sock brands guarantee their socks for life and will replace or repair any pair you break. But if, like me, you get rather sentimental about your socks, it’s definitely worth trying to repair socks, rather than buy a new pair. Think about everything you’ve done together, how many hundreds of miles and countries, the fun and suffering that you’ve shared together. Convinced? Hugging your holey socks like they’re a favorite childhood teddy bear? Then let’s begin.
How to repair holes in socks

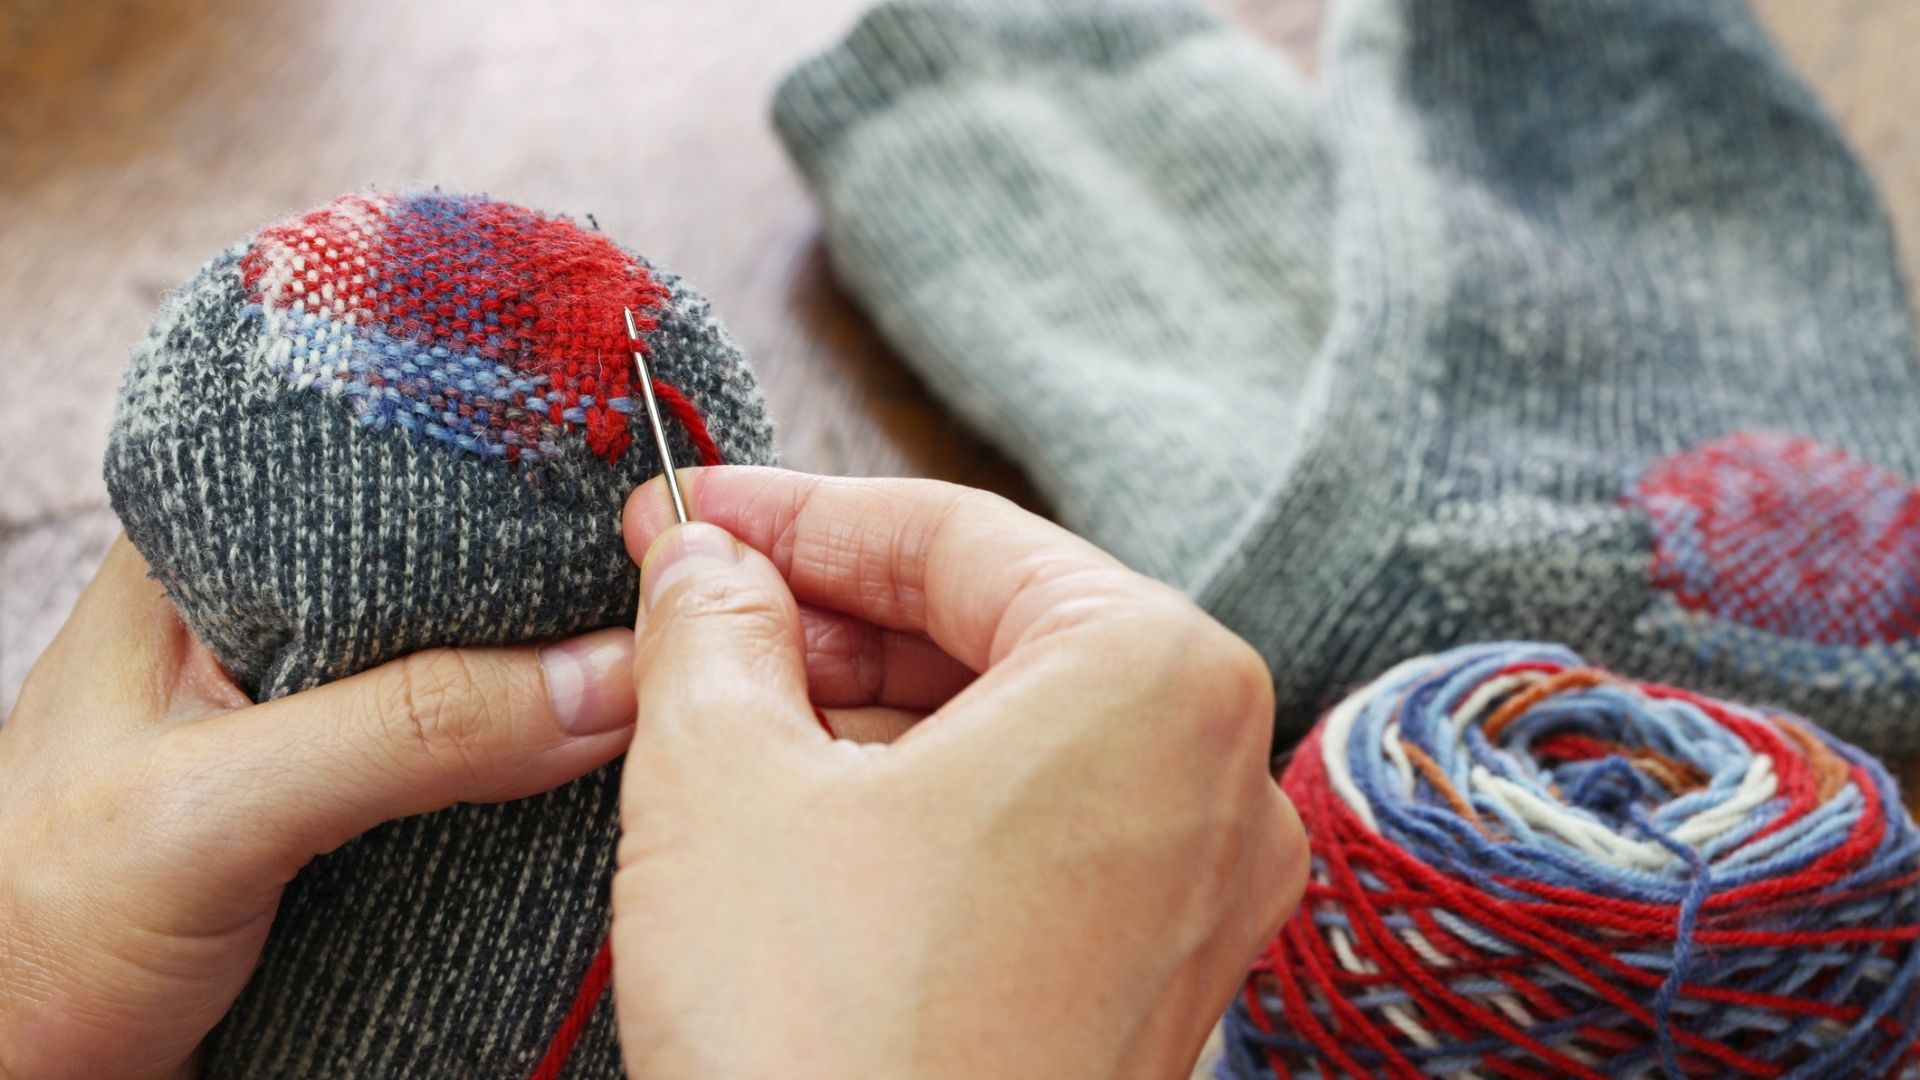
To repair socks, AKA darn a sock, you’ll need a needle and thread. Darning needles do exist, but you can use anything really as long as your chosen thread fits into the needle’s eye. The thread should be thicker than sewing thread – as close as possible to the original thickness and material that your sock is made of. A better match makes a more comfy repair.
You’ll also need the sock in question and something called a darning egg or darning mushroom. These are specially shaped for keeping the shape of socks as you darn and are traditionally made of wood. But, assuming you don’t own one of these, anything hard and convex that fits inside the sock and is bigger than the hole, will do. Tennis balls, golf balls, jam jars, and pebbles can all work, depending on the size of your hole. Equipment assembled, it’s time to repair the hole in your sock:

1. Prepare your sock
Turn your victim - I mean, sock, inside out. Put your darning egg inside the sock and position it across the hole.
2. Prepare your thread
Thread your needle. Make sure not to tie a knot in the thread, just leave enough tail when you start sewing to be woven in later.
3. Start stitching
Now, start stitching from one corner of the hole, let’s say bottom left but you can start at any corner. Sew a couple of stitches in the sock and then leave a trailing thread over the gap of the hole. Then sew a couple more stitches the other side of the hole. Stitch back and forth, each row parallel to the next, until you have covered the hole.
Next, turn the sock by 90 degrees and repeat. When you get to the trailing threads over the hole, thread your needle in and out of them, like you are weaving. Again, complete parallel rows from one side to the other until you’ve completed a second pass across the hole. Weave the thread back on itself a little before cutting. Don’t tie a knot or it will rub on your foot when you wear it.
All the latest inspiration, tips and guides to help you plan your next Advnture!

4. Wear your sock
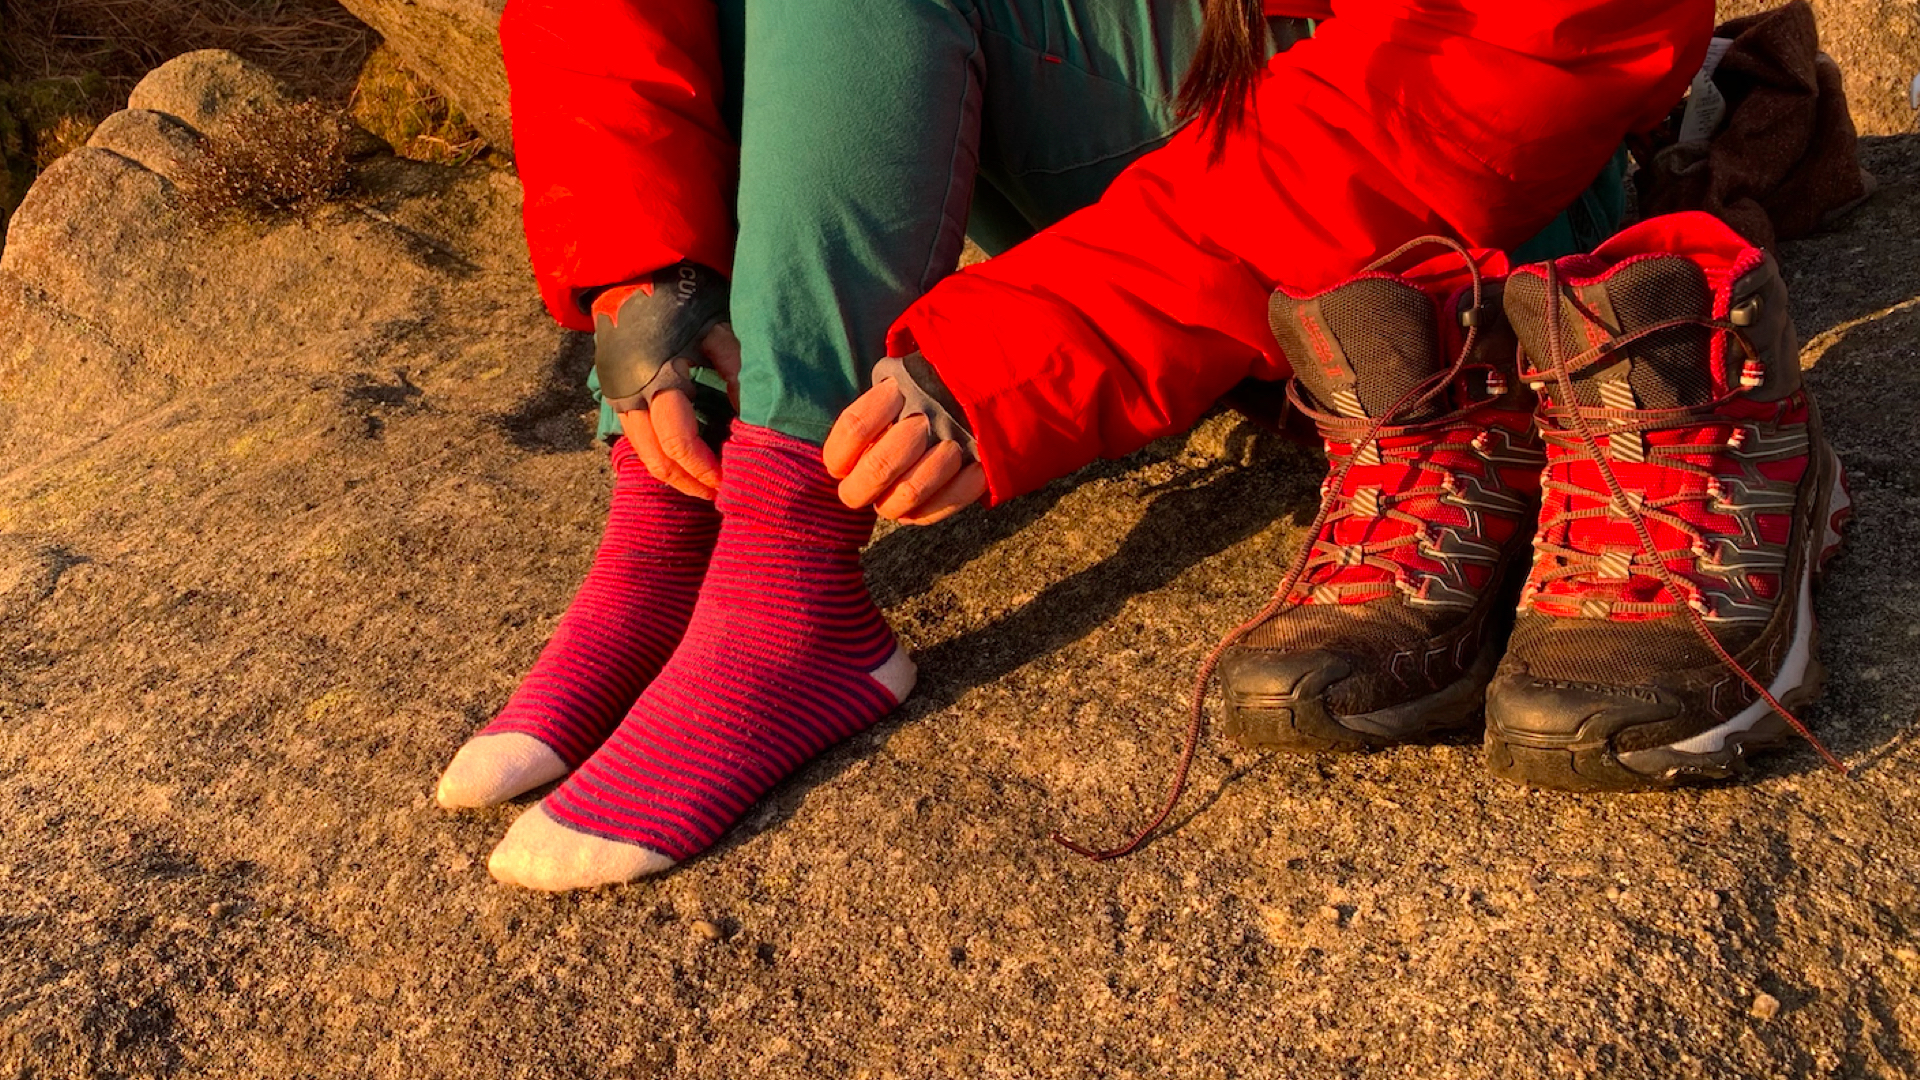
And you’re done! You should be left with a tightly woven fabric, reinforcing and repairing that pesky sock hole. Take out the darning egg, turn the sock back to the right way out and wear with pride under your favorite hiking boots or trail running shoes.
An adventure writer based on Dartmoor, England, Emily is an active member of Mountain Rescue and a summer Mountain Leader, but loves all things adventure – before her third birthday she had lived on three continents. Founder of Intrepid magazine, she works to help break stereotypes about women in the outdoors. Her expeditions have included walking all Dartmoor’s 119 tors in a single two-week outing, cycling to Switzerland and back, and riding the Rhine from source to sea.

