How to put crampons on: a step-by-spiky-step guide
Our mountaineering expert provides a step-by-step guide on how to put crampons on for your winter walking and alpine adventures this winter
- What are crampons?
- Get the right crampons for your boots
- Practise putting them on before heading out
- Know when to put them on
- Find a suitable spot
- Place crampons so that they’re easy to step into
- Step into the crampon and clip in at the heel
- Thread the straps through the binding system
- Do a visual inspection and give them a test
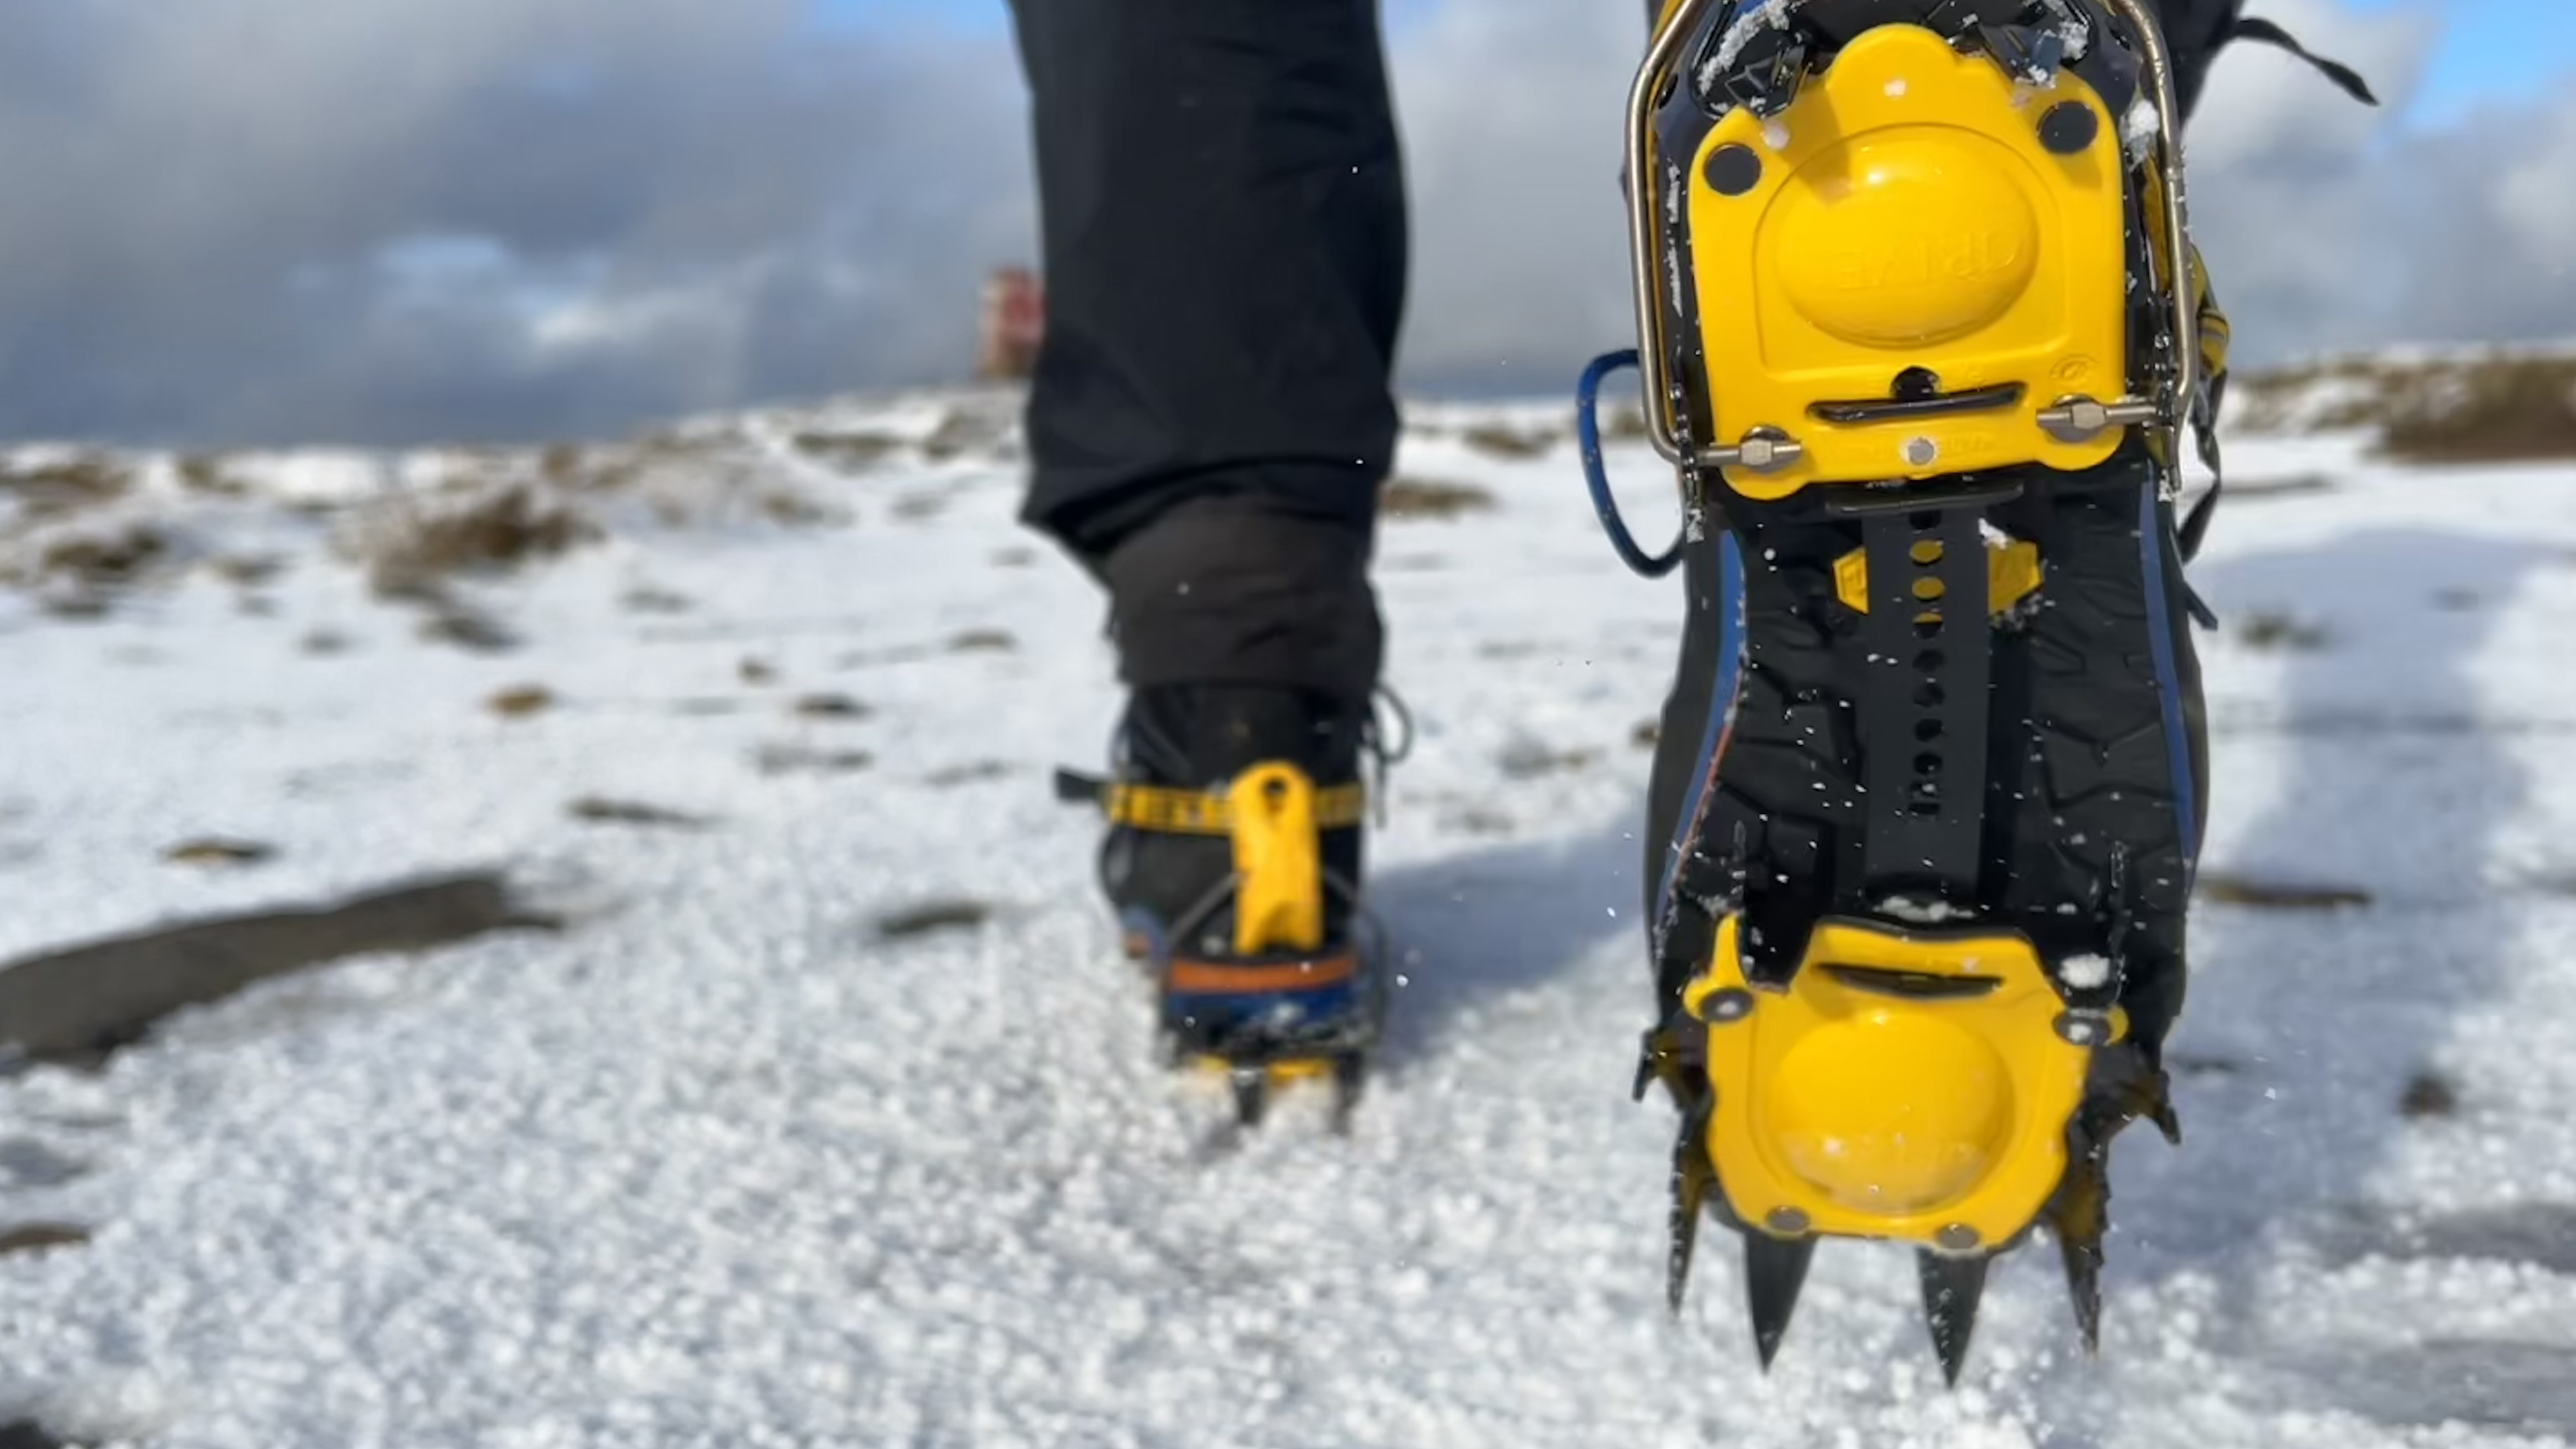
Crampons are essential tools for mountaineers and alpinists, providing the wearer with unbeatable traction on steep, icy terrain. However, as is the case with an ice axe, simply having crampons doesn’t make your wintry adventures any safer – you have to know how to use them properly. That all starts with how to put them on.
Over the years, we’ve seen plenty of people lose a crampon halfway into a mountaineering route. In these cases, it’s likely that the device wasn’t fitted correctly and, fortunately, it’s usually happened on relatively forgiving ground without serious consequences. While it’s true that we all learn from our mistakes, trust us when we say that you don’t want to lose a crampon on committing mountain ground. Knowing how to put crampons on properly from the get-go is the best way to stay safe.
In this step-by-step guide, one of our mountaineering experts takes us through the process – from selecting the right crampons in the first place to securely attaching them to your footwear.
How to put crampons on
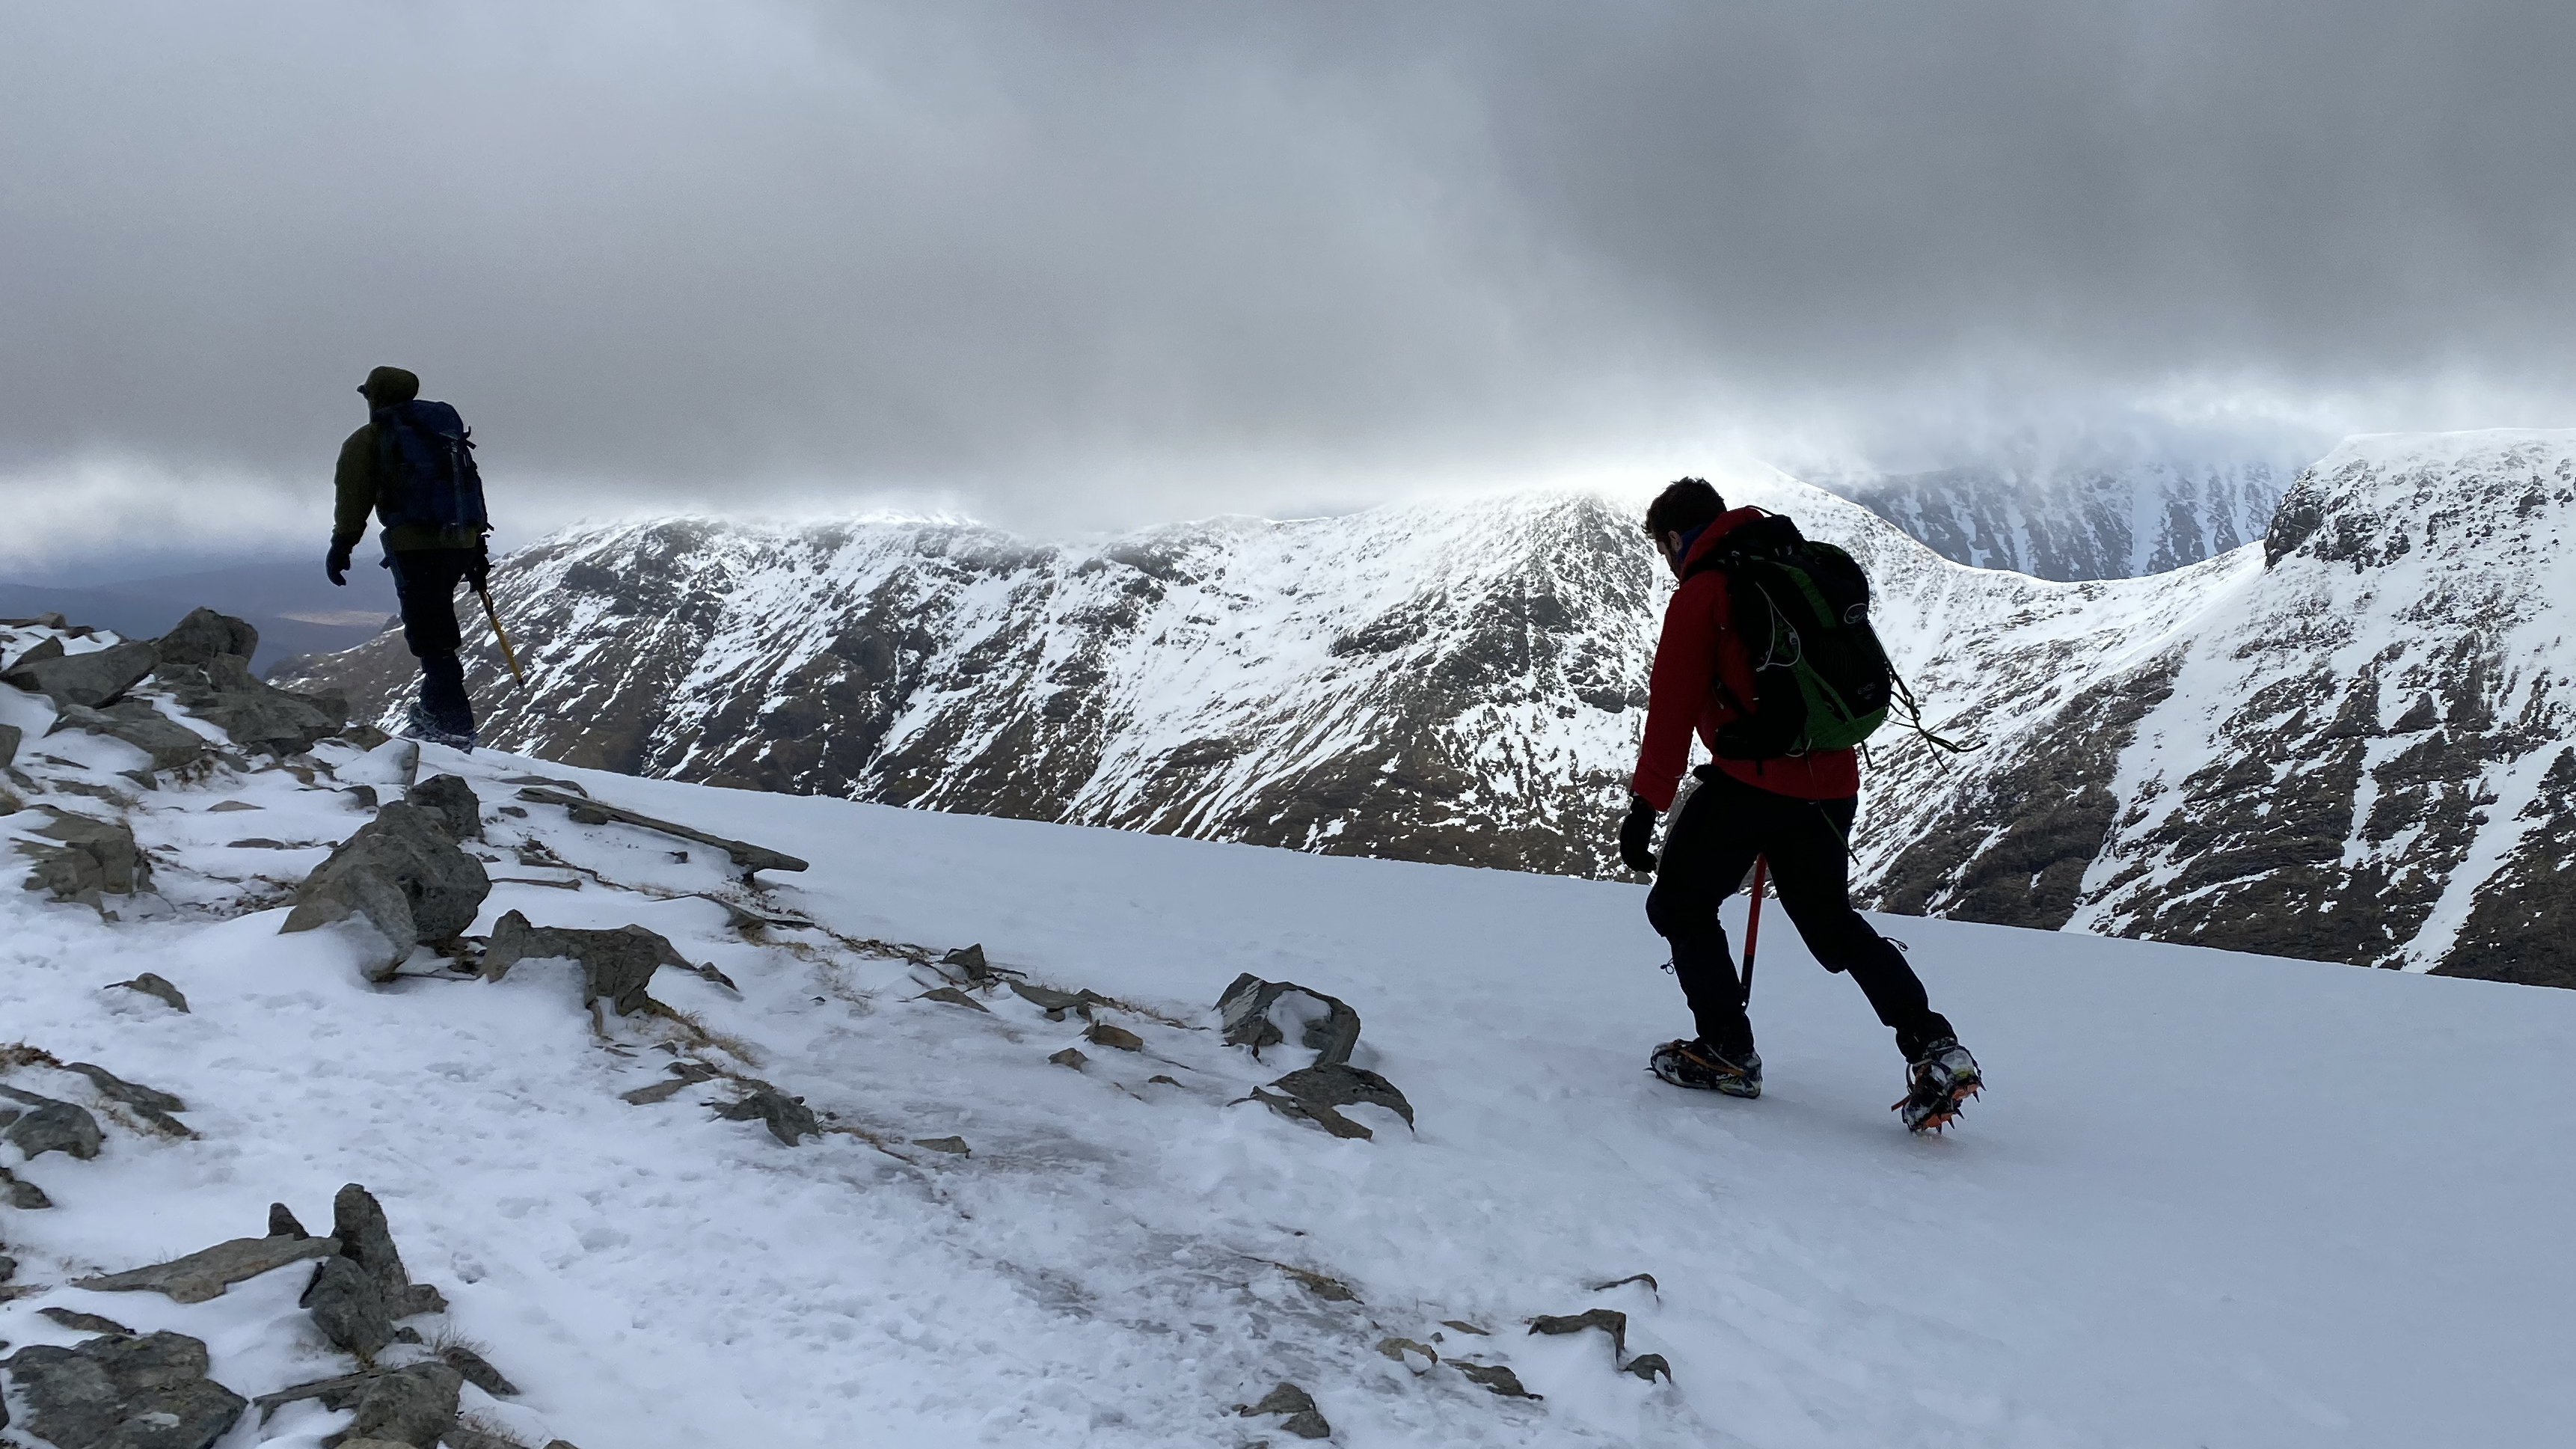
Here are the 8 steps you should take when putting crampons on. For more about each step, click on the links below or scroll further down the guide.
1 Get the right crampons for your boots: crampons are only compatible with certain types of boot.
2 Practise putting them on before heading out: you don’t want to be faffing around too much while halfway up a snowy mountain.
3 Know when to put them on: you only really need crampons when venturing into steep, icy terrain.
Advnture Newsletter
All the latest inspiration, tips and guides to help you plan your next Advnture!
4 Find a suitable spot: you’ll want a relatively flat area to put your crampons on.
5 Place crampons so that they’re easy to step into: open up the binding system and place the crampons slightly uphill of yourself.
6 Step into the crampon and clip in at the heel: the heel clip should snap into place at the back of the boot.
7 Thread the straps through the binding system and tidy it up: guide the straps through the slot in the front cage, through the double buckle and then back through a single loop of the buckle.
8 Do a visual inspection and give them a test: check everything looks correct or ask your buddy to do it for you, before testing that the fit is secure by stamping around.
Meet the expert

Alex is a qualified Mountain Leader and former President of the London Mountaineering Club. He’s currently gaining experience towards the Winter Mountain Leader qualification and has enjoyed many fine mountaineering adventures in the UK and the Alps.
What are crampons?
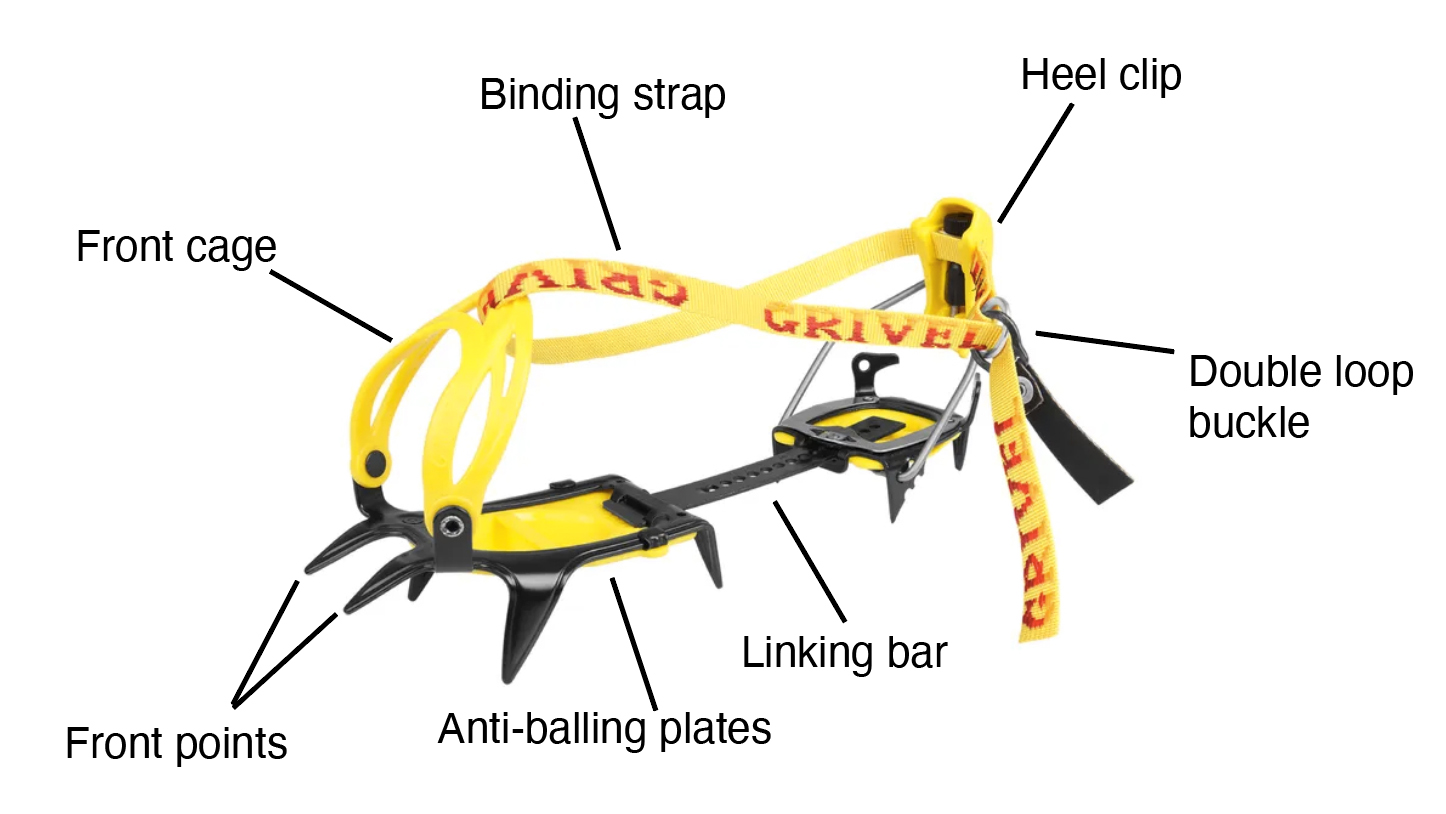
Crampons are spikes attached to a metal frame and a binding system that can be secured to a mountaineering or winter hiking boot.
The spikes, known as points or teeth, provide excellent traction on steep, icy terrain. Between the front and the heel of the device is the linking bar, which can be adjusted to shorten or lengthen the crampon. As well as the points, the underside features rounded areas known as anti-balling plates. These are designed to stop snow from accumulating between the teeth.
The binding system comprises a front cage, a heel clip (or heel basket depending on type) and binding straps to pull everything together. The straps are secured with a double loop buckle.
Get the right crampons for your boots
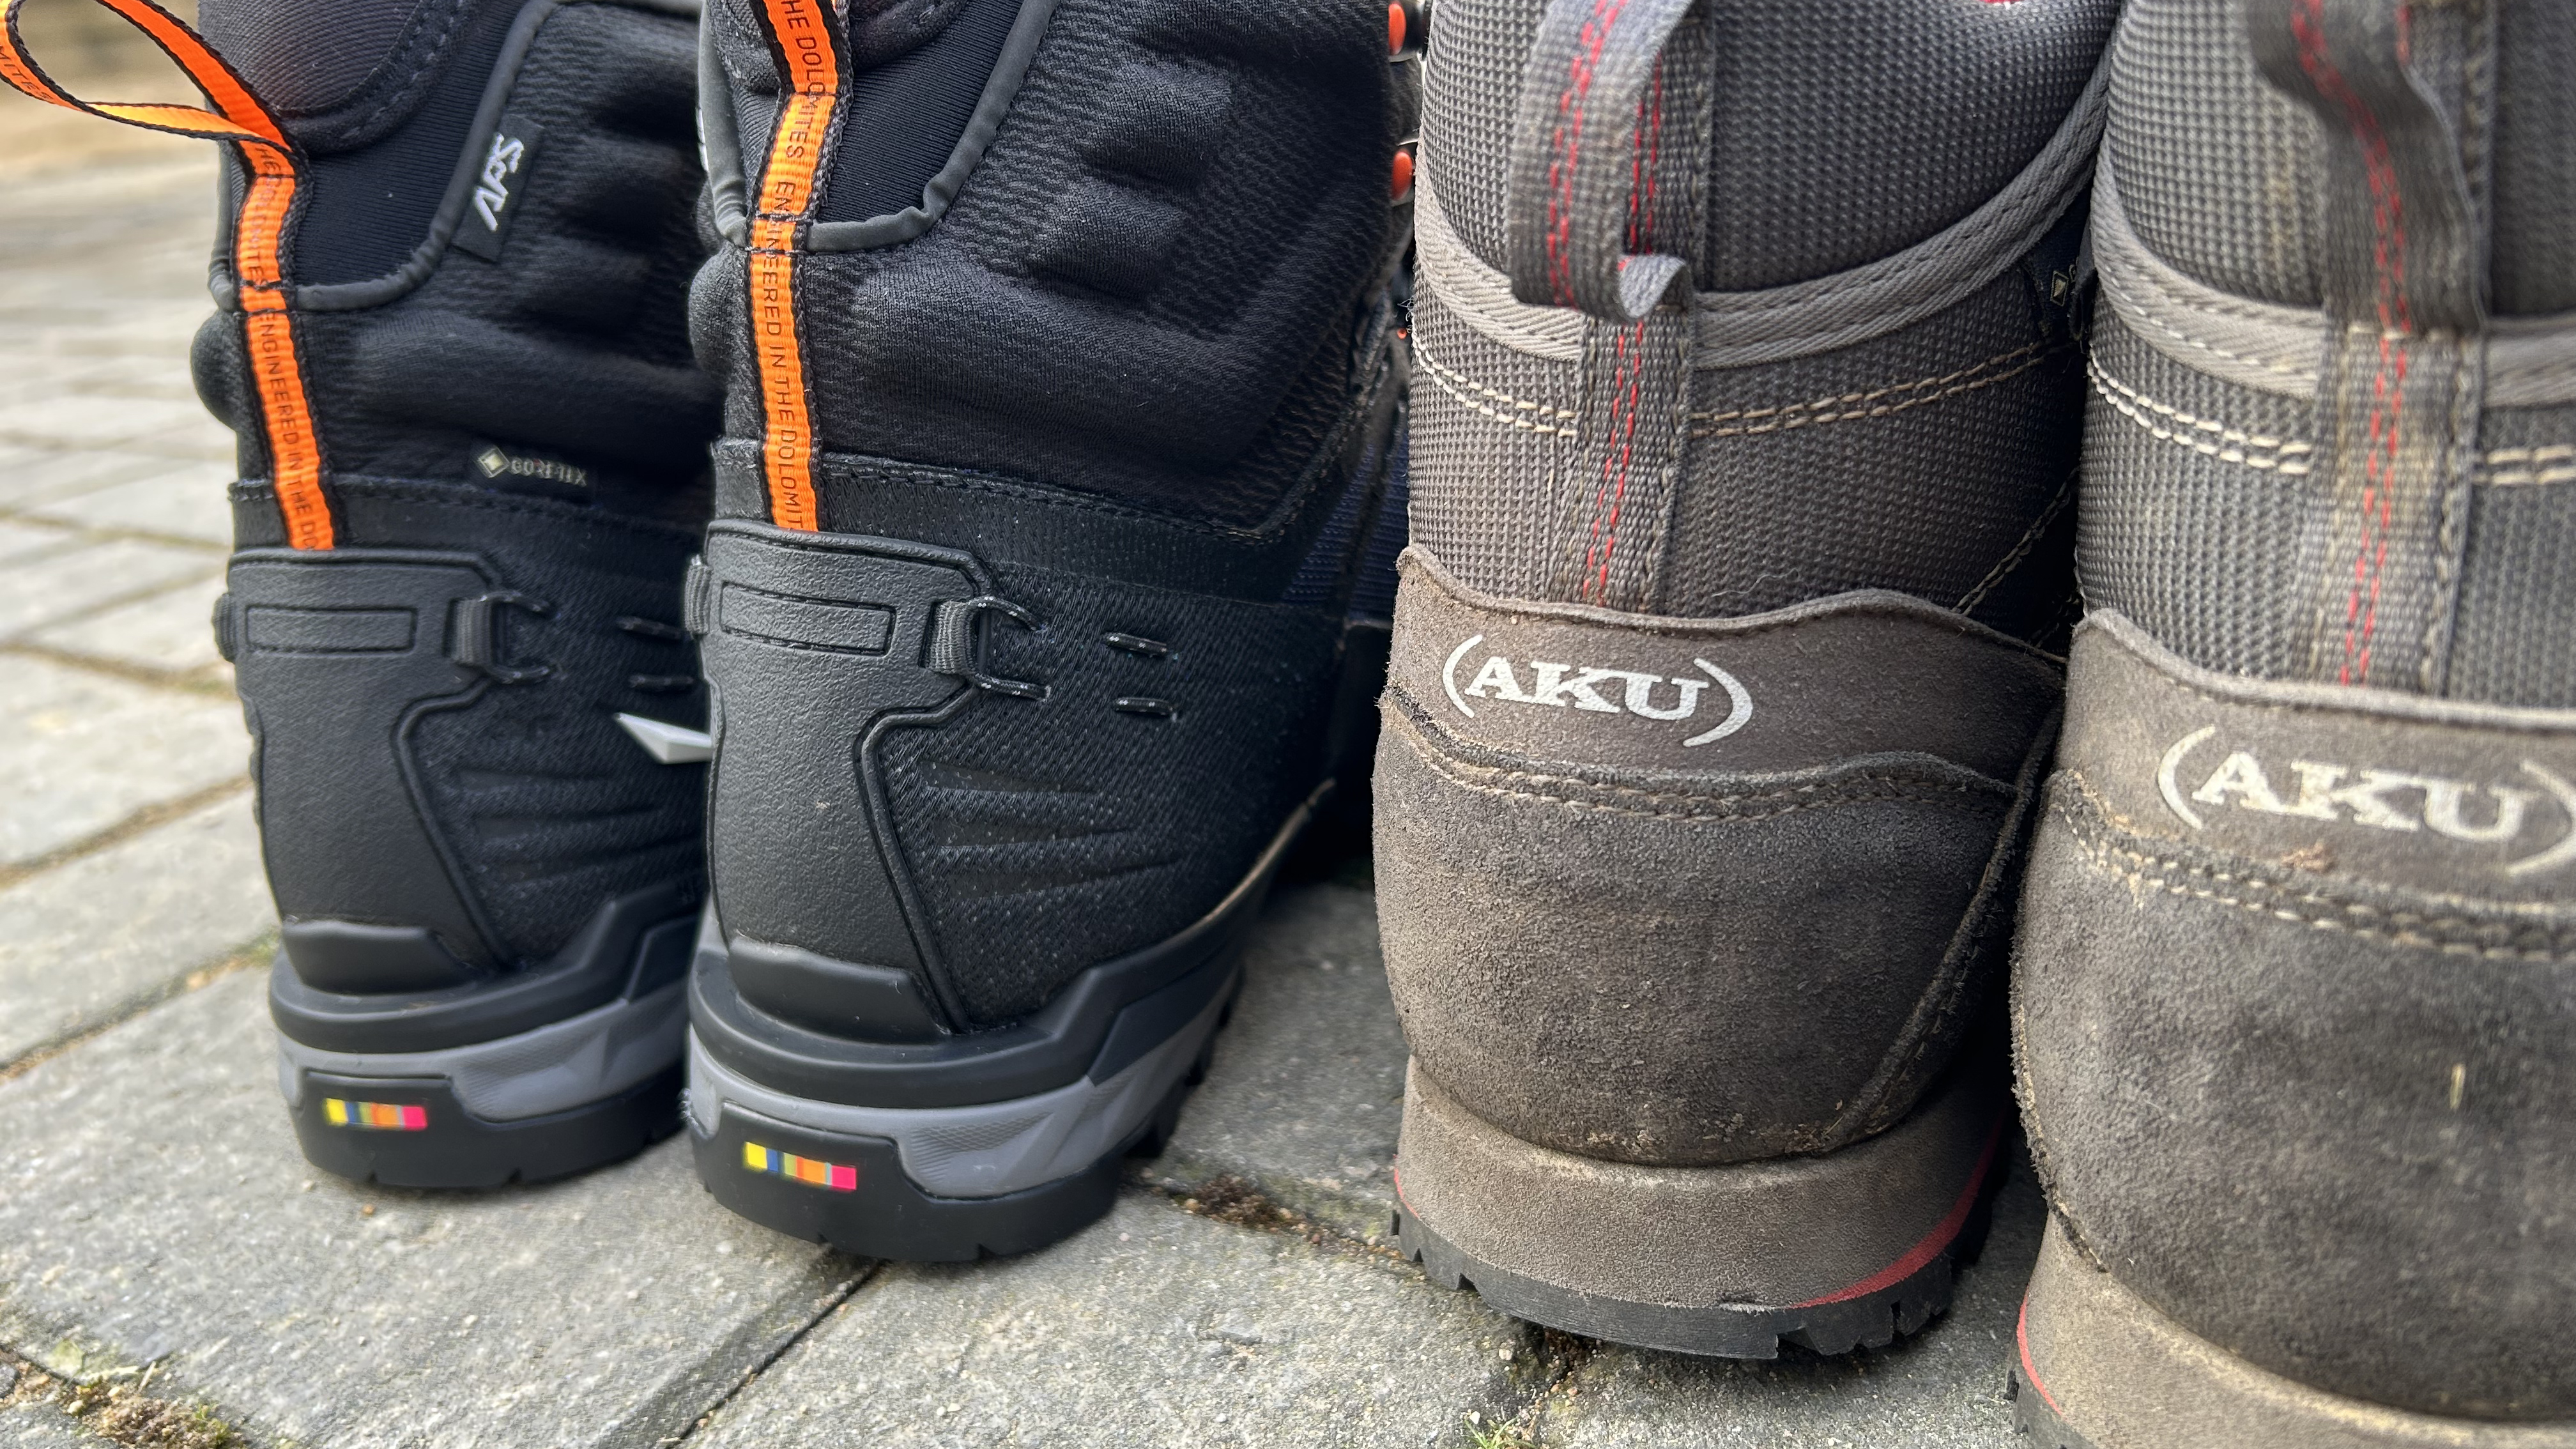
Unlike other winter traction devices, such as Yaktrax or Microspikes, crampons won’t fit every kind of hiking shoe or boot.
Mountaineering and winter hiking boots – often called mountain boots – are specifically designed to be compatible with crampons, featuring a notably stiff outsole and often a heel welt for a crampon’s heel clip to snap onto. Boots that feature a heel welt are known as B2s or mountain boots.
There are also B1s, which don’t have a heel welt but will still fit some types of crampon. At the other end of the scale are B3s – boots used for technical mountaineering and ice climbing. These have both a heel welt and a ridge at the toes for an even more secure attachment.
You’ll struggle to attach crampons to other types of footwear. If you do manage it, they’re likely to come loose, as the shoe will be too flexible compared to a mountain boot.
As well as this, there’s the fact that different types of crampons suit different kinds of boot. C1 crampons, known as flexible or basket binding crampons, wrap around the boot using a heel basket, toe binding and straps. Standard C2 crampons are stiffer and feature a heel clip for a secure attachment to B2 boots. Finally, C3 crampons are the most technical tools of the lot, designed for winter climbing and high-altitude mountaineering. They’re the stiffest and clip into the boot at both the heel and the toe.

If all of this sounds a bit confusing, getting it right is a doddle, as the types match up. So, a C1 crampon is best for a B1 boot, a C2 crampon is best for a B2 boot and, surprise surprise, a C3 crampon is best for a B3 boot.
For the purposes of this guide, I’ll mainly be talking about standard C2 crampons, the kind that feature a heel clip for attaching to a B2 mountain boot, though the general principles are the same for C1 crampons too.
Practise putting them on before heading out

The length of a pair of crampons is adjustable, otherwise you’d have to buy a specific size. So, it should go without saying that you should fit your crampons to your boots at home or in the valley before heading out into the mountains. An adjustment clip is moved up and down the several numbered holes on the linking bar, allowing you to find the exact fit for your boots.
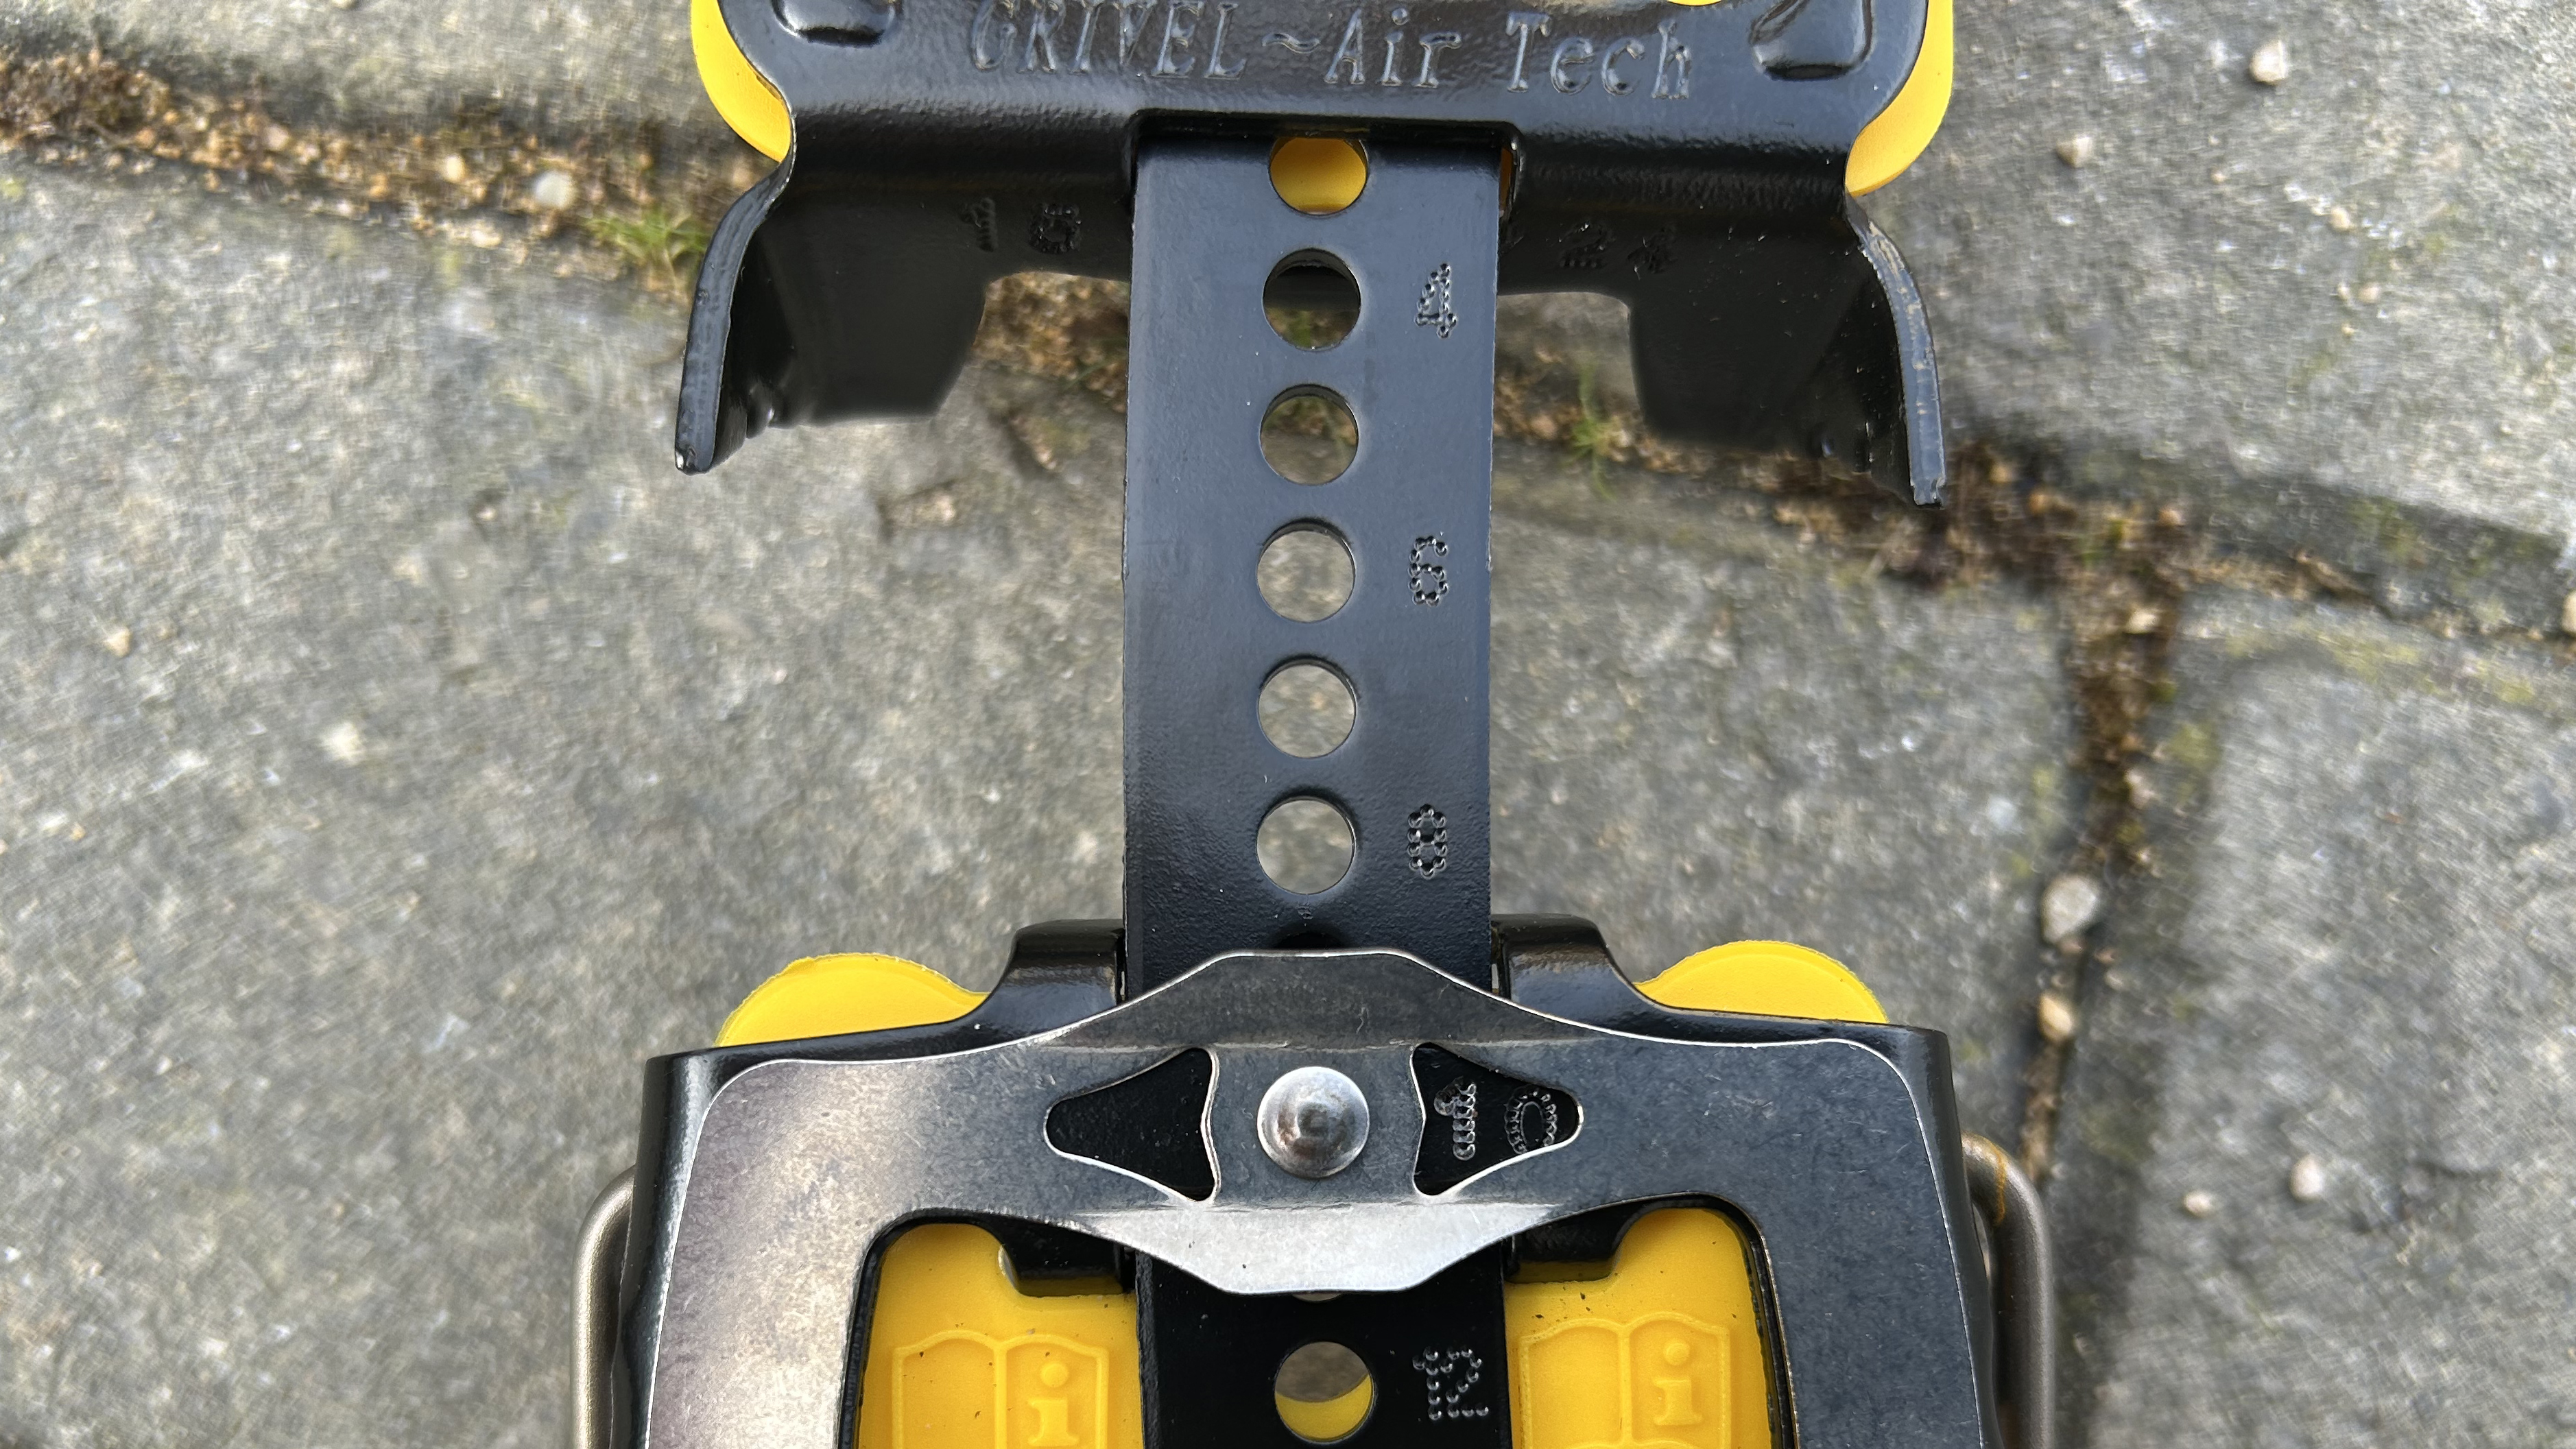
It may also be the case that, having fitted the crampons, you’re left with quite a lot of excess strap. Cut off this surplus length, as the only purpose it'll serve is as a trip hazard. You should leave just enough to give you a little to play with, basically enough to grab and tighten.
If you're using a C2 crampon, it may be that the heel clip needs some adjustment. Some crampons allow you to adjust the position of the bar that attaches the clip to the points. This may be necessary if getting the clip to snap into place is too much of a struggle.
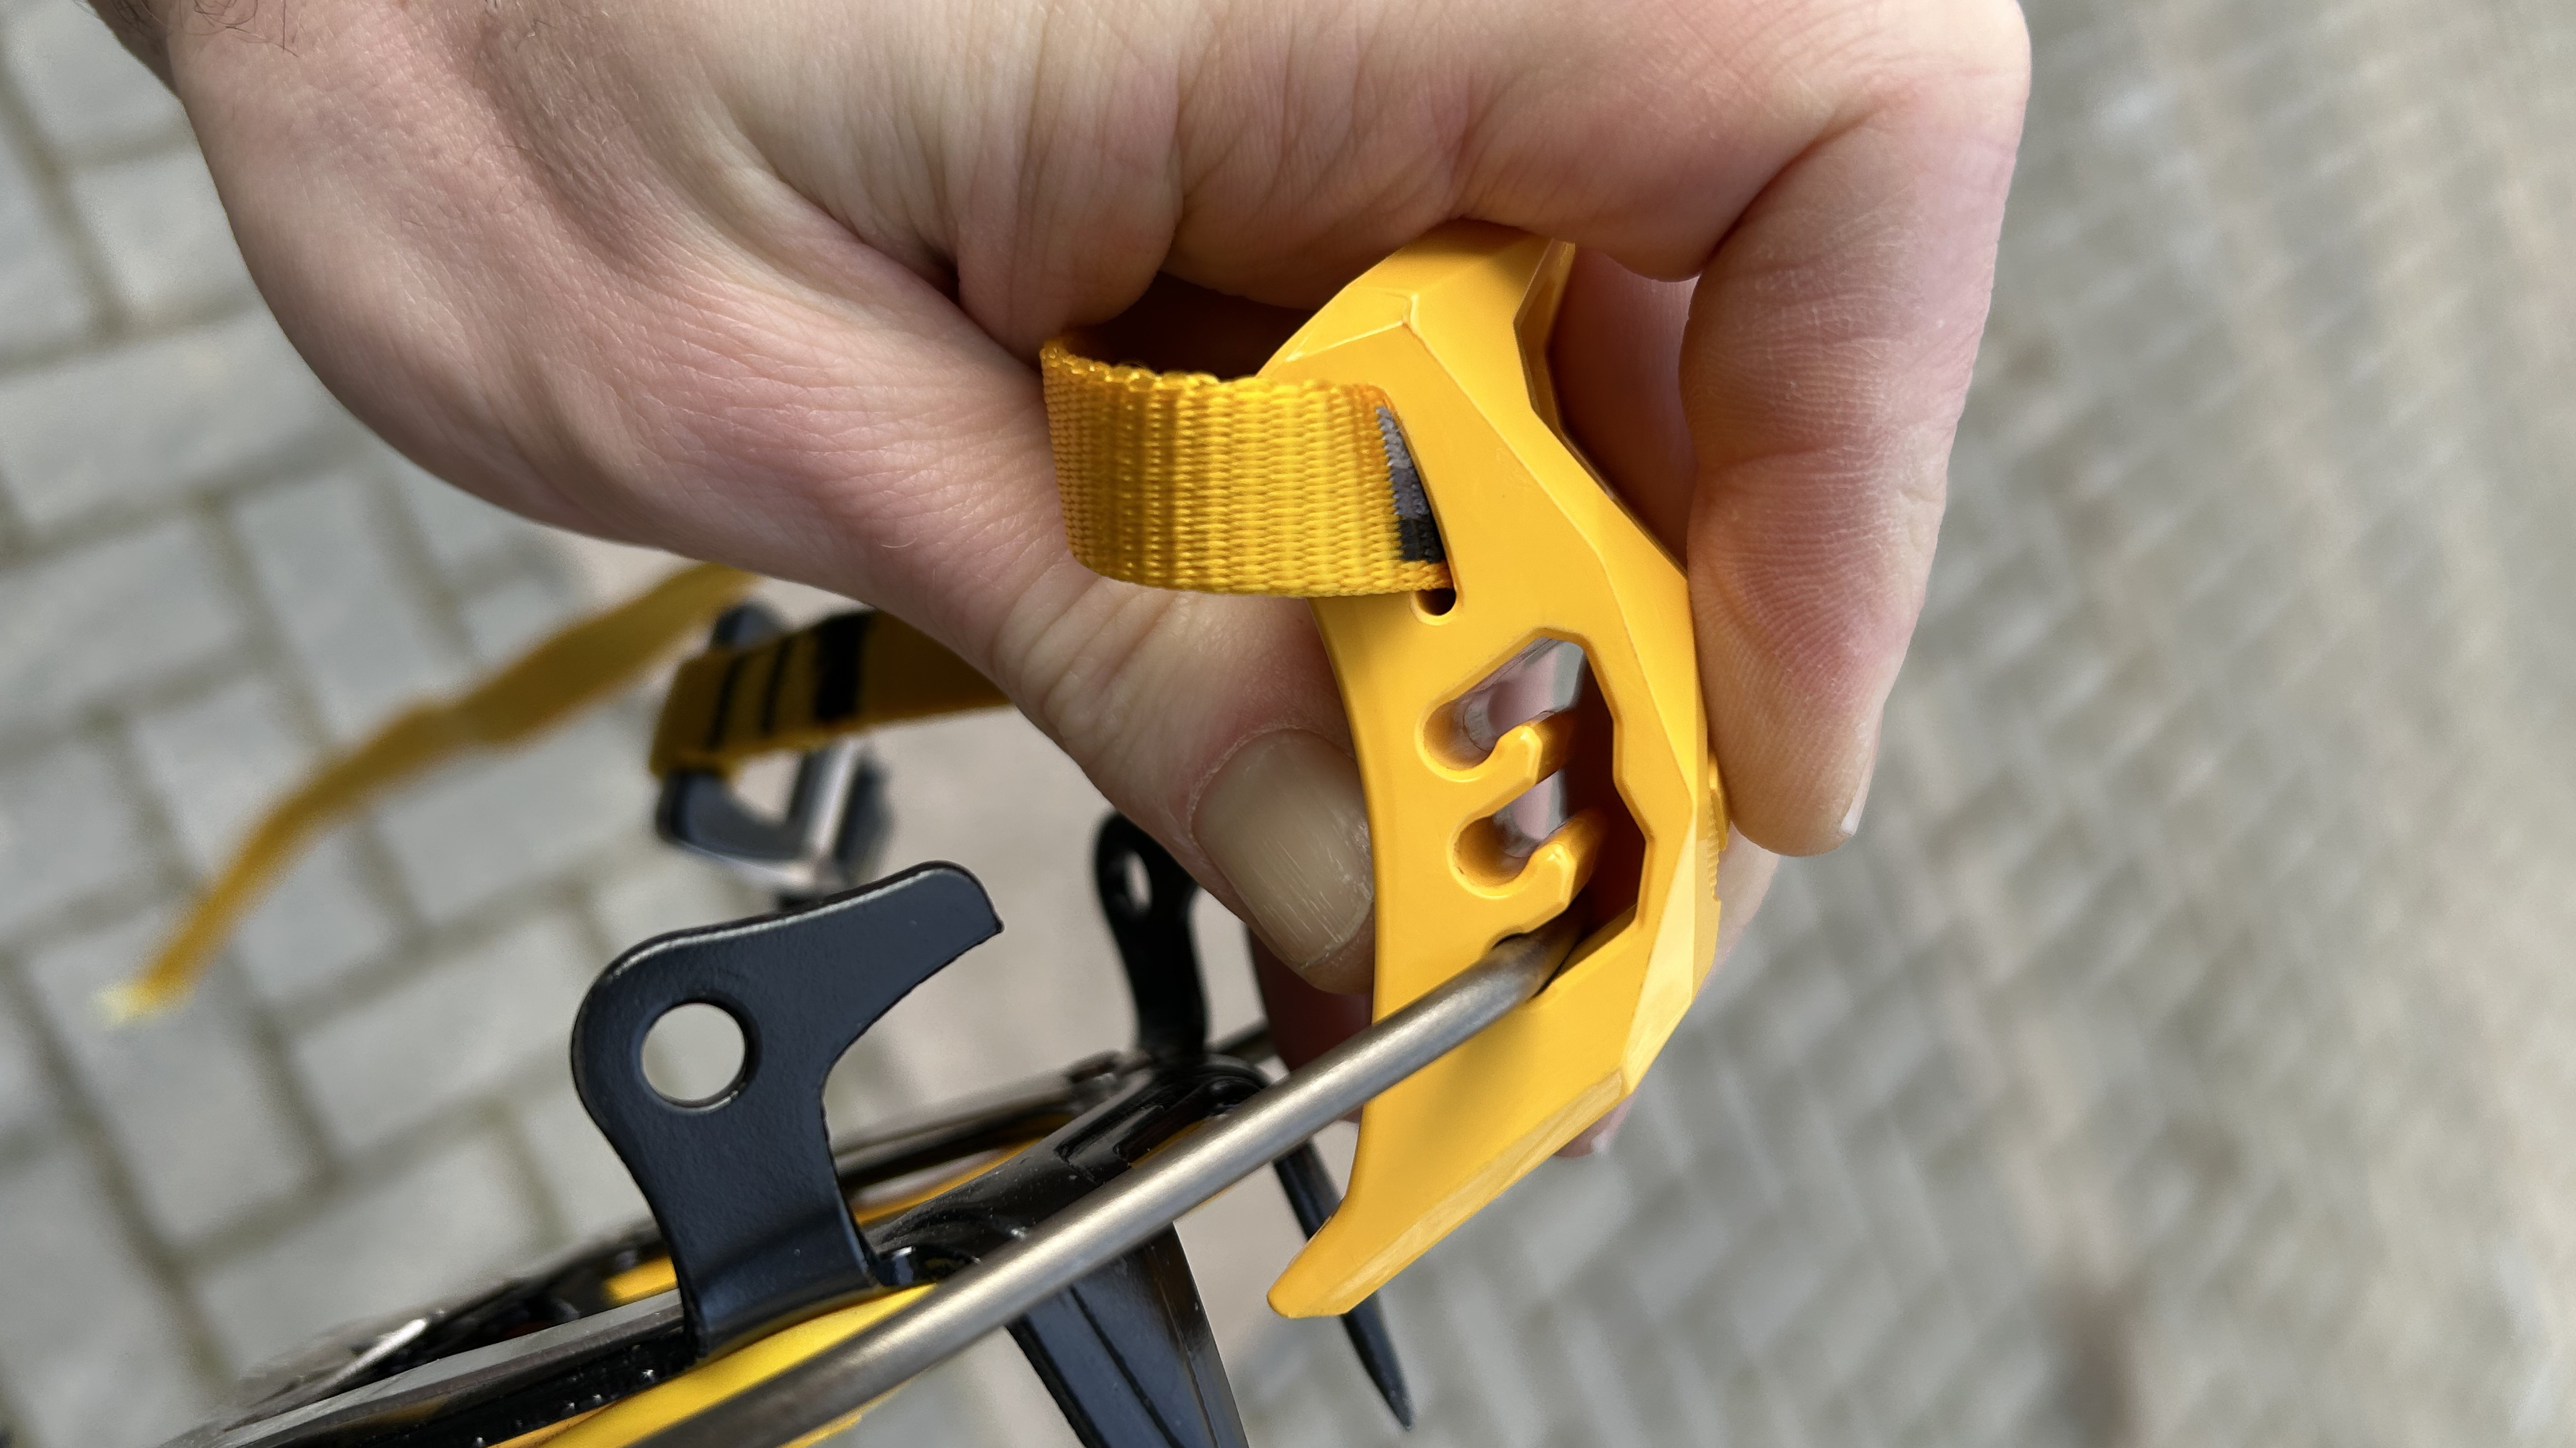
As well as ensuring the fit is correct, it’s worth practising attaching your crampons several times at home anyway. When you’re in the thick of a mountain adventure, you want to be able to add your crampons with the minimum of fuss. Rehearse all of this while wearing your hiking gloves, as you won’t want to be taking them off while on the hill if it’s absolutely Baltic.
Know when to put them on
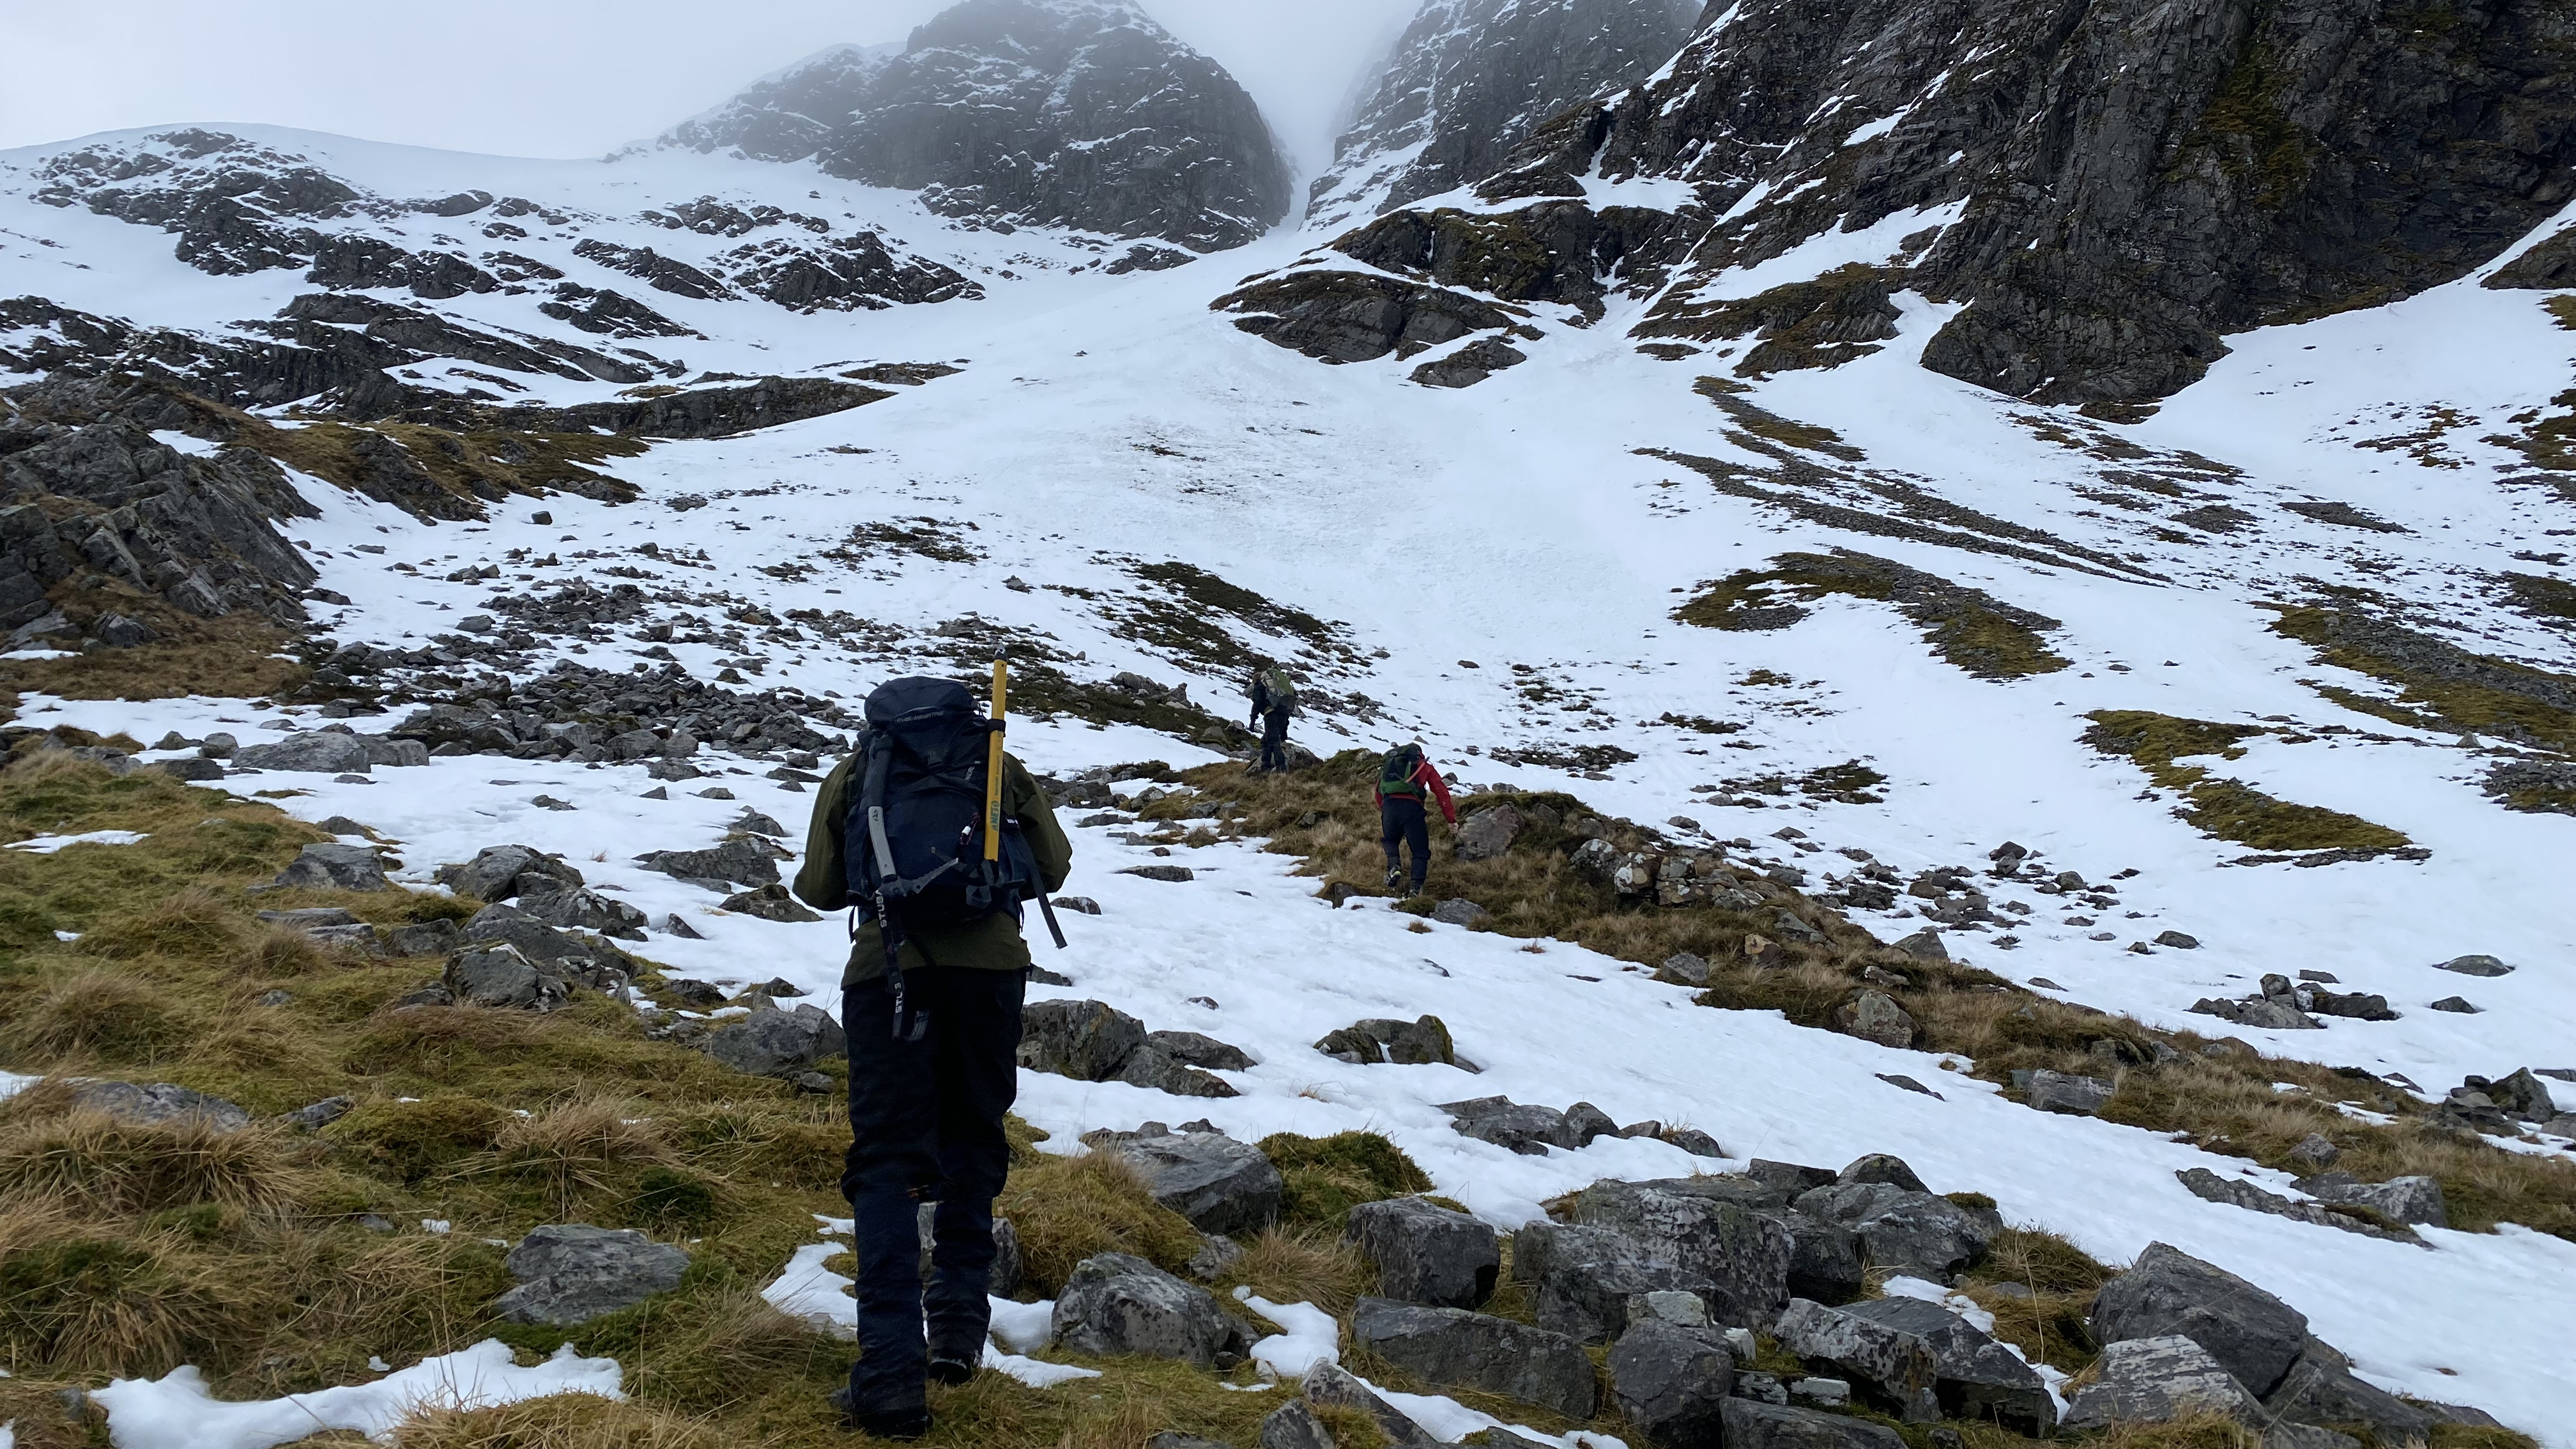
You don’t necessarily need crampons as soon as the mountains start wearing their white coat in winter, as you’ll be able to make plenty of progress by kicking steps in the snow with your winter boots, or cutting steps with your ice axe.
However, you may come to a point where these tactics prove either inefficient or the terrain becomes so icy that your boots are no longer providing enough purchase. It’s on steep, icy ground that crampons come into their own. It’s obviously worth fitting crampons on relatively kind terrain before you get to this stage – this is a judgement that comes with experience.
Find a suitable spot
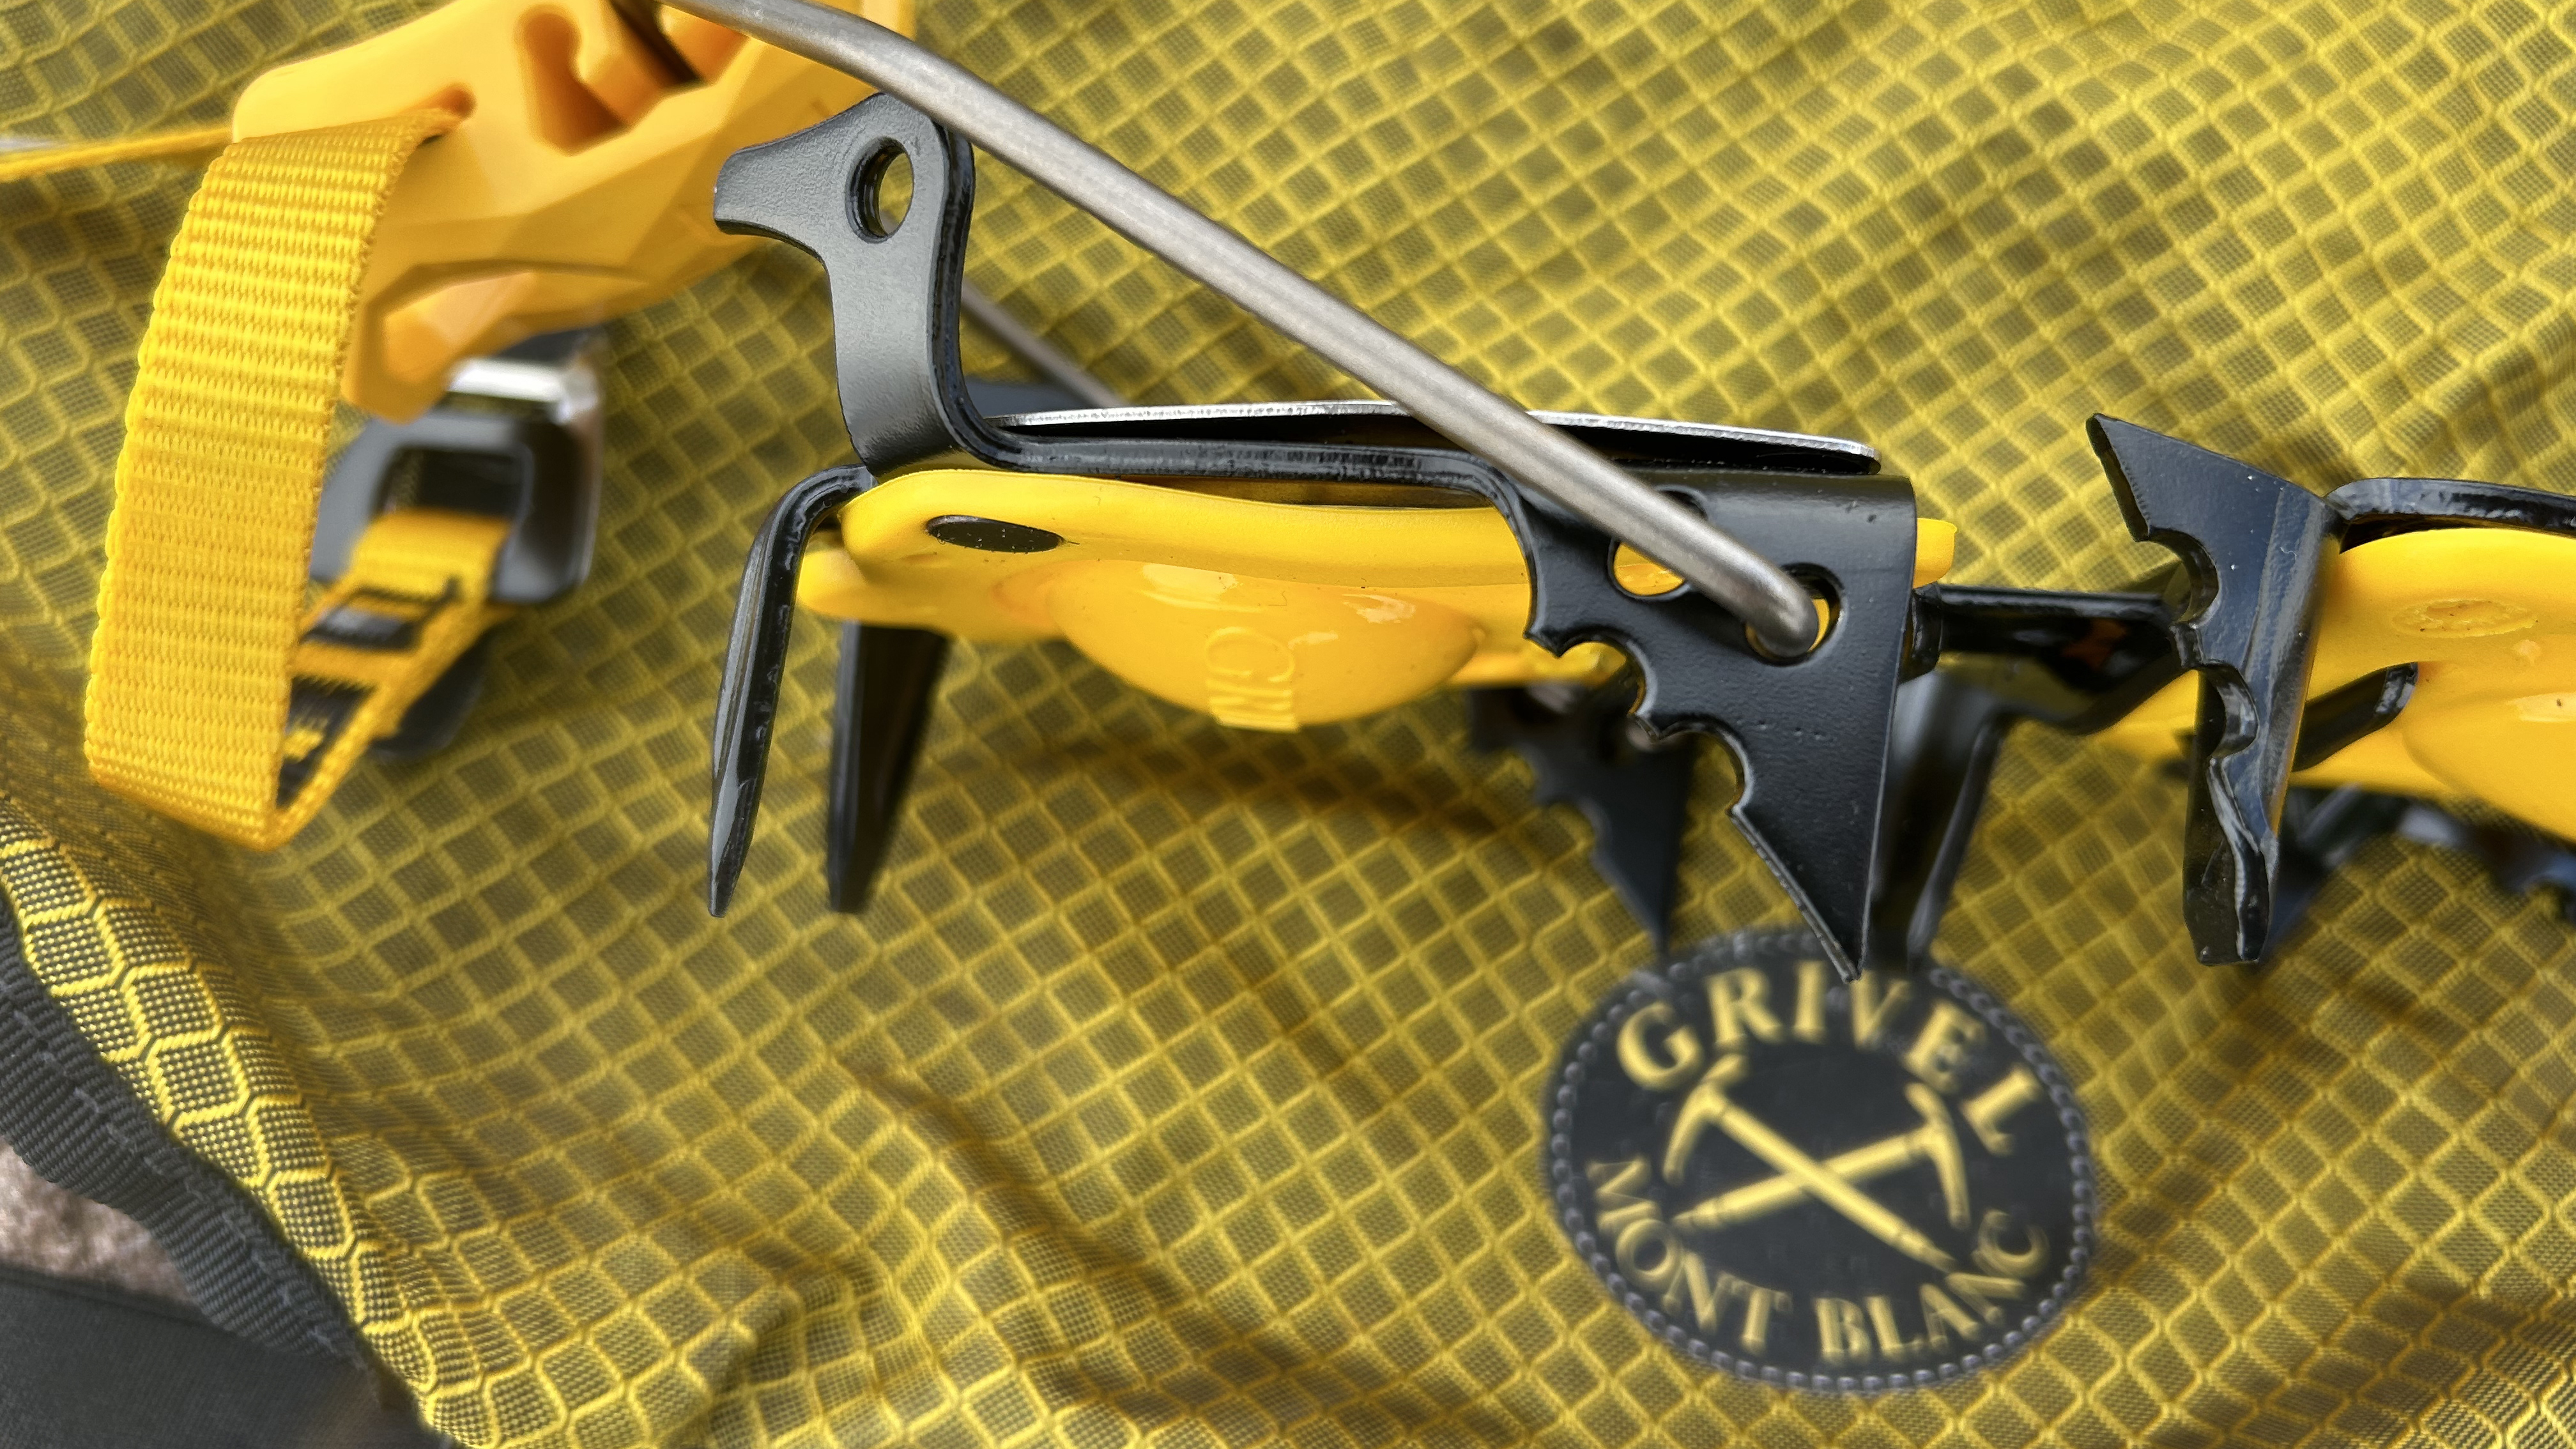
Before you get your crampons out of your pack, you’ll want to find a relatively flat area – though a bit of a slope is useful for placing your crampons slightly uphill when stepping into them. You can always use your ice axe to create a level platform and don’t forget to flatten out some ground for your backpack too – you don’t want it sliding off and doing its best impression of a sledge while you’re busy fitting your spikes.
You'll also want to make sure you've got a crampon bag to protect the contents of your pack from the sharp points. Just don't forget to stash the bag back in the pack while you're fitting your crampons, otherwise it might blow away!
Place crampons so that they are easy to step into
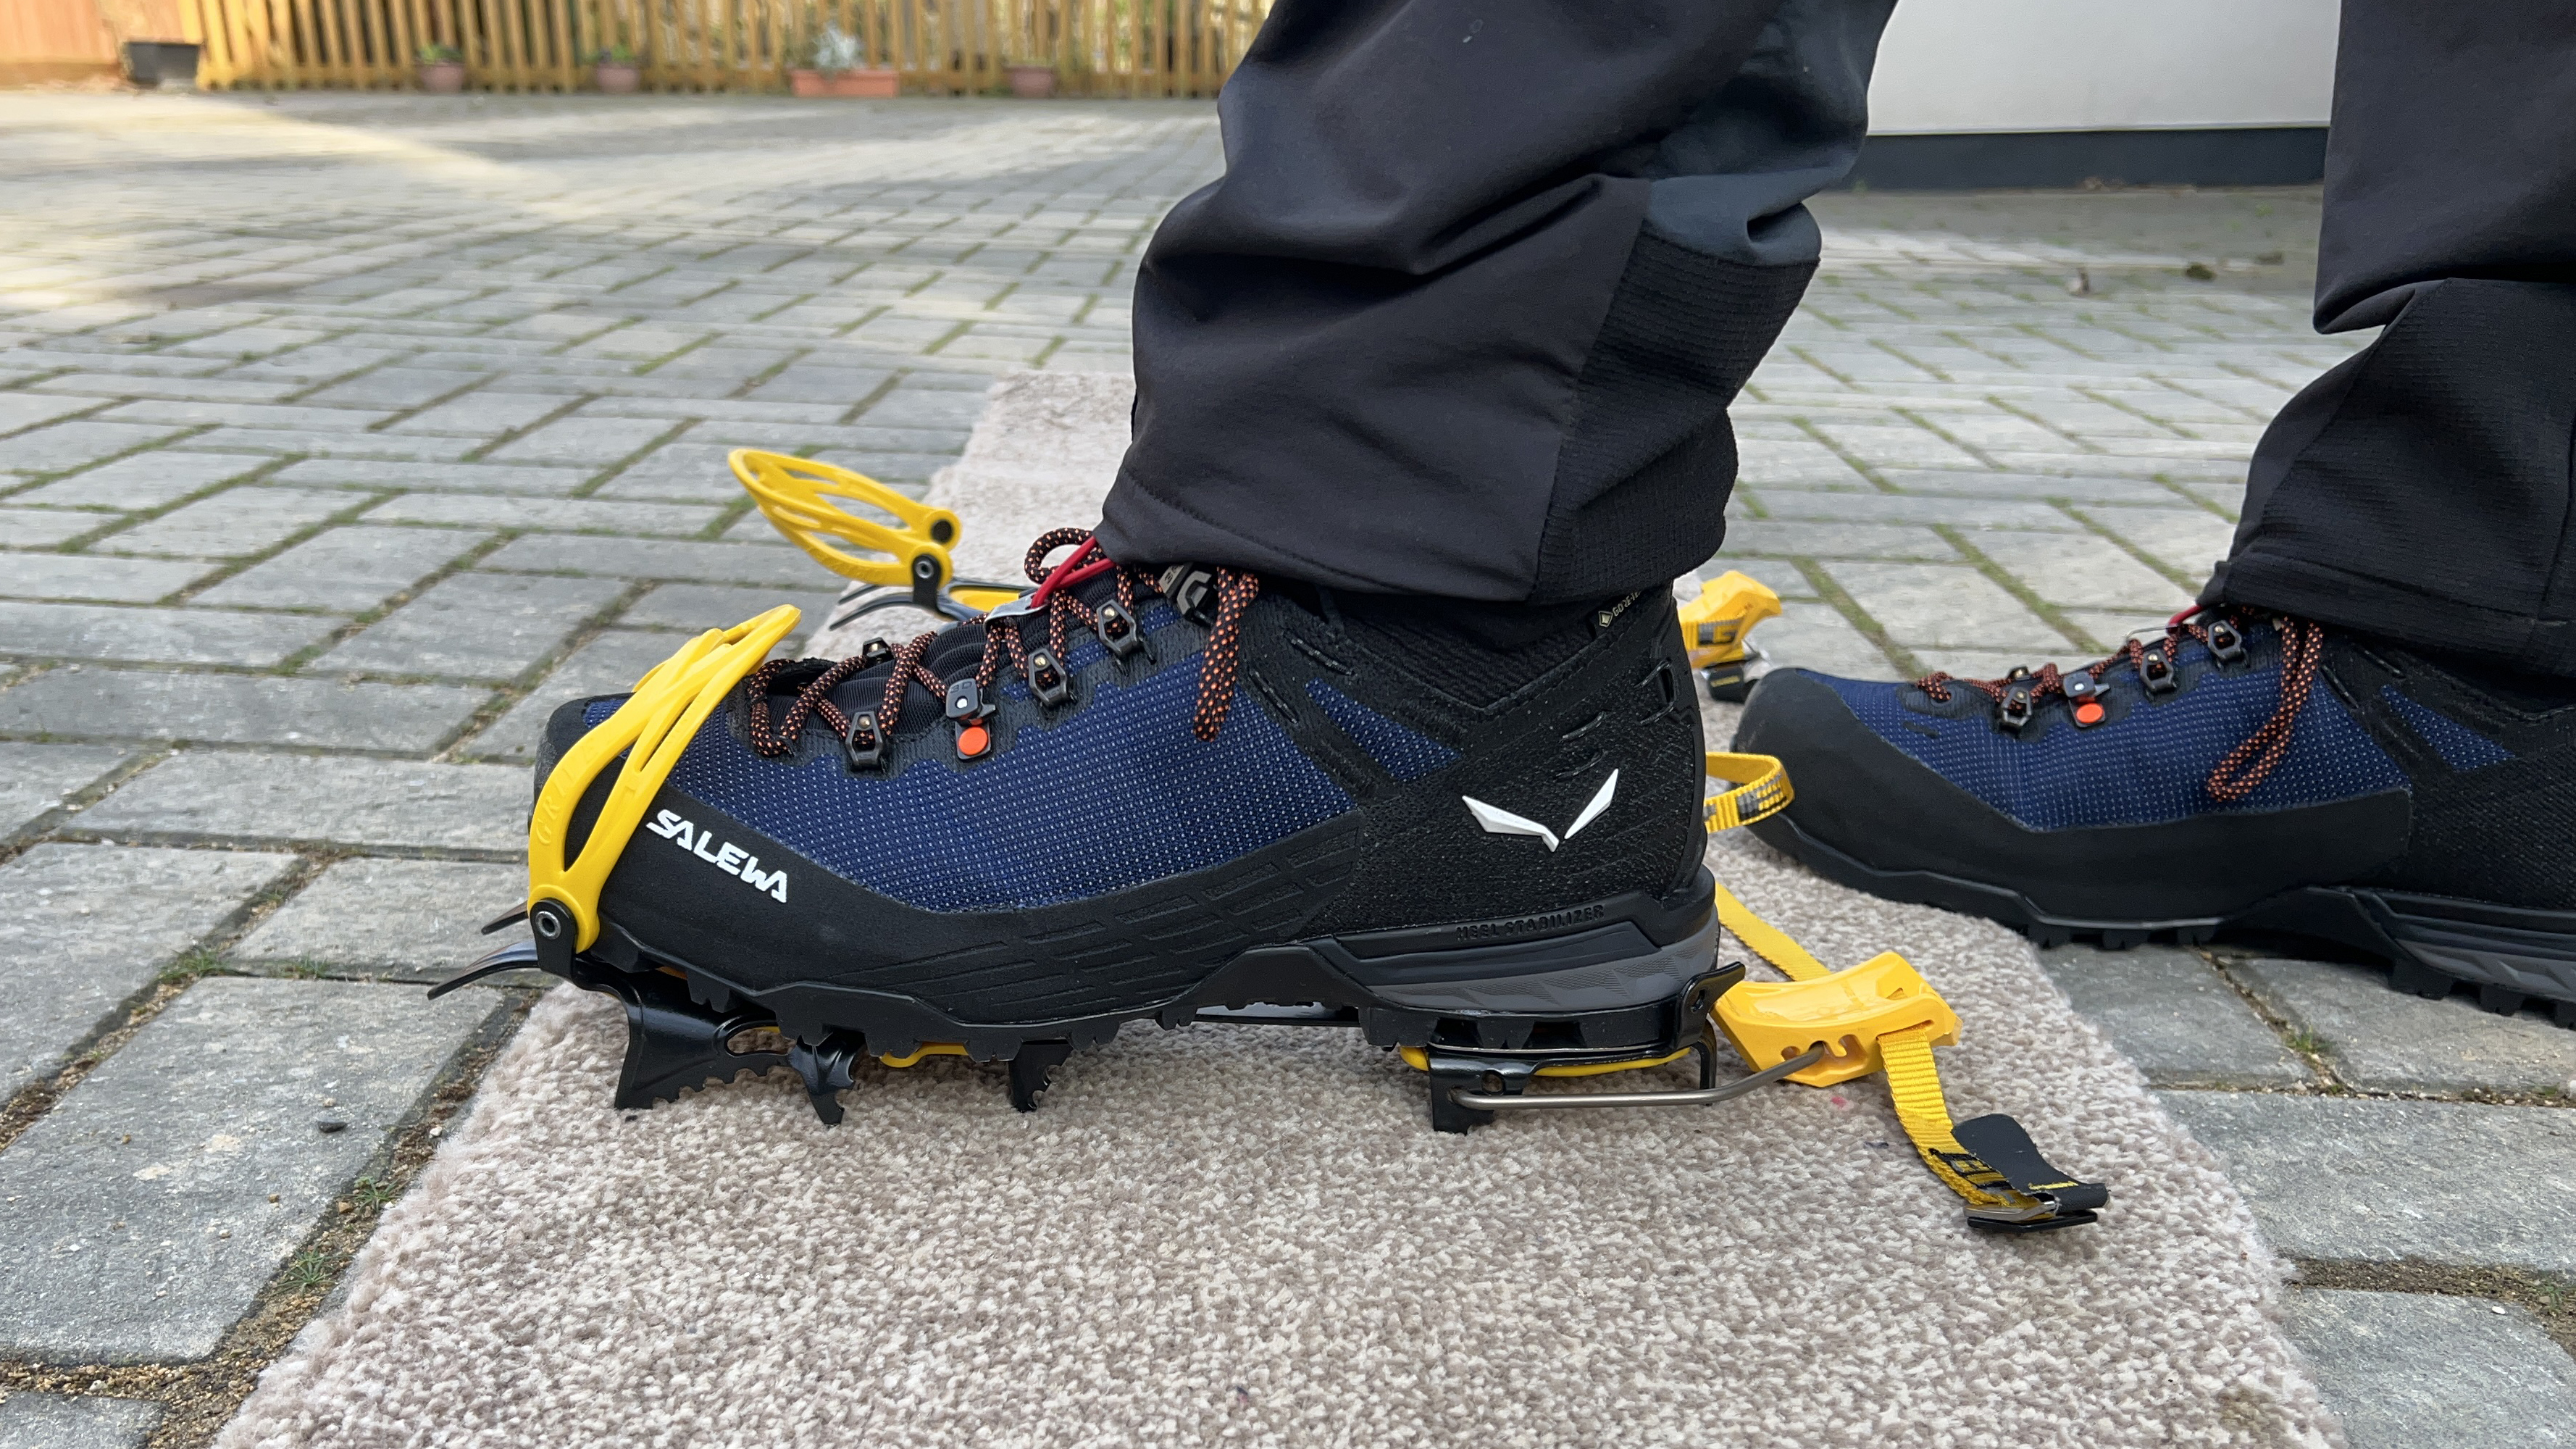
Ideally, you’ll want to stay stood up when putting your crampons on. This avoids subjecting your waterproofs to wear and tear against the terrain below, saves your backside from getting thoroughly frozen and stops you sliding off down the mountain. Place the crampons in front of you so that they’re easy to step into, with the straps, front cage (also referred to as the toe binding) and heel clip out of the way.
If you’re on a slope, which is more than likely, place the crampons slightly uphill of where you’re stood. Do nothing in haste here, the last thing you want to do is mix up left and right – look for the curve in the linking bar. L and R are also often marked on the crampons themselves – but not always.
Step into the crampon and clip in at the heel
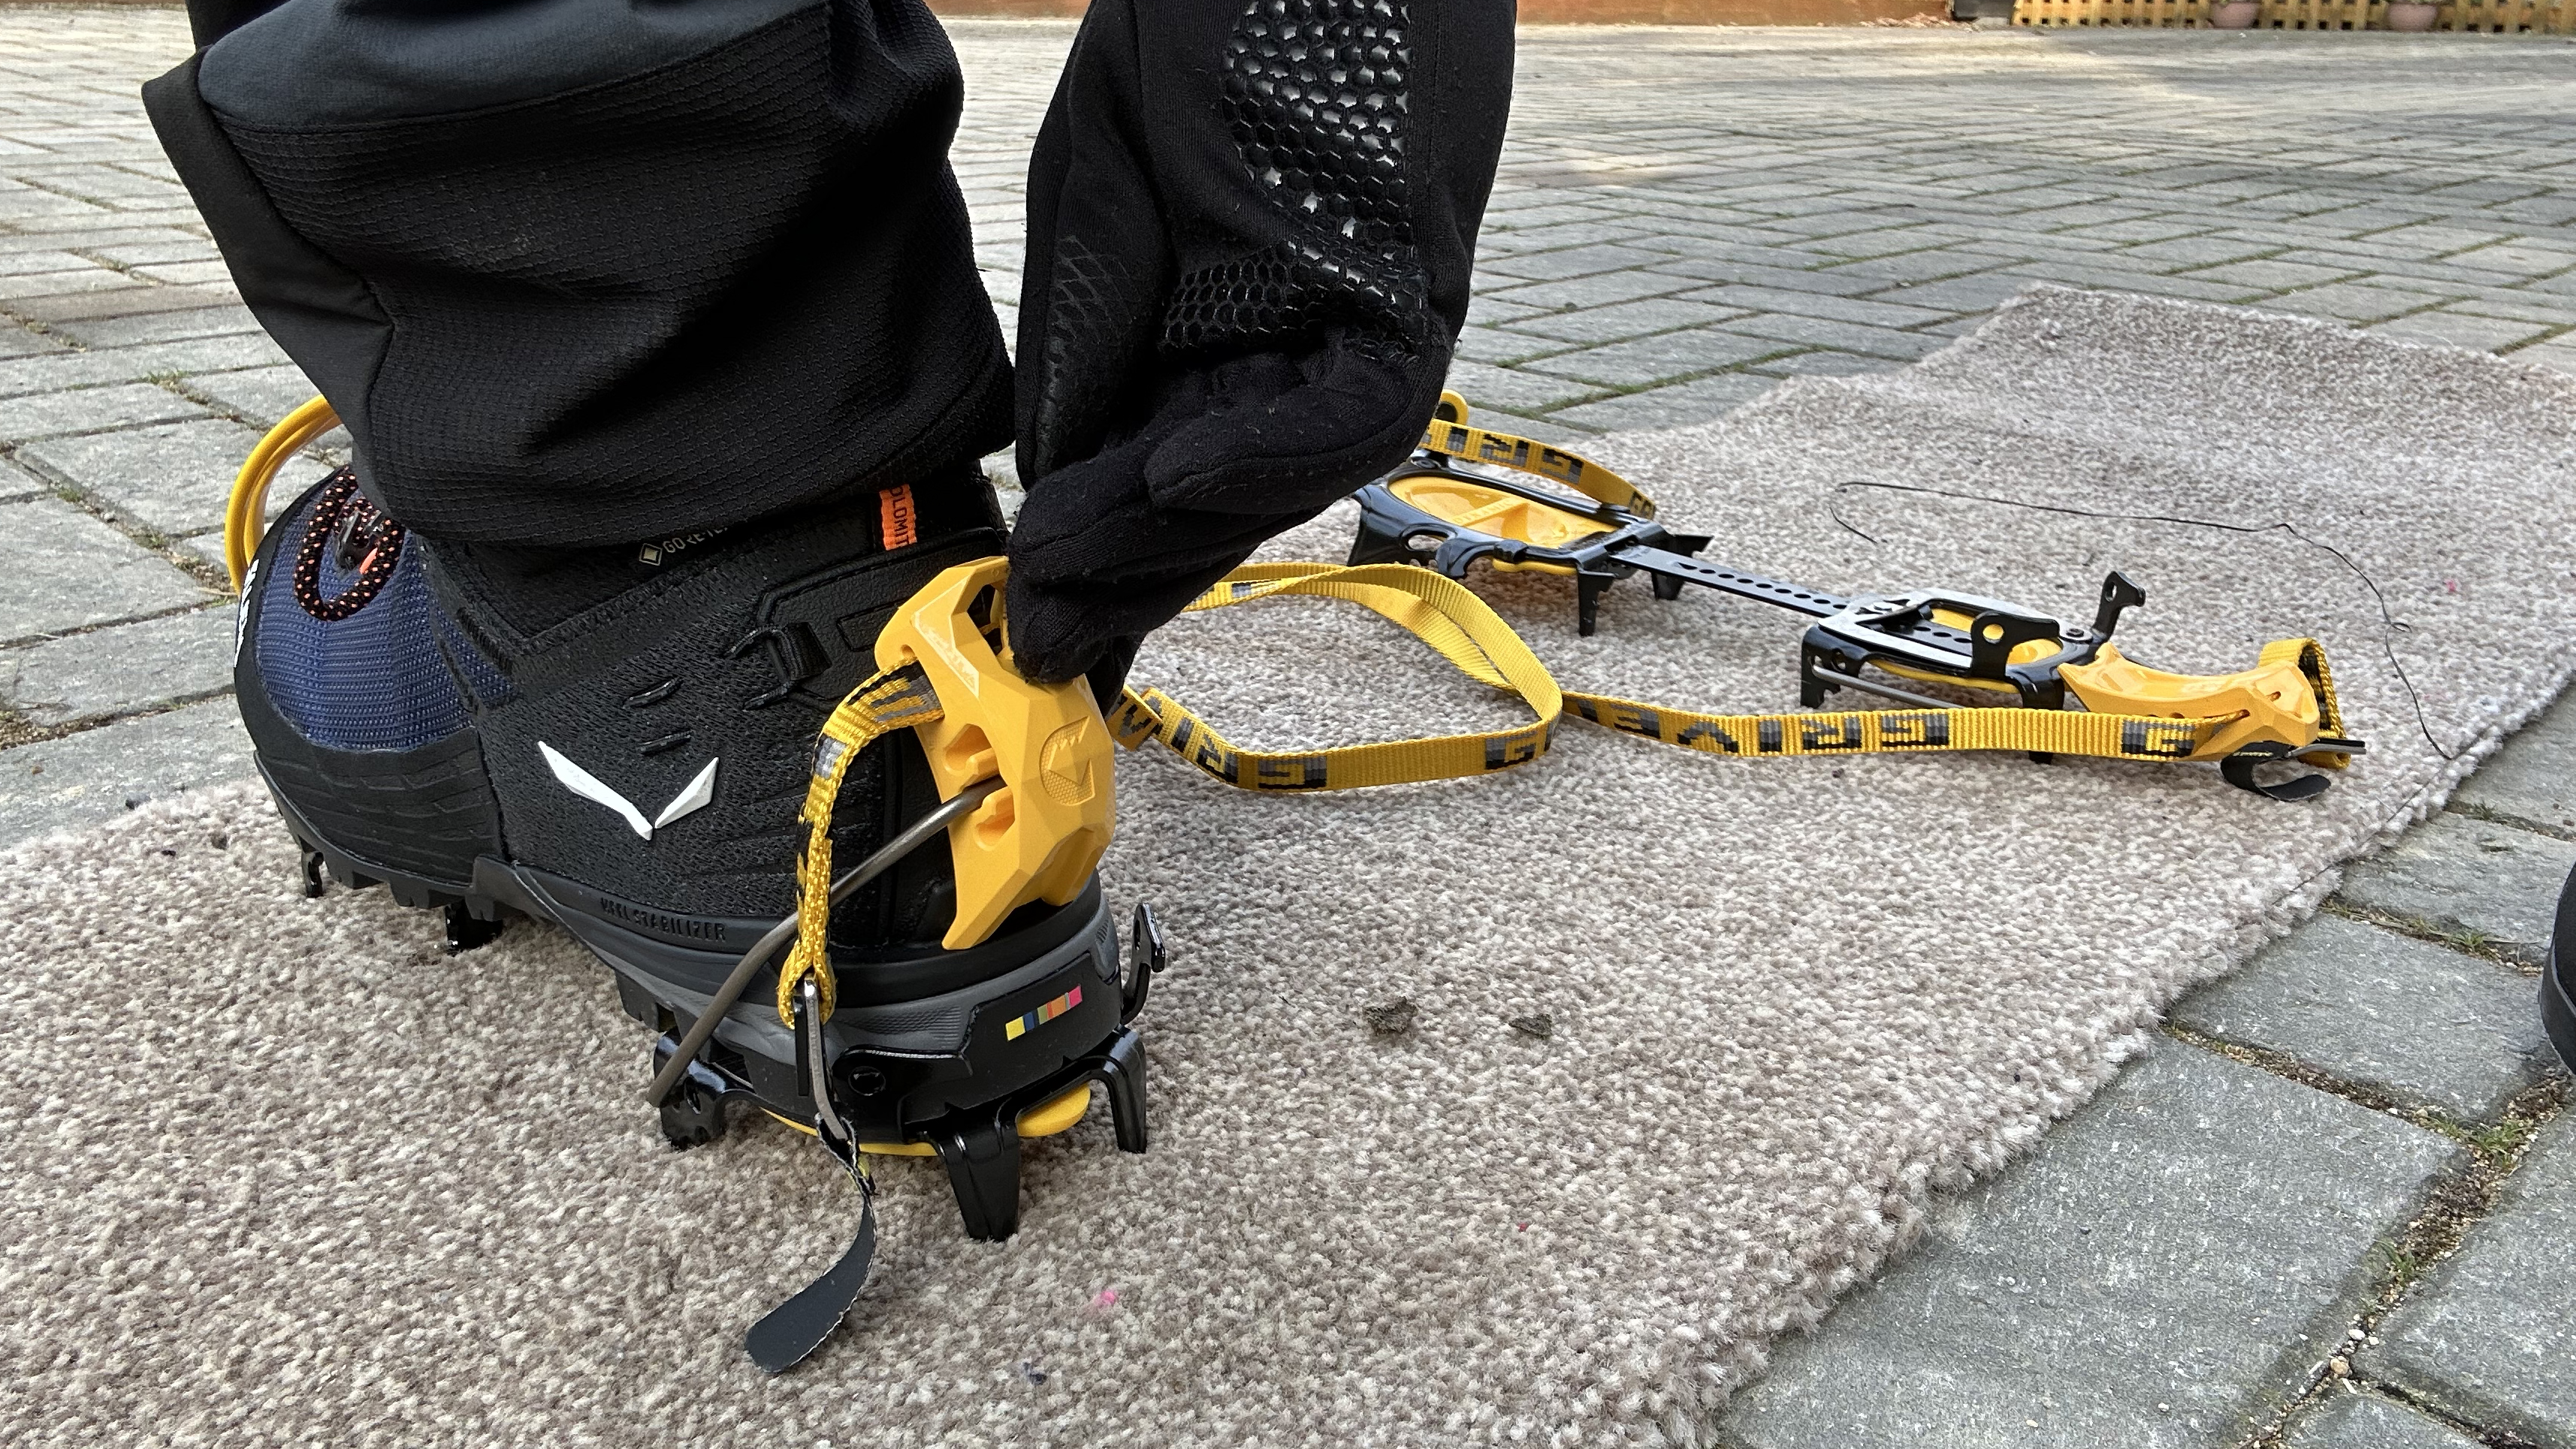
Step into the crampon, with your toes right up to the front cage and your heel snug to the lugs at the back. Once your foot’s in, lift the heel clip so that the bottom of the clip aligns with your boot’s heel welt. Next, push the top of the clip forward so that it snaps into place on the back of the boot.
Thread the straps through the binding system
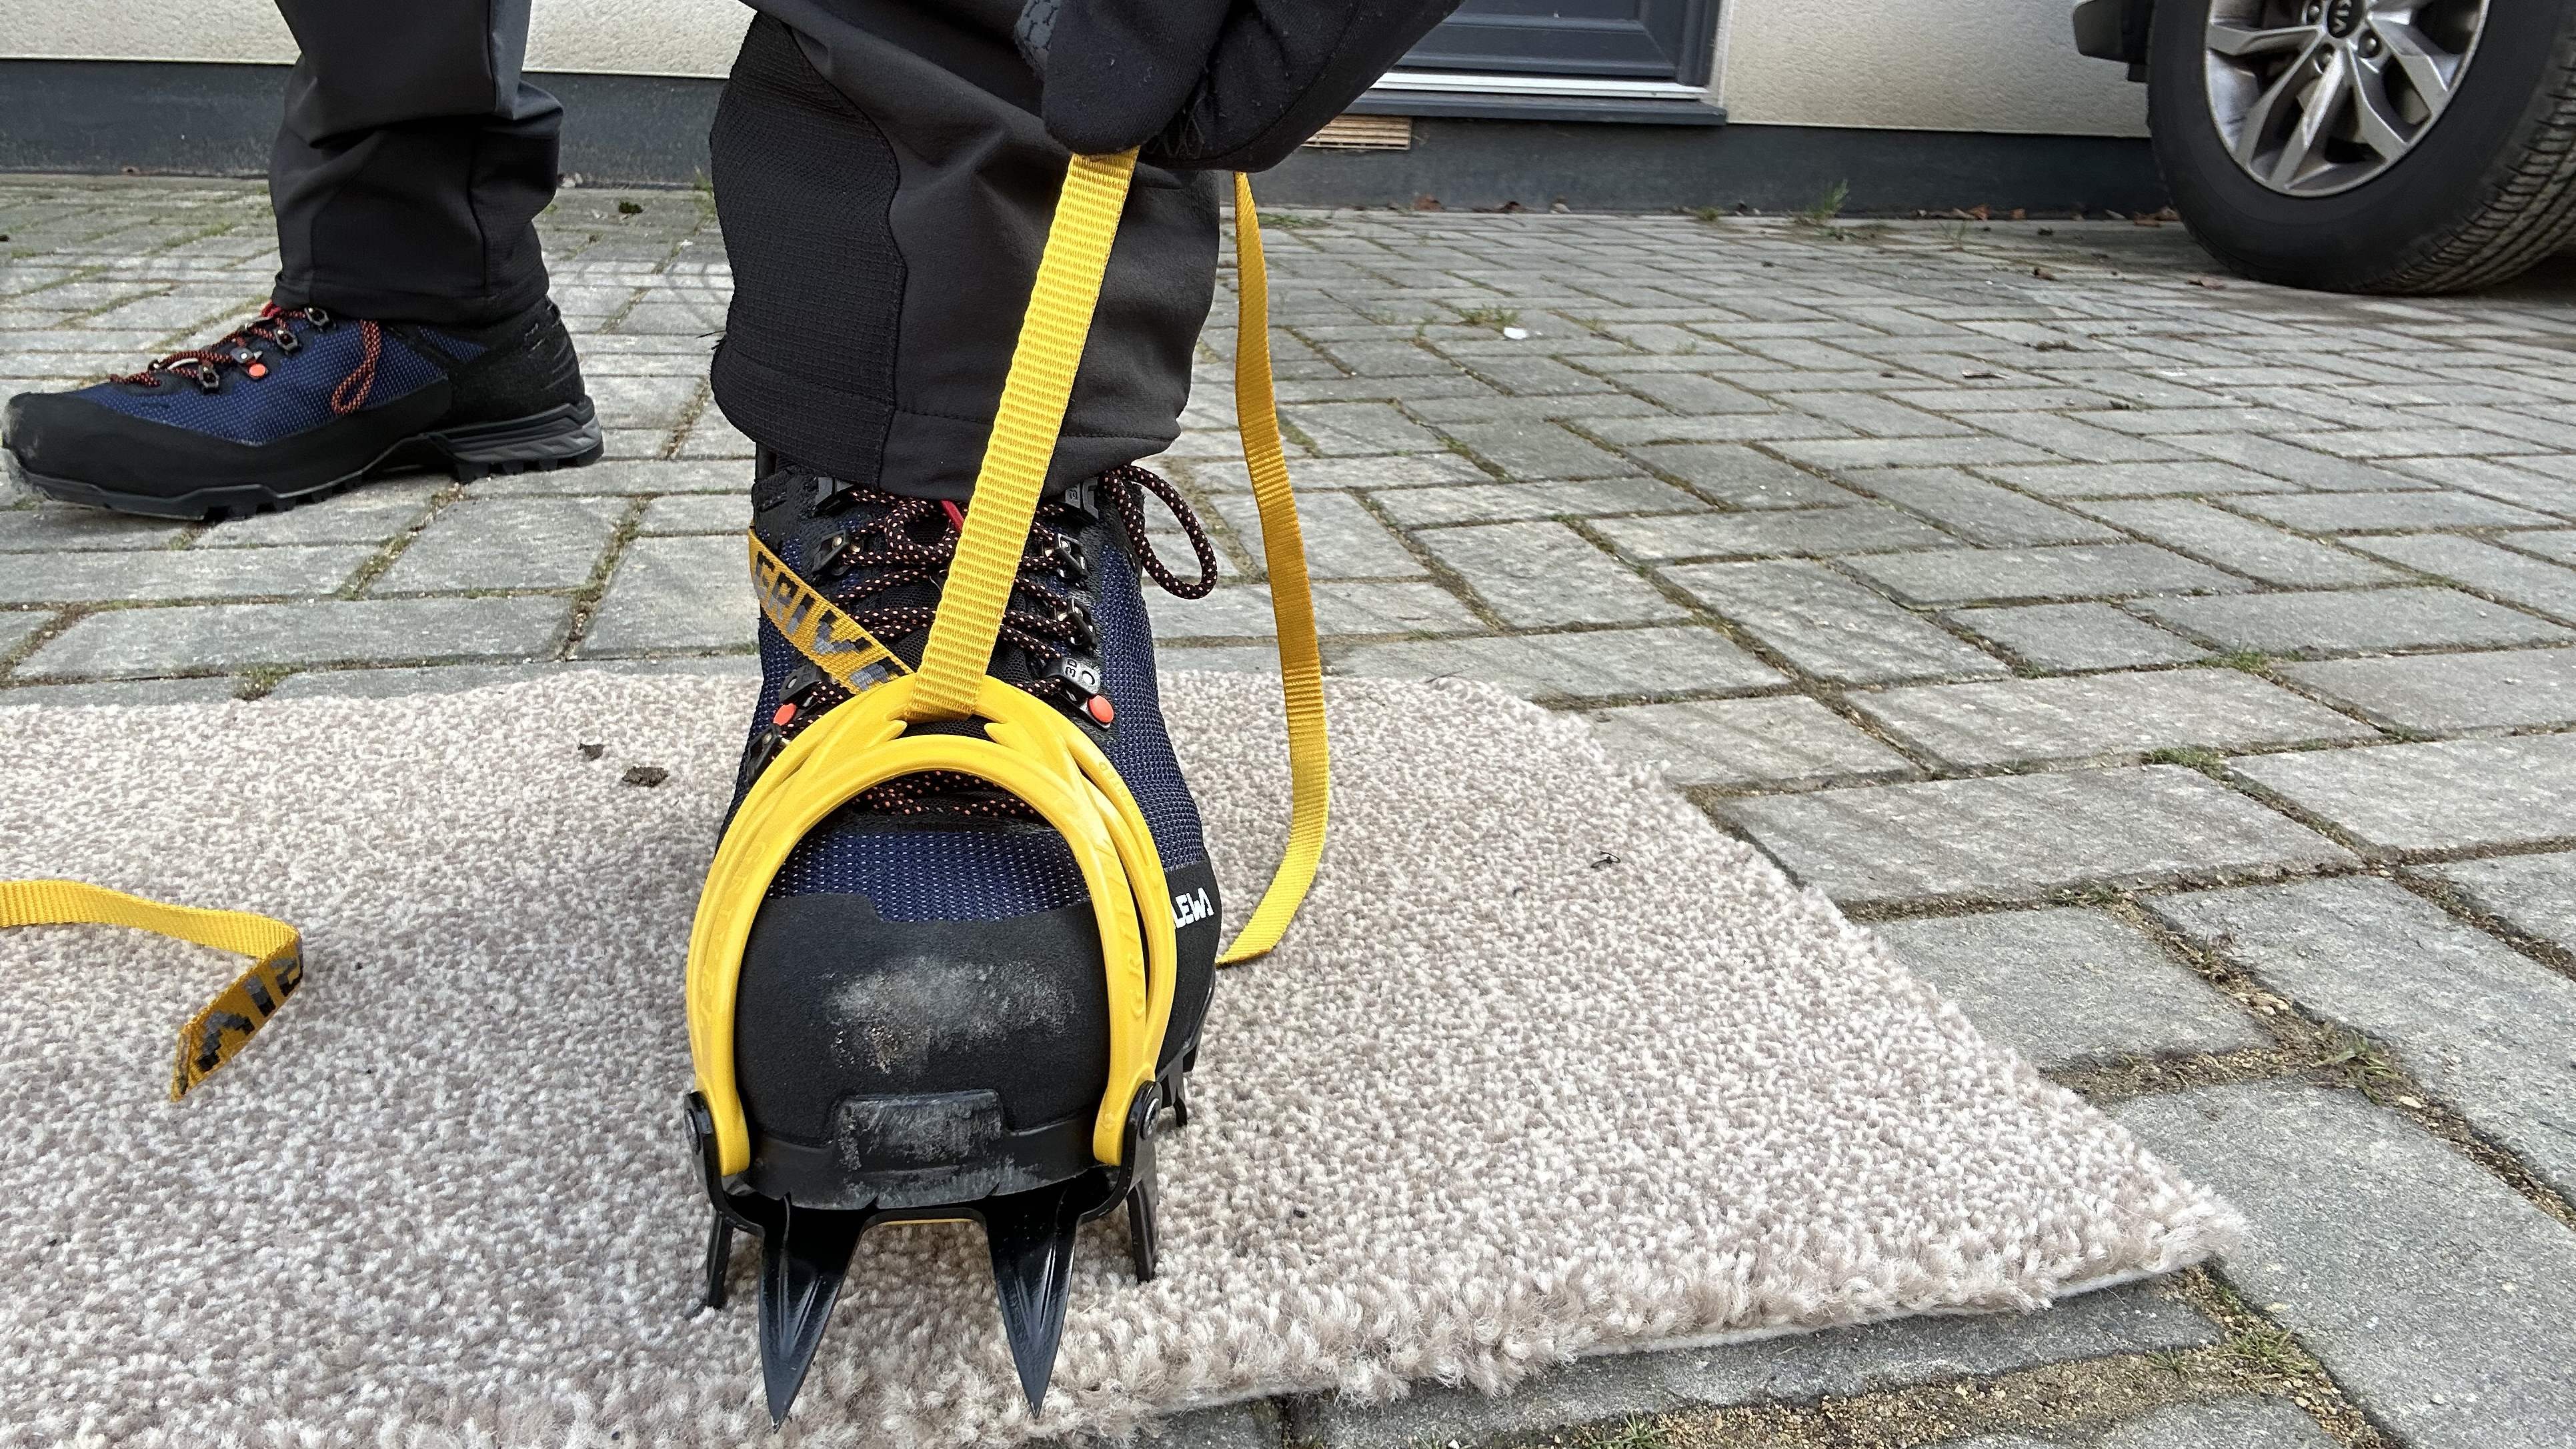
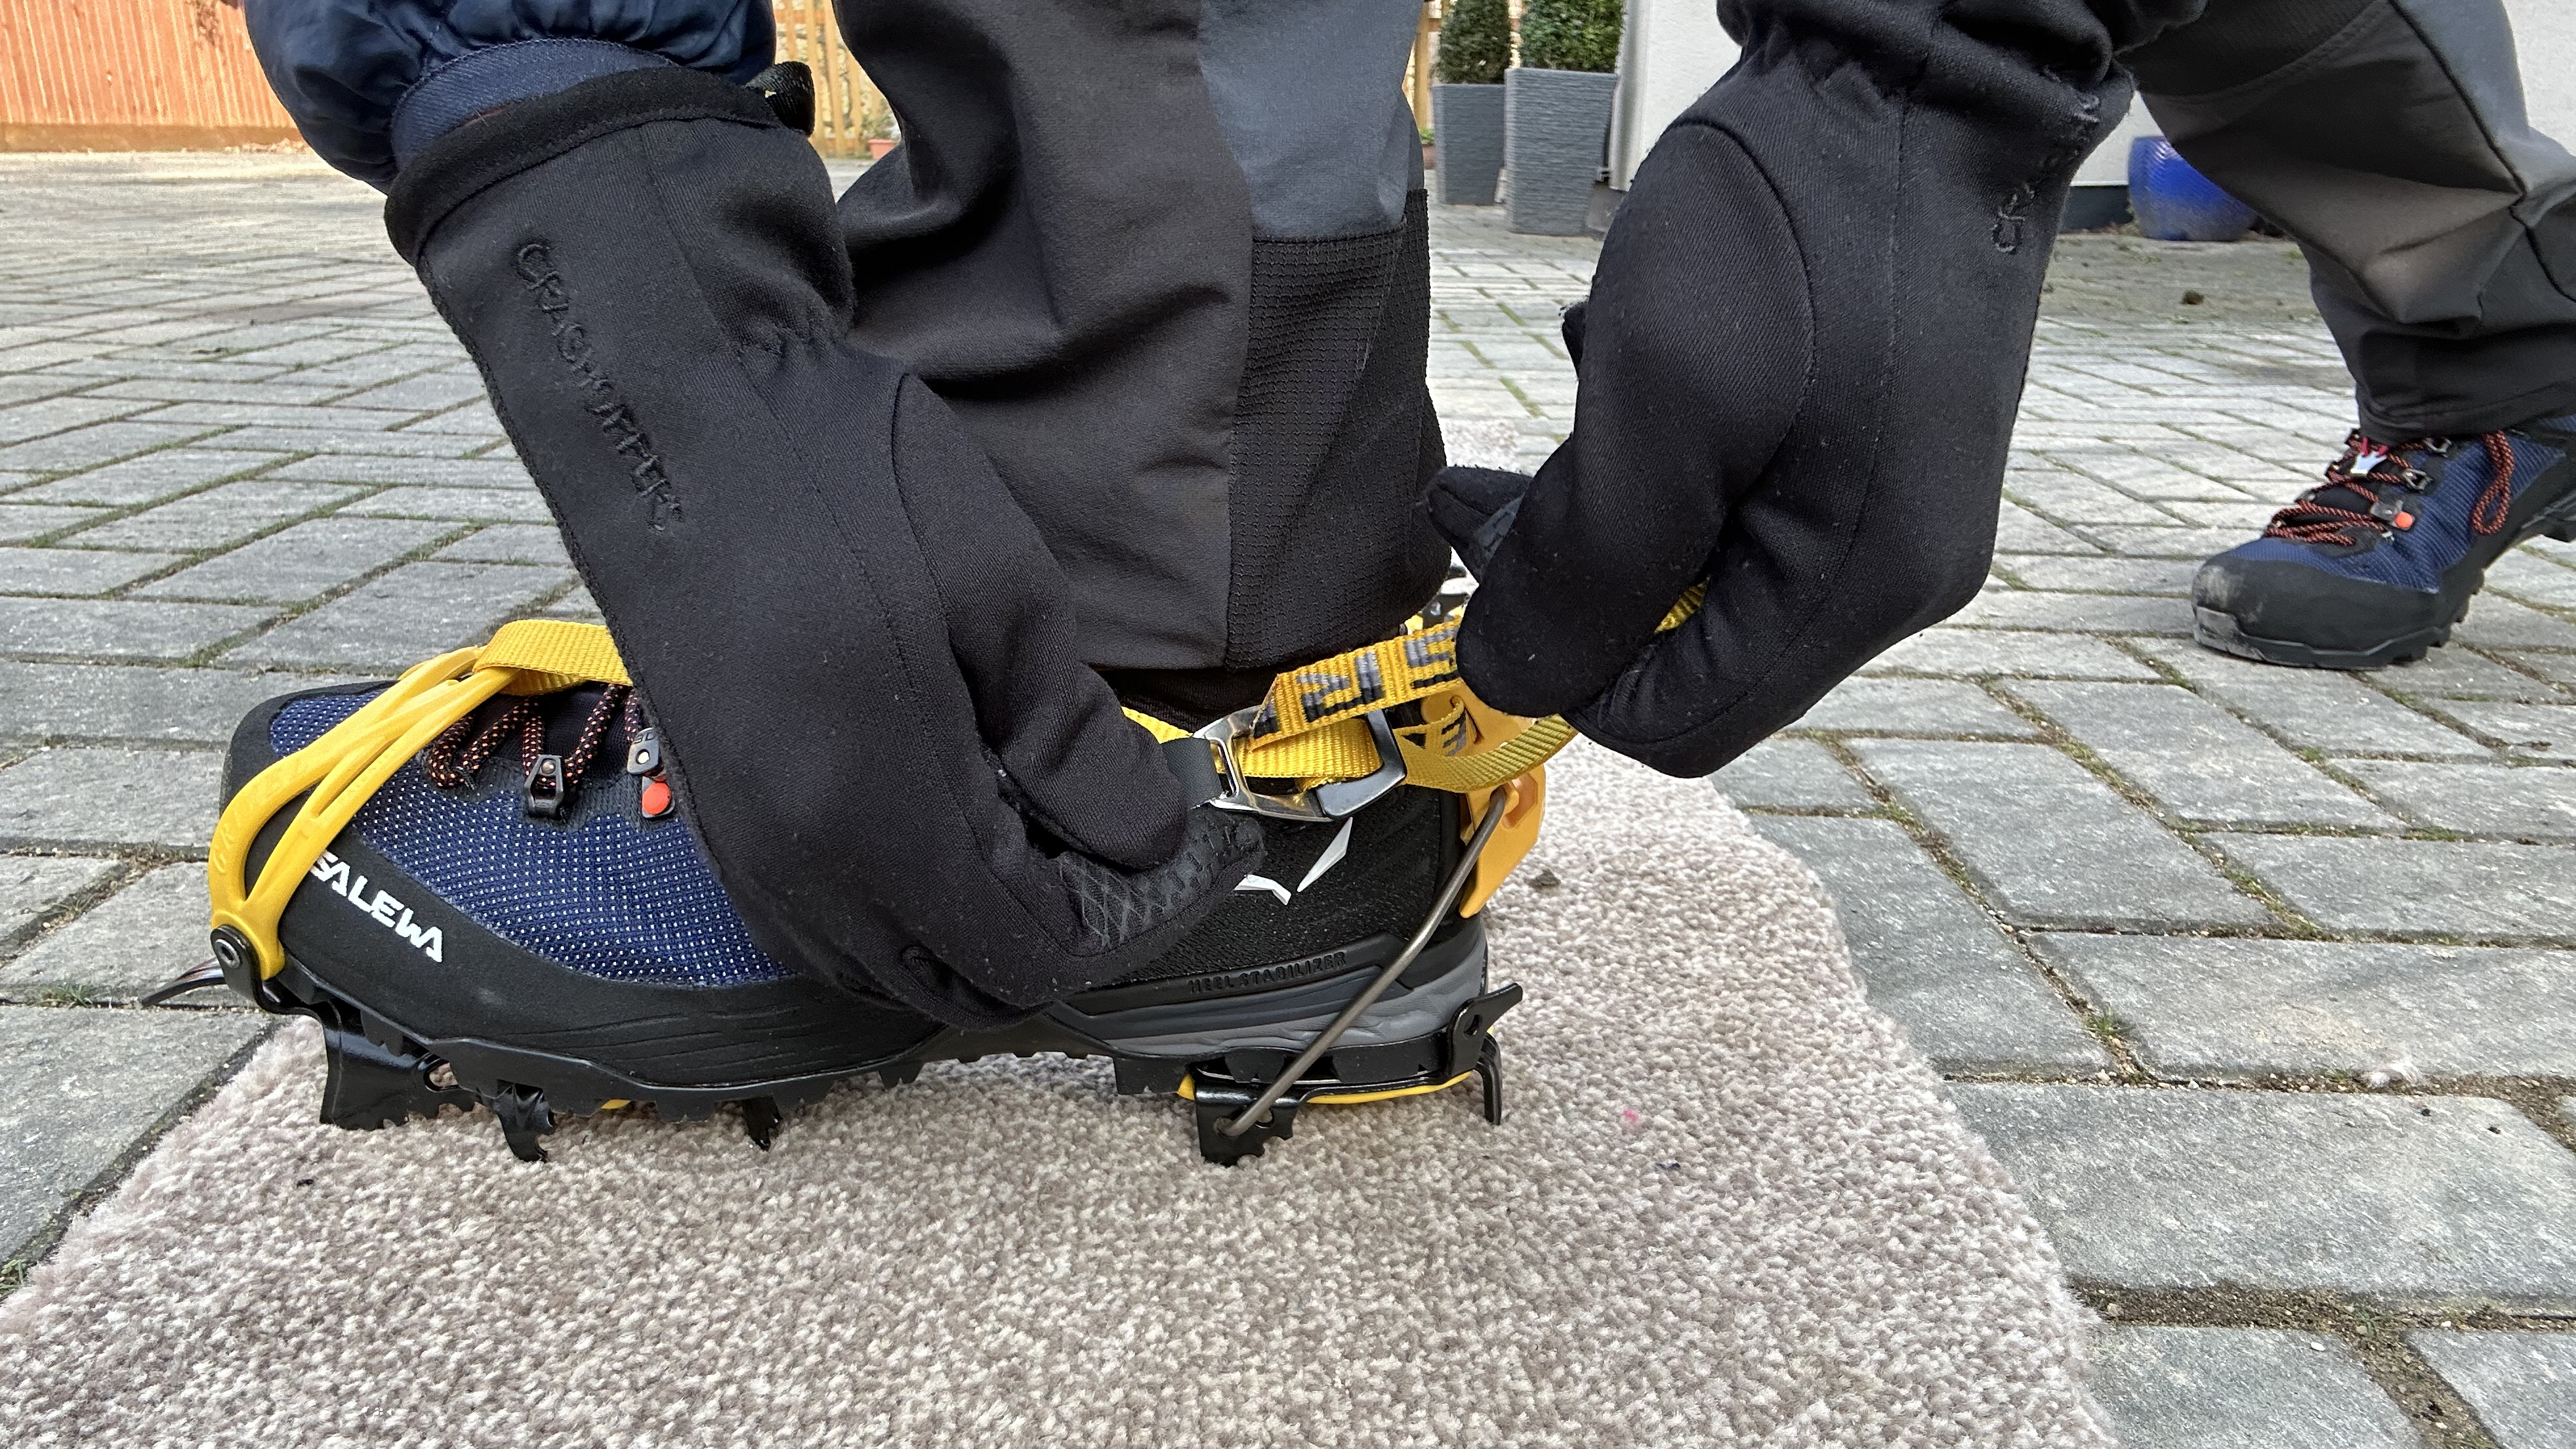
Now, run the binding strap up through the slot on the front cage and back through both loops of the double buckle on the opposite side. Take time to ensure the straps don’t get twisted, as this could lead to them becoming loose later on. Then, feed the strap back through the buckle’s front loop and pull until tight. You should have already cut the strap down to size before being out on the mountain.
Do a visual inspection and give them a test
Check all is in order, before setting out into the sort of technical terrain you’ve put the crampons on for in the first place. You can do this on your own or ask a buddy to quickly assess your work. Things to keep an eye out for are your heel not being flush against the back lugs, the heel clip not sitting properly on the welt, twisted straps, excess straps that could cause a trip hazard and that you haven’t committed a cardinal sin by mixing up left and right.
Finally, stamp around on the ground around your fitting site to check the attachment is secure. You should quickly be able to feel if all is not well. Your crampon should not be loose in the slightest – it should feel as though it is a spiky extension of your boot.
And you're good to go! Have fun. Stomping around winter mountains wearing crampons and wielding an ice axe is one of life's great pleasures. Enjoy!
Alex is a freelance adventure writer and mountain leader with an insatiable passion for the mountains. A Cumbrian born and bred, his native English Lake District has a special place in his heart, though he is at least equally happy in North Wales, the Scottish Highlands or the European Alps. Through his hiking, mountaineering, climbing and trail running adventures, Alex aims to inspire others to get outdoors. He's the former President of the London Mountaineering Club, is training to become a winter mountain leader, looking to finally finish bagging all the Wainwright fells of the Lake District and is always keen to head to the 4,000-meter peaks of the Alps. www.alexfoxfield.com

