How to pitch a tent in the rain: our top tips on wet weather pitching
Our expert tips on how to pitch a tent in the rain, making sure (most of) your stuff stays dry and you keep your fellow campers happy
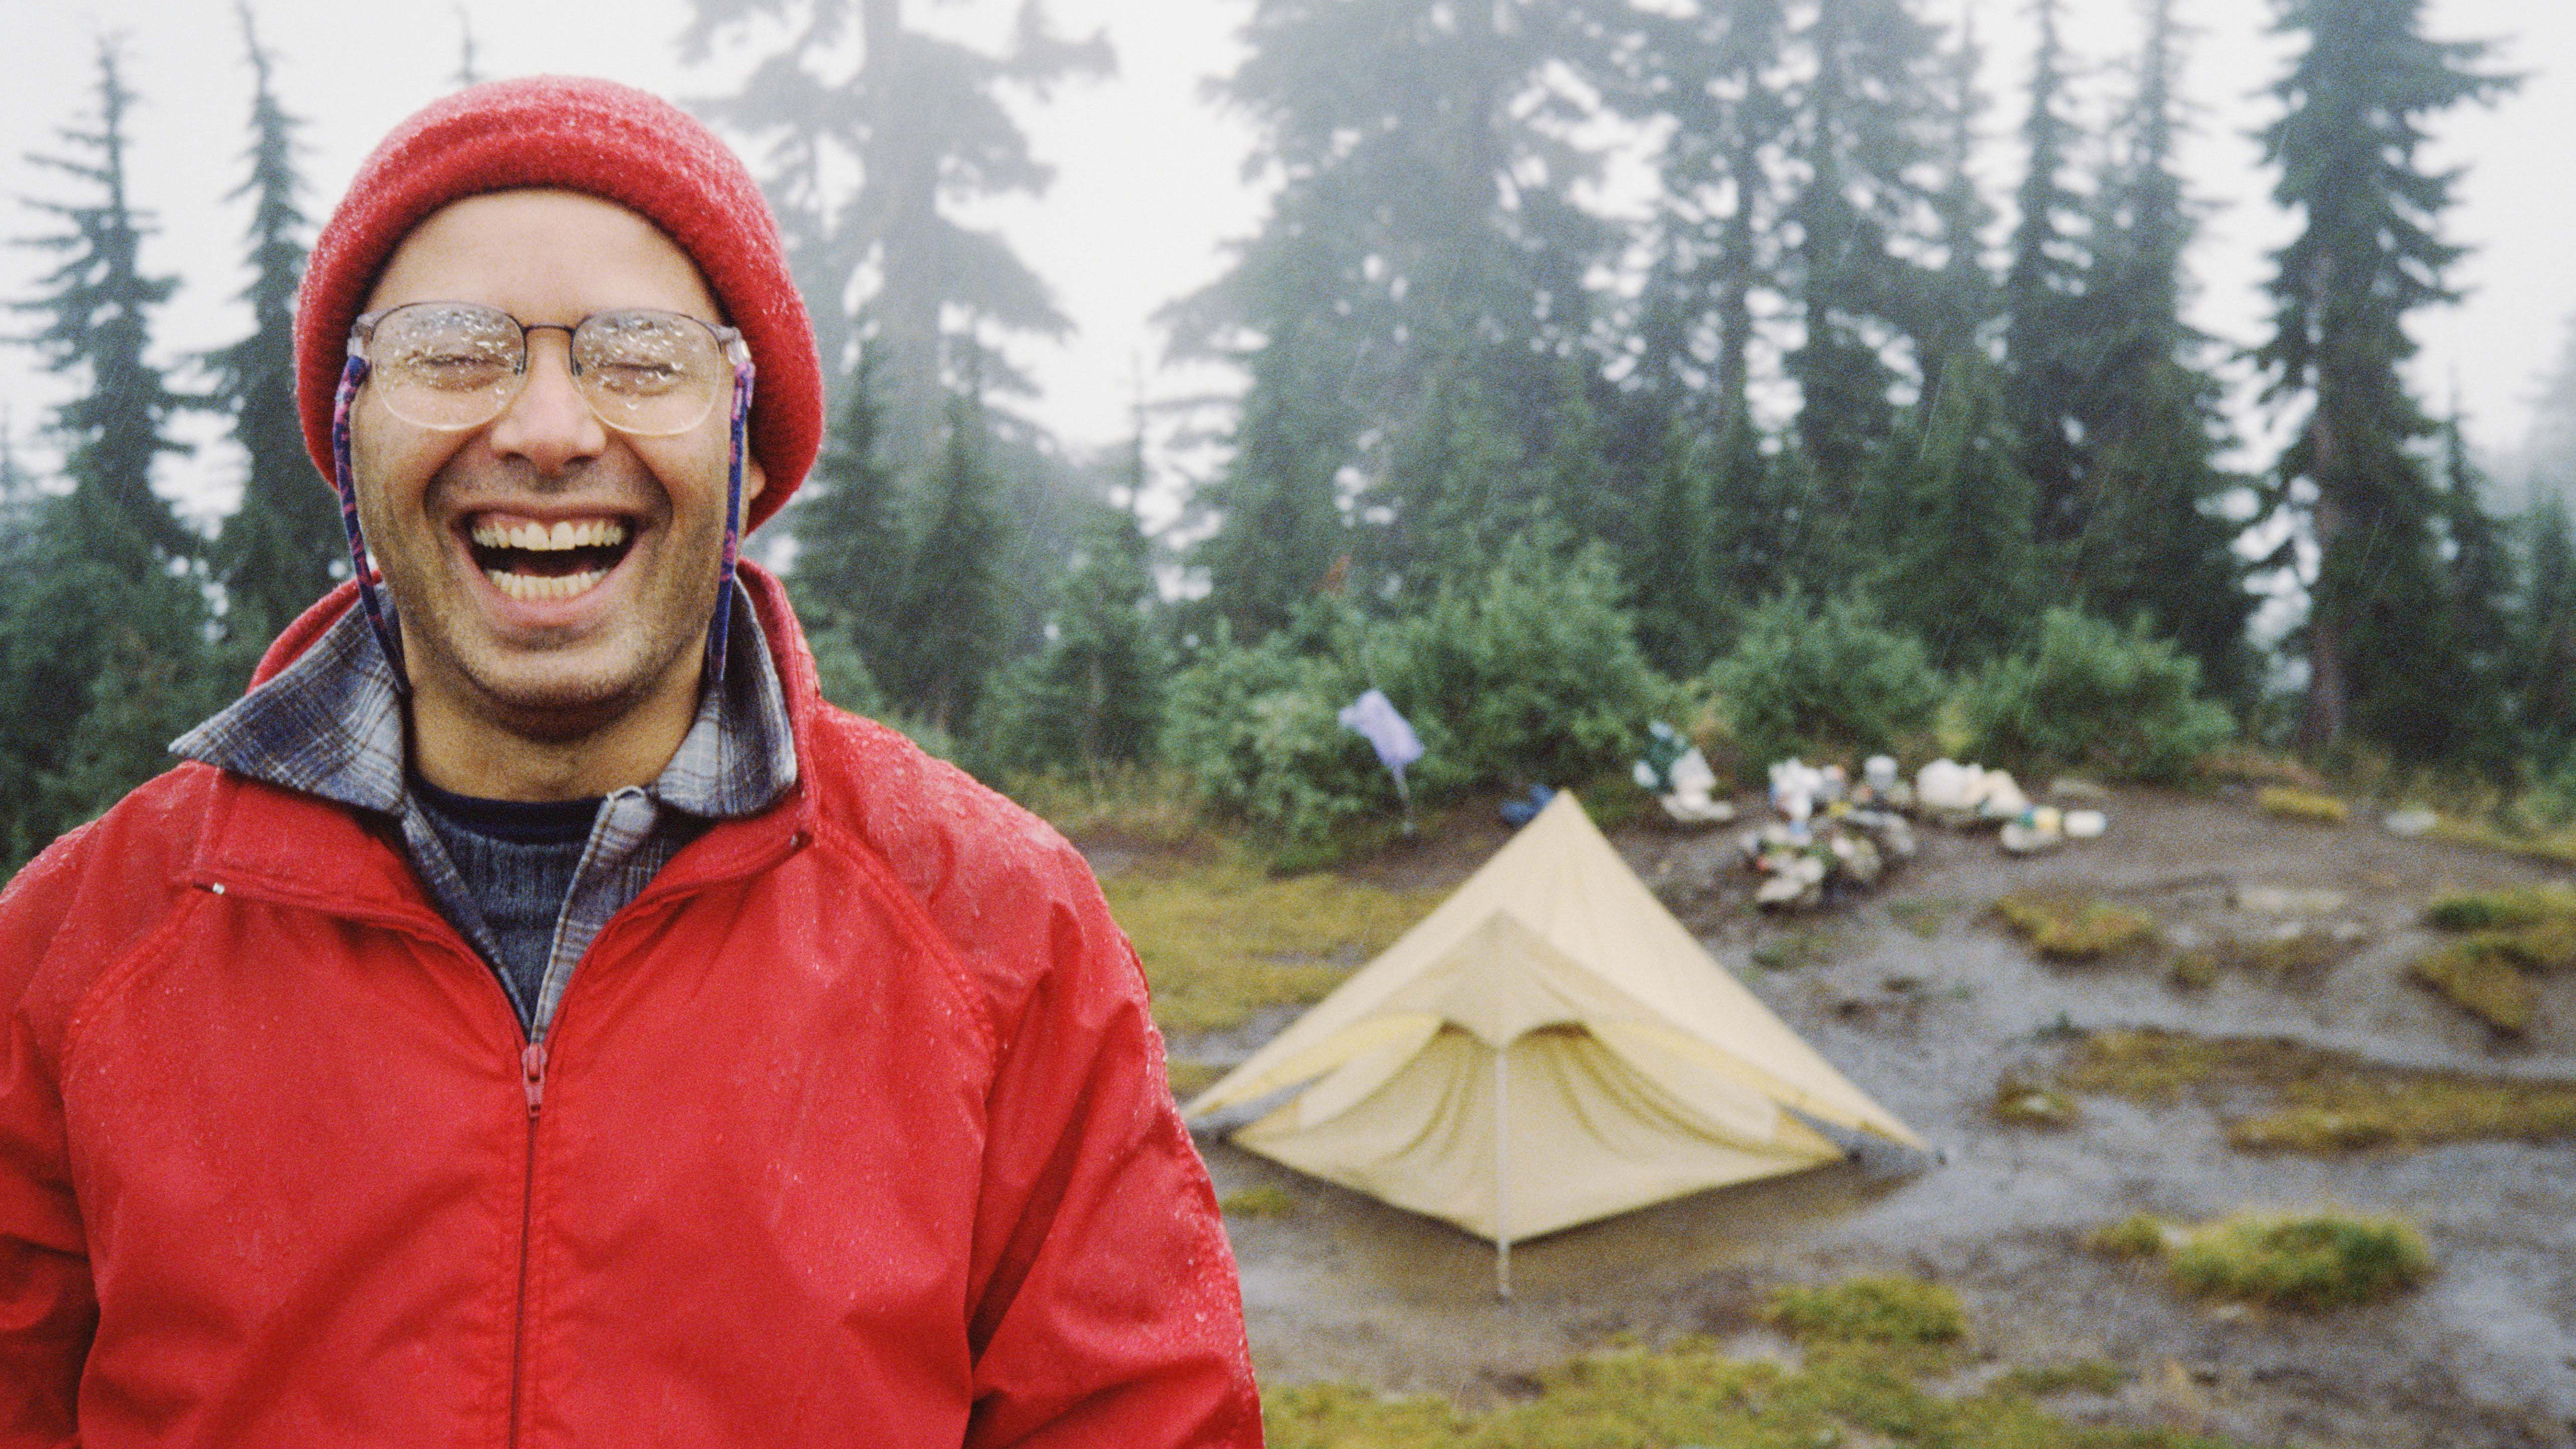
Put simply, you’re going to need to know how to pitch a tent in the rain. Pray to Mother Nature all you want, she’ll do her own thing. This means, regardless of whether you’re a car camping family, festival goer or a backcountry wild camper, you’ll probably have to pitch in wet conditions at some point.
Being able to do achieve great things in horrid conditions can be something of a badge of honour. As a soccer fan in the UK, there’s a common saying about seemingly talented players who arrive in the English Premier League from sunnier European or South American nations. It goes something like: “Yeah, but could they do it on a cold, wet, Tuesday evening in Stoke?”
It seems being able to perform in driech (that’s Scottish for absolutely soaking and miserable) conditions is something to admire. So, knowing how to pitch a tent in the rain will probably draw similar kudos from your camping buddies, as well as keeping your gear dry, which is probably more important than any amount of respect anyway. No one wants to snuggle into a wet sleeping bag.
To help you know how to pitch your camping tent in the rain, we’ve compiled this comprehensive, hard-won guide.
How to pitch a tent in the rain: fundamentals
Basically, before you pitch in the rain, you need to know how to pitch your tent in the first place.
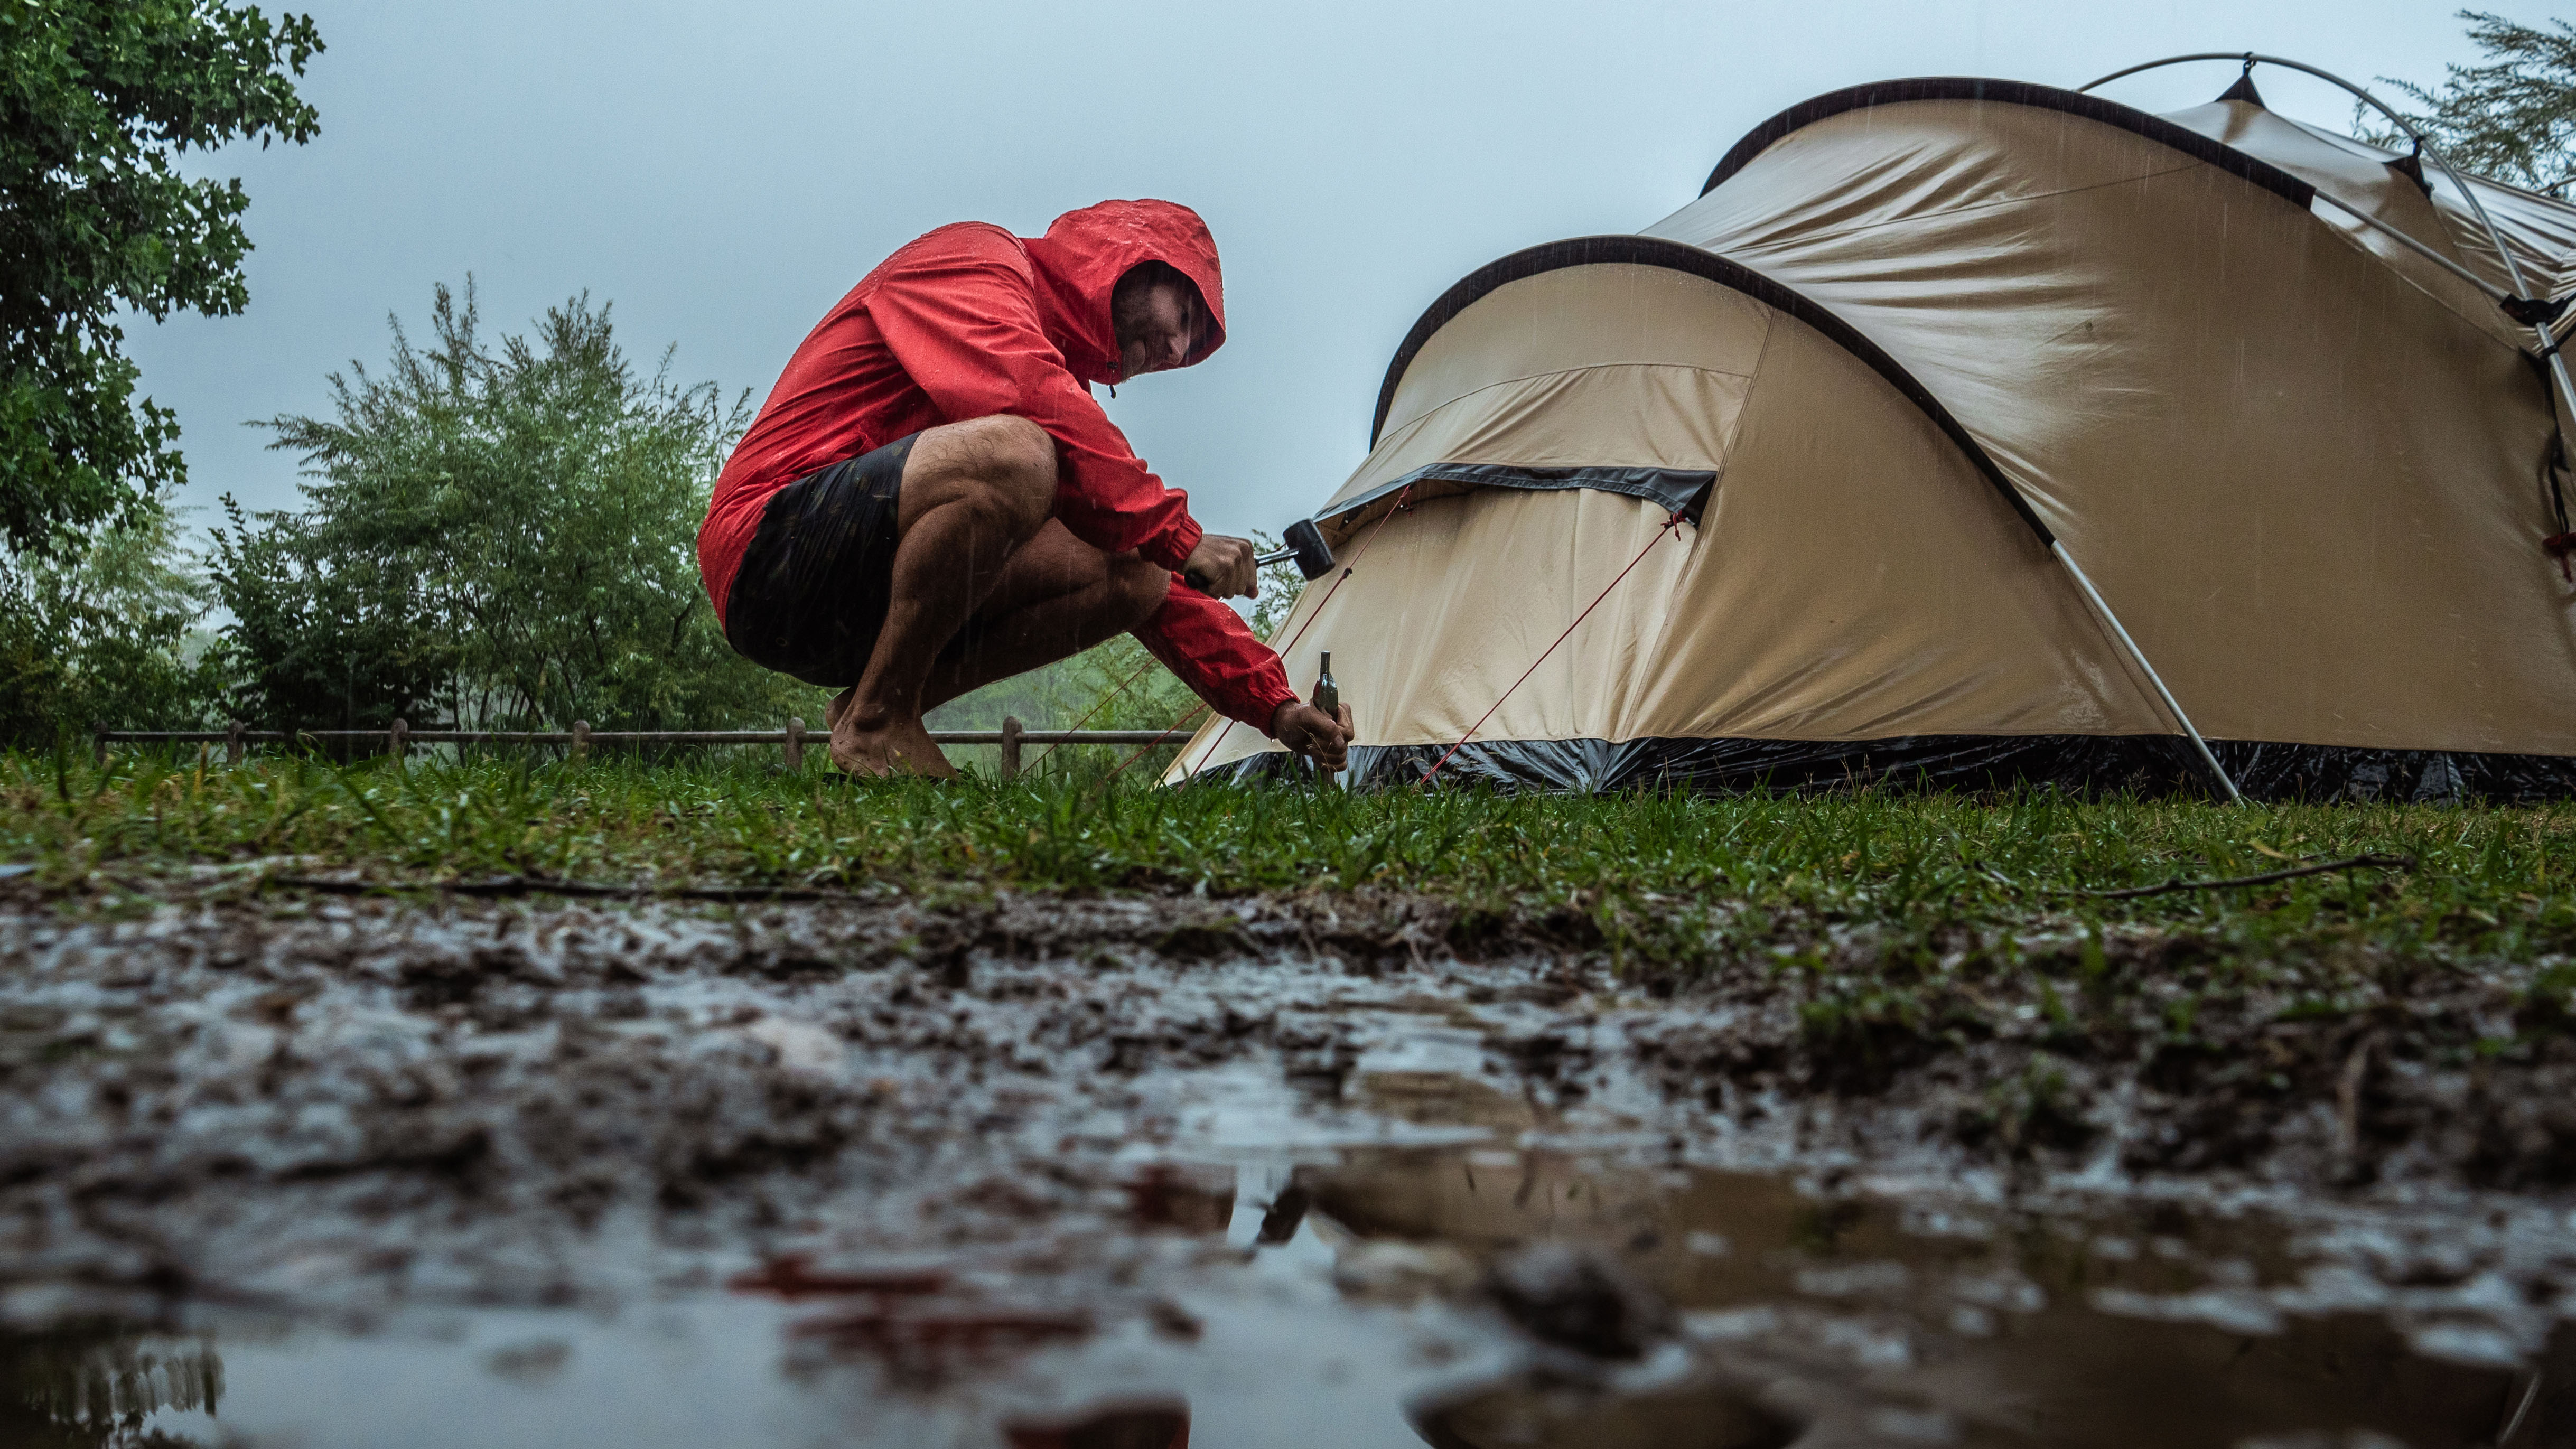
You don't want to be putting your tent up for the first time in a horrendous downpour. So, if you’ve got a new family tent for the summer or you’ve nabbed yourself one of the best pop-up tents for a festival, practise putting it up in your backyard or a local park in calm conditions before the big trip.
If your tent’s been in storage since last season, take the opportunity to remind yourself how it all goes together and check it for damage while you're at it. It’s better to catch any flaws now then to realise there’s a leaking hole in the canvas at 4am on a remote mountain ridge in a rainstorm.
Advnture Newsletter
All the latest inspiration, tips and guides to help you plan your next Advnture!
Location, location, location
Location is important for any pitch but even more so when it comes to pitching in the rain. Just ask anyone who’s ever ended up virtually sleeping underwater at a music festival. It’s likely that the poor souls who suffer this fate arrived later than those who bagged the best camping spots – so, what are these 'best spots' exactly?
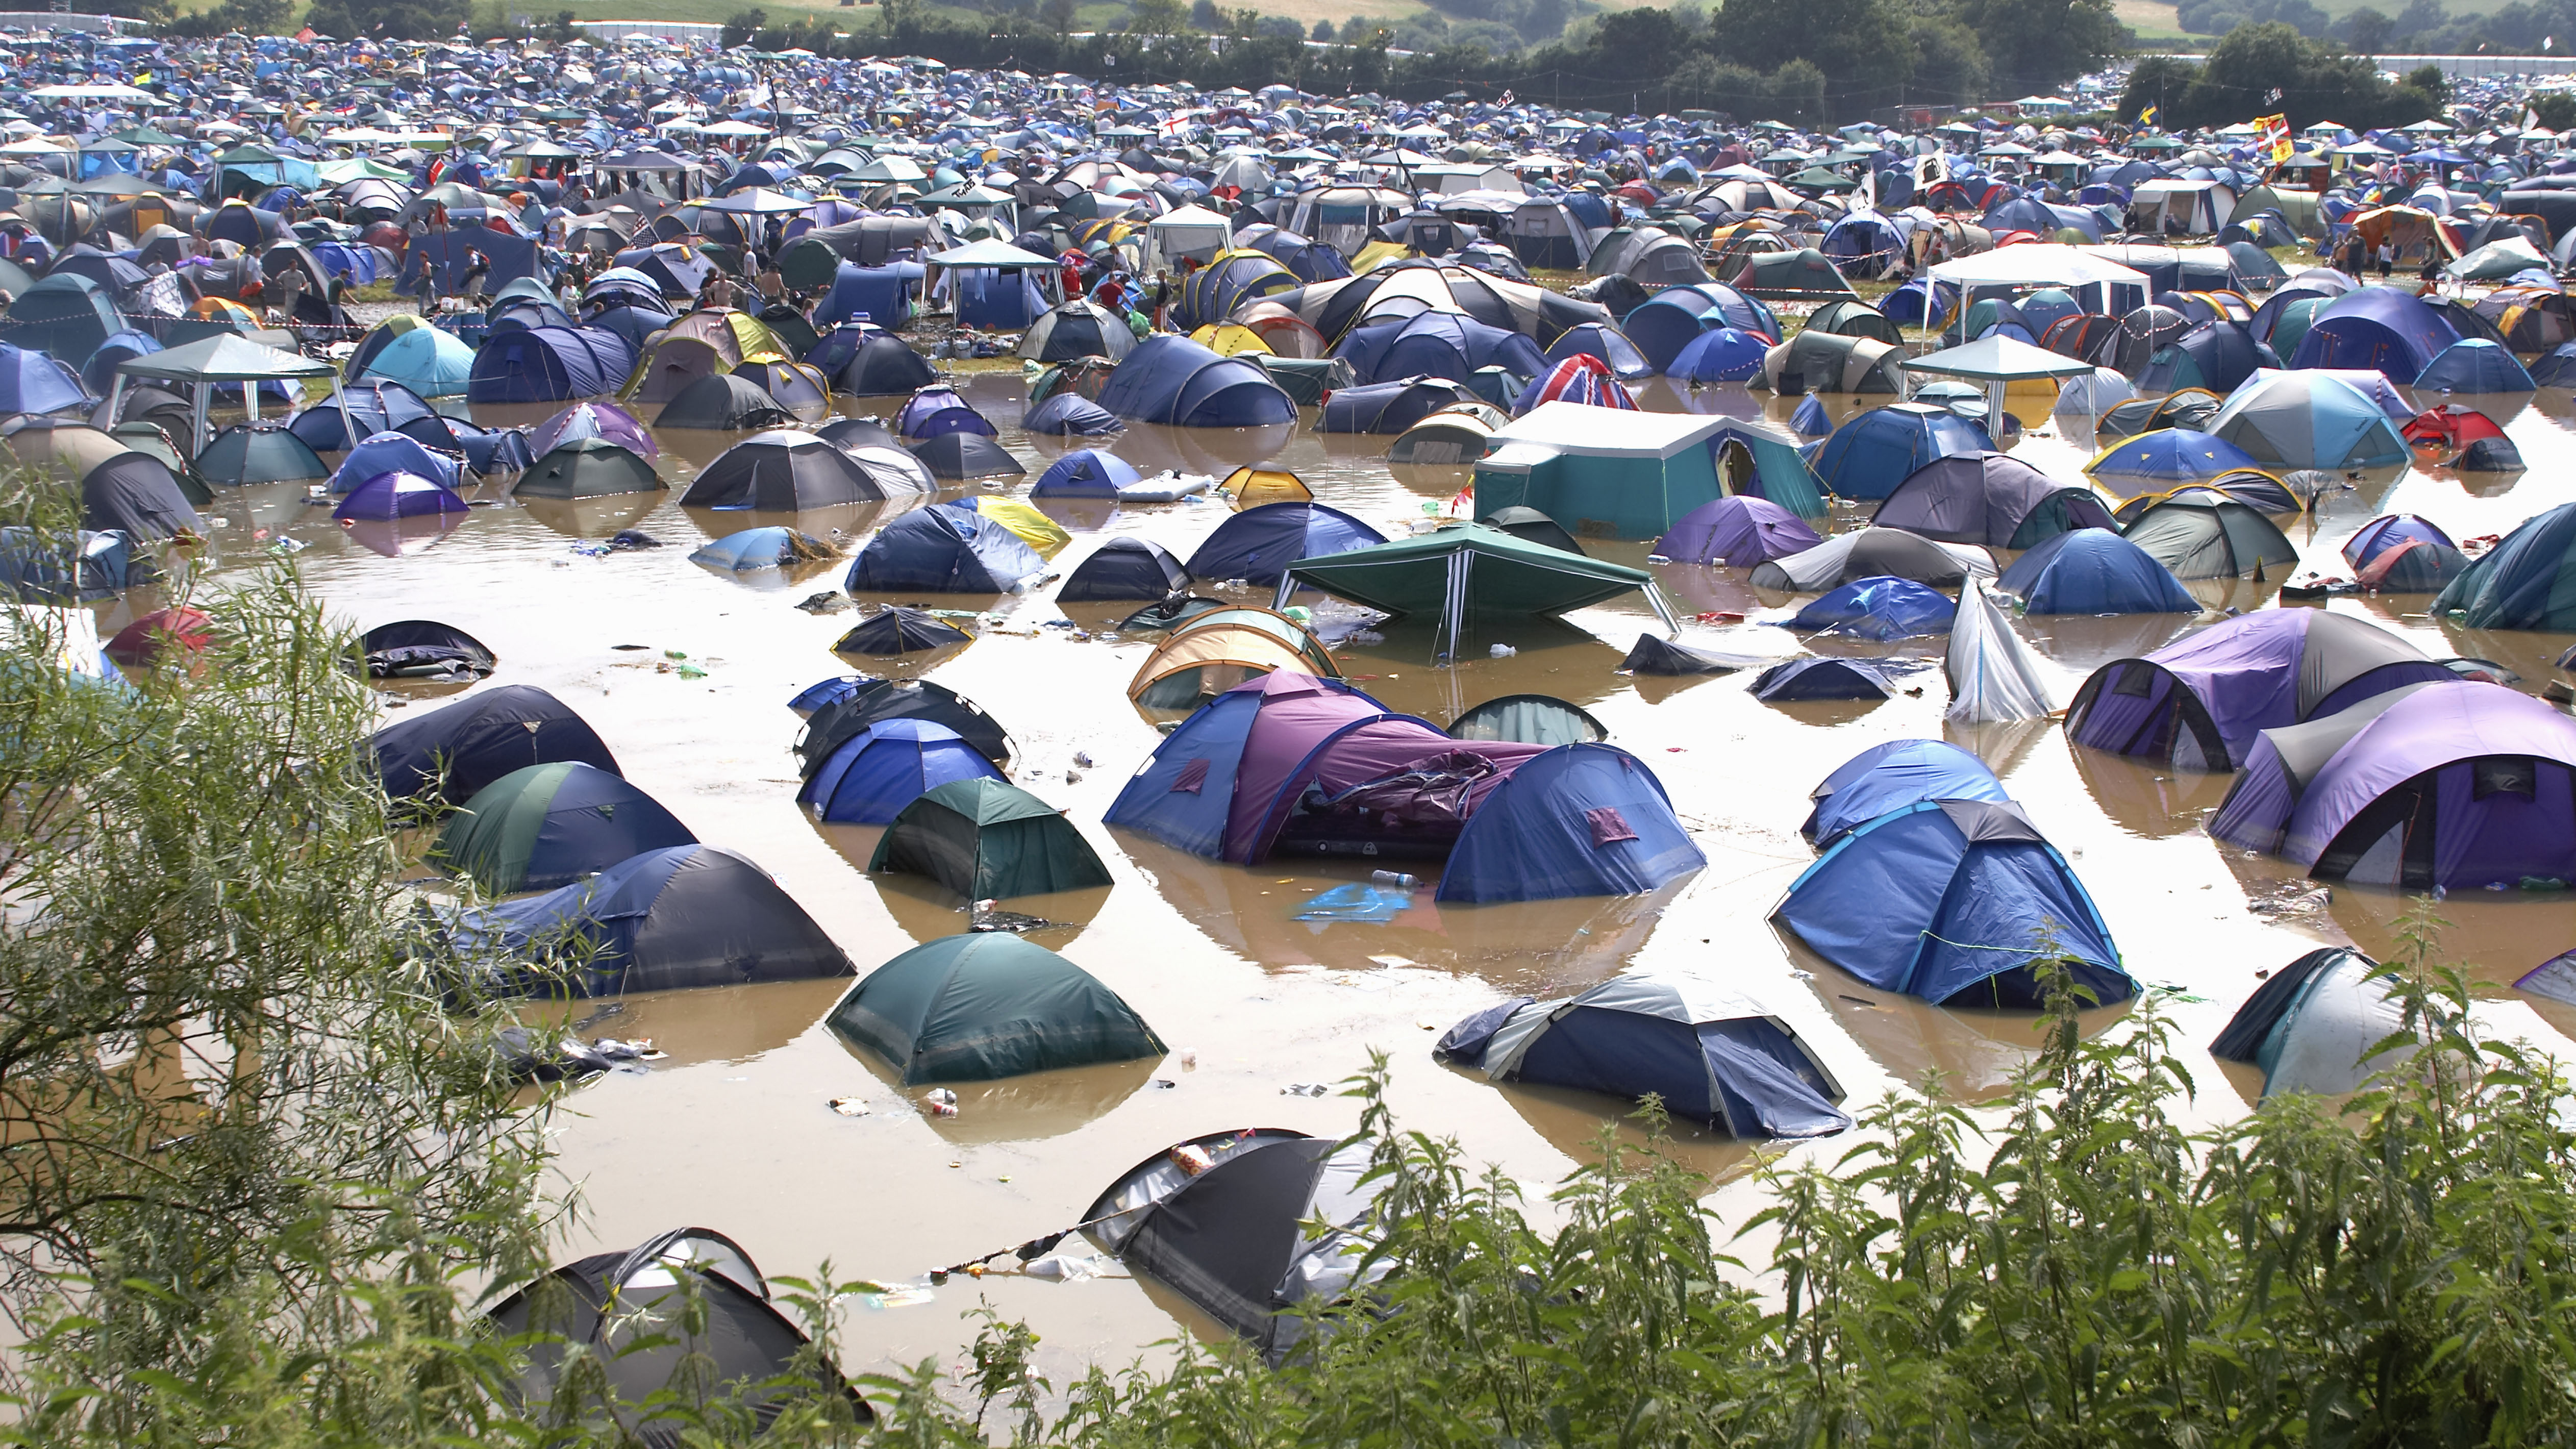
It’s quite a multi-faceted decision. You want plenty of shelter, but you don’t want to make the mistake of choosing a tent site that’s going to fill with water overnight. You shouldn’t pitch too close to water sources anyway and you should avoid low-lying depressions that could flood. The low point between two mountains (a col, bwlch, pass or bealach depending on where you’re hiking) is often prone to bogginess, so avoid these.
As you might already be aware, finding ground that’s as flat as a tennis court is ideal. However, such a patch tends to be tricky to find in the backcountry, so anything resembling flattish ground is best. Let's summarize: a small area of flat ground that’s above the lowest lying terrain is ideal when pitching in the rain.
Consider your shelter’s shelter
Higher ground is less likely to flood but it is more exposed to the elements, so it’s worth thinking about shelter. If you’ve studied the weather forecast, you should know which direction the prevailing winds are coming from.
Use this information to select your wild campsite well in advance of actually arriving there, choosing a spot that will be sheltered from the wind by the surrounding topography – ideally in the lee side of a natural windbreak, like an escarpment or ridge. If you’re up high on a ridge already, natural shelters like boulders or the rocky crest of an arête will do. Just don't forget that the higher you go, the windier it generally tends to get.
When pitching, face your tent’s opening away from any wind. That way, the rain won’t come gushing in every time you optimistically pop your head out in the hope of a nice sunrise, only for Mother Nature to give you a wet slap in the face.
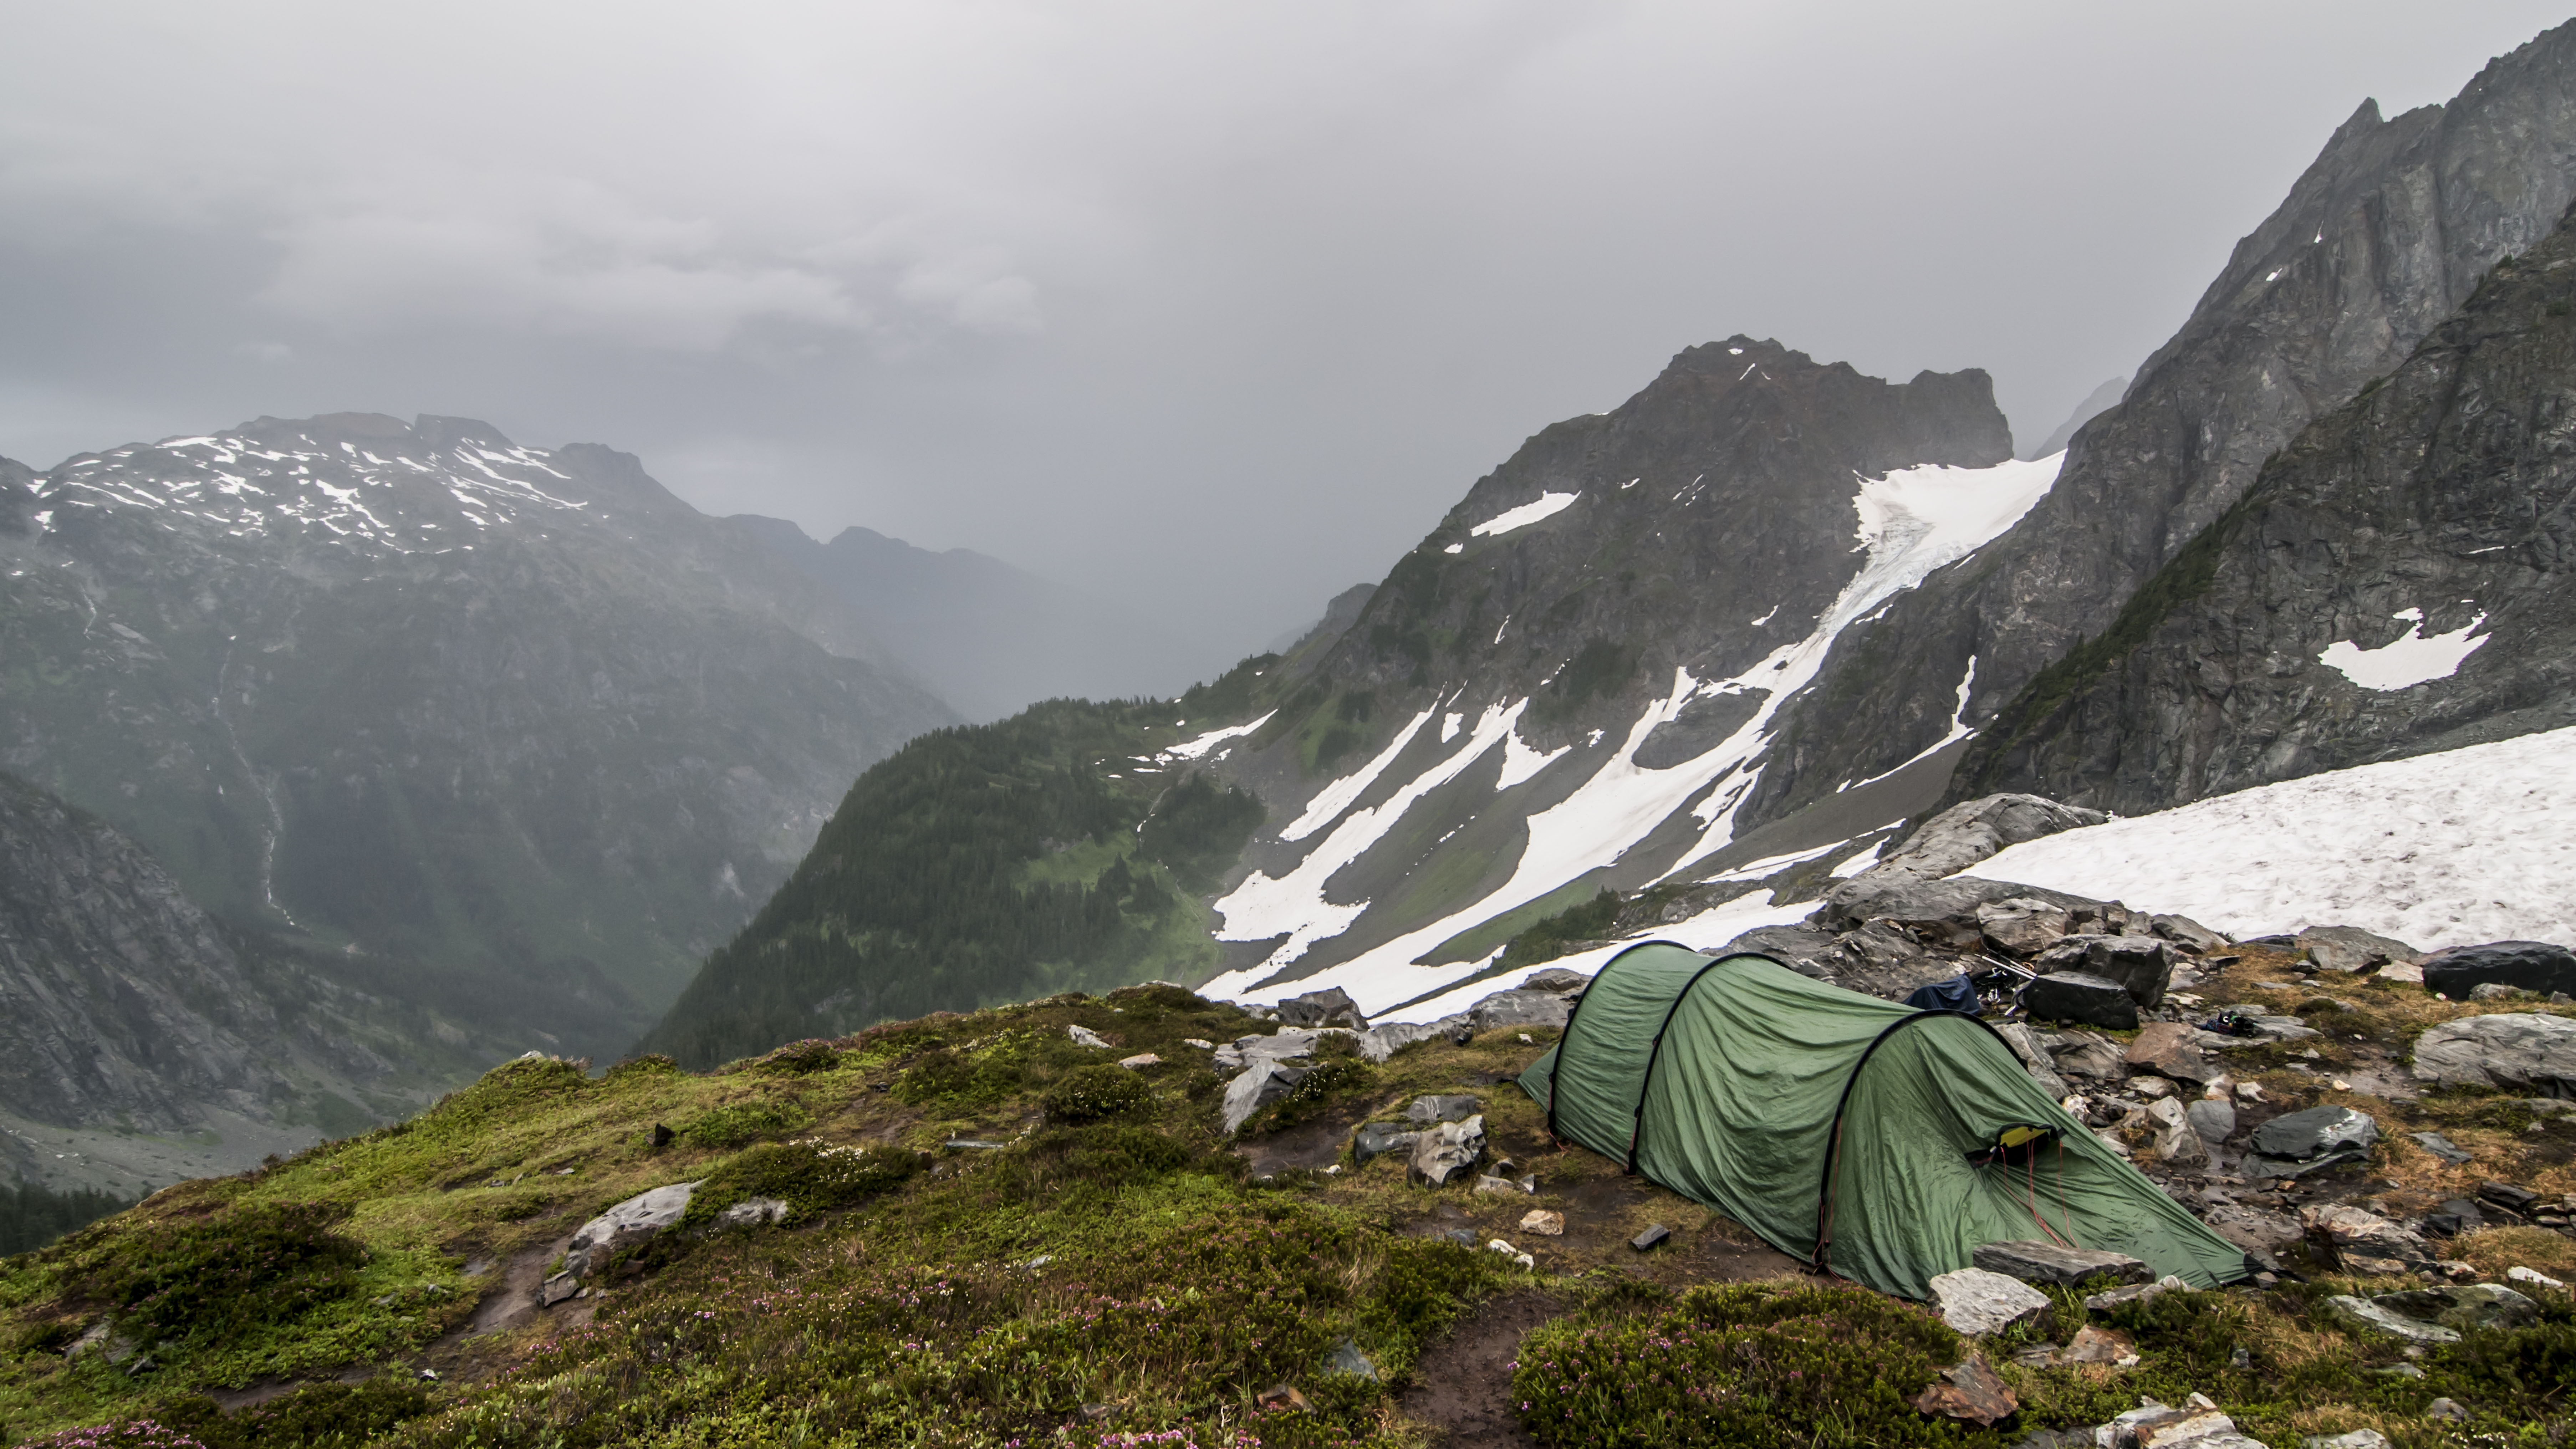
So, you should generally use the surrounding landscape for shelter but there are a couple of big no-nos. Pitching your tent under a tree is usually a bad idea, as falling tree branches pose a very real danger and can break off in storms. Similarly, the windbreak provided by a cliff or buttress can seem tempting, but you really don’t want rocks raining down on you from above. Liquid rain is preferable to granite rain.
It can be tempting when it’s bucketing it down to choose a pitch site quickly but it’s certainly worth taking the time to find the optimum spot.
Three, two, one... PITCH!
Location chosen, it’s time to pitch your tent in the rain. Hopefully, you’re aware of the forecast and have put your tent in an easily accessible part of your pack. No one wants to have to take out their dry sleeping bag, spare clothes and sleeping pad in the pouring rain, just to get to their tent.
So, the key thing here is to try and keep everything dry, including yourself. Wearing a quality waterproof jacket, rain pants and waterproof hiking boots is half the battle, as is having your valuables stashed in dry bags within your backpack. There's also the option of a waterproof backpack cover, but I see these so often separated from their owner, littering the backcountry, that I'm somewhat against their use.
Anyway, keep all your decent gear on, work methodically and you’re castle of canvas will be fortified in no time.

One little tip: although you shouldn’t pitch beneath trees, if you’ve assessed the risks, you can use this kind of direct shelter, if it's nearby, to assemble your tent before moving it to your final pitch site and staking it out with your pegs.
Tents tend to be either double-walled, with a rainfly and an inner tent, or single-walled, with just the outer tent between the inside and the elements. A tent’s outer rainfly is designed to be highly waterproof, to keep everything inside dry. Pitching a single-walled tent in the rain is more straightforward than a double-walled, where the porous inner is likely to get soaked if you’re not careful. With this in mind, the tips below are more relevant for double-walled tents but the principles remain the same for single-walled shelters.
Focus on keeping the inner dry
When you open up your tent’s stuff sack, speed is of the essence. If you can assemble your poles before opening the rest of the tent out, do it. If there’s little by way of wind, there’s no need to temporarily peg anything out and you should try to keep your inner tent sheltered under the rainfly. However, if it’s blowing a hoolie, you’ll want to peg out your tent’s footprint to stop it from blowing away.
Most modern double-walled tents have a fast fly setup where you can pitch the waterproof rainfly first, before attaching the inner to it from the inside. If this is not the case with yours, we've arrived at one of the key moments, when your tent is at its most vulnerable. You’ll need to work quickly and calmly to get the inner erected as fast as possible before adding the rainfly. This is why it is important to practise pitching in the comfort of your garden, before wrestling with the backcountry elements.
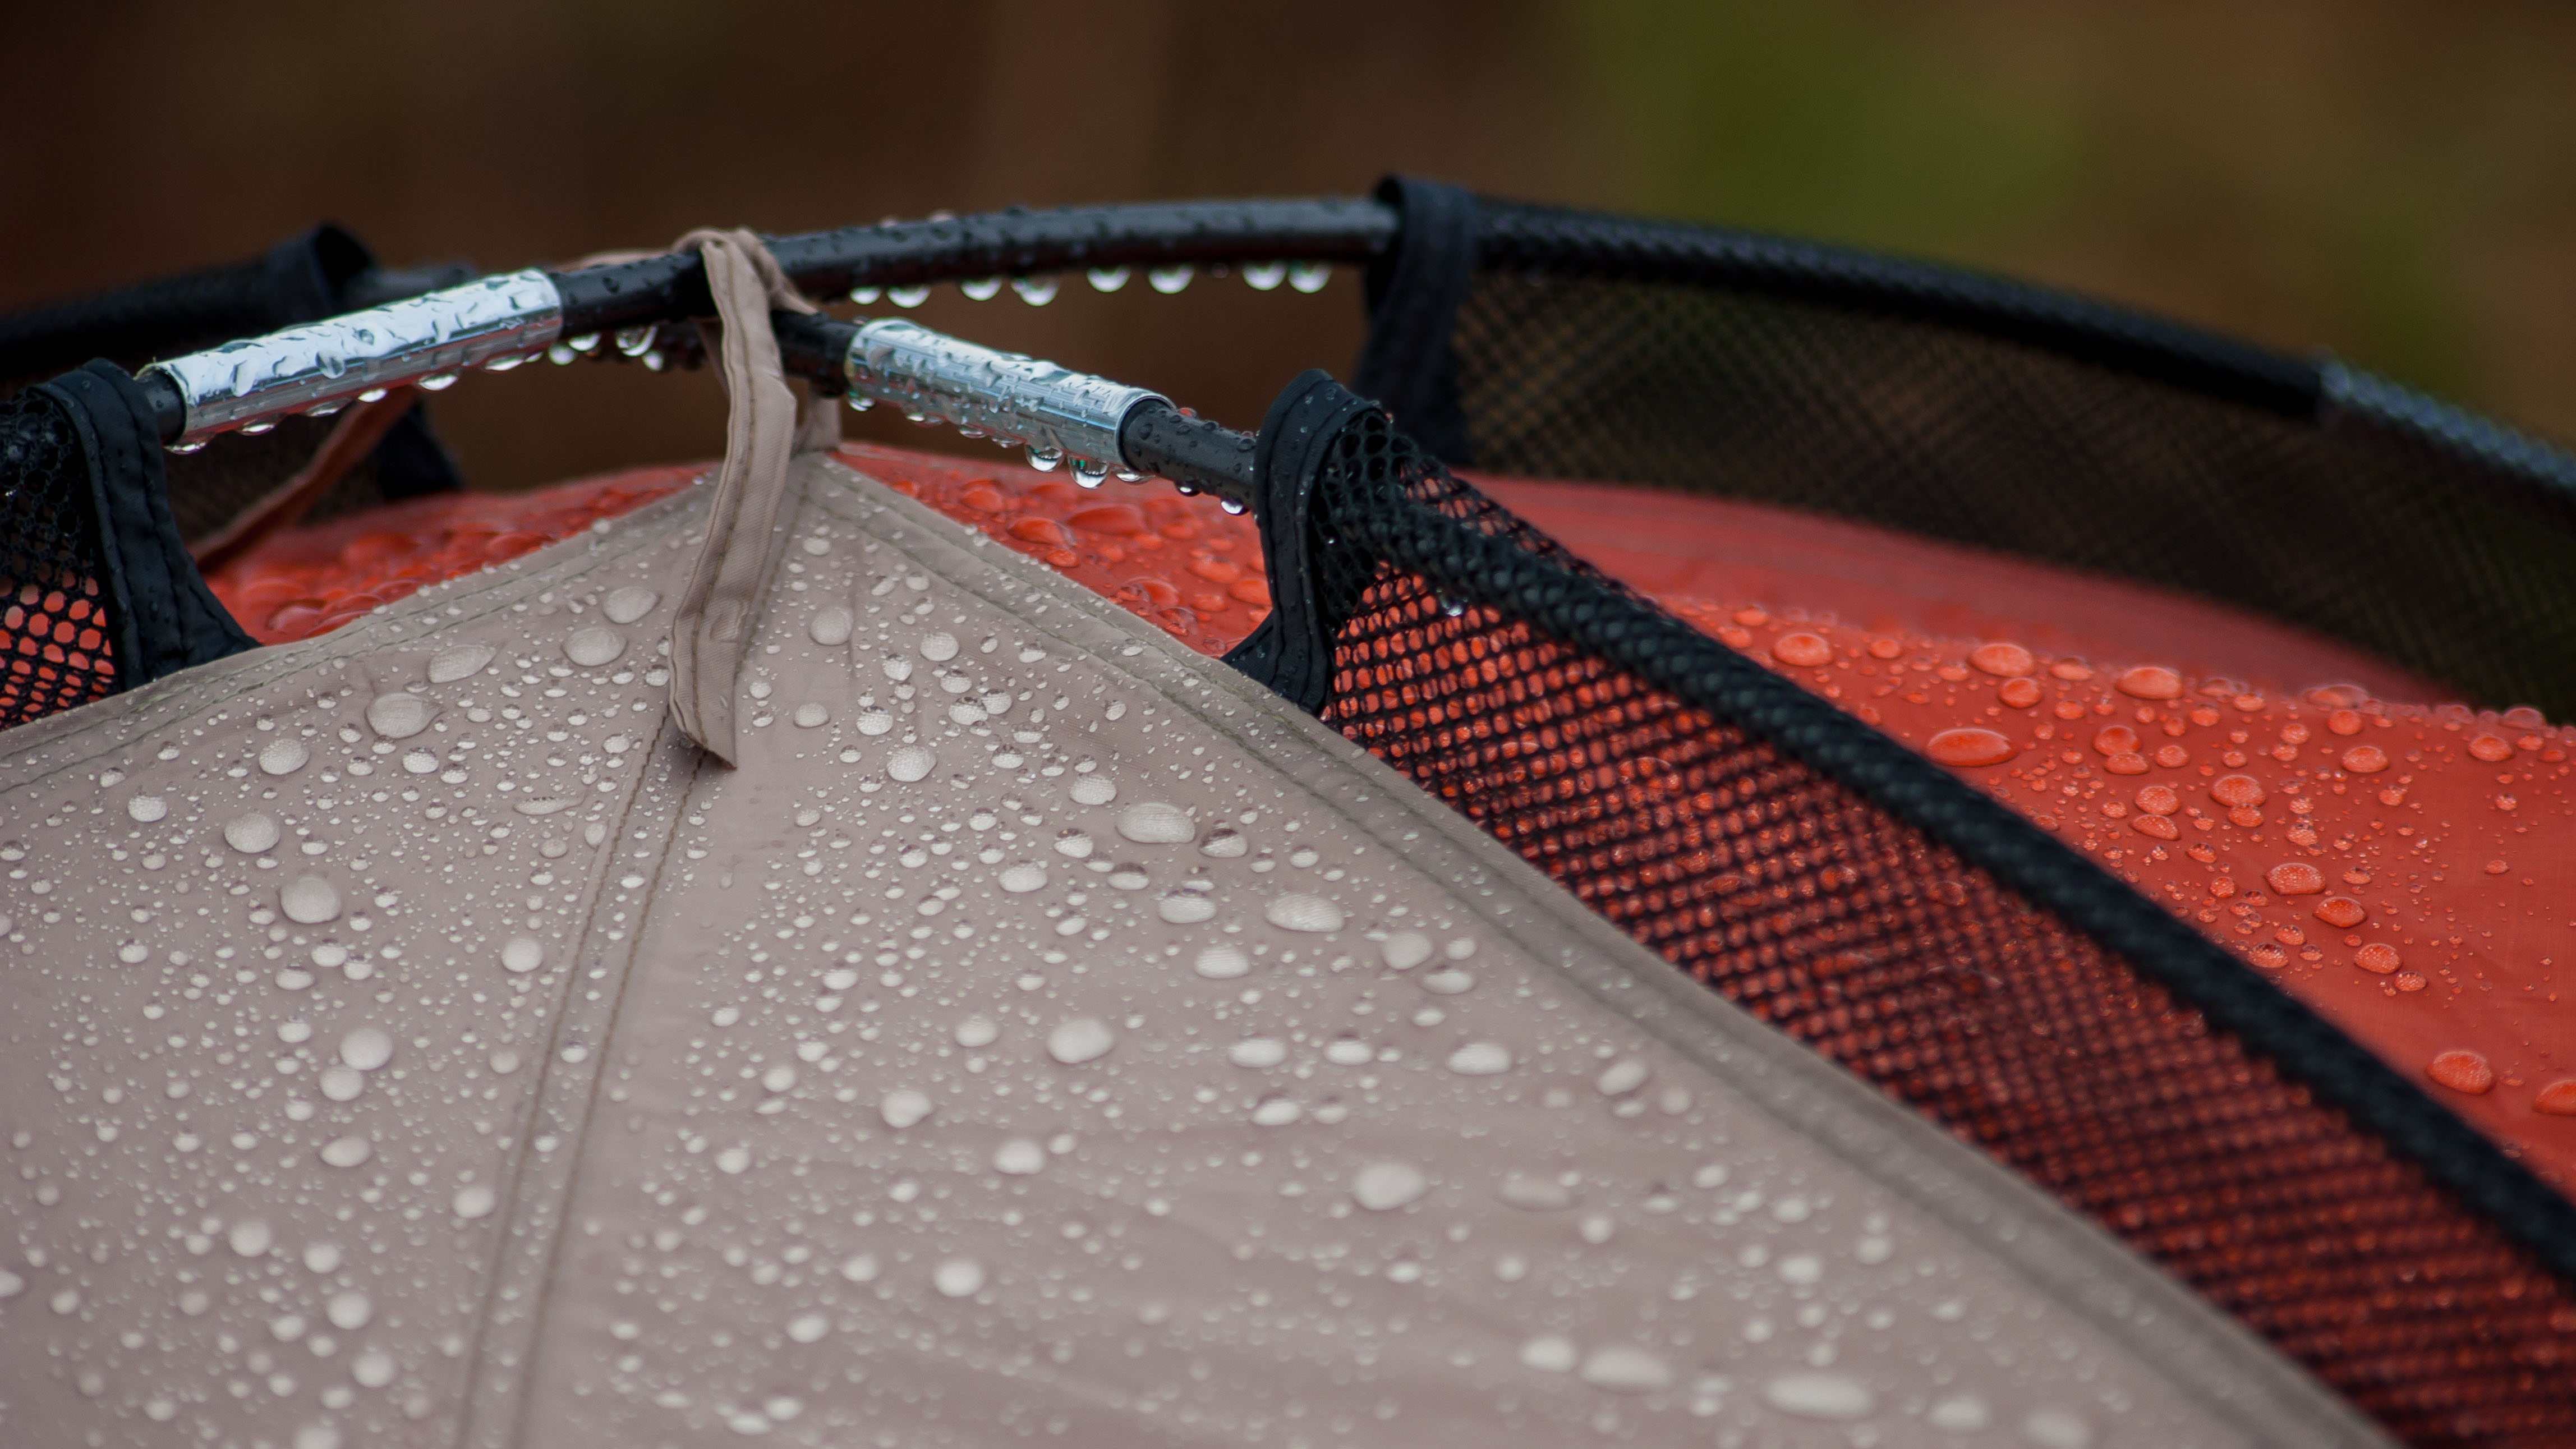
Thread your poles through their corresponding sleeves to give the inner structure, before quickly adding the rainfly. Hopefully you’ve managed to keep the inner as dry as possible. If you haven’t pegged it out yet, now is the time to do this.
Start to move inside… carefully
Most backpacking tents have a porch (or vestibule) area between the outer and inner tent. This porch is the place to put any wet or muddy gear. I can’t stress this next part enough, it’s the golden rule: nothing that’s in any way wet should pass through the interior zipper and into the sanctum of the inner tent. The porch is the place for damp stuff.
So, pop your sopping wet backpack in the porch and finish pegging out the guy lines. Now that the exterior is all sorted, you can start moving into the interior. Once safely under the protection of the porch, remove your waterproof jacket, rain pants and boots. You may need to attach any combination of the inner tent, the poled skeleton and the rainfly together at this point, depending on the design of your tent. Don’t forget to open up your vents, even in wet weather, as this stops condensation ruining your night.

Once all is done, you can unzip the inner tent and park your dry posterior on the groundsheet. From here, you can remove anything that’s needed for the inner tent from your backpack, such as your sleeping bag, sleeping pad, camping pillow, headlamp and a good book. If you’ve used dry bags to store valuables in your backpack, these should all be dry and won’t have broken my golden rule. If any water does get into the inner, use a sponge to soak it up.
Stick to the rules
That’s it! You’ve managed to pitch in the rain and the sanctuary of your inner tent is blessedly dry. It will remain so if you stick to the rules and bring nothing wet within. If you get a break in the rain and that familiar old friend the sun decides to grace you with its presence, pop your wet hiking shoes outside and hang your drenched waterproofs from the guy lines to get them dry. Just don’t forget to bring them back into the porch if grumpy old Mr Rain makes a return.
Alex is a freelance adventure writer and mountain leader with an insatiable passion for the mountains. A Cumbrian born and bred, his native English Lake District has a special place in his heart, though he is at least equally happy in North Wales, the Scottish Highlands or the European Alps. Through his hiking, mountaineering, climbing and trail running adventures, Alex aims to inspire others to get outdoors. He's the former President of the London Mountaineering Club, is training to become a winter mountain leader, looking to finally finish bagging all the Wainwright fells of the Lake District and is always keen to head to the 4,000-meter peaks of the Alps. www.alexfoxfield.com

