How to orientate a map: let us point you in the right direction
We guide you on how to orientate a map – with or without your compass – so that you can navigate your way through the backcountry

When it comes to how to orientate a map, there are two main ways to do it. Also known as setting the map, orientating helps to relate your position and the landscape around you to the map, therefore making onward navigation more straightforward. It is the bread and butter of navigation and a good habit to get into every time you set off in any given direction.
The easiest way to orientate a map is to relate the features in front of you to the features on the map. The obvious drawback here is that such an approach is impossible in poor visibility. In this situation, you can use your compass to work out which direction magnetic north is and orientate from there.
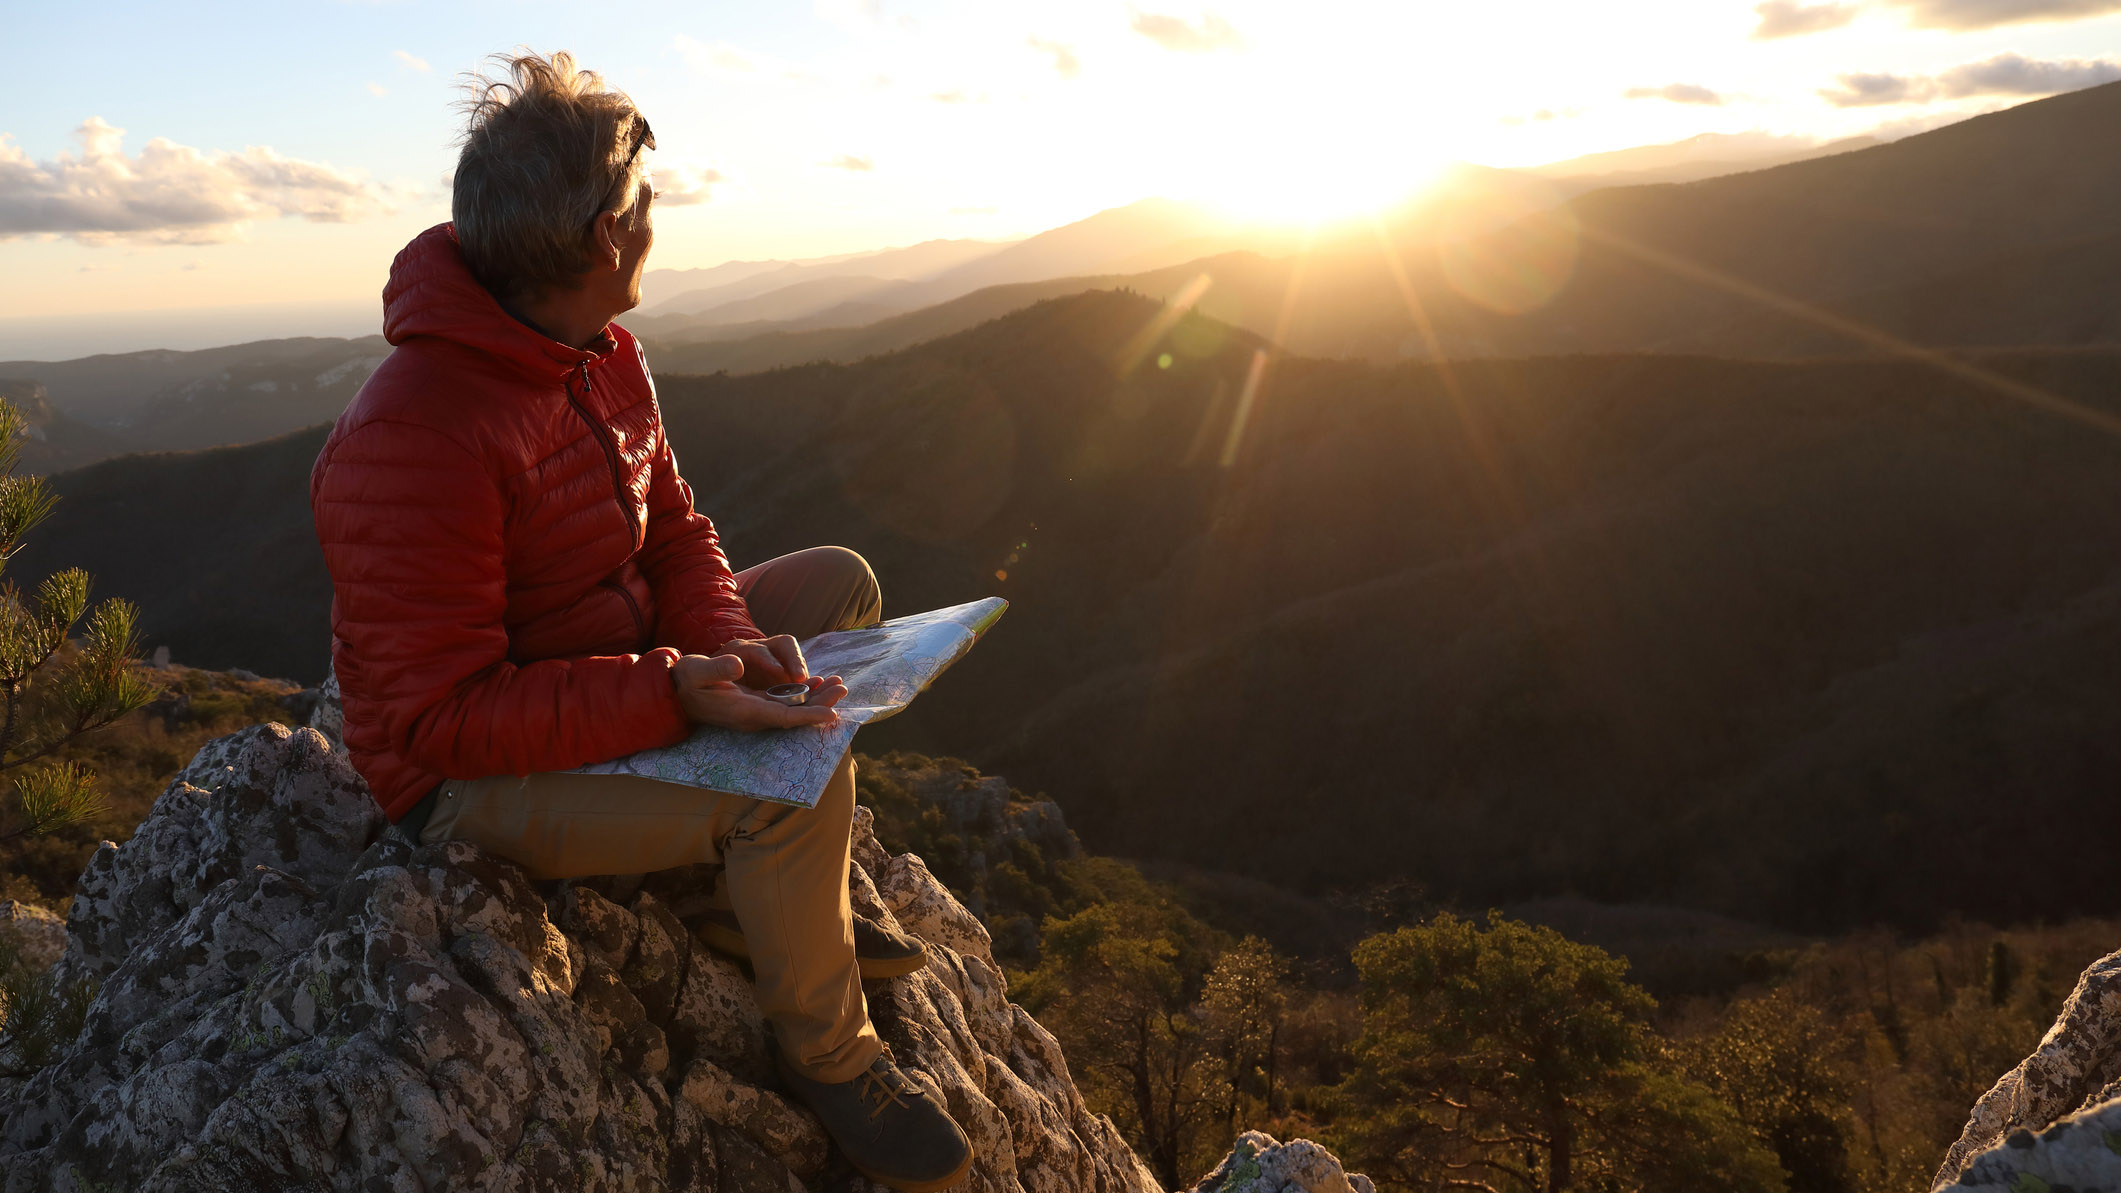
At Advnture, we never head out into the backcountry without a map and compass. Sometimes we may use GPS technology or navigational apps to find our way, but we will always have the option of a map and compass stashed safely in our hiking backpack. This is because technology is fallible, batteries run out, cold kills gadgets and there’s always the possibility of dropping a device down a steep slope or into a rushing river.
A map and compass are useless unless you know how to use them properly. Knowing how to orientate a map is just one facet of the wider skill of knowing how to read a map. Experience is the best way to learn and we’d highly recommend booking a navigation course to really hone your skills.
How to orientate a map using features in the landscape
First things first. Contours are king. If you take just one thing from this guide, let it be the appreciation that contours are the most important navigational feature on the map, especially where hills and mountains are concerned. Of course, ignore all of this if you’re hiking through the Netherlands or Florida, where hills and, by extension, contour lines are somewhat rare.
The reason contours are king is that they are fixed, at least in the timescales we’re talking about here. The courses of streams change, field boundaries move, new hedgerows are built, walls are plundered for buildings, glaciers melt, roads and bridges are washed away by floods, houses are knocked down and rebuilt somewhere else. You get the picture. Nothing is permanent and contours are more permanent than pretty much everything else on a map. This is why you should never take a bearing off a sheep.
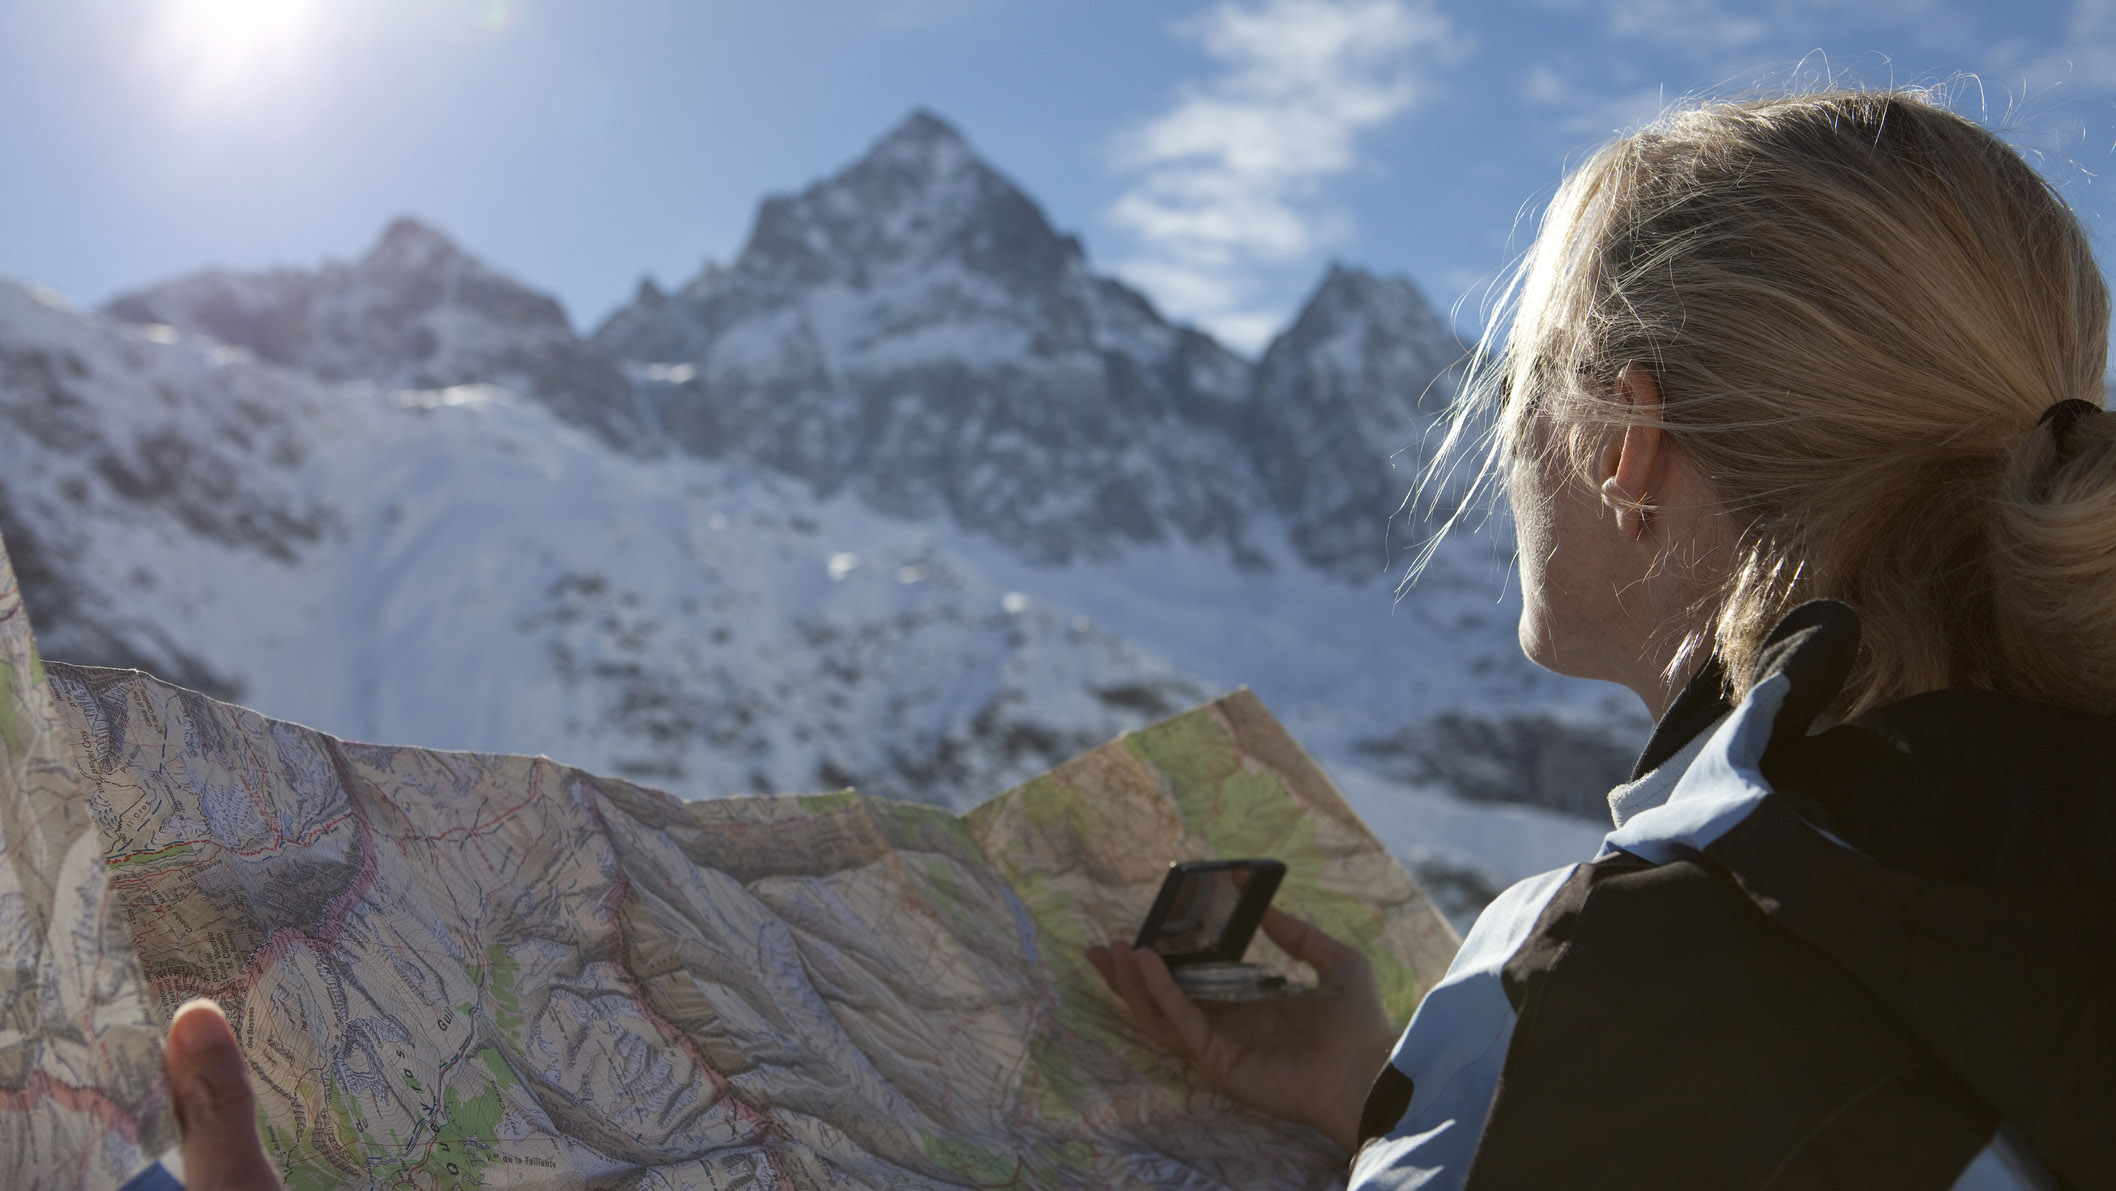
So, if you know where you are on the map, look ahead and see what features you can see. Start with contour features, such as what the ground is doing in front of you and around you, what happens to the terrain in the middle distance and then what’s going on in terms of distant mountain peaks, ridges, hills and escarpments. Taking each feature’s relative shape, height and distance away into consideration, you should be able to start to match them to the contour features on the map.
Advnture Newsletter
All the latest inspiration, tips and guides to help you plan your next Advnture!
You should be able to turn the map so that if you were to imagine jumping into it, the features would lie in the same direction both on the map and in your surroundings. You should then be able to roughly work out which way is north, east south or west using your map’s gridlines. This is also known as triangulation.
Next, ensure you’re happy with your judgment by matching other physical features in the landscape to the map, such as crags, glaciers, waterfalls, lakes and rivers. If everything is matching up, you’re onto a winner. Finally, you can always triple check with human features, such as walls or towns that you’d expect to be able to see in the valley. Remember, human features are the last port of call and, what’s king again? That’s right… Contours are king.
How to orientate a map using a compass
As previously stated, orientating your map using visual features is only as good as the visibility on any given day. The instances navigation needs to be most spot-on are when visibility is compromised. When this happens, it’s time to orientate using a compass. There are two ways of doing this. Here’s our step-by-step guide to the most straightforward.
Step 1: adjust your compass for magnetic declination
As magnetic north changes depending on where you are in the world, you have to ensure you adjust your compass accordingly. UK readers, you’re in luck. The variation between magnetic north and true north is currently so minor that this can generally be ignored.
We’ve compiled a detailed guide on how to adjust for magnetic declination, but at its most basic level it goes like this:
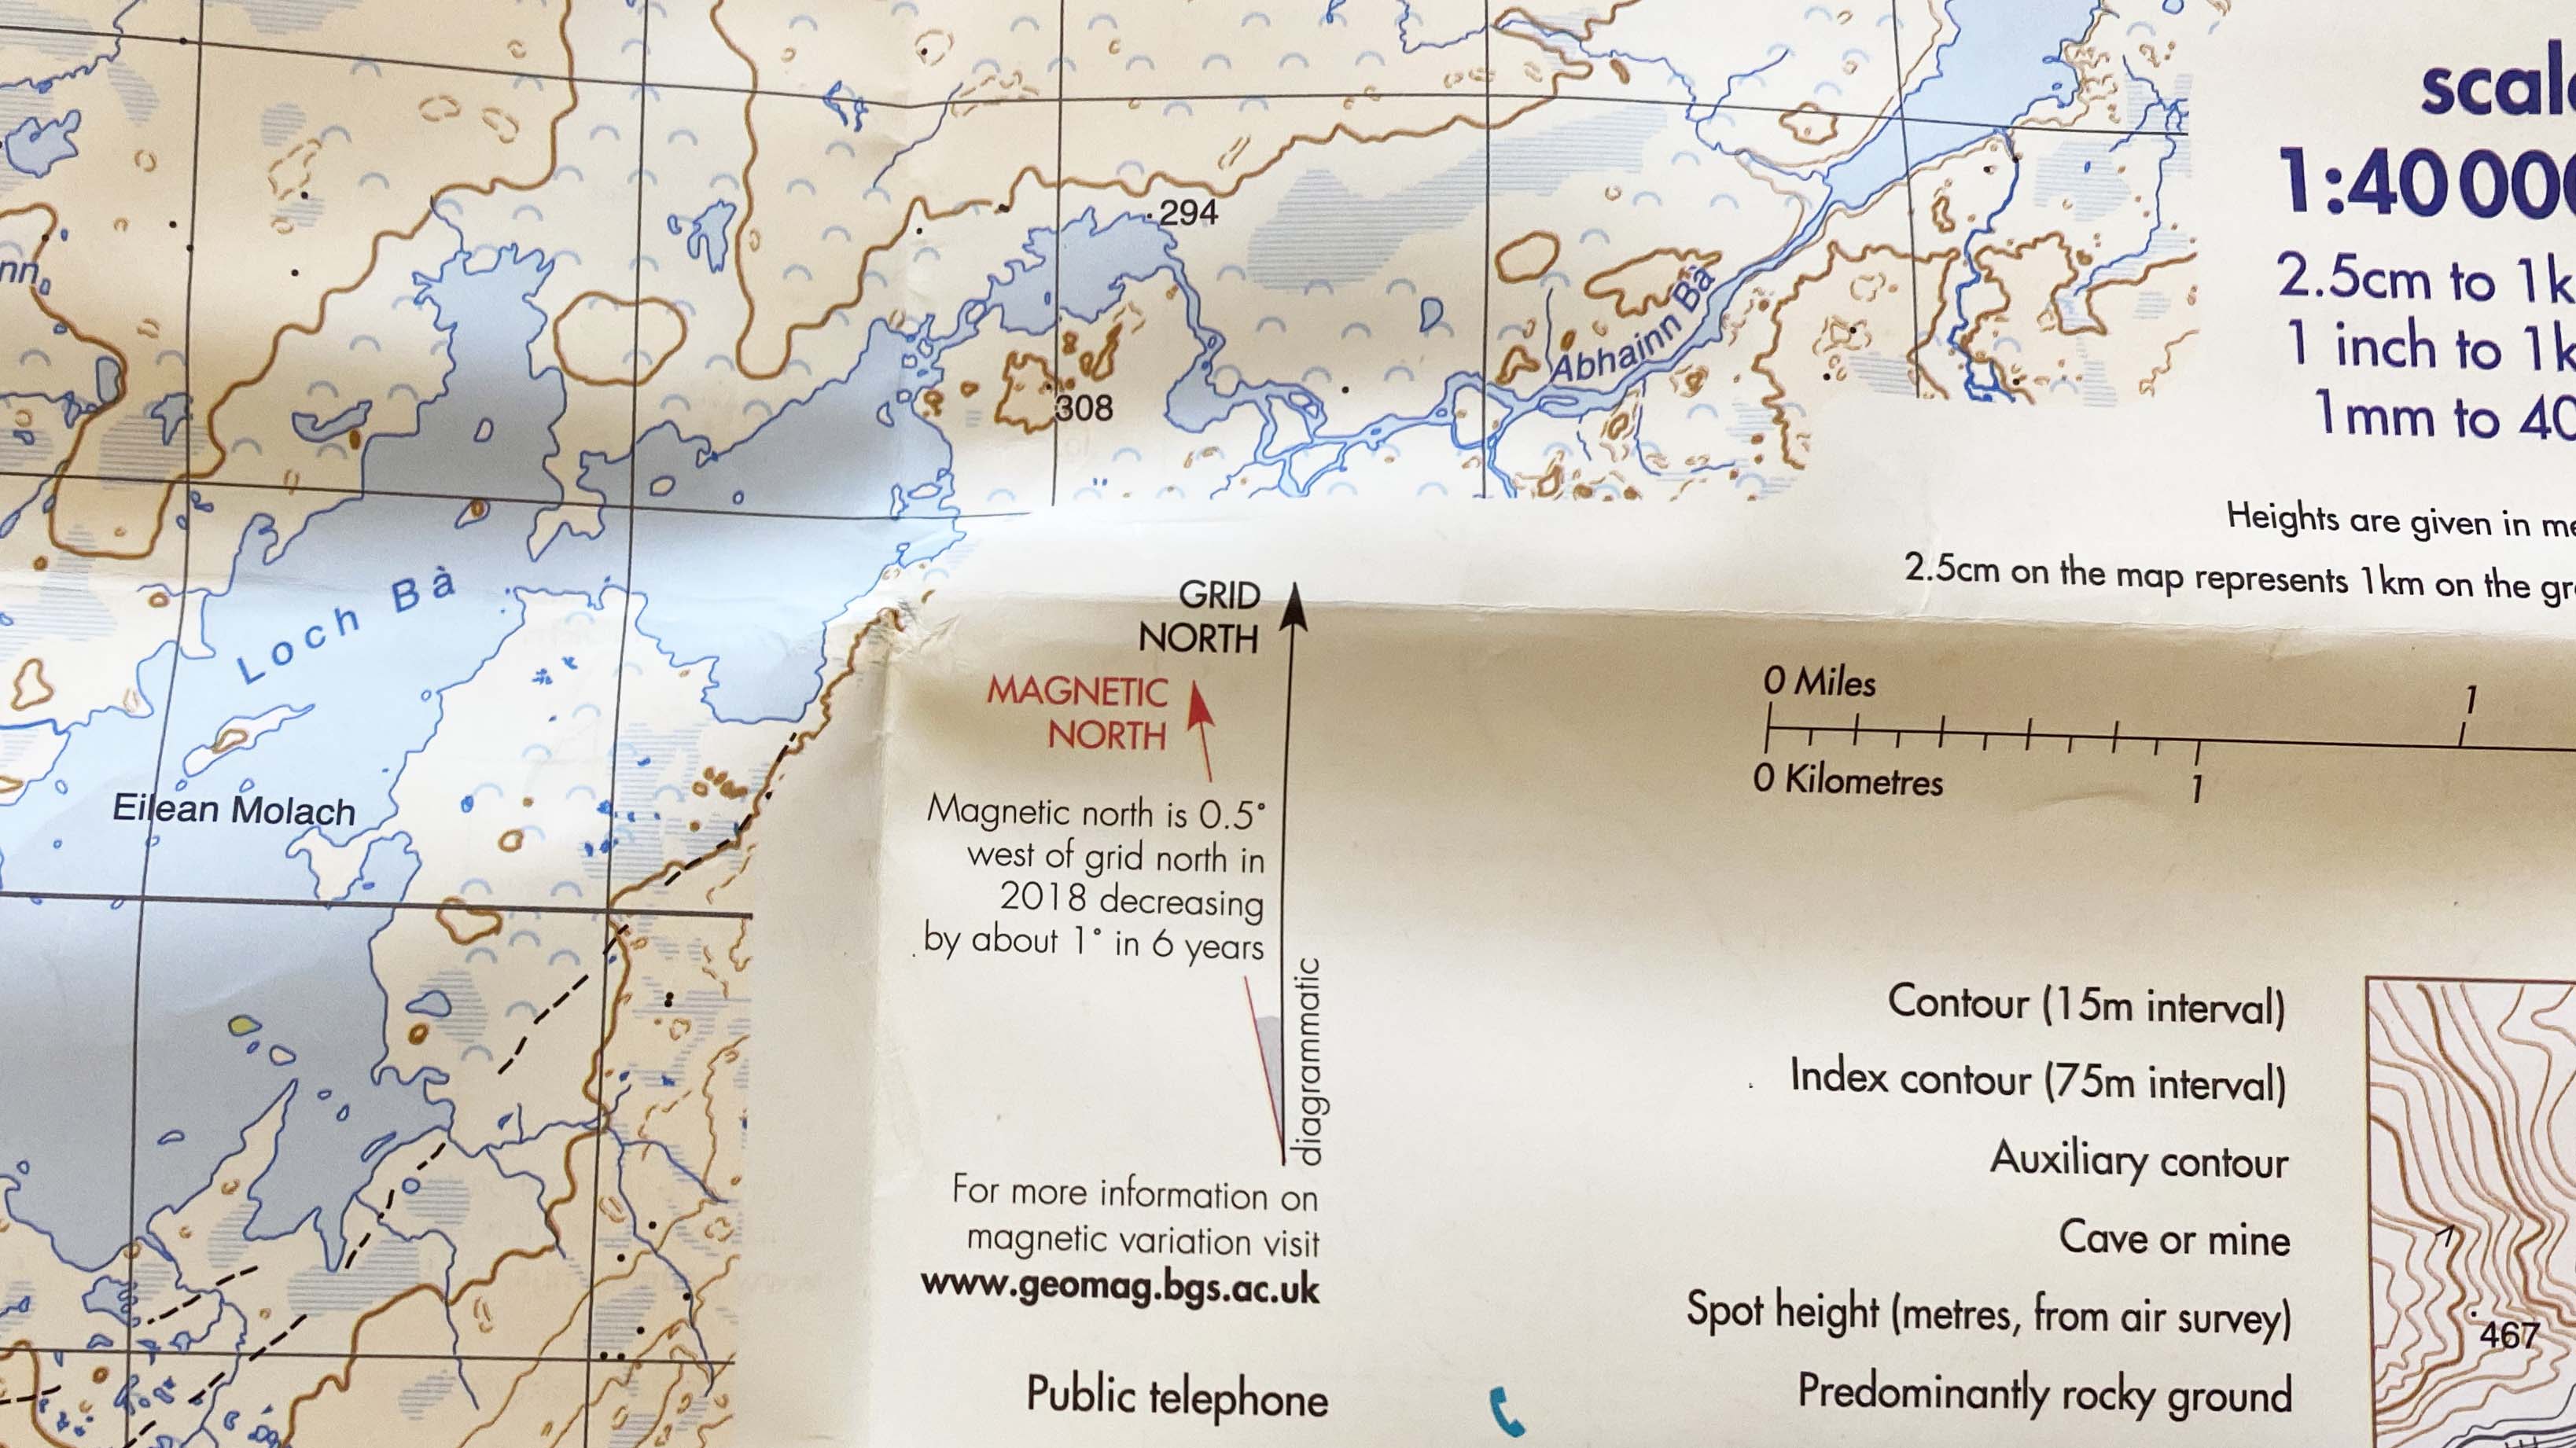
Your map should state what the magnetic declination is in degrees for the region you are in. Take your compass and turn the compass housing (bezel) until the red orientating arrow is in line with the direction of travel arrow. Next, turn the compass housing so that the index pointer corresponds to the number of degrees of the magnetic declination. Bear in mind that an east declination value will be a positive number, and a west declination value will be a negative number.
Step 2: line the compass up with the map
Take your compass and line up the edges with the north-south gridlines on your map. Don’t worry that your red orientating arrow doesn’t point exactly map north. This is because it is prepped to point instead to magnetic north once it’s lined up with your compass needle.
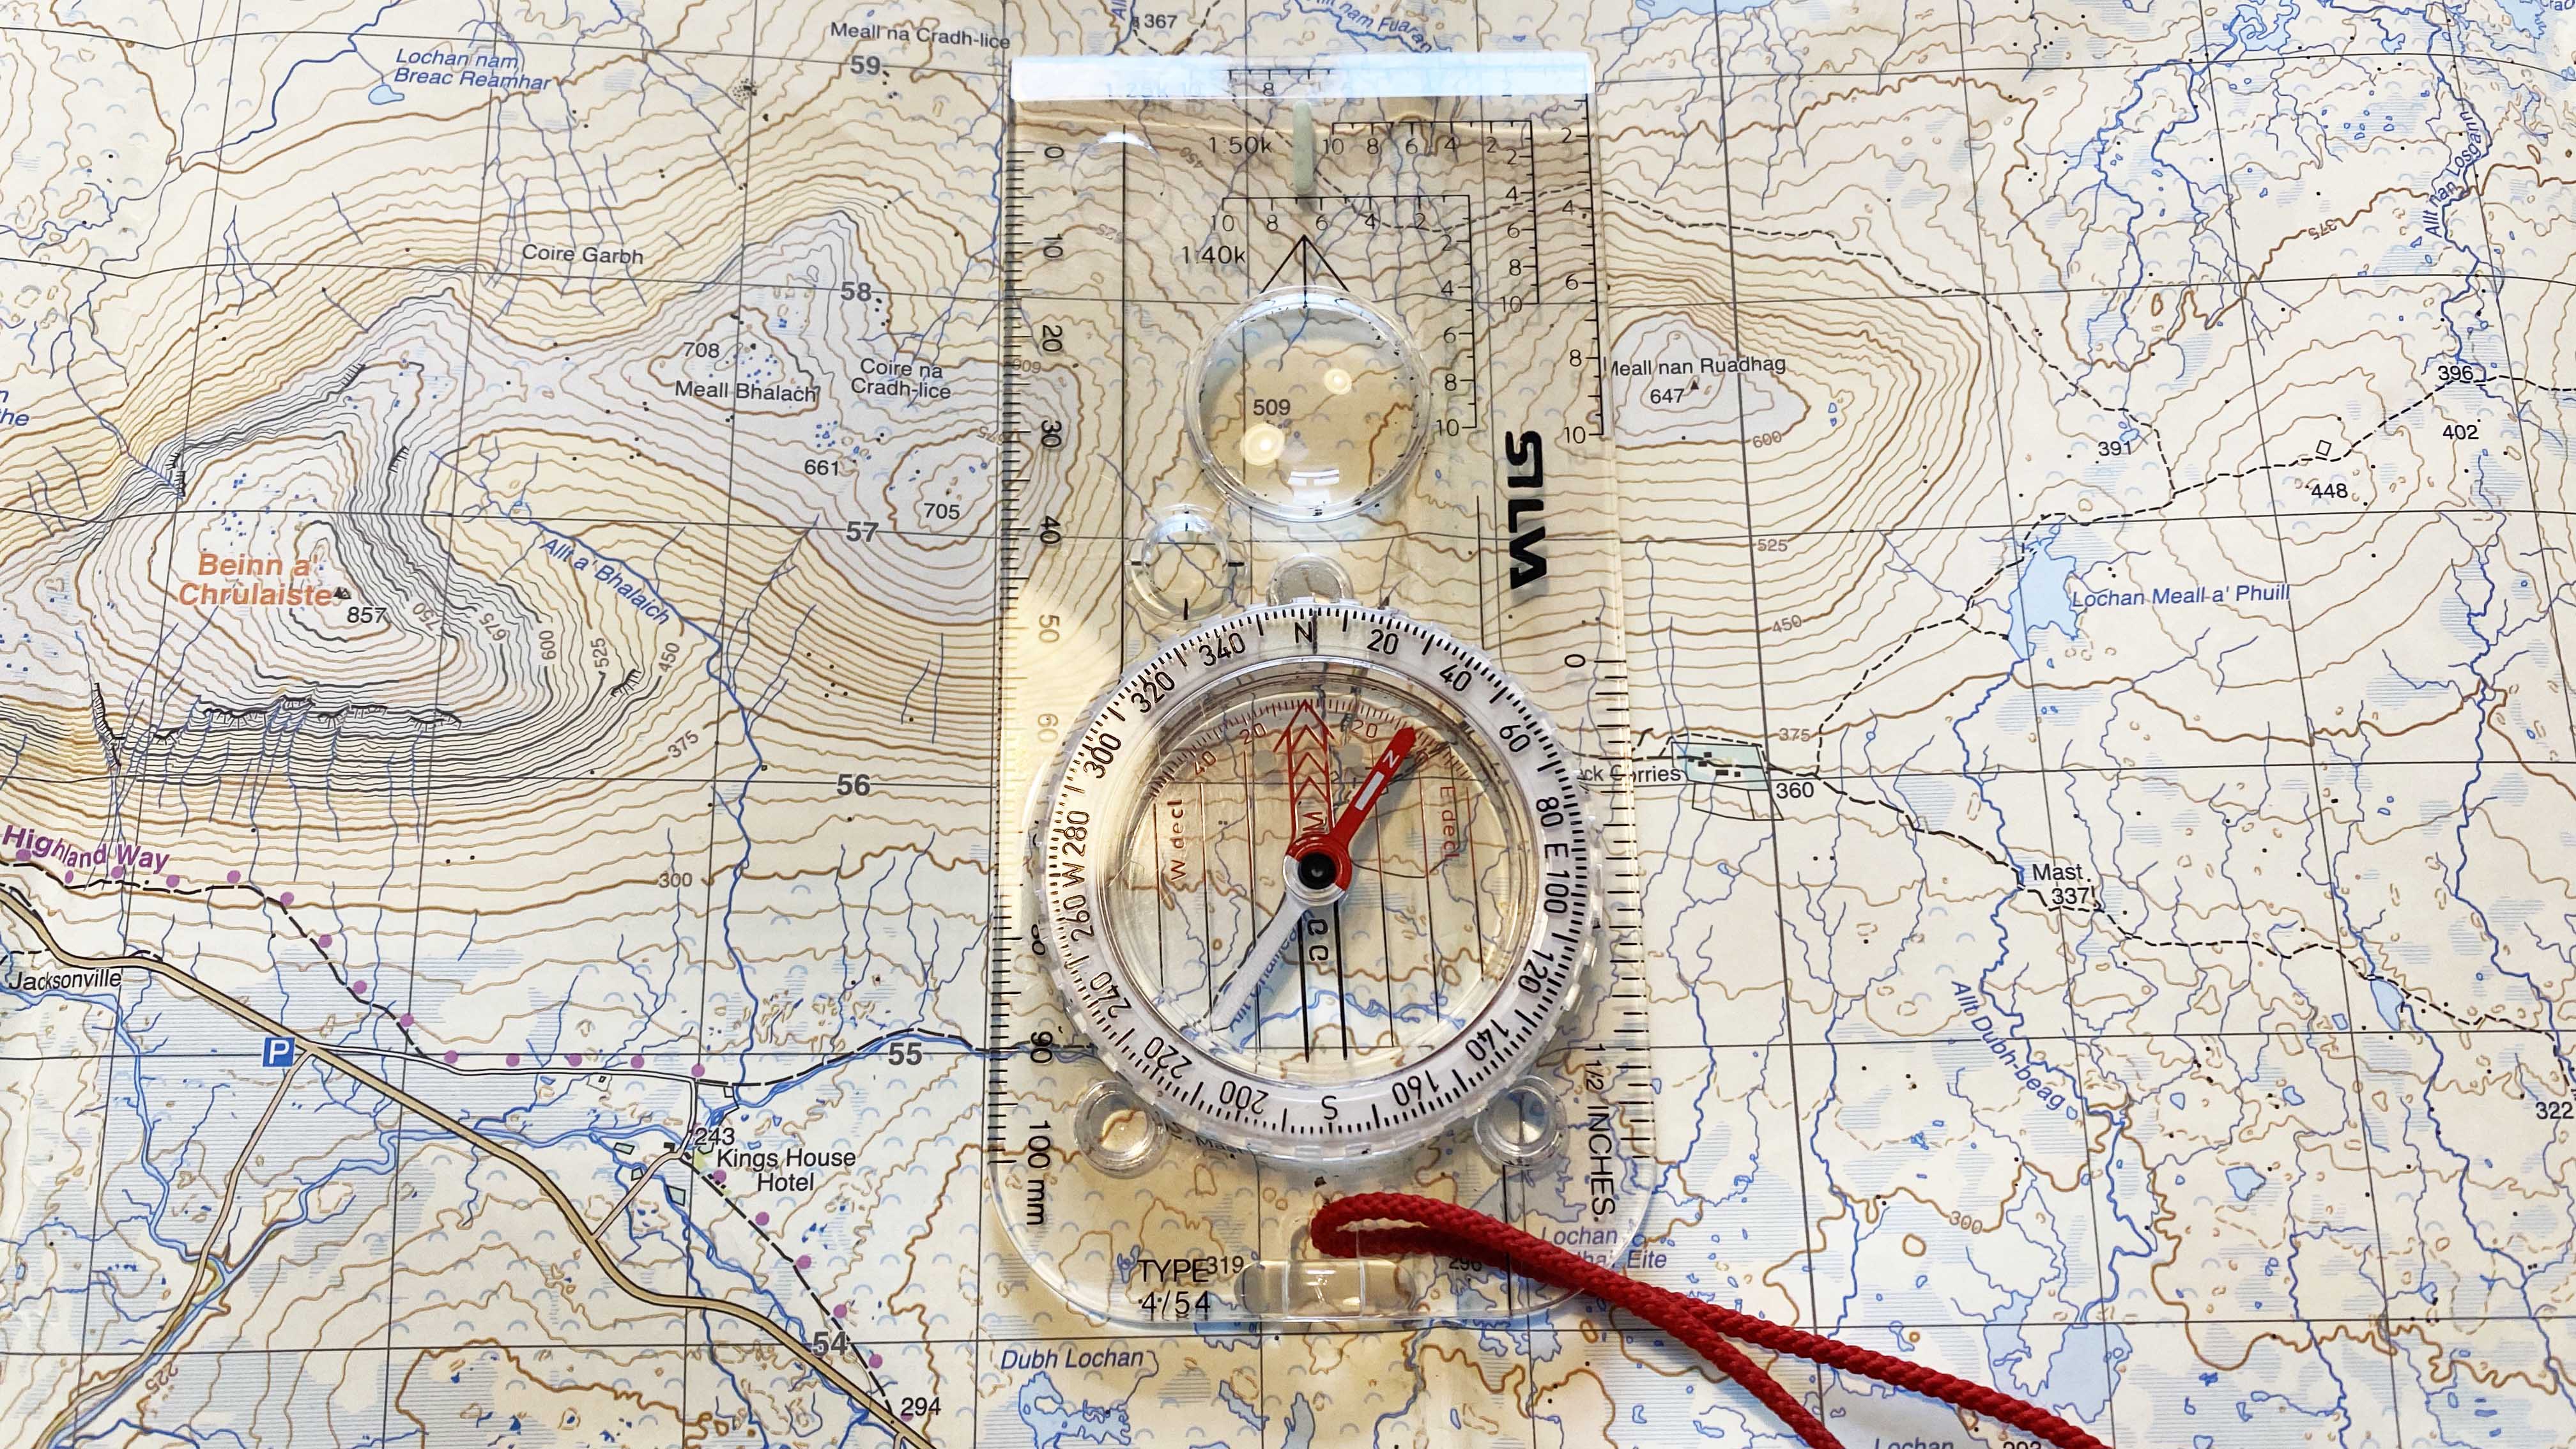
Step 3: rotate both map and compass together
To orientate the map, rotate both the map and compass together until the red compass needle and the red orientating arrow match up. This is sometimes referred to as ‘putting red in the shed’.
And that’s it! You’ve orientated the map.
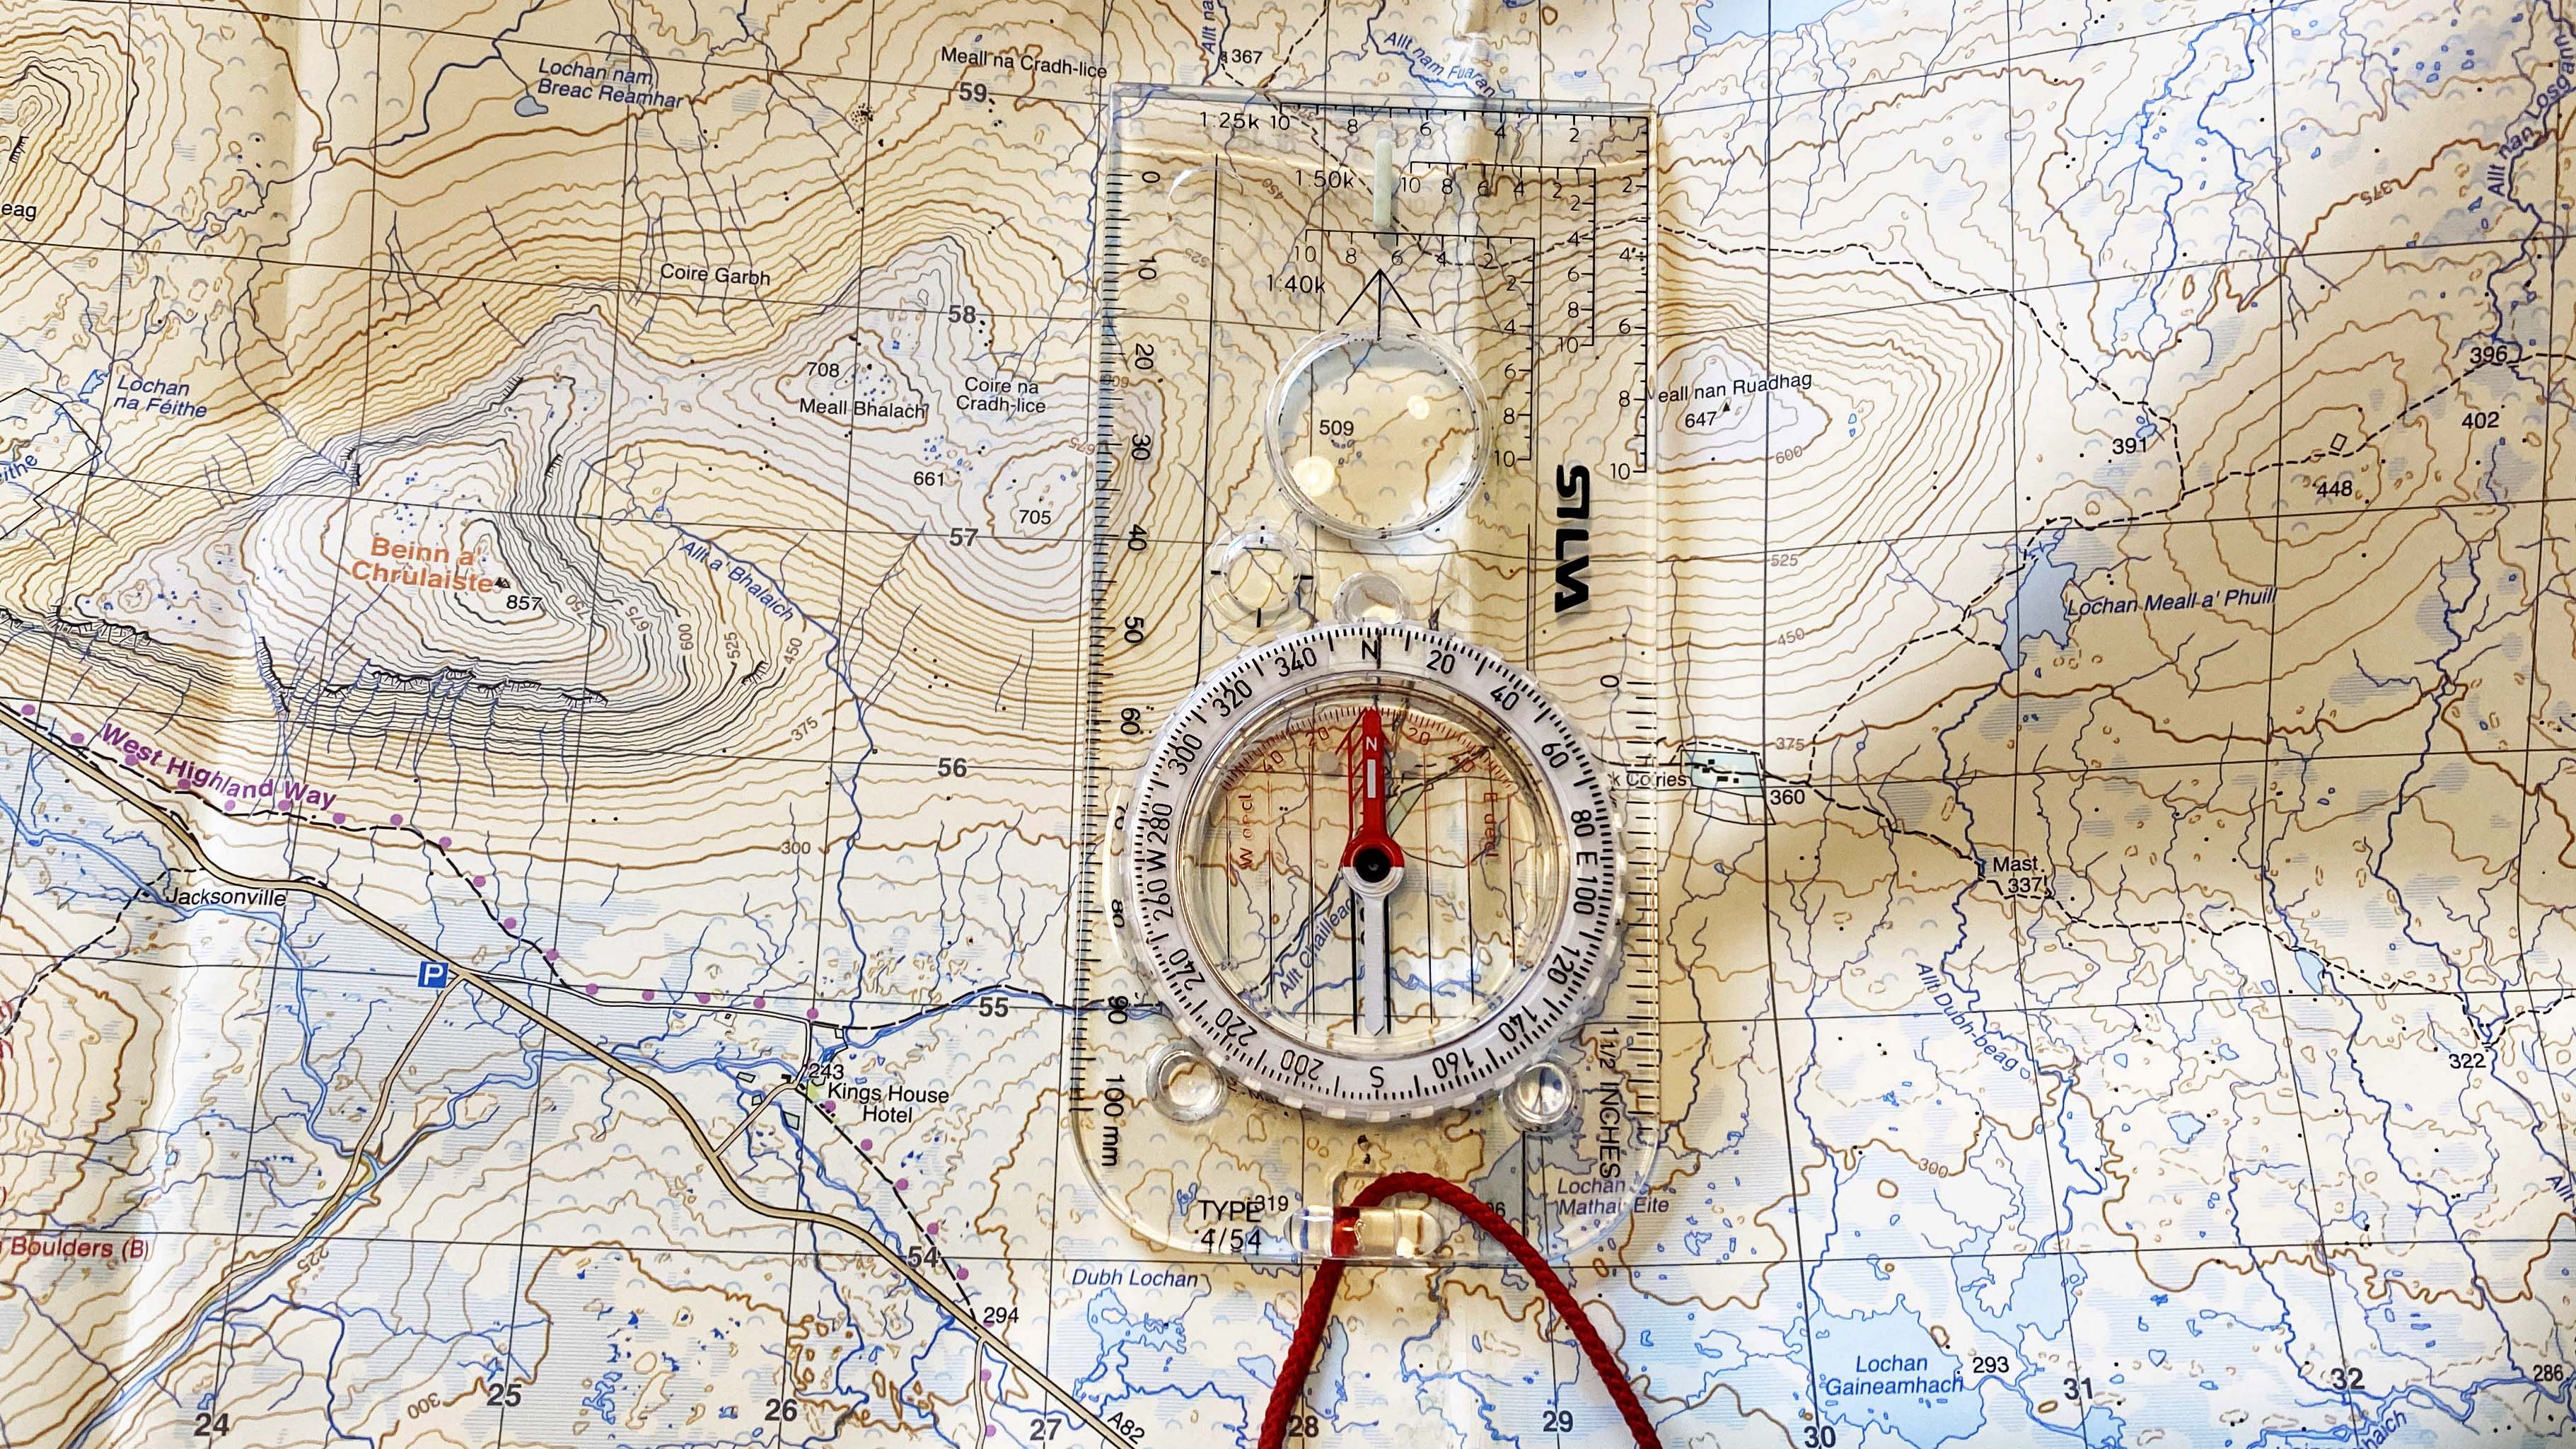
Another way...
There's another way to orientate a map using a compass that starts slightly differently to what was explained above.
If your map already has a line to show magnetic declination, you can take your compass and line its edges up along this. Leave your orientating arrow in line with the index line and the direction of travel arrow, as it will already be primed to point magnetic north. Now repeat step 3 above and you’re good to go.
This straightforward video shows both approaches to using a compass to orientate a map:
Alex is a freelance adventure writer and mountain leader with an insatiable passion for the mountains. A Cumbrian born and bred, his native English Lake District has a special place in his heart, though he is at least equally happy in North Wales, the Scottish Highlands or the European Alps. Through his hiking, mountaineering, climbing and trail running adventures, Alex aims to inspire others to get outdoors. He's the former President of the London Mountaineering Club, is training to become a winter mountain leader, looking to finally finish bagging all the Wainwright fells of the Lake District and is always keen to head to the 4,000-meter peaks of the Alps. www.alexfoxfield.com

