
There’s no hiding place in winter. Well, there is, you could dig a snow hole or pull out your emergency shelter. But figuratively speaking, there’s no hiding place in winter. In summer, get lost and you might miss last orders at the pub. In winter, get lost and you might succumb to hypothermia or unknowingly step out onto a corniced edge.
Unfortunately, navigation errors lead to fatalities every winter on both sides of the Atlantic, so the ability to safely navigate through the white stuff is important to say the least. At the end of the day, the principles of navigation remain the same in winter as in summer, it’s just that the challenges of navigating in winter means your skills may need to be as sharp as your ice axe.
One of our mountaineering experts is here to reveal strategies on how to navigate in winter. While not exhaustive – we could write an entire book on the subject – the tips provided here will form the basis of best practice in the backcountry, but they’ll only take you so far. Due to the complexity and dangers of the mountains in winter, we’d stress that the best way to get skilled up is to get out there with a professional guide or an experienced friend, and learn by doing.
Article continues belowHow to navigate in winter
Here are seven key factors to consider when navigating in winter. For detail each, click the links or scroll down the guide.
Preparation is key – study the forecasts and prepare your tools.
Use large scale features – smaller features get covered up by the snow and are difficult to navigate by. Contours are your friend here.
Constantly assess your location – use the 5 Ds to navigate
Know your pace – counting steps and estimations of timings will help keep you on track.
Do not rely on digital aids – if they fail and you have no back-up, you’re in big trouble.
But do use them in a fix – that said, confirming your location can be very useful.
Do not panic – there are many strategies you can use to find your way down.
Meet the expert

Alex is a qualified Mountain Leader, former President of the London Mountaineering Club and is working towards the Winter Mountain Leader qualification. He’s developed his skills over the course of many winter mountaineering days in the UK as well as several trips to the Alps.
The challenges of navigating in winter
- Snow hides features that are obvious in summer conditions
- Daylight hours are shorter in winter
- Challenging conditions and whiteouts make navigation more taxing
- The potential for avalanches entails more intricate route finding
- Cornices make handrailing ridges more difficult
When winter conditions descend on the mountains, one of the main challenges is that snow often covers up the kind of features that are so useful in the warmer months, such as streams, walls, boulder fields or even entire lakes. It should go without saying that you can expect those handy mountain trails to also get completely hidden by snow, too. So, if you rely on these kinds of features when hiking in summer, full winter conditions can come as a shock.
That’s if you’ve got daylight. Winter means shorter days, so a bit of night-nav experience is essential. You’d be surprised how much light a full moon provides on a clear night in winter, ethereally lighting the snowy peaks all around. However, full moon or no, carrying a couple of fully charged headlamps is more than wise.
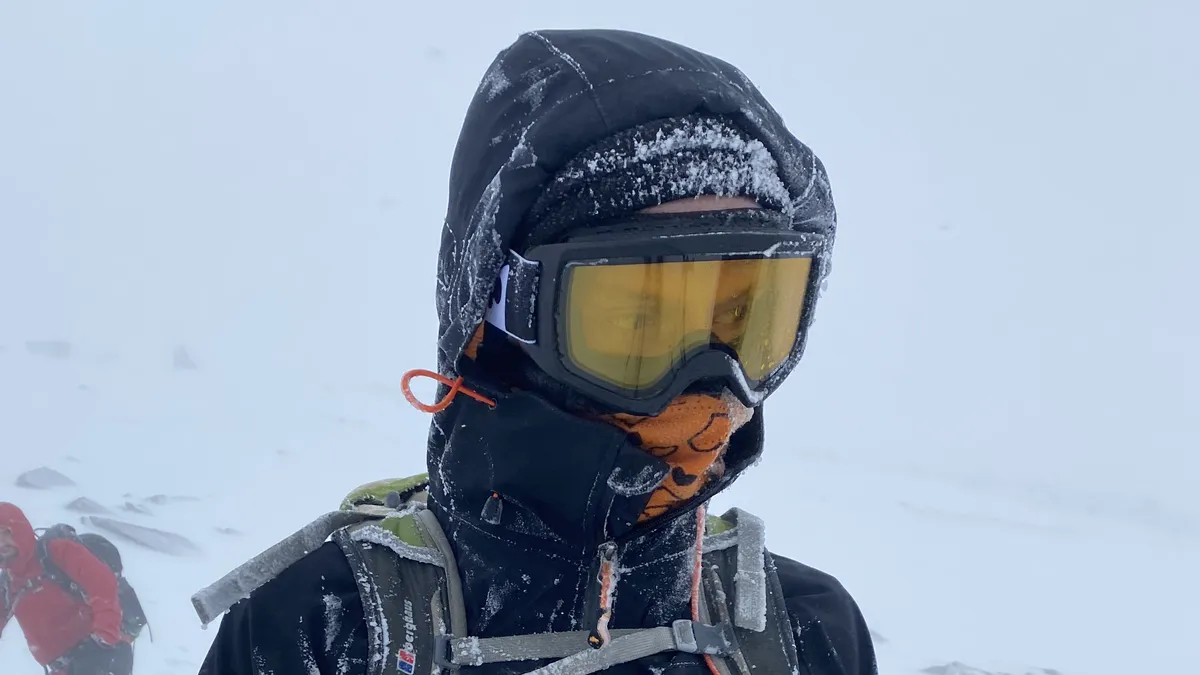
Trying to concentrate on tasks like taking a bearing or reading the map are somewhat more taxing while wearing ski goggles and feeling like you’re in a snow globe being shaken by an overzealous toddler. When it’s absolutely freezing or the wind is howling, straightforward tasks take much more effort and concentration. Challenging conditions are one thing, whiteouts are quite another. This unnerving phenomenon is what happens when the snowy terrain underneath you becomes indistinguishable from the sky in front. Perhaps the ultimate test of navigation.
Avalanches are a significant hazard in winter and they may add to your navigational woes too. After reading an avalanche forecast, you’ll often have to rethink how you get between A and B, taking a more intricate line that may involve more complex route finding.

Cornices represent a navigational challenge and another very real danger when winter ridge walking. A cornice is an overhanging mass of snow that builds up on the leeward (downwind) side of a ridge. They’re beautiful but deadly, as they can break away and their overhanging nature means there’s often nothing below them. From a navigational point of view, they make ‘handrailing’ the crest of a ridge more difficult.
Preparation is key
- Check weather and avalanche forecasts before planning safe route
- Fold or cut down your map and ensure it’s waterproof
- Attach your compass to your jacket and take a spare
- Wear a watch – crucial for timings

Given the many additional challenges that winter can bring, it’s crucial to be thoroughly prepared. In the days leading up to your adventure, you should study both mountain weather forecasts and the avalanche forecasts for your chosen area. This will provide the information you need to plan your route extremely carefully, avoiding avalanche prone slopes and giving you an idea of where cornices are likely to have formed. You’ll want to ensure much of your route is sheltered from the wind and that you’re not spending most of the time walking into the gusts when you’re up high. Your plan will allow you to visualize your journey and plan a rough timeframe, both of which will aid navigation once on the hill.
A proper, topographical map with clear contour lines is essential. When unfolded, topographical maps have a large surface area and it doesn’t take a particularly strong wind to make using them difficult. Fold or cut your map so that the area you’re going to be exploring is to hand as a compact, easy-to-use sheet. Unless your map is already waterproof, you’ll want to laminate it too or pop it in a map case.

A baseplate compass is the way to go. The best compasses always come with a cord that you can attach to your waterproof jacket’s zipper. Do this. It means you won’t have any chance of dropping it and you’ll have it quickly to hand. Don’t be tempted to put it around your neck or wrist. Always, always, always carry a spare too. Be aware that the compass needle can be affected by your smartphone and metal objects like your ice axe, so keep them apart.
You should wear a watch that’s easy to read, either a field watch or a GPS watch is fine and the decision comes down to personal preference. Just make sure the latter is fully charged before heading out. As well as keeping an eye on the clock, having a watch allows you to time individual legs of your journey – a key feature of effective navigation. An advantage of something like a Garmin watch is that you’ll be able to check your altitude too when relocating.
Use large scale features
- Contours are the most reliable navigation feature
- Study the contours of the map and think about how they apply to what's around you

Regardless of the time of year, you should get into the habit of using contours as your first port of call when reading the land and comparing it to your map. By assessing what the ground is doing immediately around you, and as long as you have enough visibility, you should be able to pinpoint your location on the map.
The reason contours should form the basis of your navigation is that they are, for all intents and purposed, fixed – though build-up of deep snow can alter even this. Other features, as mentioned, can be covered up by snow or change over time, especially when it comes to humanmade features. Closely stacked contour lines mean steep ground and spaced-out ones mean flatter terrain. Look for features like knolls, peaks, valleys, ridges, depressions and try to visualize how the terrain will look from the map.
As you journey through the landscape, you should be constantly checking in with the gradients below your feet and what you can see around you, checking them against what you’re expecting having studied the map. This brings us to...
Constantly assess your location
- Having a continual grasp of your location is key
- Use the 5 Ds (Distance, Duration, Direction, Description, Destination) to help
- Following a bearing can be more challenging but is still a crucial skill
- Know your average speed and get used to pacing shorter nav legs
- Consider what your destination will be like, as well as what to expect if you miss it

You should know how to read a map and how to use a compass before setting foot in the mountains. We’ll come onto digital aids – which definitely have a place too – in a little while, but putting your map and compass to use is key to staying safe in winter and in making you a more proficient navigator.
It's all about having a continual grasp of where you are in winter, as relocating (working out where you are on a map based on your surroundings) in low visibility can be very difficult indeed. So, continuous observations and assessments are required, which is where the 5 Ds come in. Before any leg of your journey, you should have these in mind:
Distance: how far is it to your next waypoint?
Duration: how long should it take to get there?
Direction: which way do you need to go?
Description: what will you expect along the way? Are there any dangers?
Destination: how will you know you’ve arrived?

By working out the distance, you can estimate the duration of the navigation leg based on your average speed and by considering the character of the terrain you’ll face (see know your pace for more). Topographical maps are usually split into 1 x 1km squares, making it relatively easy to gauge how far it will be from A to B. When building a description in your head of what to expect, consider what dangers there may be and plan how you’ll ensure you avoid them.
If you’re striding along a flat plateau to your next waypoint, estimating timings will be straightforward, though your direction and your sense of pace will have to be spot on, as there won’t be as many clues in the terrain to reassure you that you’re actually headed where you think you are.

On the other hand, if your next leg is undulating, with changes of direction along a ridge (for example), working out the duration will be a little trickier, but at least you’ll have a more vivid description in your head of what to expect along the way, so you can check this against your experience while moving through the leg.
As with summer navigation, taking a bearing between known points is the best way to ensure you head the right direction. Always estimate the bearing between A and B by looking at the map before measuring it precisely. This avoids you getting it wrong by 180° (which can happen when you line the compass up with the map) and venturing off in the opposite direction to what you intend.

In poor visibility, walking on a bearing can be extremely challenging if the features you would have otherwise used to sight on are hidden by snow. With a bit of experience, dead-reckoning (solely using the compass while walking on a bearing) will work up to a point, at least until a more suitable sighting point becomes visible, though it’s not ideal. You could also send another member of your party (who should also be walking on the bearing) ahead until they reach the edge of your visibility. Communication here is key and progress can be painfully slow. If alone, throw a snowball ahead in line with your bearing and repeat.
When it comes to arriving at your destination, you should have a clear picture in your mind’s eye of what it should look like. Catching features are useful here. These are features that stop you (hence catching) from heading the wrong way. When studying the map and choosing your destination, also think ‘what should I expect to see if I go too far?’. It could be anything from a significant change in gradient to a linear feature like a wall or stream. Again, bear in mind that such features could be hidden in winter, so an assessment of the contours is once again key.
Know your pace
- Naismith’s rule can be useful for estimating how long it'll take to cover a nav leg
- Shorter legs can be paced if you know how many double steps you do in 100 meters

Knowing your pace, the speed at which you cover terrain, allows you to continually assess where you are on the map. If you apply the 5 Ds and estimate your timings correctly, checking your watch to see how much time has elapsed between A and B should provide you with more confidence that you are where you think you are when arriving at your destination. Many British mountaineers use Naismith’s Rule: 1 hour for every 5km and 1 minute for every 10 meters of height gain. If you know you’re faster or slower than this, you can adapt it to your own purposes.
When it comes to short, intricate navigation legs, pacing is a vital skill. By knowing approximately how many double steps it takes you to cover 100 meters, you can pace out shorter distances with a good level of confidence. Anything from 25 meters to 400 meters can be estimated – though once you get to something like 500 meters, you’re probably better off estimating timings rather than pacing.
Do not rely on digital aids
- Digital devices can loose battery and signal
- They can be difficult to operate wearing thick gloves

There’s a strong argument that, in this day and age, digital aids and apps make navigation quicker and easier, removing much of the human error factor that could rear its head when using a map and compass. However, mountain rescue teams get called out all the time to aid lost winter hikers who were relying solely on their phone.
The main issues here are that digital devices can run out of battery, lose signal and that devices can deskill the user if they end up relying on them alone. Freezing temperatures drain a device’s battery quickly, so it’s often the case that people are left with no way to navigate. If you’re using your phone every 30 seconds to find your way and constantly using its data, your battery ain’t gonna last long. Operating a device also can be very tricky when wearing thick gloves, especially those with touchscreens.
However...
But do use them in a fix
- The ability to relocate with a device is great in a fix
- Adopt strategies to safeguard your device's operation

That you shouldn’t rely on digital aids doesn’t mean you should never use them. If all else fails, having a quick, convenient way to attain your exact location is very useful and there are a number of devices and phone apps that allow you to do this. And, of course, you’ll need your phone to call rescue services in an emergency. So, by all means, bring your digital devices but follow these tips:
Make sure your devices are fully charged – this is a no brainer.
Have a strategy to keep it that way – don’t use your phone too often and switch it to airplane mode to conserve battery – yes, GPS will still work. I also carry a power bank with my phone’s USB cable so that I can always recharge it if necessary.
Keep your devices dry and warm – storing your phone close to your body, somewhere that’s also waterproof, is ideal for protecting battery life and keeping it operational. I love the way the Berghaus MTN Guide GTX Pro Jacket has a little insulated inner pocket designed specifically for this.

Don’t rely on data – download all the maps you’ll need onto your device so that they can be used in offline mode.
Bring backups – the skills to use a map and compass will mean you’ll have a backup for navigation. However, carrying an additional way to communicate or seek help is a good idea, such as a GPS unit or a simple spare mobile phone.
Do not panic
If you think you’re lost, there are always strategies you can use to get back on track. If you’re in a group, use your survival shelter to temporarily escape the elements. Eat some food, have a hot drink and take stock of the situation – think about how to relocate. Check your location on a device or think about how you’re going to get back to your last known point. Come up with a plan and execute.
