How to use a dry bag: protect your crucial kit from the wet with our guide
Here's how to use a dry bag to its full potential and stop pesky H2O getting its mitts on your most precious kit. What they do is clear, but few realise how versatile they are.
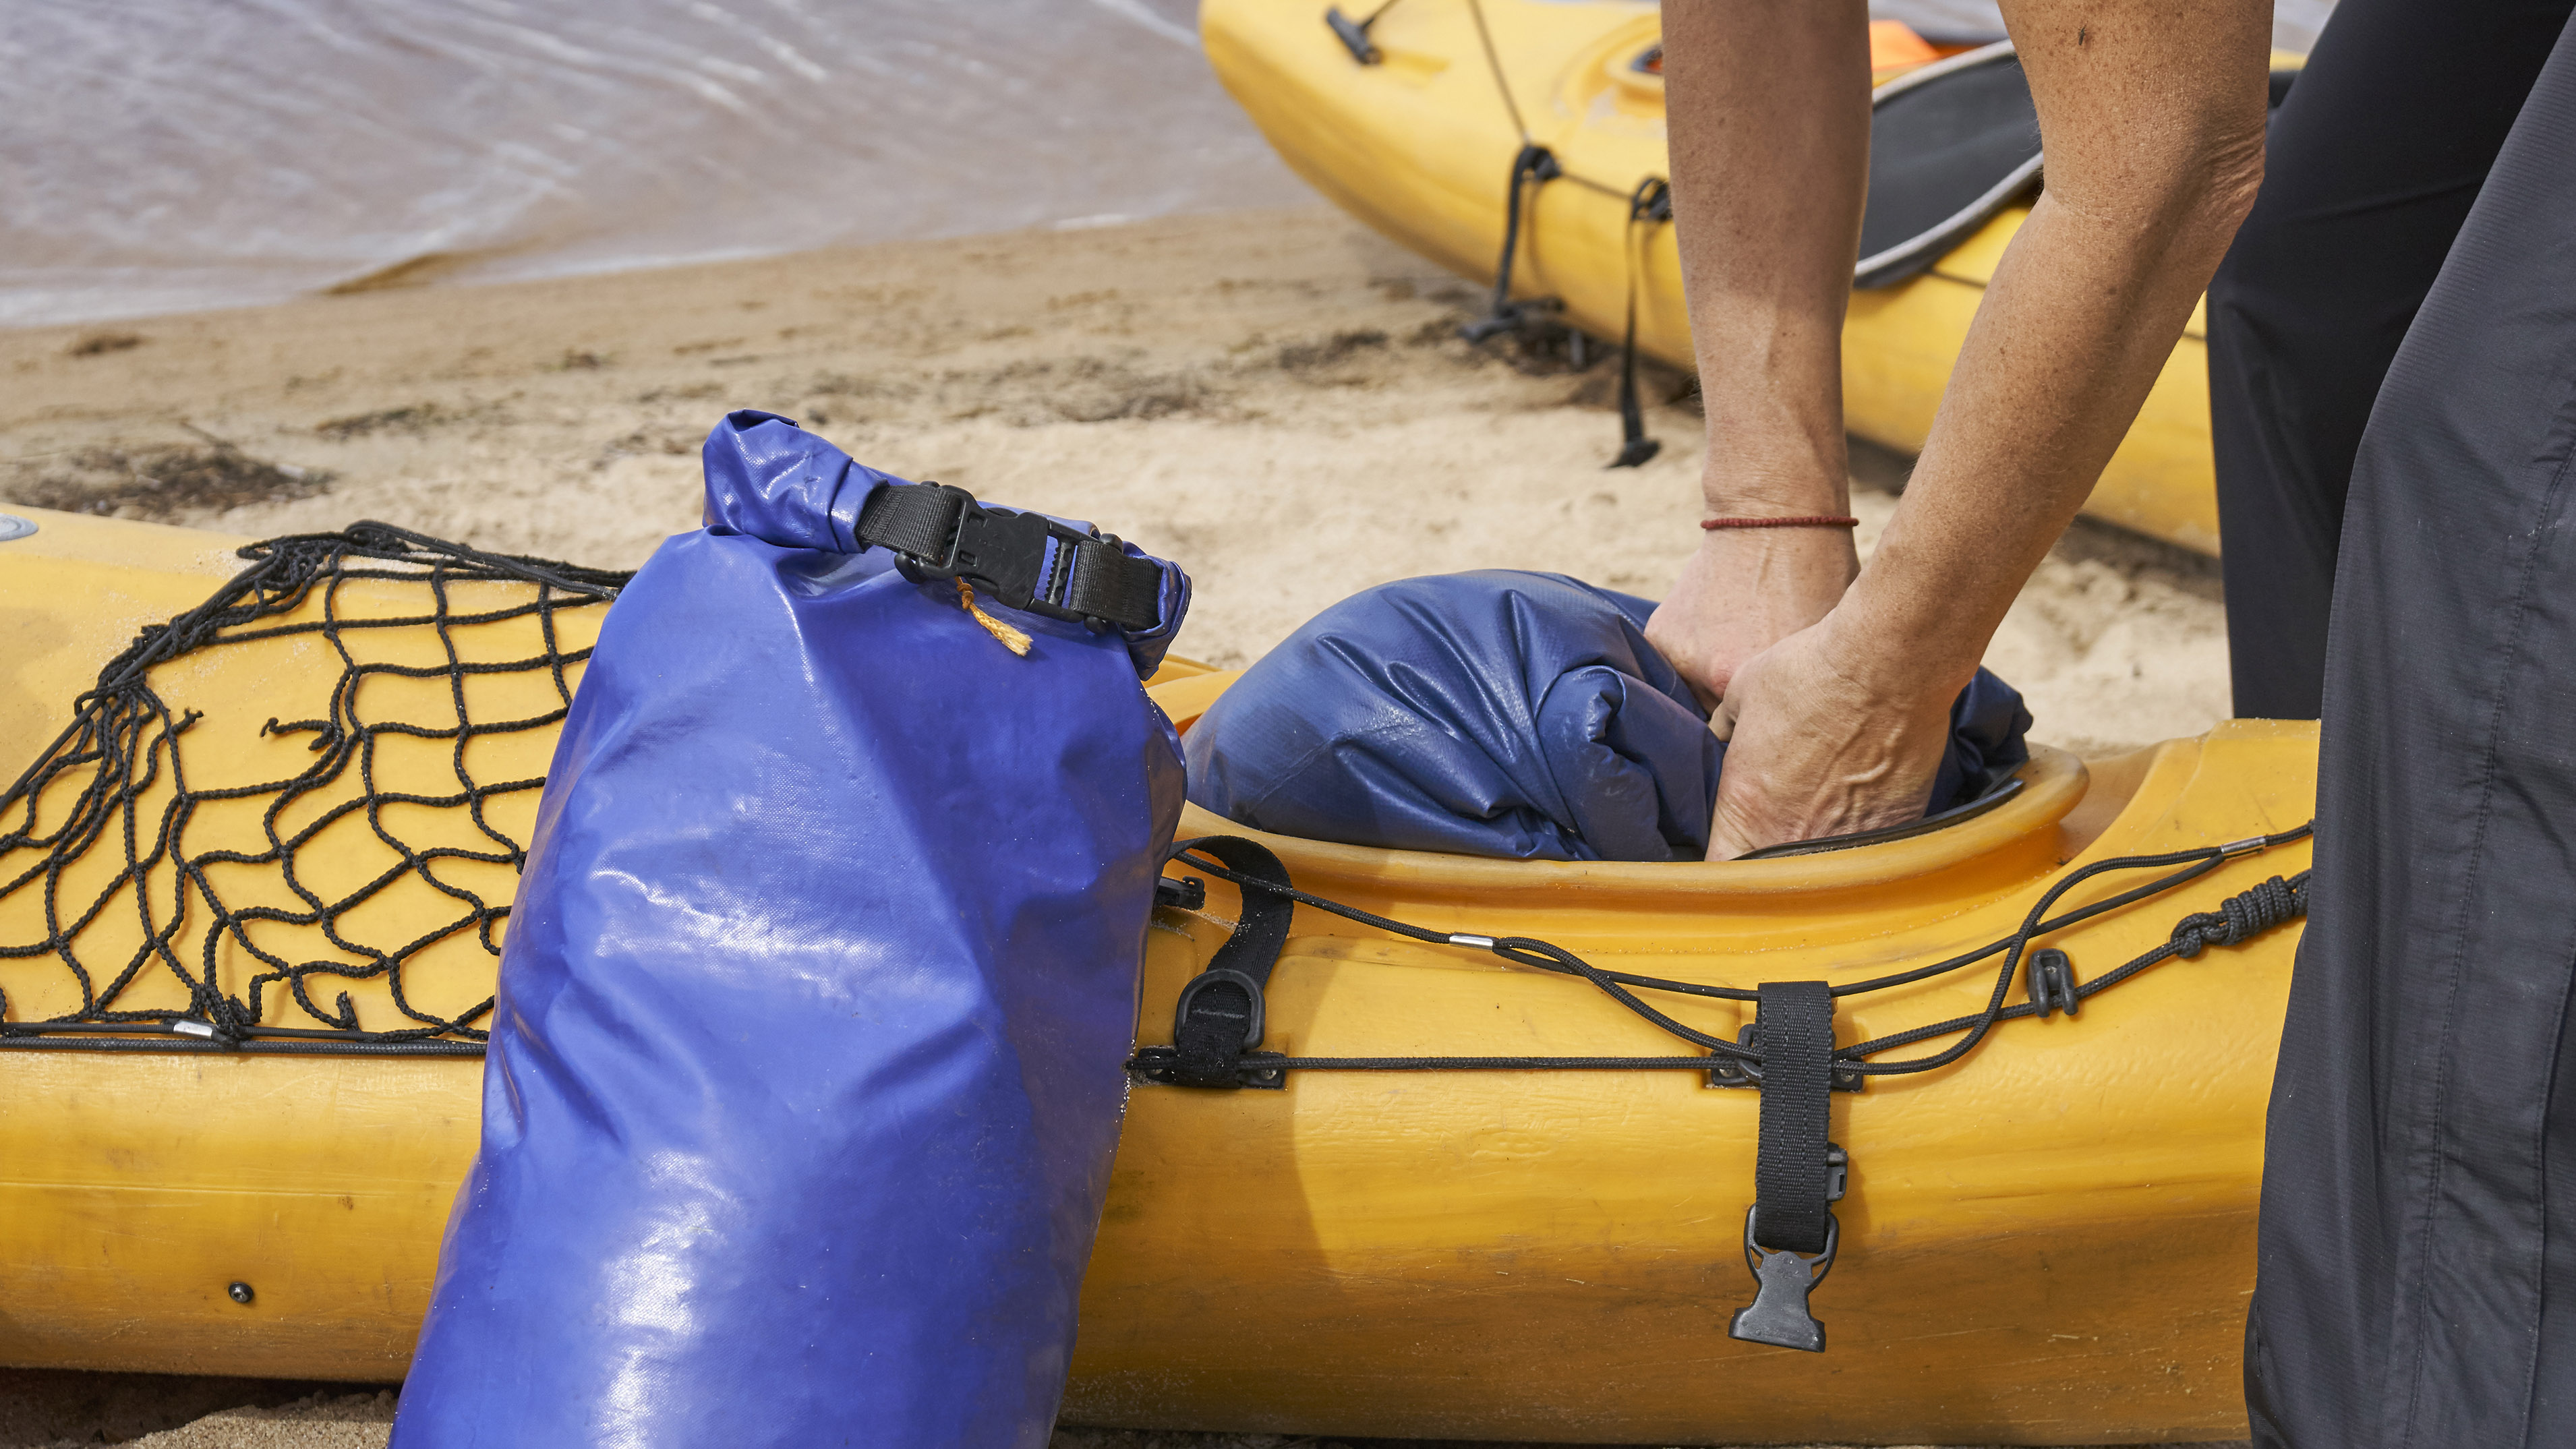
Knowing how to use a dry bag not only keeps your crucial kit dry on miserably wet days or during watery adventures. The knowledge can also be a potential lifesaver on expeditions to remote regions in challenging conditions. Having a system of – often colour-coded – dry bags is simply the done thing for overnight adventures in the wild.
In the days of old, the high-tech solution to keeping vital gear dry was stuffing it into plastic bags and knotting closed. There were many obvious downsides, from a bag’s habit of tearing to the environmental impact of going through multiple plastic bags. However, this was preferable to your best sleeping bag getting wet.
Even today, most hiking backpacks are water-resistant rather than waterproof and the need to use a dry bag, or several, is just as important as it ever was. Fortunately, we have a whole raft (excuse the pun) of choice, from watertight carry sacks that are ideal for kayaking and similar pursuits, to Velcro cases that keep your maps out of the drink.
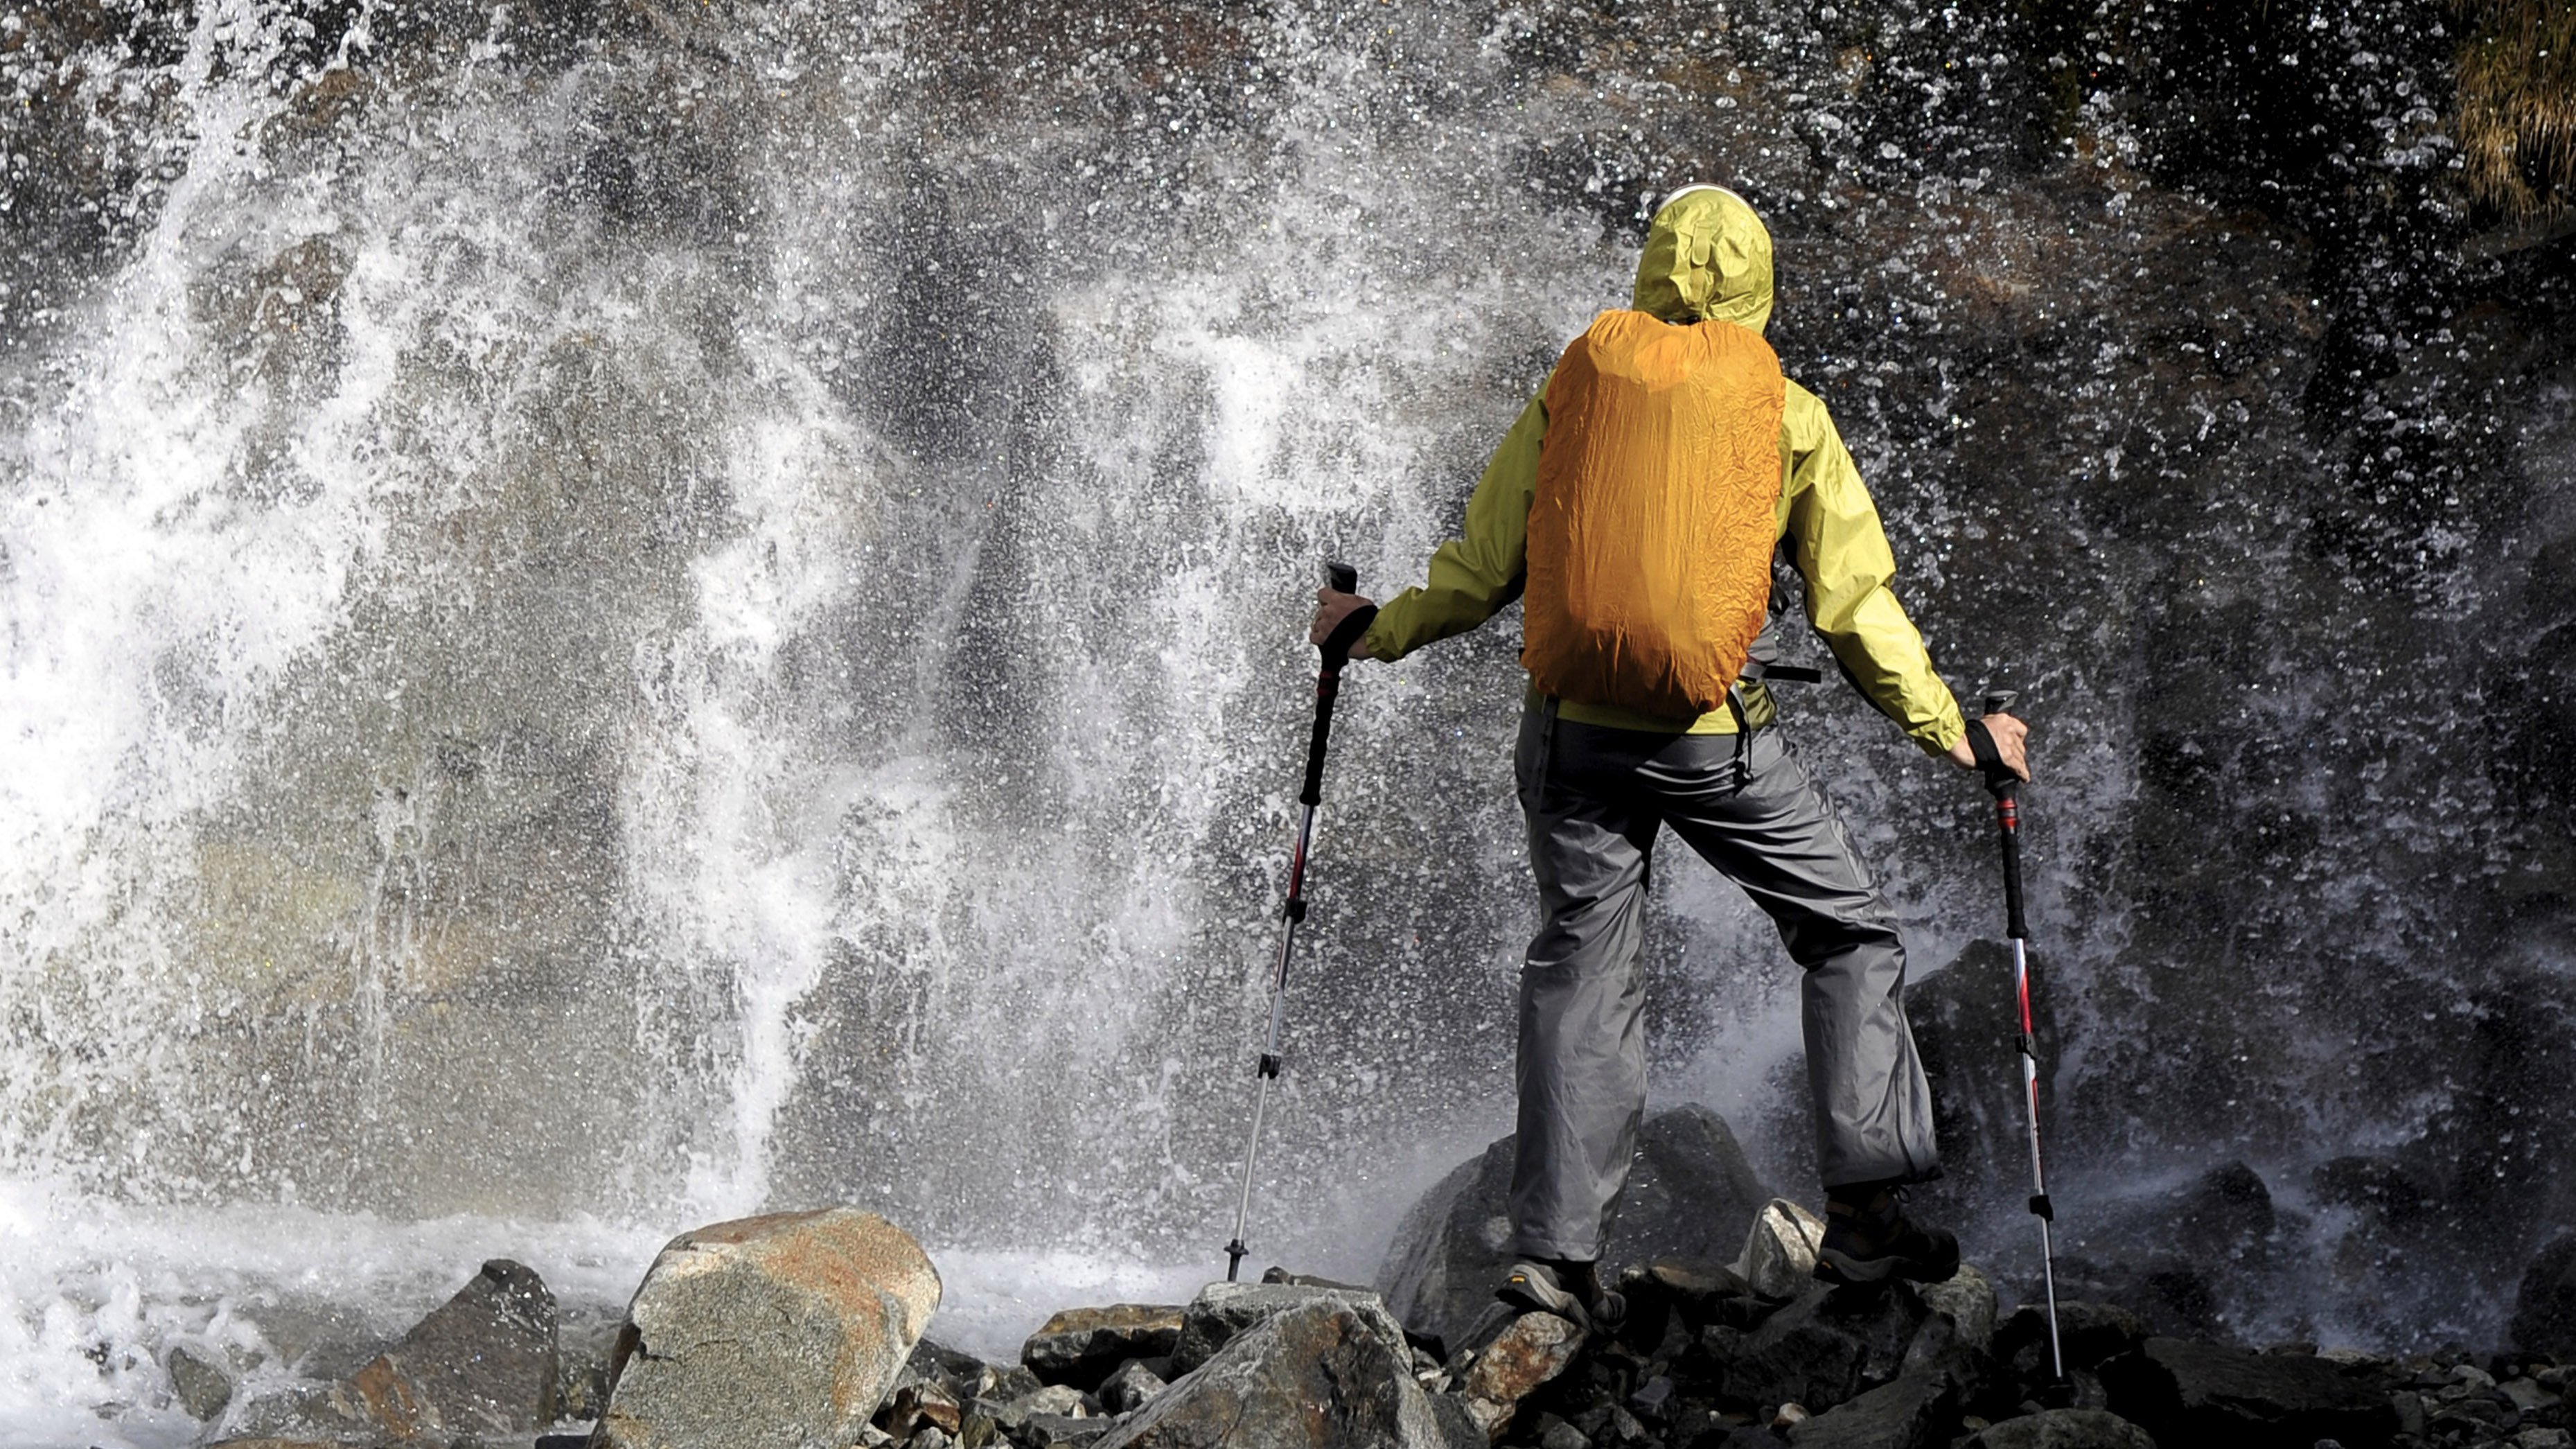
Knowing how to use a dry bag is more straightforward than it used to be. The best dry bags are affordable, easy-to-use, robust, readily available and come in a wide range of designs, weights and sizes.
Modern materials and innovative features have raised the dry bag game to the point where they are some of the simplest and most useful bits of equipment used by campers, backpackers, cyclists, canoeists and kayakers, bringing value and versatility that’s worth far more than their weight and cost.
Most people with experience of the outdoors – that’s anyone who’s ever been caught out in a few hours of heavy rain with a night sleeping out to look forward to – would surely consider them among the hiking essentials.
So before you take on the elements, here's how to use a dry bag...
Advnture Newsletter
All the latest inspiration, tips and guides to help you plan your next Advnture!
How to use a dry bag: the basics
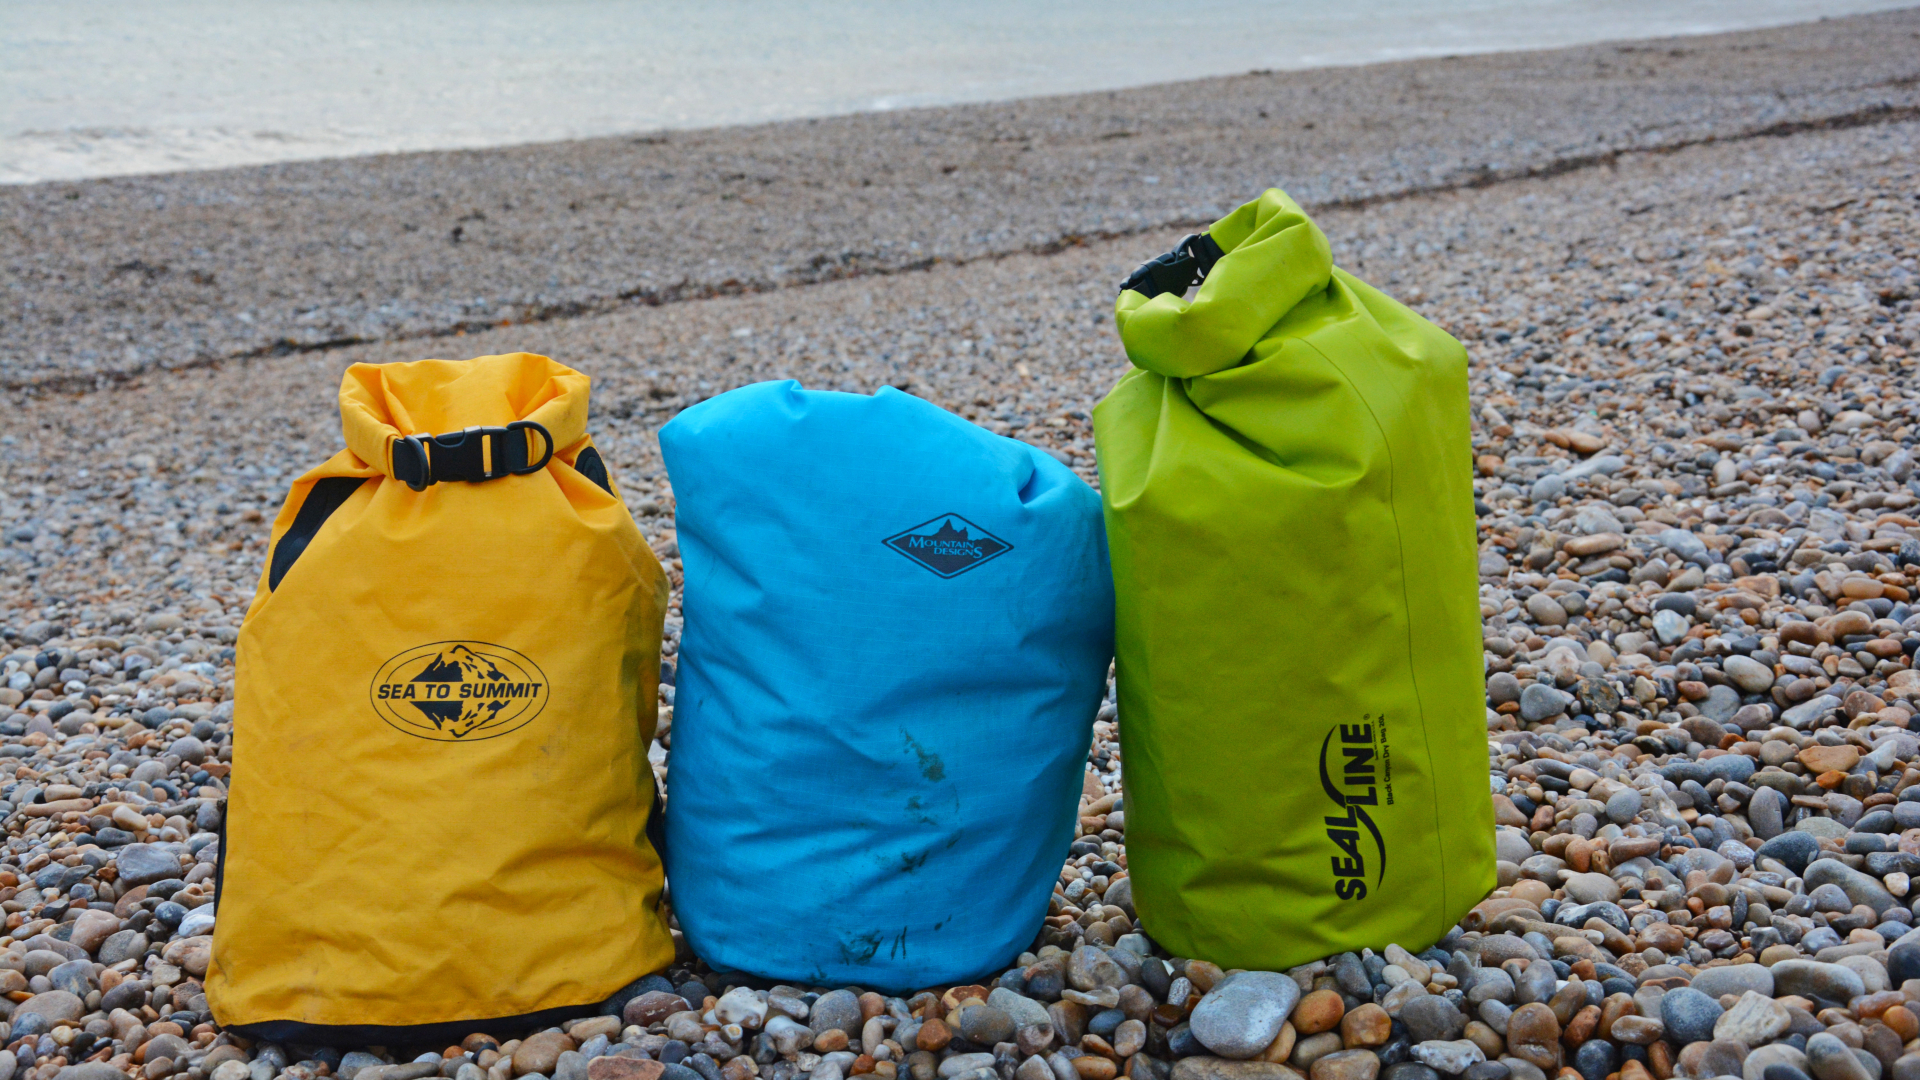
1. Pick a dry bag that will accommodate the items you wish to keep dry (get several, if you have a lot of kit, such as camping tech). Remember, you won’t be able to fill it right to the very top – it’s best to leave between a third and a quarter of the bag empty so you can roll it shut properly (see below). Avoid putting anything sharp in the bag (or right next to it in your pack or boat) – because, obviously, if a dry bag gets punctured, it will cease to work. Keep items like your multitool folded up and well away. As insurance, it’s smart to put very important kit into smaller waterproof bags inside the main bag. (You can also check out our guide to staying dry while hiking.)
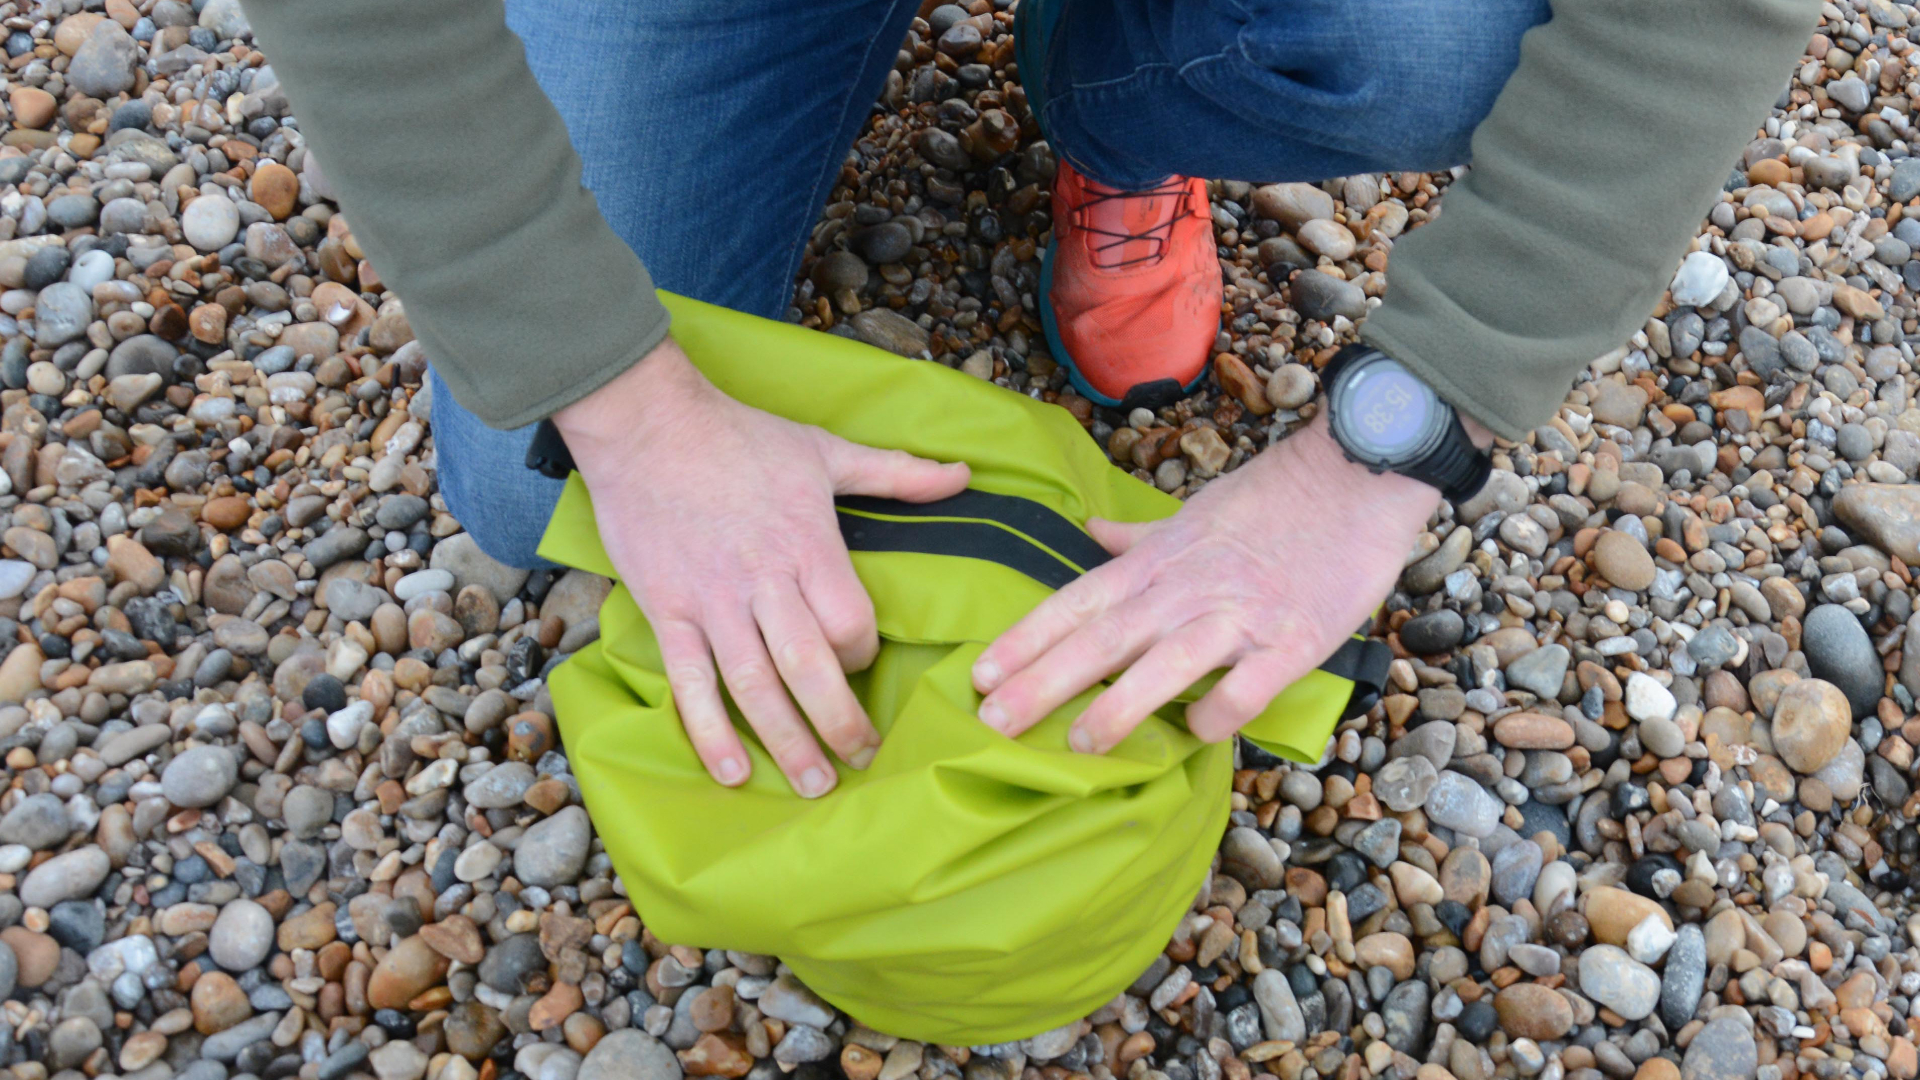
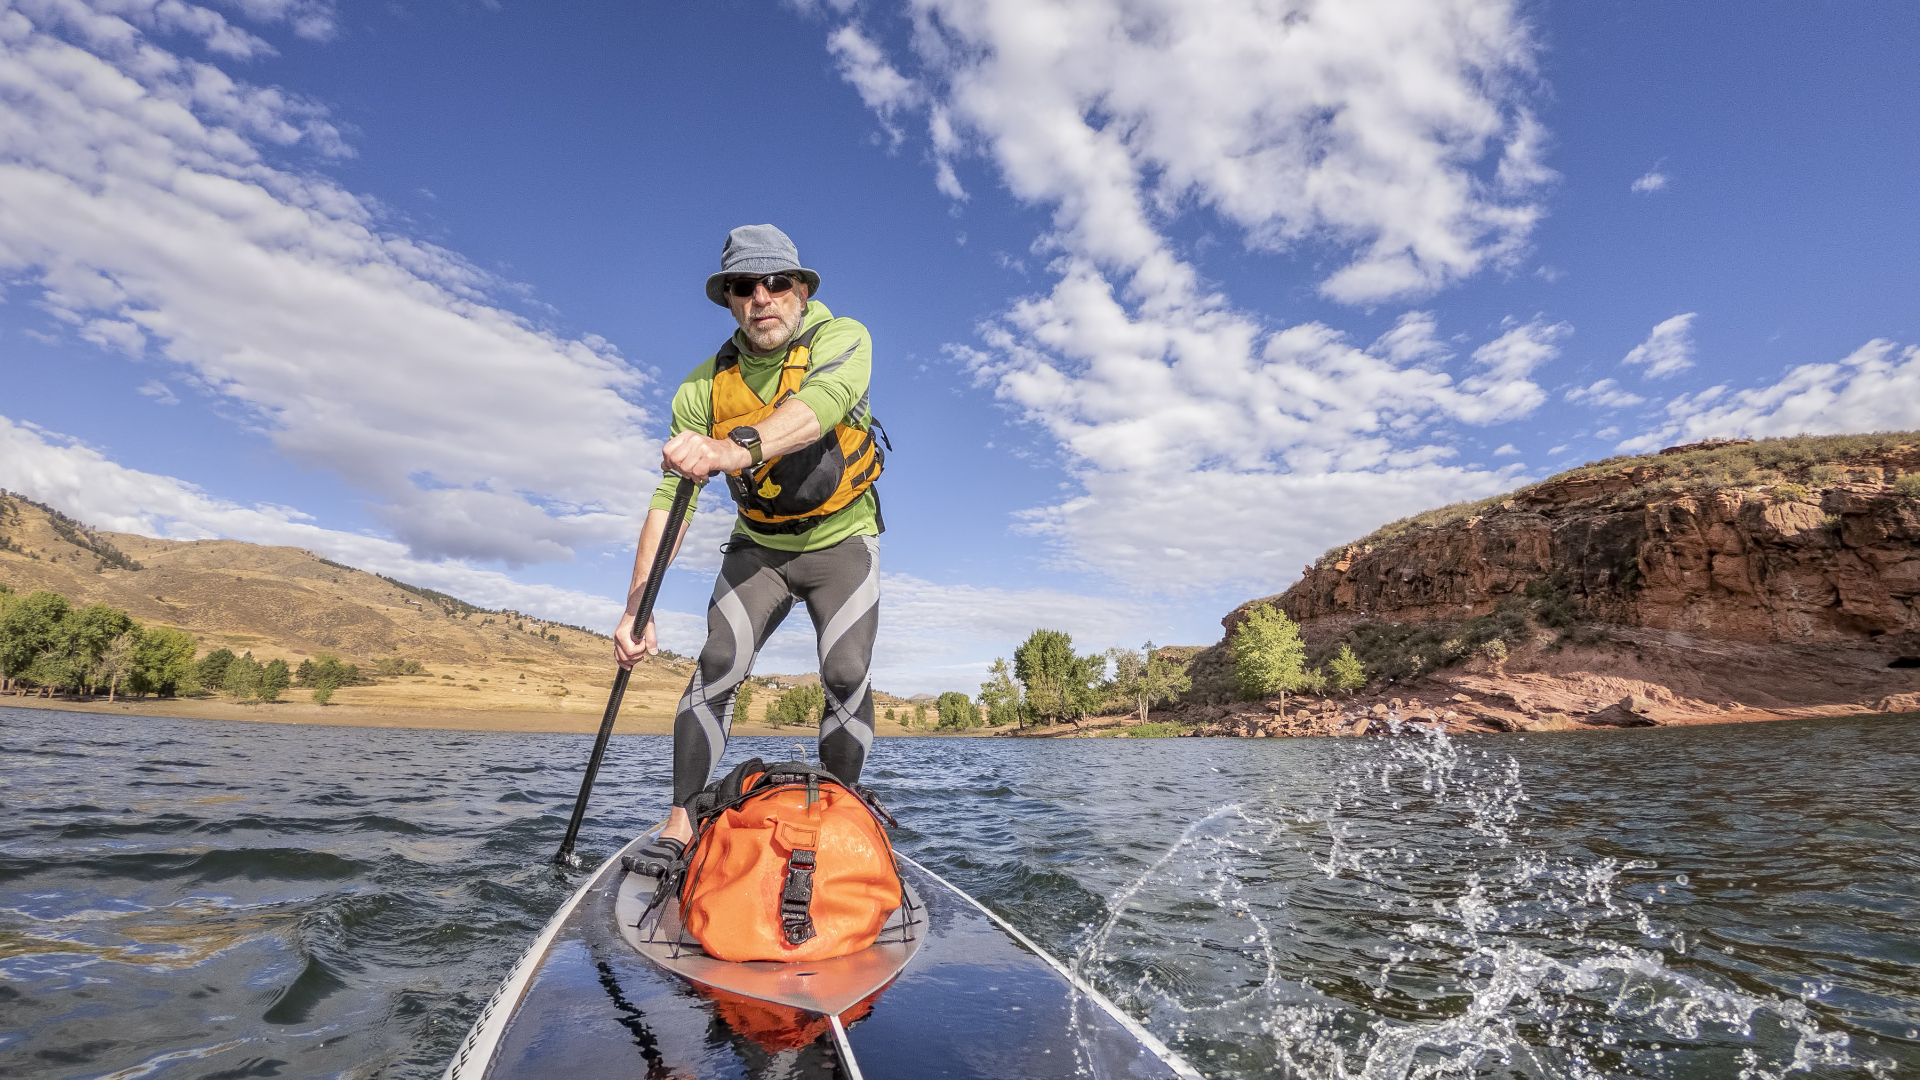
2. Using the strip or strips of re-enforced material found at the top of most dry bags as a guide, roll the top of the bag over once, and then ‘burp’ the bag – this means pushing the excess air out of the bag by exerting pressure with your hands or a knee. If you’re taking things in a boat or on a board (canoe/kayak/SUP), it can be a good idea to leave some air in the bag, as this will make it float if it accidentally goes overboard.
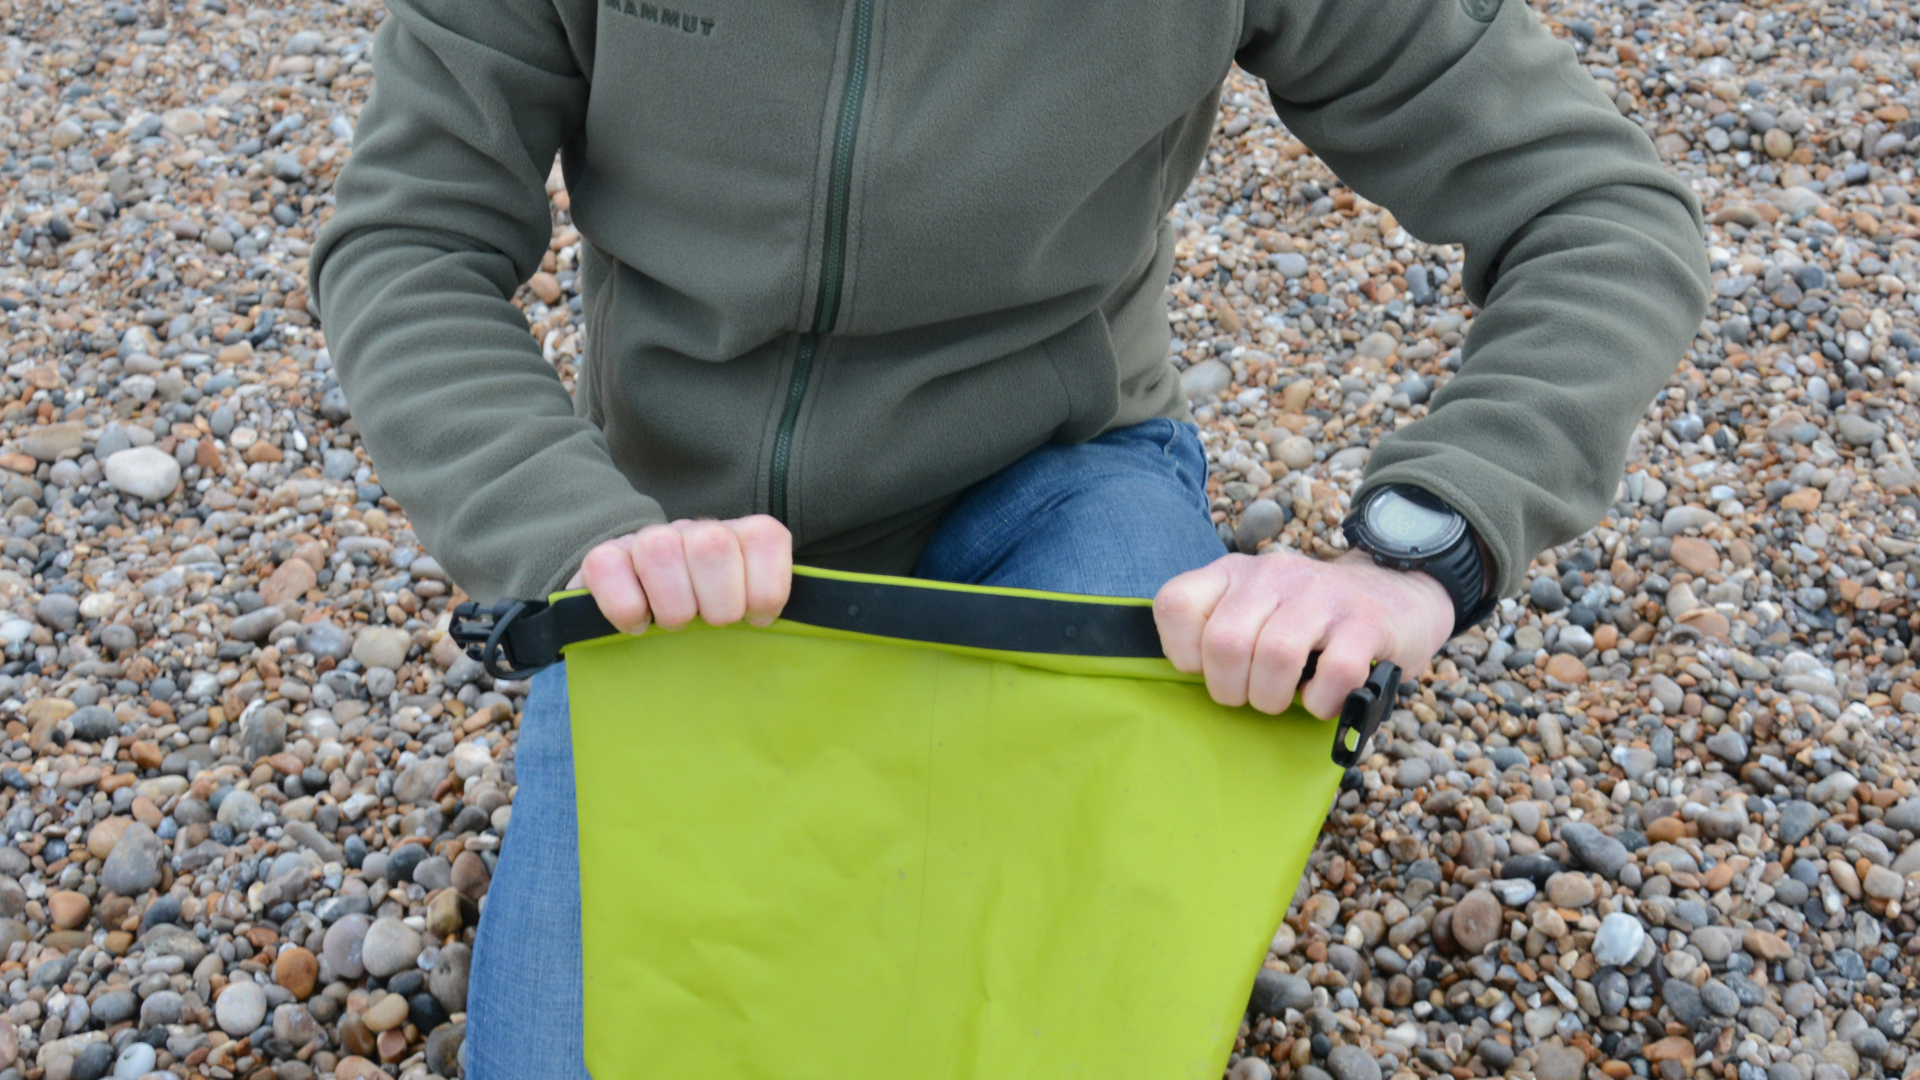
3. Once you’ve burped the bag through the single rollover, proceed to roll the top over again at least another two times (for a total of three rolls), to achieve a properly waterproof seal. Bend the top around, so that the plastic D ring (another common feature on dry bags) is on the outside, and clip the ends together.
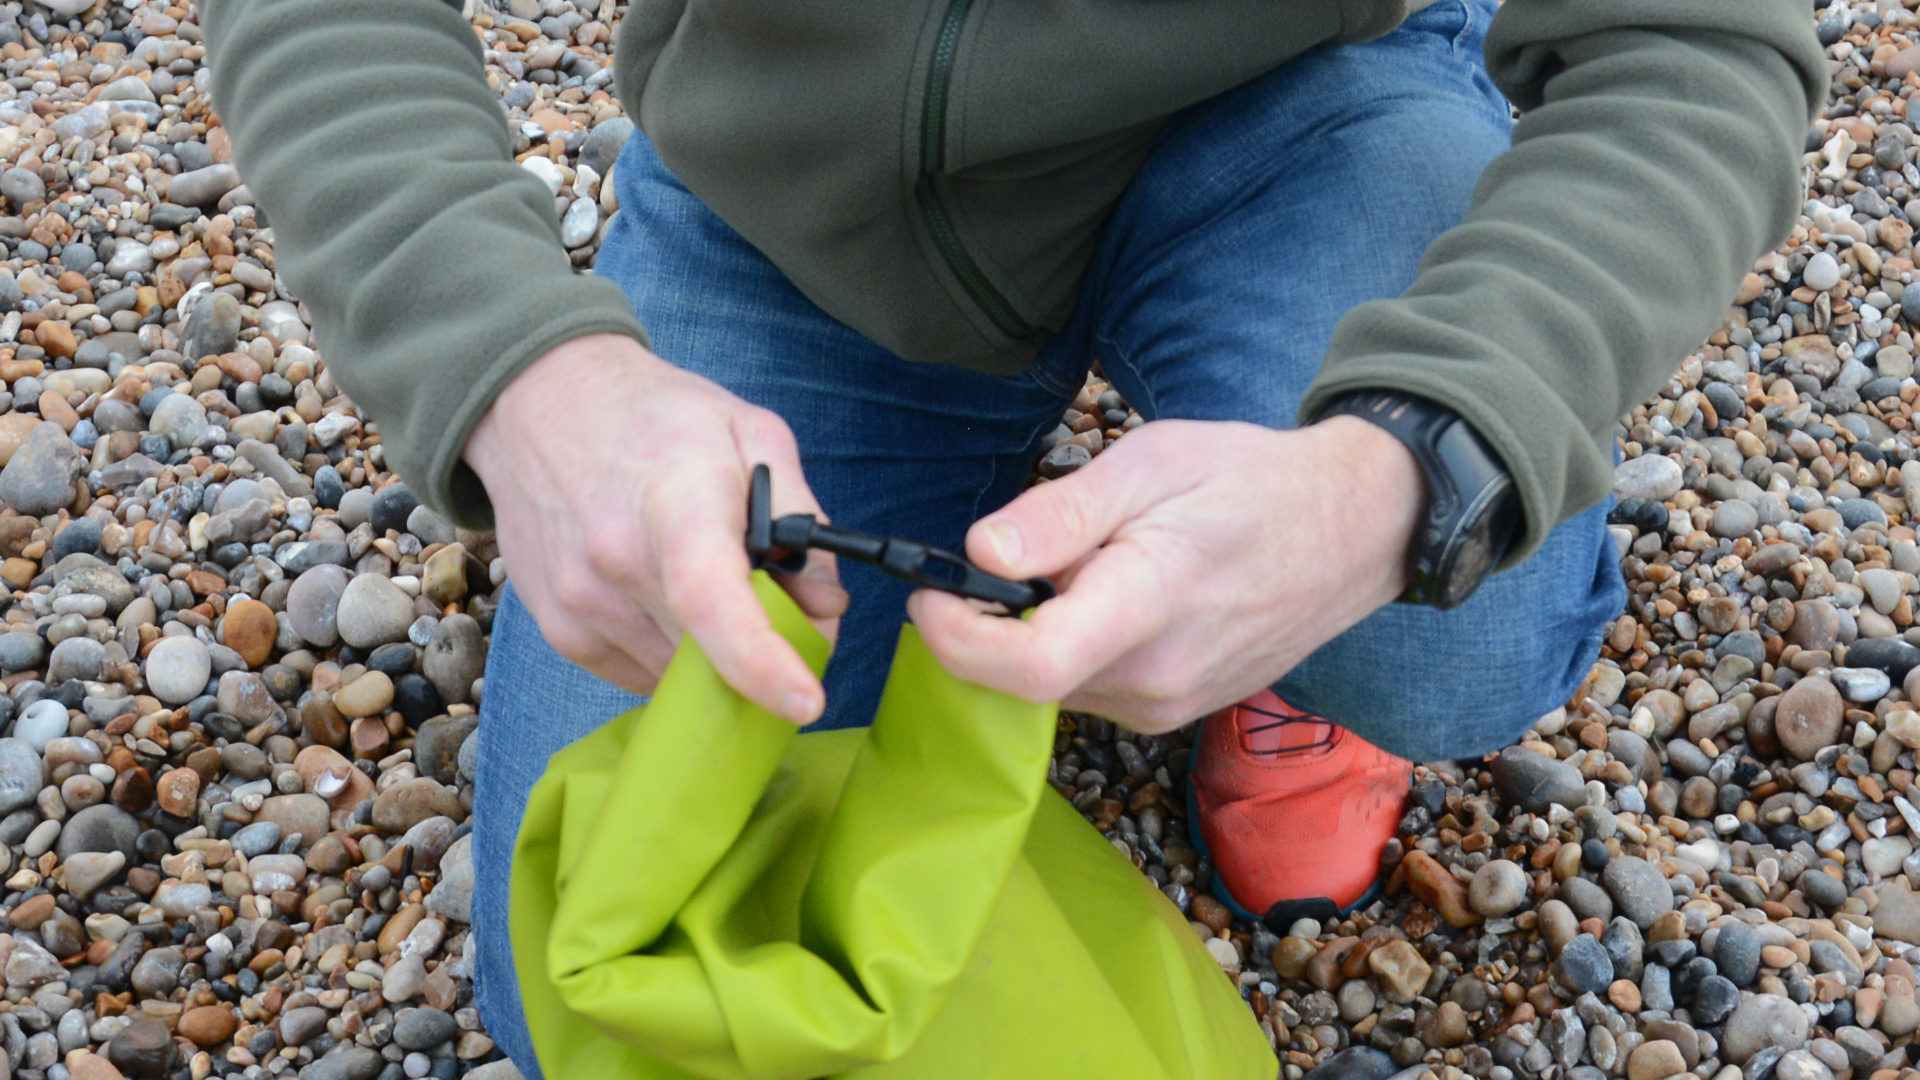
4. If you’re in a boat, you can secure the bag by clipping a carabiner onto the D ring, or running a rope through it. (You can pass the rope through the loop formed by the clipped-shut bag, but if you open the bag at any point it will no longer be secure and can get knocked overboard, so better to use the D ring.)
How to use a dry bag in other ways
As a packliner
Using a large lightweight dry bag as a liner can make your favorite backpack 100% weather-proof, and is often cheaper, lighter and more versatile than a fully-featured waterproof rucksack – though if you’re planning on a spectacularly wet adventure then the latter might be your choice.
To make the best use of space, choose a liner bag with a volume close to that of the bag it’s going inside, allowing for the roll-overs needed to close it securely (see above). In fair weather that should provide enough protection against wet and damp, but when I expect rain on a trip – which is always – I put my down sleeping bag and silk liner into another light dry bag, expelling all the air when closing it to keep bulk down. This not only provides another level of protection inside my pack, it also means that when I set up camp I don’t have to expose my sleeping kit to the elements until my bivvy or hammock is set up and I’ve got a dry place to lay it out.
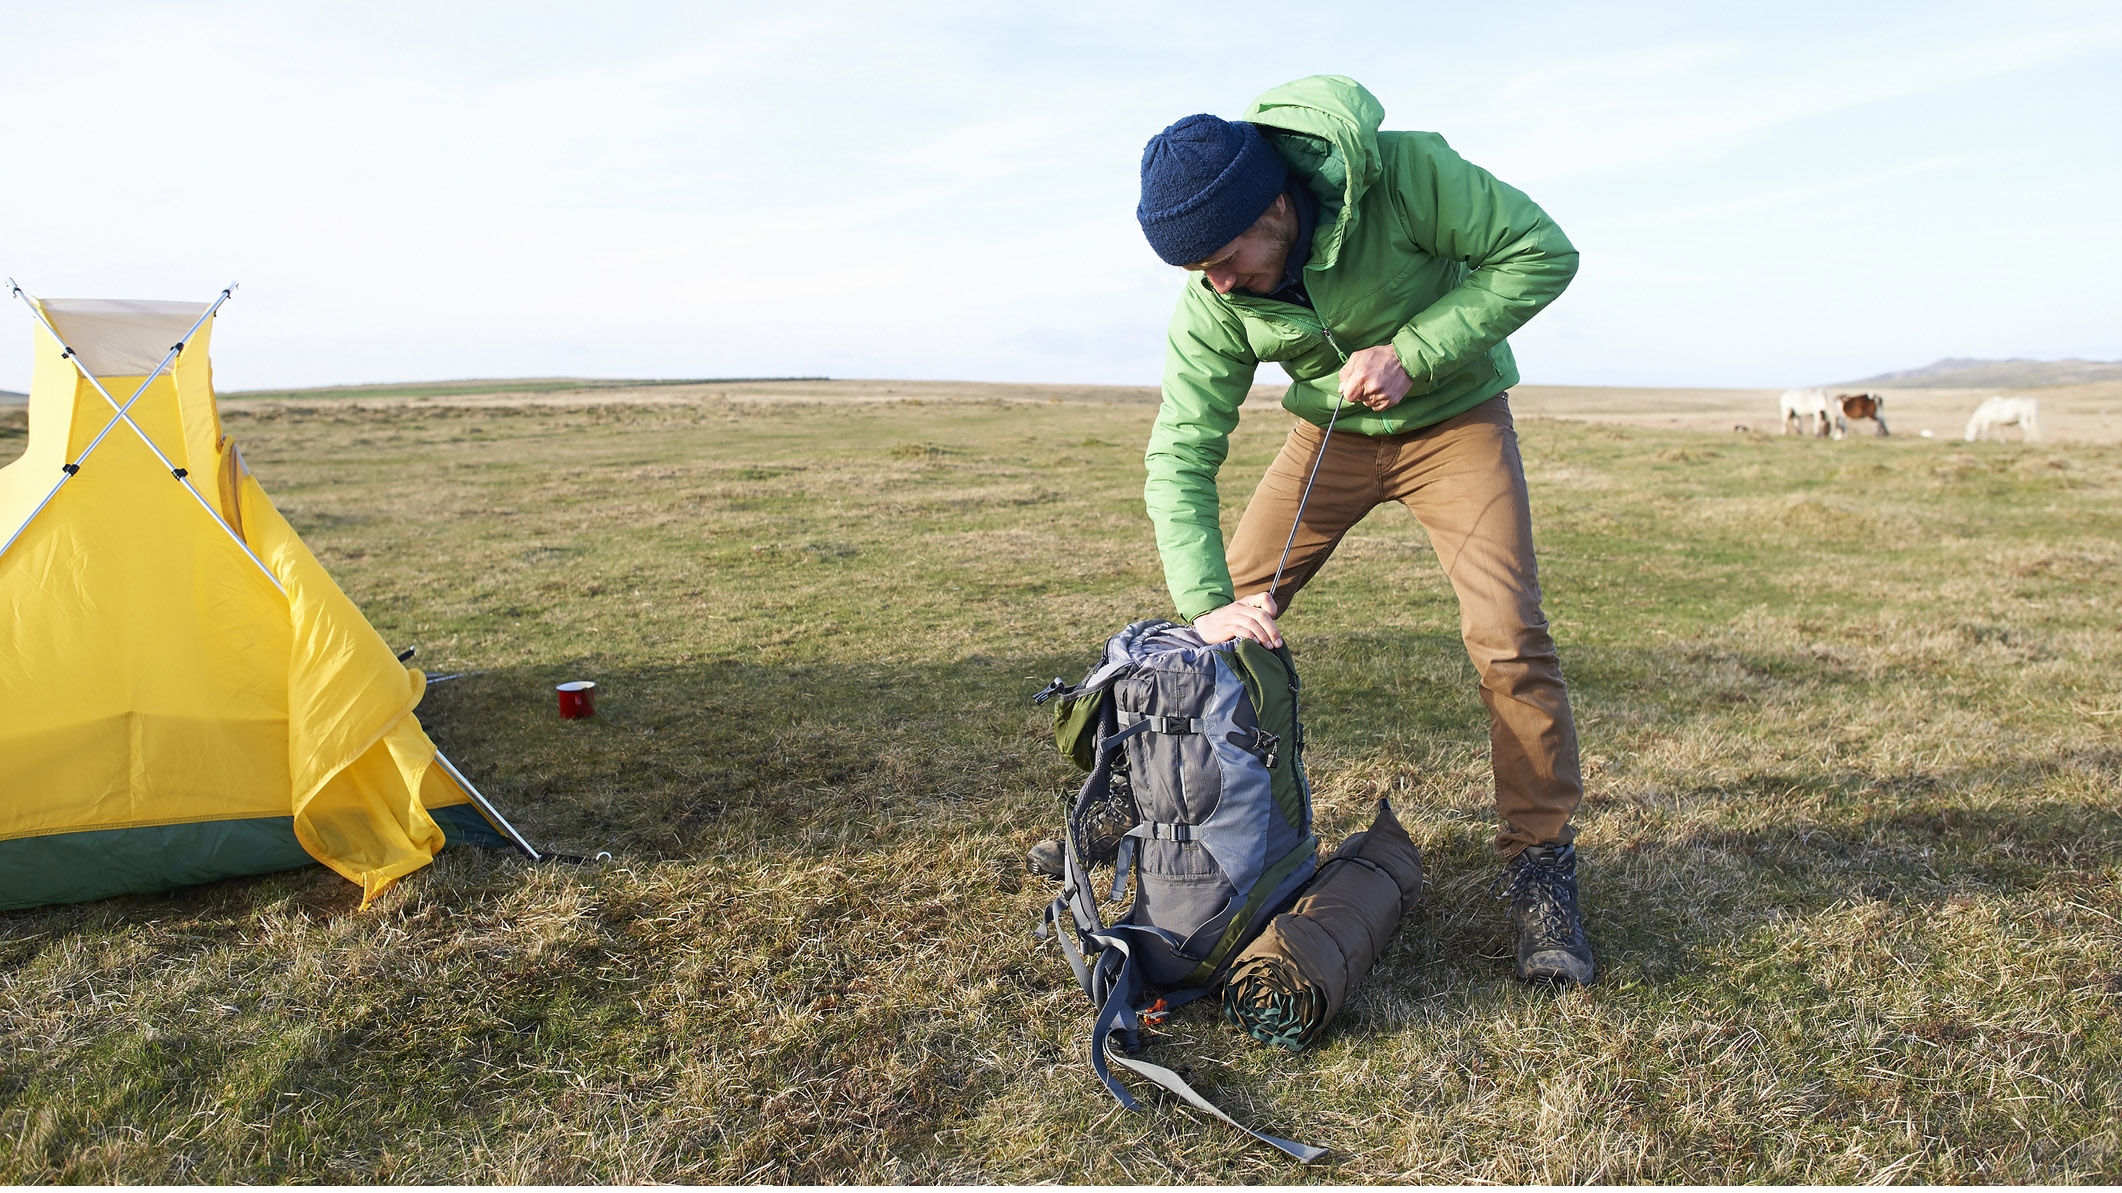
For organization Consider using different sized, super-light dry bags for storage inside the main liner bag. Electrics, fire-starting tools, spare base layers and down jackets not only need to be kept dry but are easier to organize using dedicated bags, especially if you use a range of colors to code them so you know which bag contains what with just a glance. Develop a packing plan (our 'how to pack a backpack' guide may help), keeping kit in specific bags with the most used items at the top, as most bags are too narrow to reach stuff at the bottom without emptying them out.
Again, making camp in bad weather is easier if you can keep things in dry bags until needed, and if you’re bivvying, hammocking or wild camping in a one-person tent, then the big dry bag liner can provide extra weatherproof storage space to put clothes and other kit in overnight.
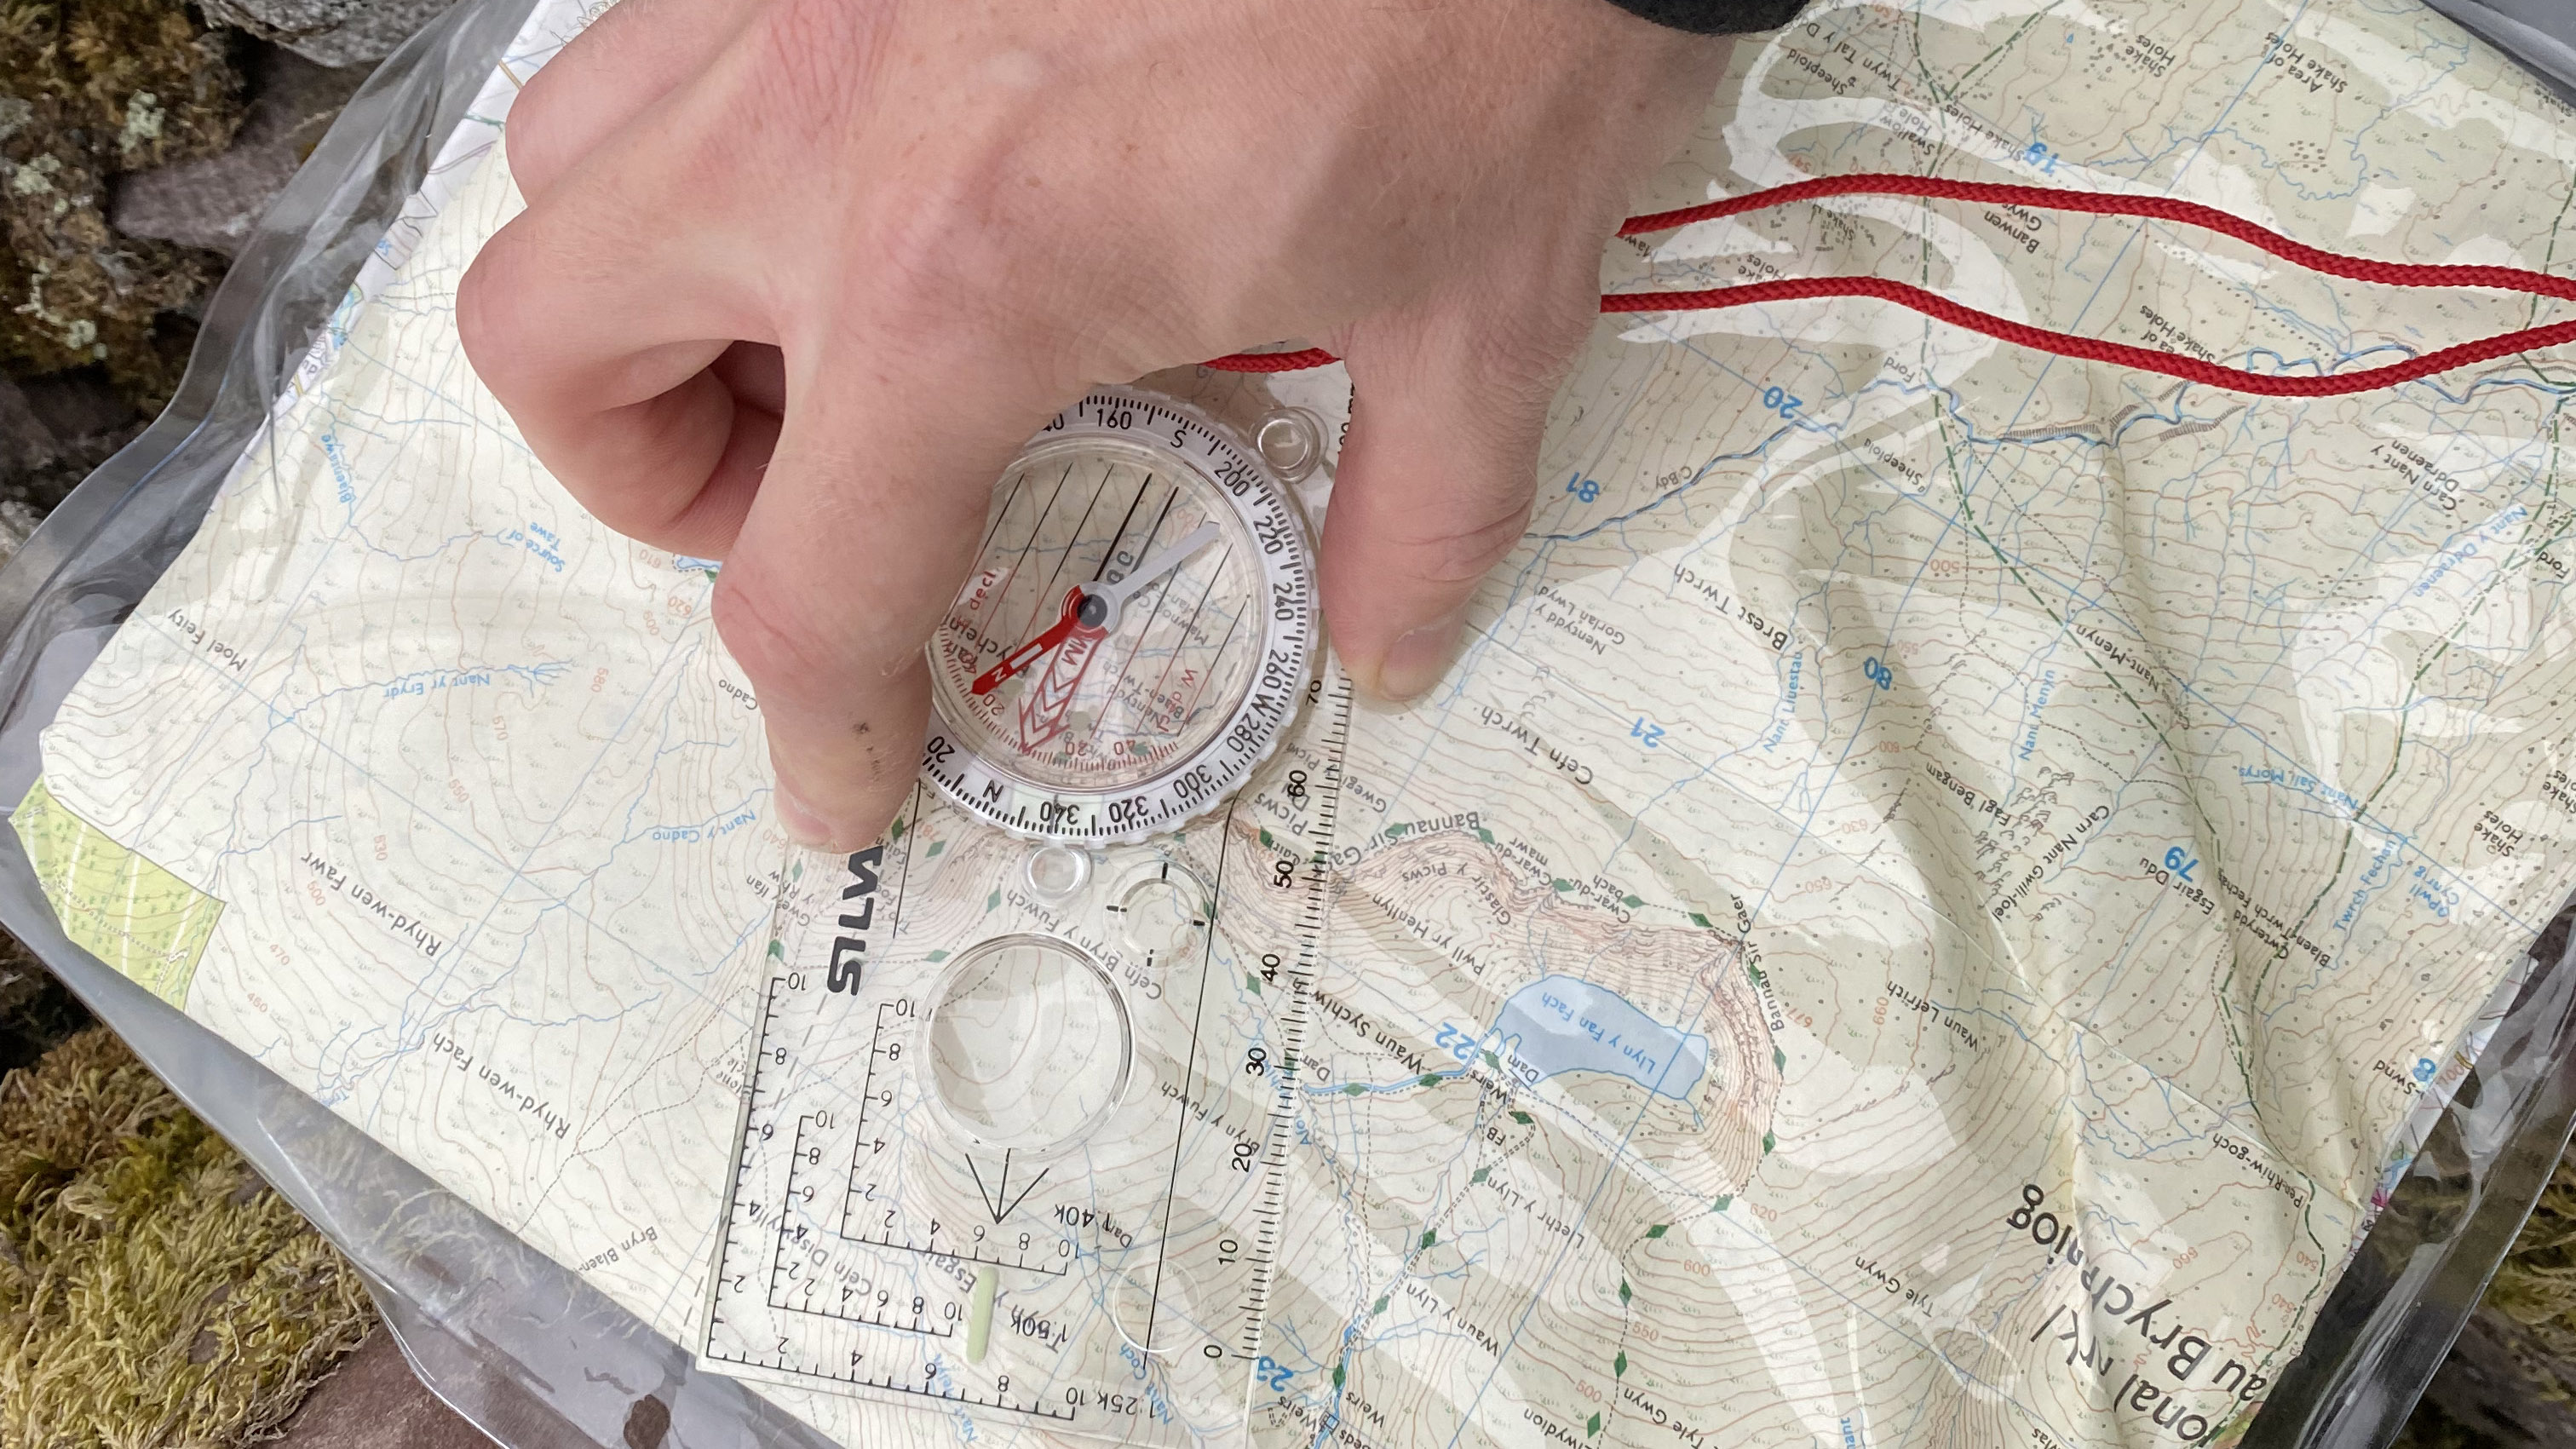
For orientation Have you ever considered how to read a map when it's raining cats and dogs? This is when a clear plastic waterproof map case comes into its own. For those hill walkers, kayakers, orienteerers and other outdoor types who still find printed maps the quickest and most reliable ‘big picture’ way to navigate – or for those who are still undecided on the map and compass vs GPSs debate and therefore take both – a map case is the difference between wind and rain destroying your ability to navigate in minutes or keeping your map dry, neatly folded and readable in all weathers. Get the biggest you can find and there’ll be space in there for a handy bar of chocolate too. Tailor-made clear dry bags for tablets are also available, some of which allow you to swipe screens with your fingers as you would normally.
As a float If you need to cross a river during a hike or if you’re into wild swimming and you’d like to swim a stretch of water and then continue on your way without going back to collect your kit (or if you’re doing a DIY or organized SwimRun) you can pop your clothes, shoes and valuables in a dry bag, seal some extra air in it, attach a leash strap or rope to the D ring, and use it as a tow float. Bright colors are good for this, as they alert boats to your presence in the water. (There are specially designed double-skin swim bags for regular wild swimmers, which incorporate a dry bag in an inflatable float attached to a waist leash.)
As mentioned above, if you’re heading out onto the water in a kayak or canoe, it’s a good idea to pack bags so they’re light enough to float in the case of a capsize; either by underfilling them so there’s plenty of air inside or putting in something light and high volume like a fleece jacket.
As a pillow Fill a small or medium dry bag with soft clothing, such as a fleece, and voila! You have a comfortable camping pillow that you can dribble on without a care in the world. All you need now is a sleeping pad!
As a wet bag or bucket Because they’re waterproof, dry bags can keep liquid in as well as out – so use them as a place to stash dirty and wet clothing, keeping the stinky soggy stuff away from the fresh clean stuff in your pack. You can even use thicker dry bags to wash clothing, filing them with warm soapy water and then adding the items you’d like to launder.
Dirt bags Dry bags are properly recyclable. They may not remain reliably waterproof forever, particularly if given a hard life, but old ones can be re-purposed as ‘kitchen’ bags to keep sooty pots and stoves away from the rest of your kit, or used as sealable rubbish sacks to help you to leave no trace when camping and carry out your own trash out, or when you do the good thing and bag up litter you find along a trail.
Sand bags You might think that dry bags don’t have a place in desert travel, or even on a beach, but you’d be wrong. A dry bag that will keep out water will do just as good a job protecting your kit from the finest of wind-blown sands in the Sahara or along the seafront.
Choosing a dry bag
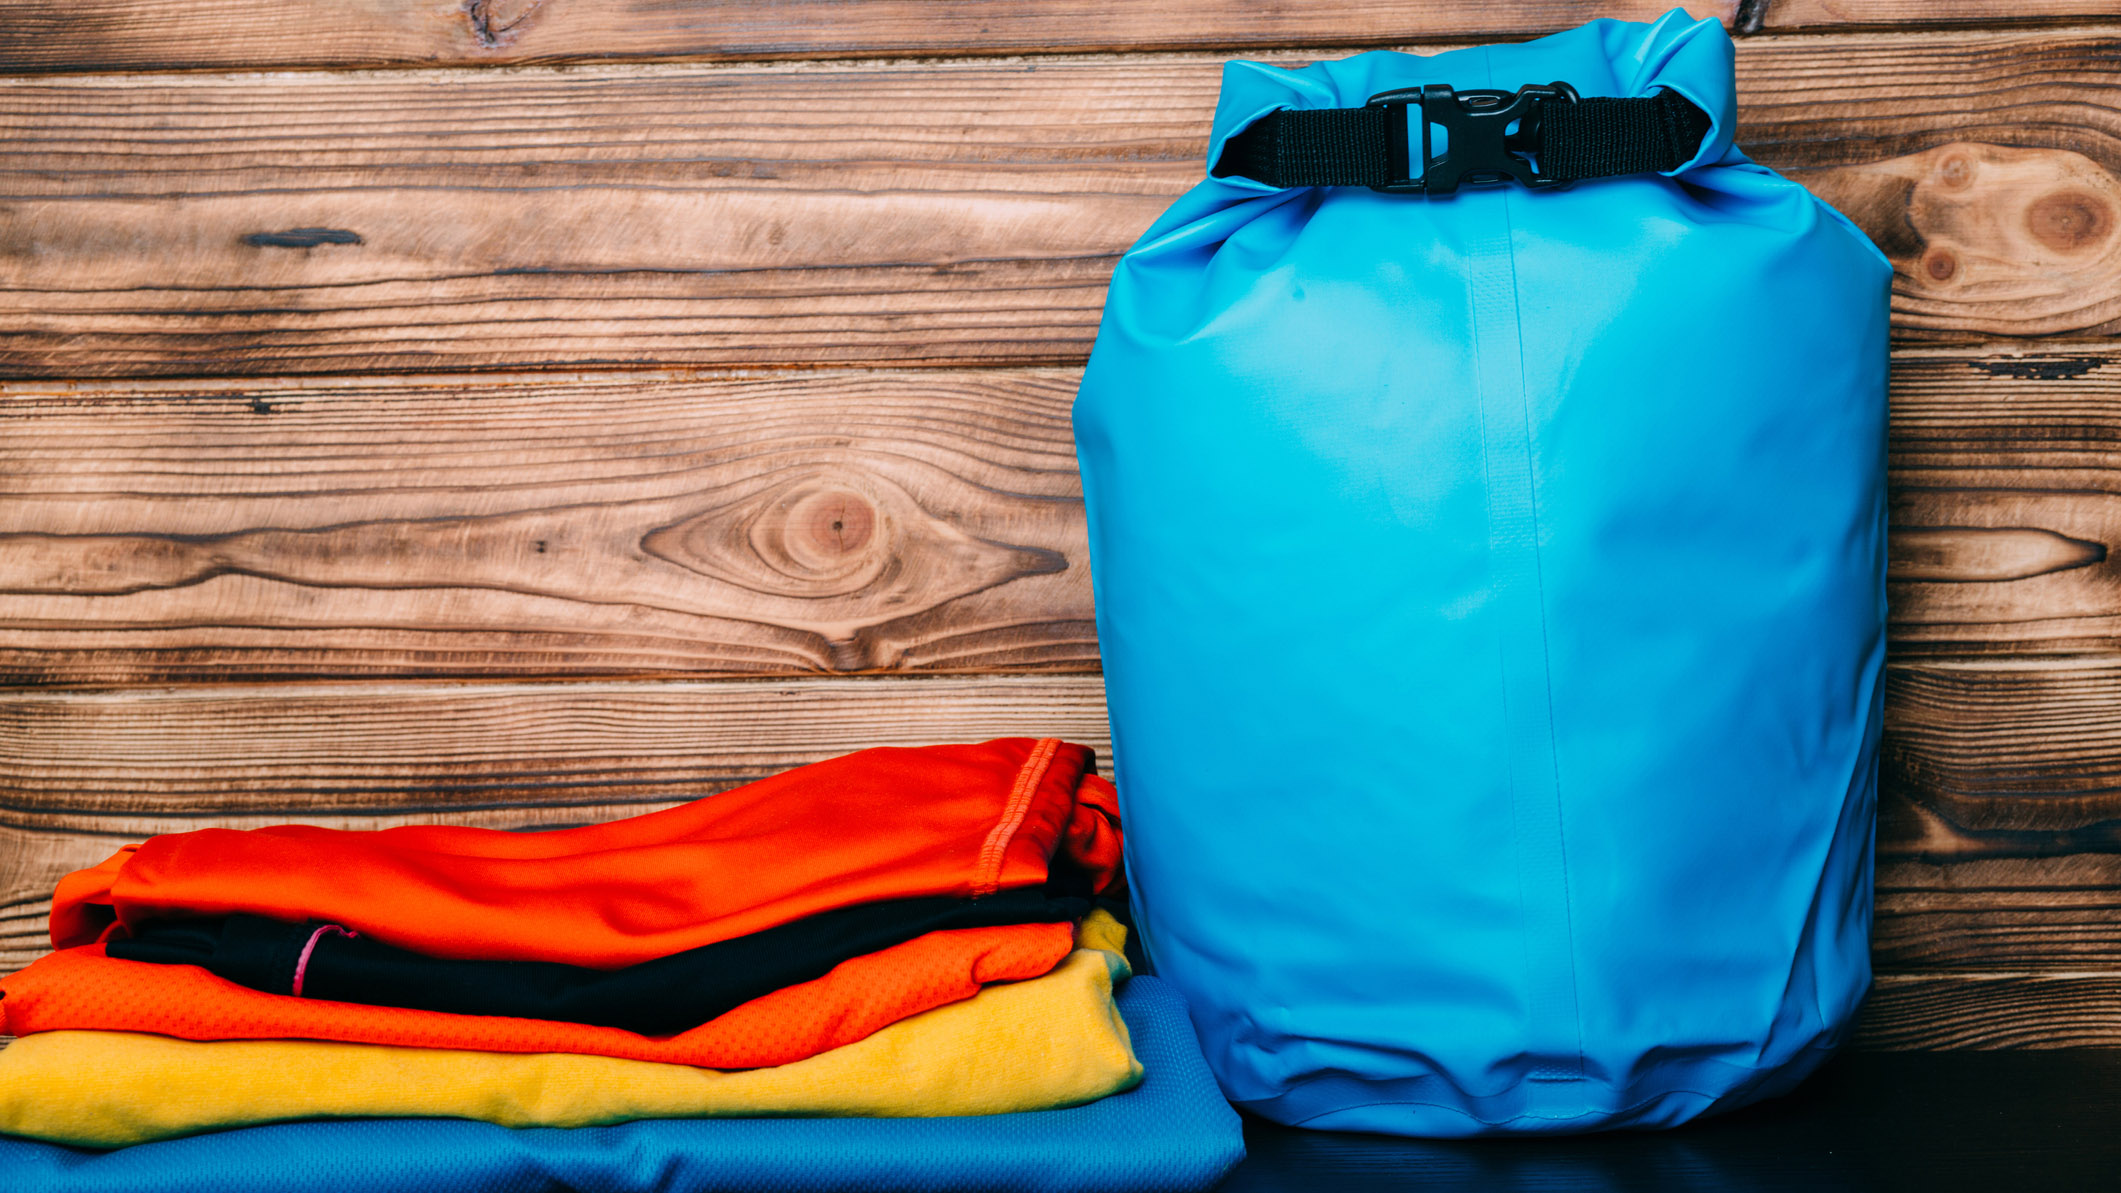
Most brands produce dry bags in different sizes, shapes and colors, from a half-litre upwards, allowing you to tailor storage in your backpack to suit your needs. Bags come in tube, oblong, and even conical shapes. Flat bases make it easier to stand bags upright. A clear panel along the length of one side is a handy feature, which means you can see what’s inside.
Sturdier dry bags designed for stand-alone use, whether tied onto a kayak, carried on hikes or lashed onto a bike rack are necessarily far heavier and more robust in construction. These are the choice when expecting serious wettings, whether walking in heavy rain, ghyll scrambling, out on the water in kayaks, canoes or SUPs or when canyoning or swimming. In these situations, it’s even more crucial to ensure that closures are folded over the correct number of times to keep water out.
Most heavy dry bags will have kitbag-style carry straps or a simple shoulder harness if meant for carrying, or grab-handles and tie-down tabs or ‘D’s to attach them to boats, kayaks or canoes.
Looking after dry bags
Keep in mind that lightweight dry bags are not designed for rough treatment and abuse. They need to be inside a backpack for protection when on the move, and anything hard-edged or pointed – such as your multitool – needs to be wrapped to avoid punctures in the fabric.
Thicker dry bags are more robust, but still avoid sharp things going anywhere near them. Most of the damage we’ve done to heavy dry bags comes from abrasion – putting holes into the fabric from long periods rubbing against something hard in a kayak, or on a bike rack. We’ve learned to pad them on the outside at any point they might rub, and to add duct tape patches to the outside if necessary.
Dry bags can be patched and repaired with similar fabrics and a flexible, waterproof glue but there’s always a question mark hanging over the reliability of a mend.
After a wild childhood in west Cork, Jasper Winn began embarking on long cycles, walks, horse journeys and kayak trips across five continents – adventures he’s decanted into books, magazine articles, radio and television documentaries. Keen on low-tech but good gear, Jasper is an advocate of slow adventures by paddle, pedal, saddle, boot and sail. He has circumnavigated Ireland by kayak and cycled across the Sahara. Twice. Having ridden north-to-south across Algeria he discovered the only way to get back was to turn round and pedal north again.
