How to use a compass: improve your navigation and get your bearings
Learning or enhancing your knowledge of how to use a compass is a great idea ahead of the summer hiking season
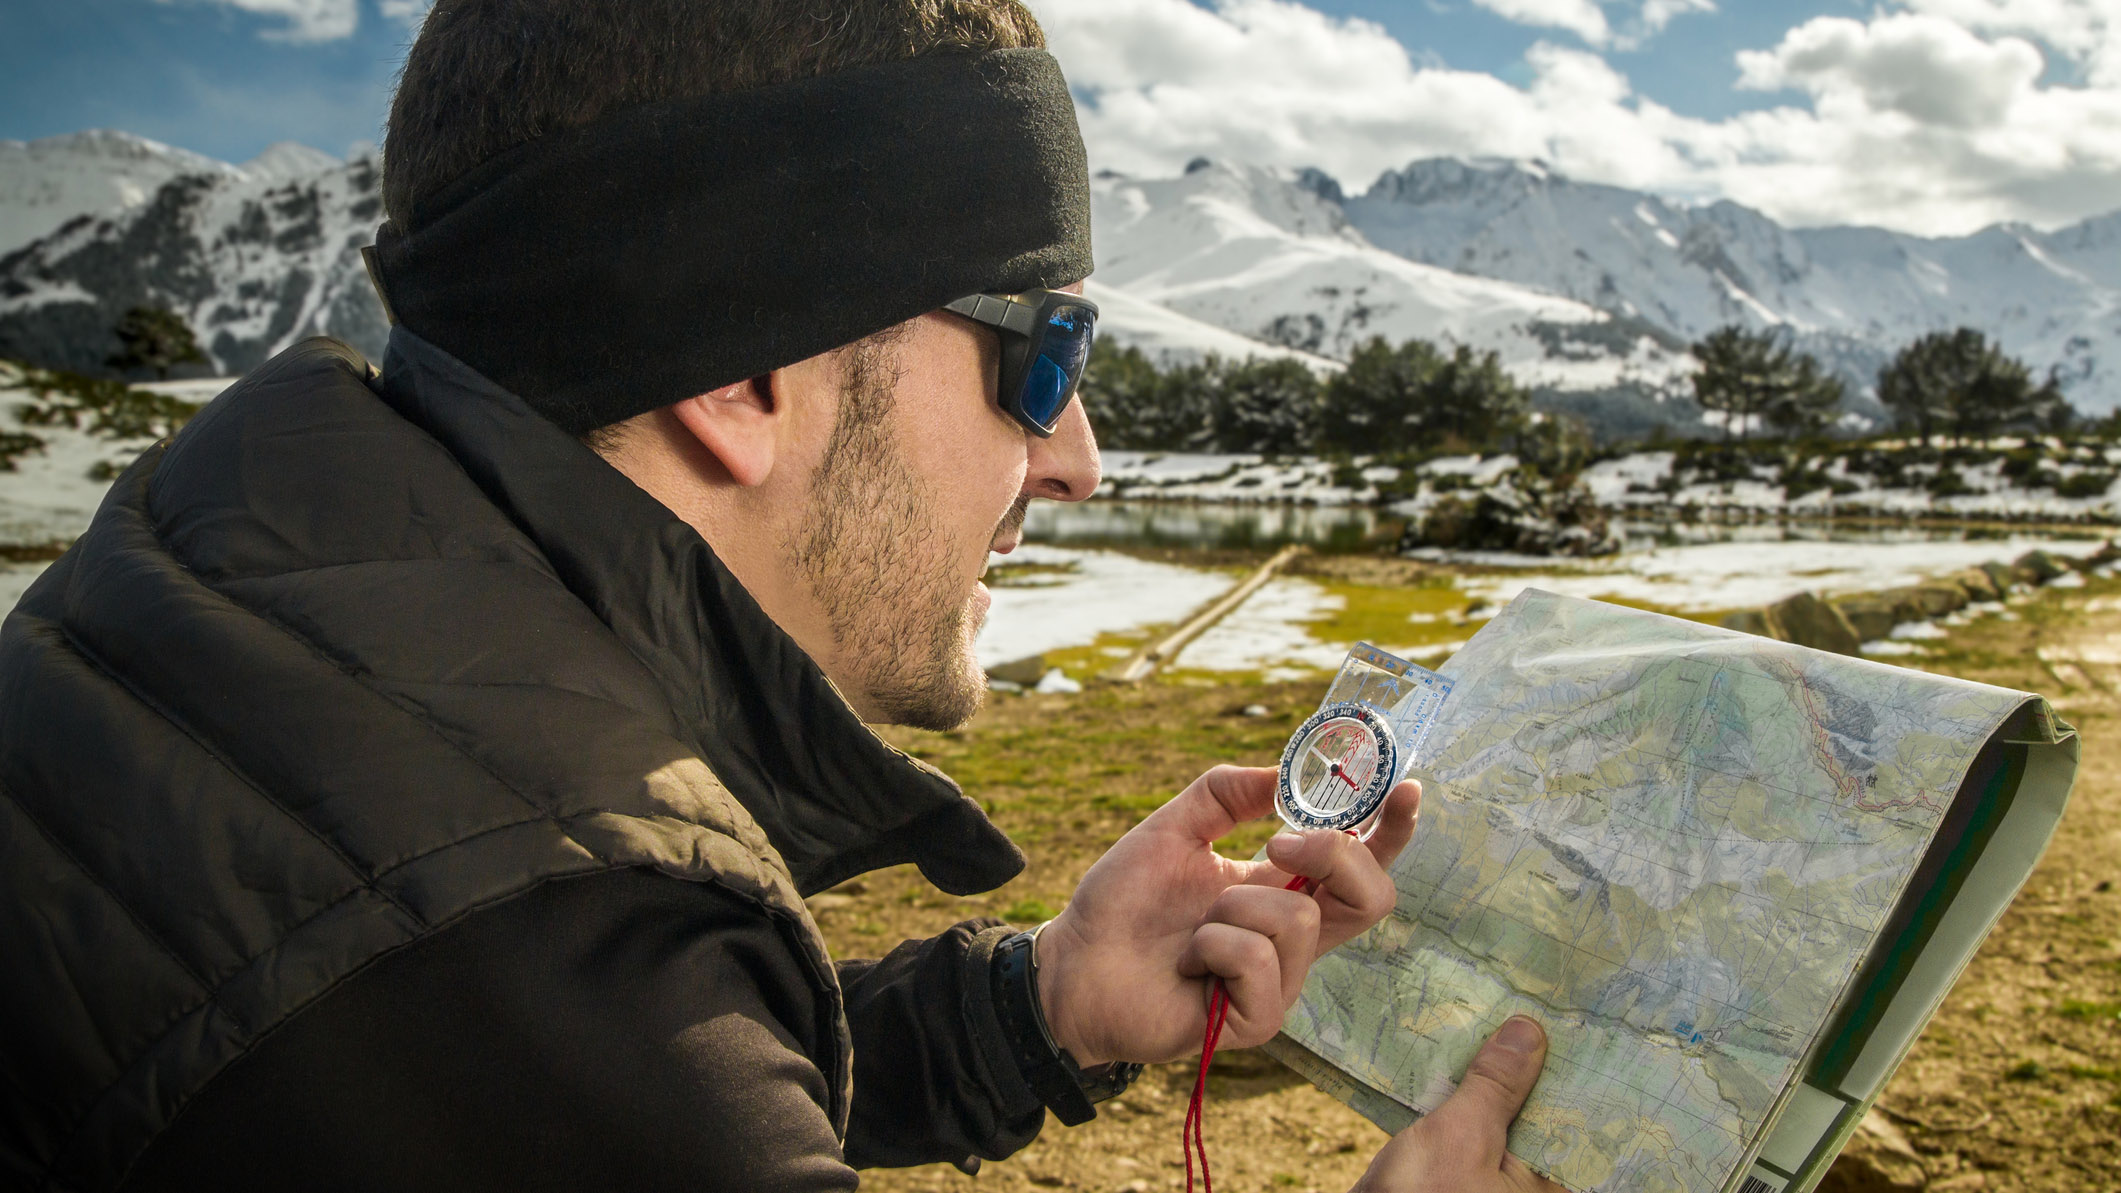
Like anything worth knowing, learning how to use a compass correctly takes a little practice. However, once you've mastered the skills, it's immensely rewarding. There's something undoubtedly satisfying about navigating successfully through the backcountry in tough conditions or at night using only a topographical map and a baseplate compass.
Knowing how to use a compass also enhances your survival skills, giving you the toolkit to find your way out of potentially dangerous situations. In this digital age of navigation apps and GPS devices, it's hugely useful to be able to revert to traditional methods when you're in a bind. This is particularly so as technology is fallible, especially when exposed to extreme temperatures.
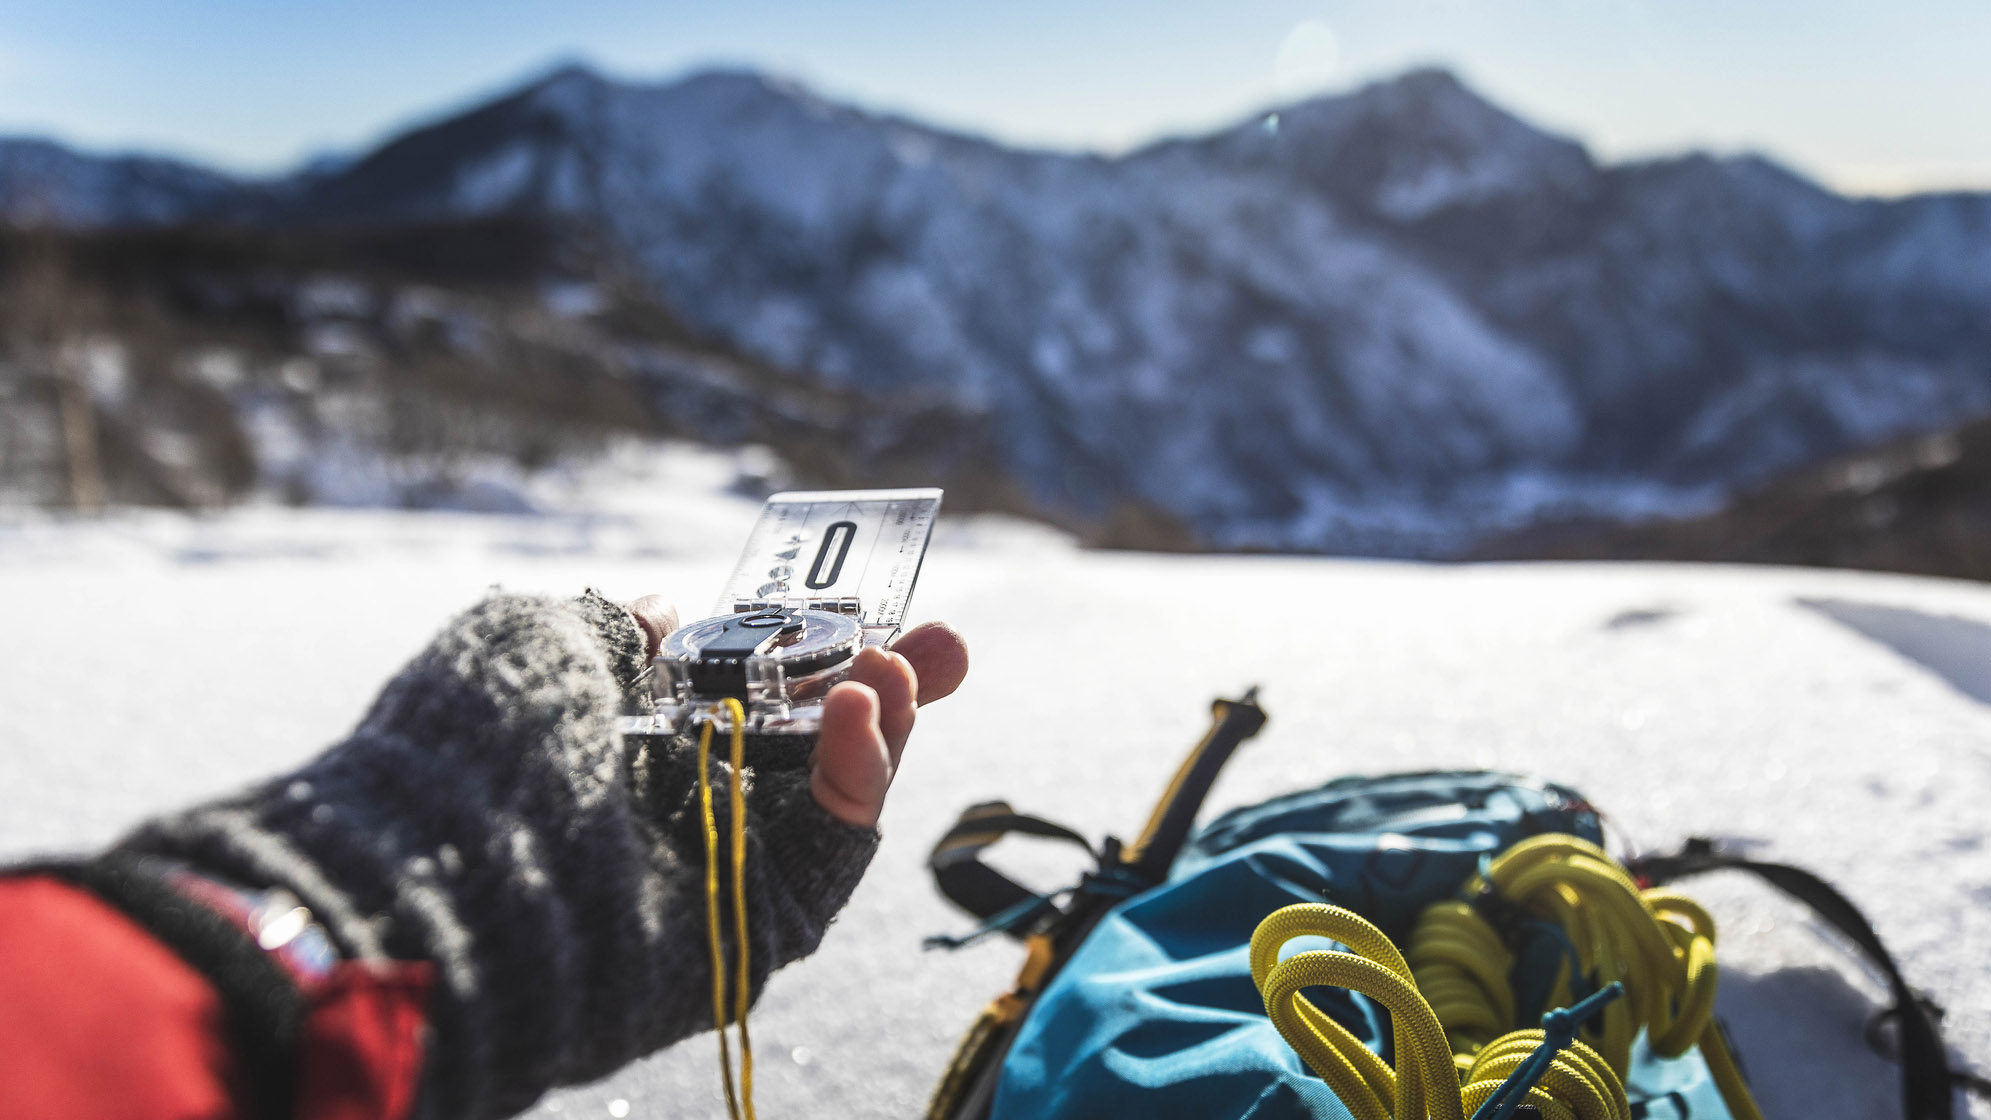
That's not to say that compasses aren't fallible, which is why we always carry two in our hiking backpack. For a start, the needle can become temporarily or permanently reversed due to interference from other magnetic materials and equipment. To counter this, keep it away from electronic devices and always check your compass before setting out.
Another reason for taking along a spare is that compasses are just as easy to misplace as any other piece of kit. It's why we carry spare gloves, spare hats and spare headlamps. The best compass options can be worn around the neck, so get into the habit of securing them in this way when using them.
Right, we've established you need a couple of compasses in your pack, let's get into how to use them.
How to use a compass: what makes up a compass?
A traditional, base plate compass has one key component: a magnetised needle, which spins freely within a housing, with one end constantly drawn towards Earth’s magnetic north pole. The north-facing half of the needle is typically red, identified with an ‘N’, and features a luminous strip for navigating in low light.
A classic protractor-style Silva compass is comprised of two elements: the baseplate, which often features various elements useful for map reading and wayfinding (including arrows, measurements and a magnifying lens), and the housing, containing the aforementioned arrow.
Advnture Newsletter
All the latest inspiration, tips and guides to help you plan your next Advnture!
The baseplate is usually made from clear plastic, so you can see the map and gridlines through it, and will have a ‘Direction of Travel Arrow’ at the top, typically featuring a luminous strip on the forward-facing line.
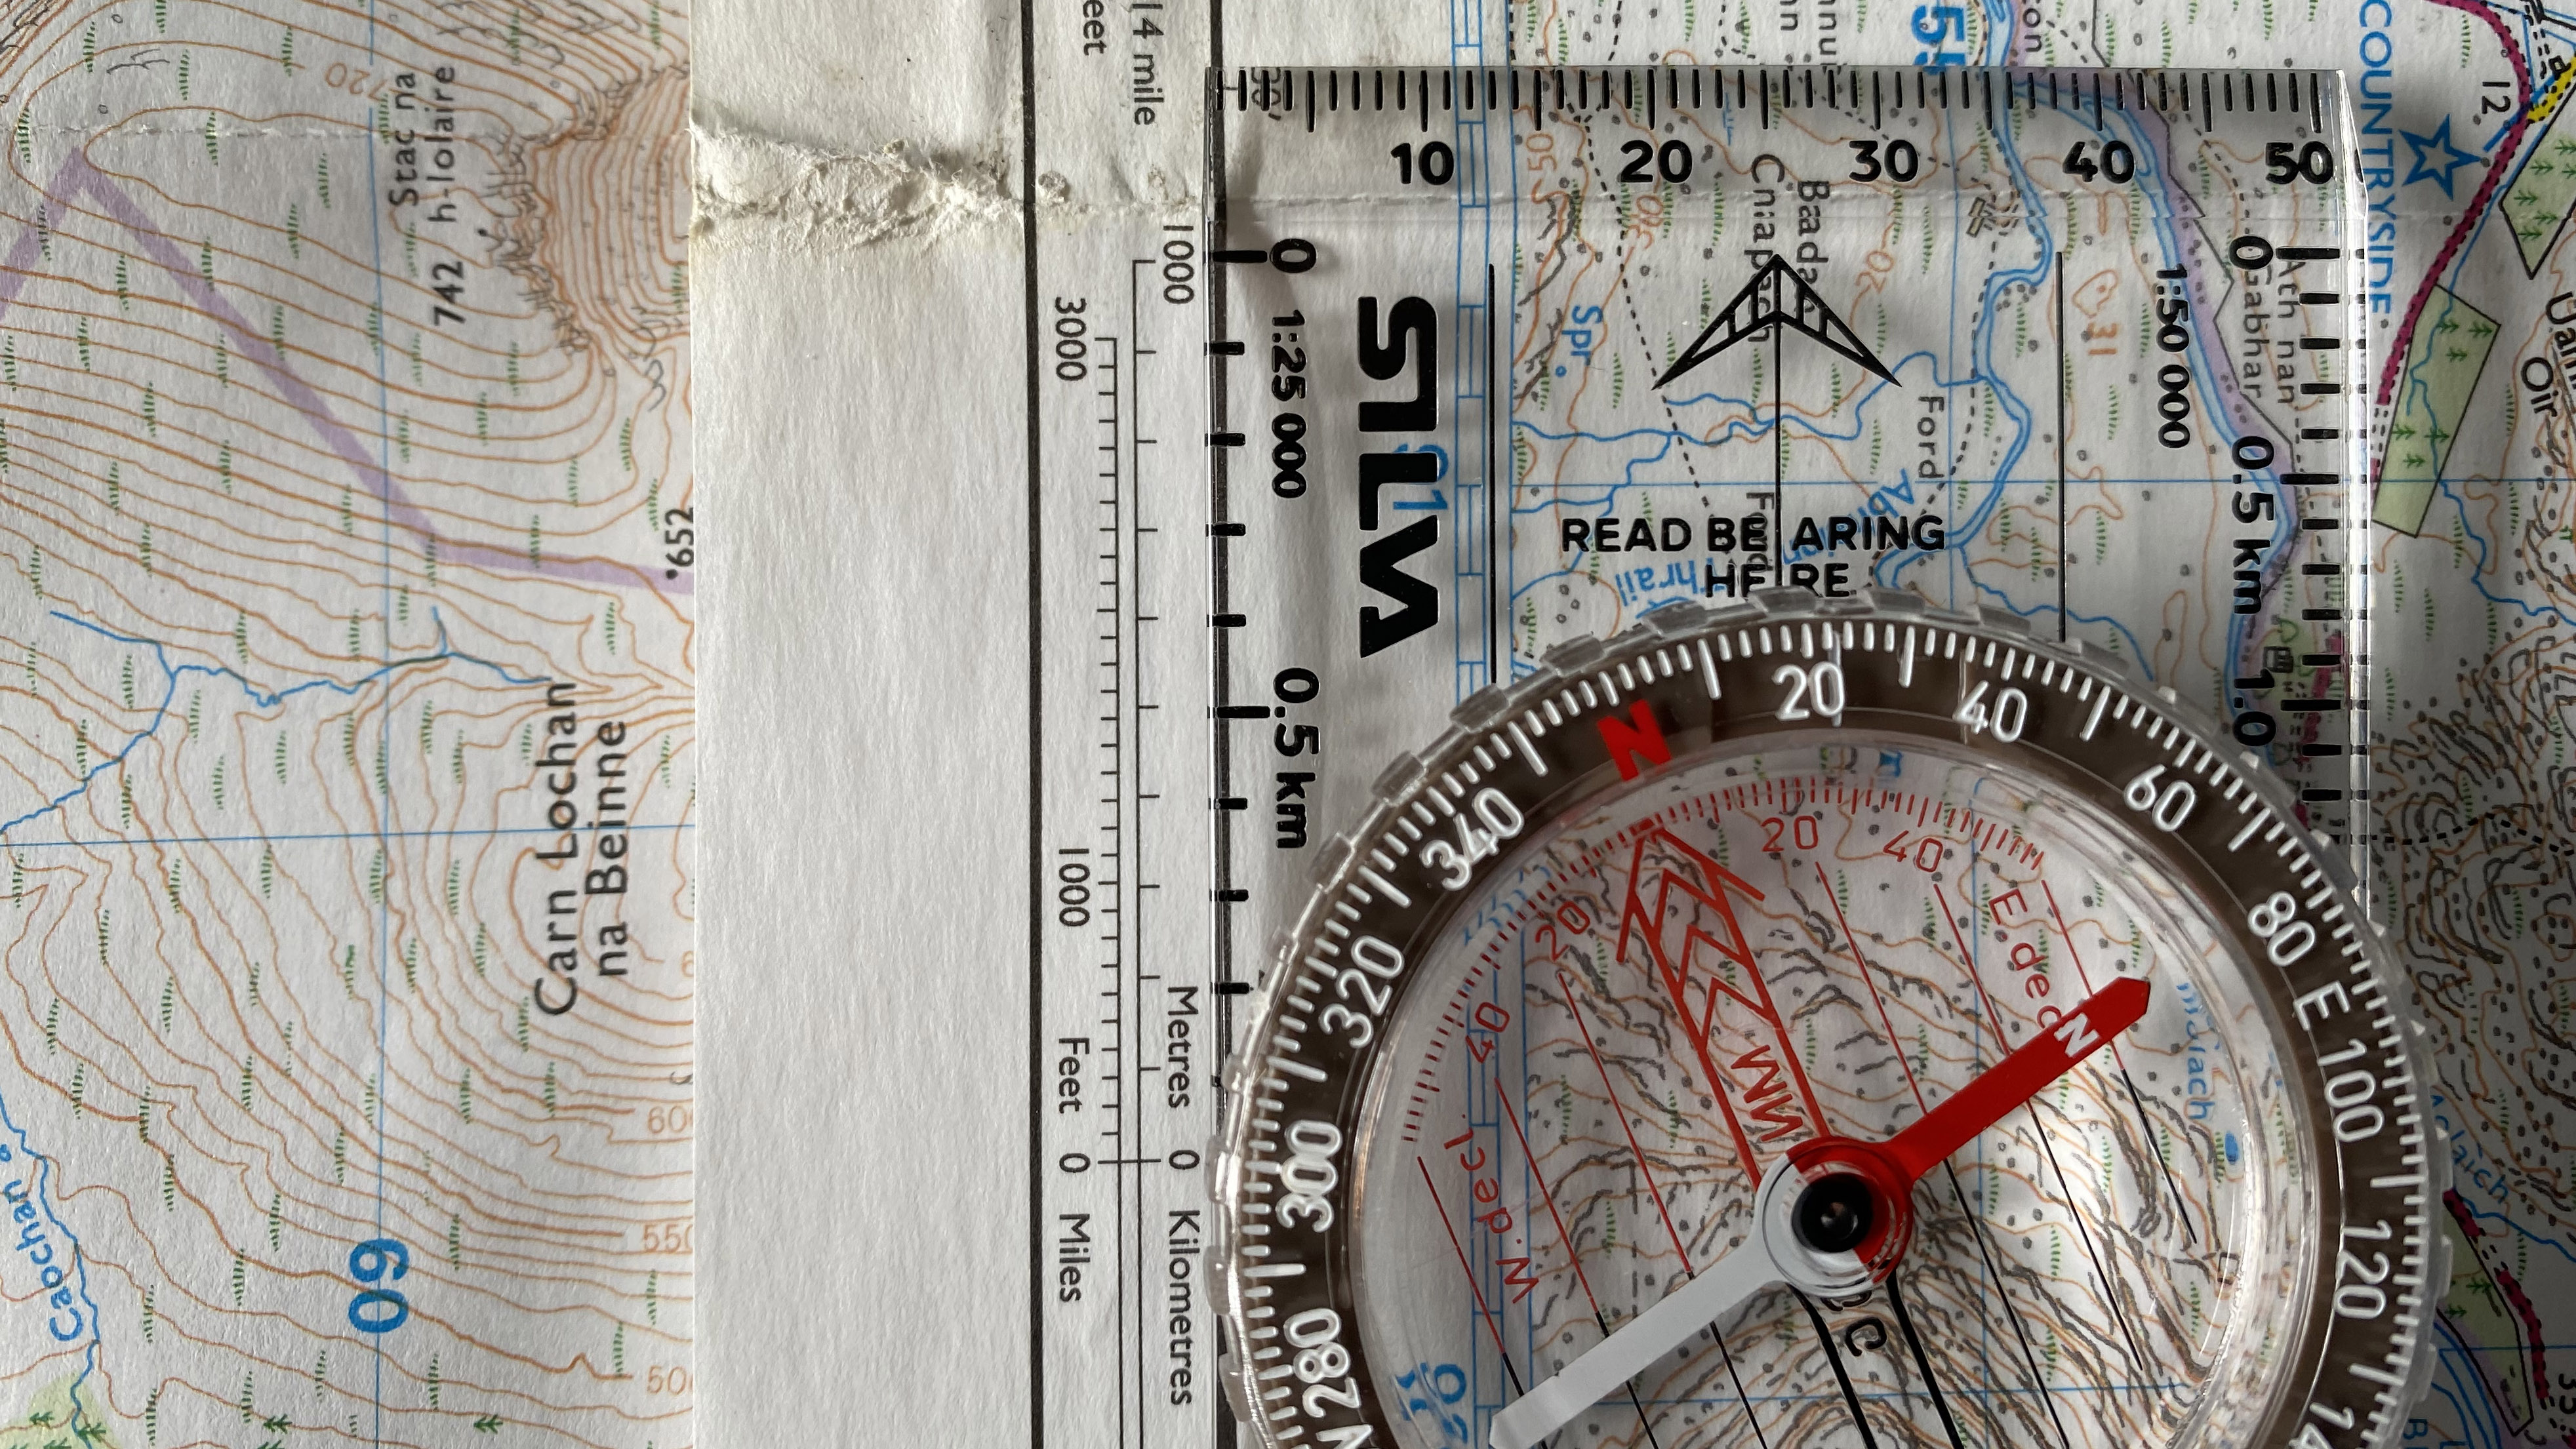
Good baseplates have scale converters on the long sides (showing, for example, that on a 1:50,000 map, 1cm represents 500 metres on the ground) and are inscribed with standard ruler measurements (mm) on the small straight edge. In addition, there’s often a small magnified window for looking at fine detail on maps, and ‘aid lines’ that make it easier to set your map and take a bearing.
Mounted on the base plate, typically close to the rounded end, is the circular housing unit, containing the all-important magnitised needle. On a good quality magnetic compass, the housing will contain a clear fluid, which dampens (slightly slows and steadies) the needle as it spins, allowing it to settle in place once it has a fix.
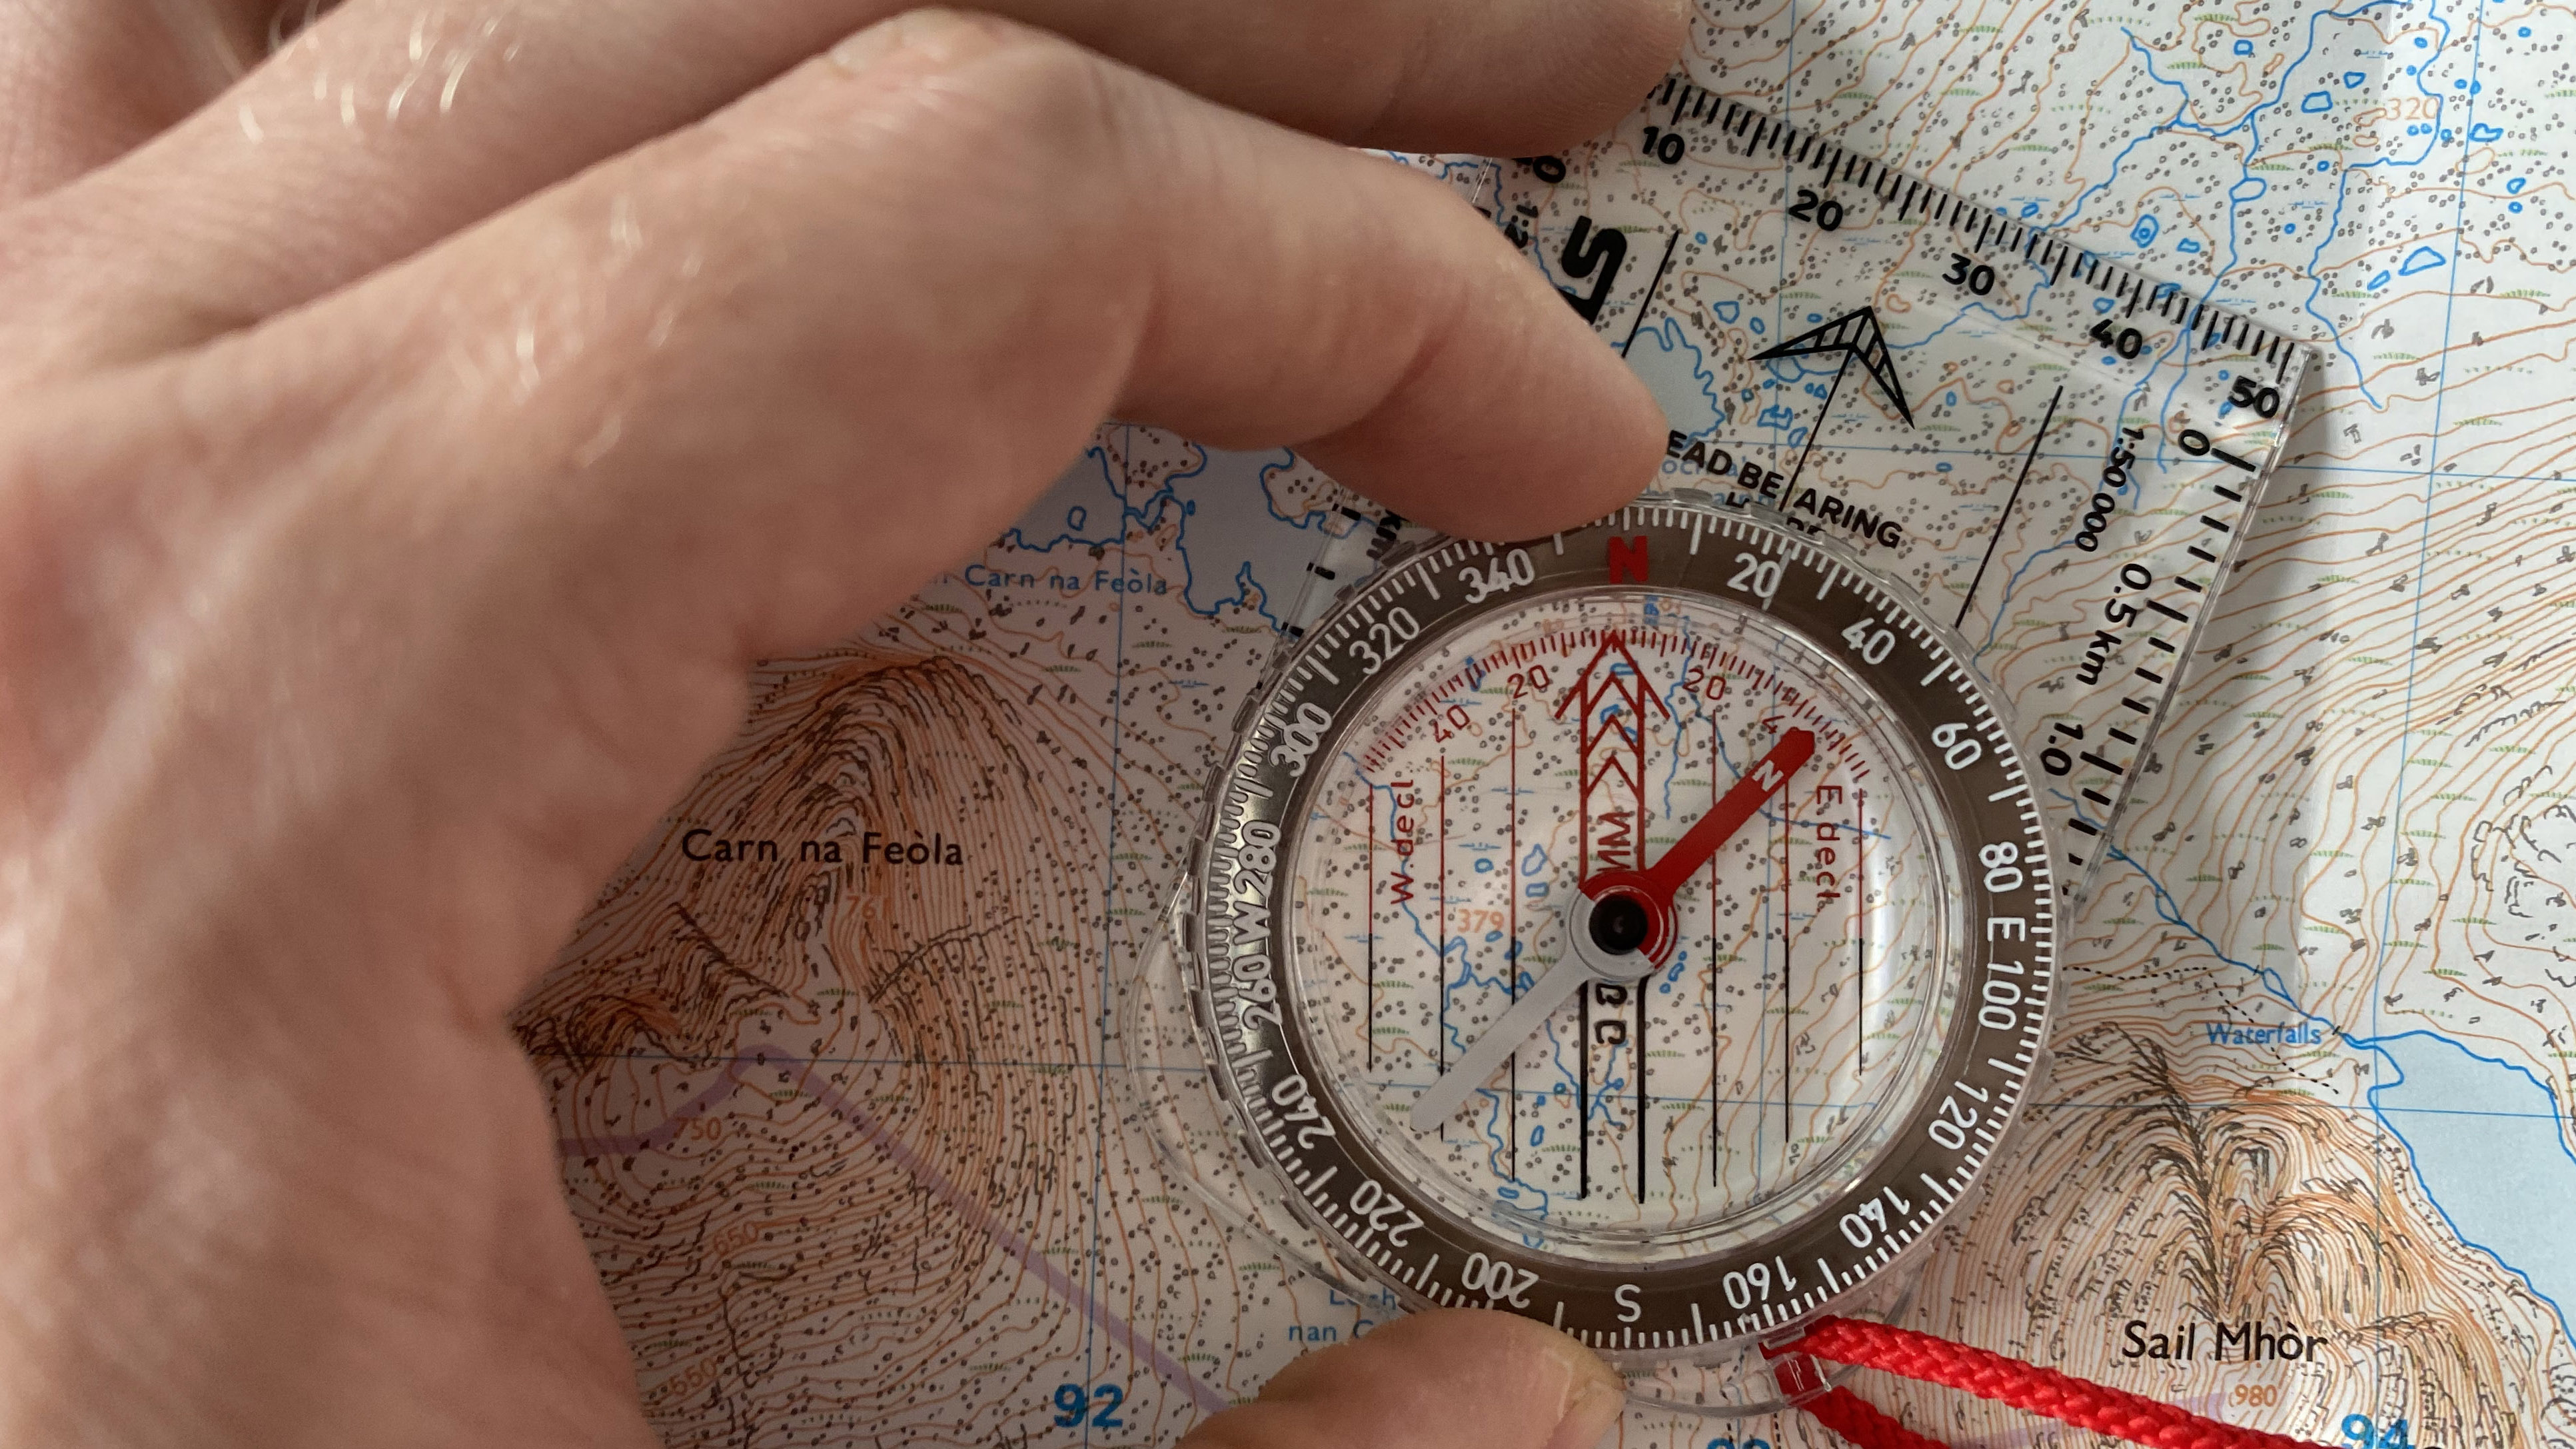
The housing is topped with a rotating circular bezel, inscribed with the cardinal points of the compass – N (north) S (south) E (east) and W (west) – along with graduation markers indicating degrees (0-360).
On the bottom of the housing is an ‘Orienting Arrow’, which moves when the bezel is rotated but permanently points towards the ‘N’ (north) on the housing. Running parallel to this you’ll see ‘Orienting Lines’, which also rotate with the bezel and are made to align with the vertical North–South grid lines on maps. As with the needle, the top half of both the Orienting Arrow and the Orienting Lines are coloured red, to indicate north.
Lastly, you will see an ‘Index Line’ (or ‘Dash’) marked on the top edge of the compass housing, beneath the degree markings on the housing, which aligns with the direction of travel arrow on the base plate. This doesn’t move, so it indicates the bearing set when the bezel is rotated.
As well as base plate compasses, there are various other types of compass, such as thumb compasses, solid state compasses and non-magnetic varieties, like GPS compasses.
How to use a compass: setting your map
At the outset of any walking adventure it is a good idea to establish which way is north and to ‘set’ your map, so it’s facing the same way as the physical terrain in front of you.
To do this, turn the bezel until the orienting arrow and the red N is directly above the index line (dash), pointing up towards the direction of travel arrow. Hold the compass flat in the palm of your hand and slowly turn on the spot until the needle also aligns with the orienting arrow, N and the direction of travel arrow. You are now facing due north.
If you repeat this process while holding the compass on the map with orienting lines aligning on the compass housing aligned with the map’s North–South grid lines, your map will be correctly ‘set’. If you can see a peak or some other notable feature directly in front of you, you should also be able to identify it on the map. Ideally you should do this at regular intervals during your trek, to make sure you know where you are and which direction you’re travelling in.
How to use a compass: finding your bearings
One of the most common compass-reading techniques used by hikers traversing wild terrain is to take a map-to-land bearing, then following it to reach a desired destination. If you know how to triangulate your exact location, this is an important first step. Once you've pinpointed where you are on the map you can start to take a bearing.
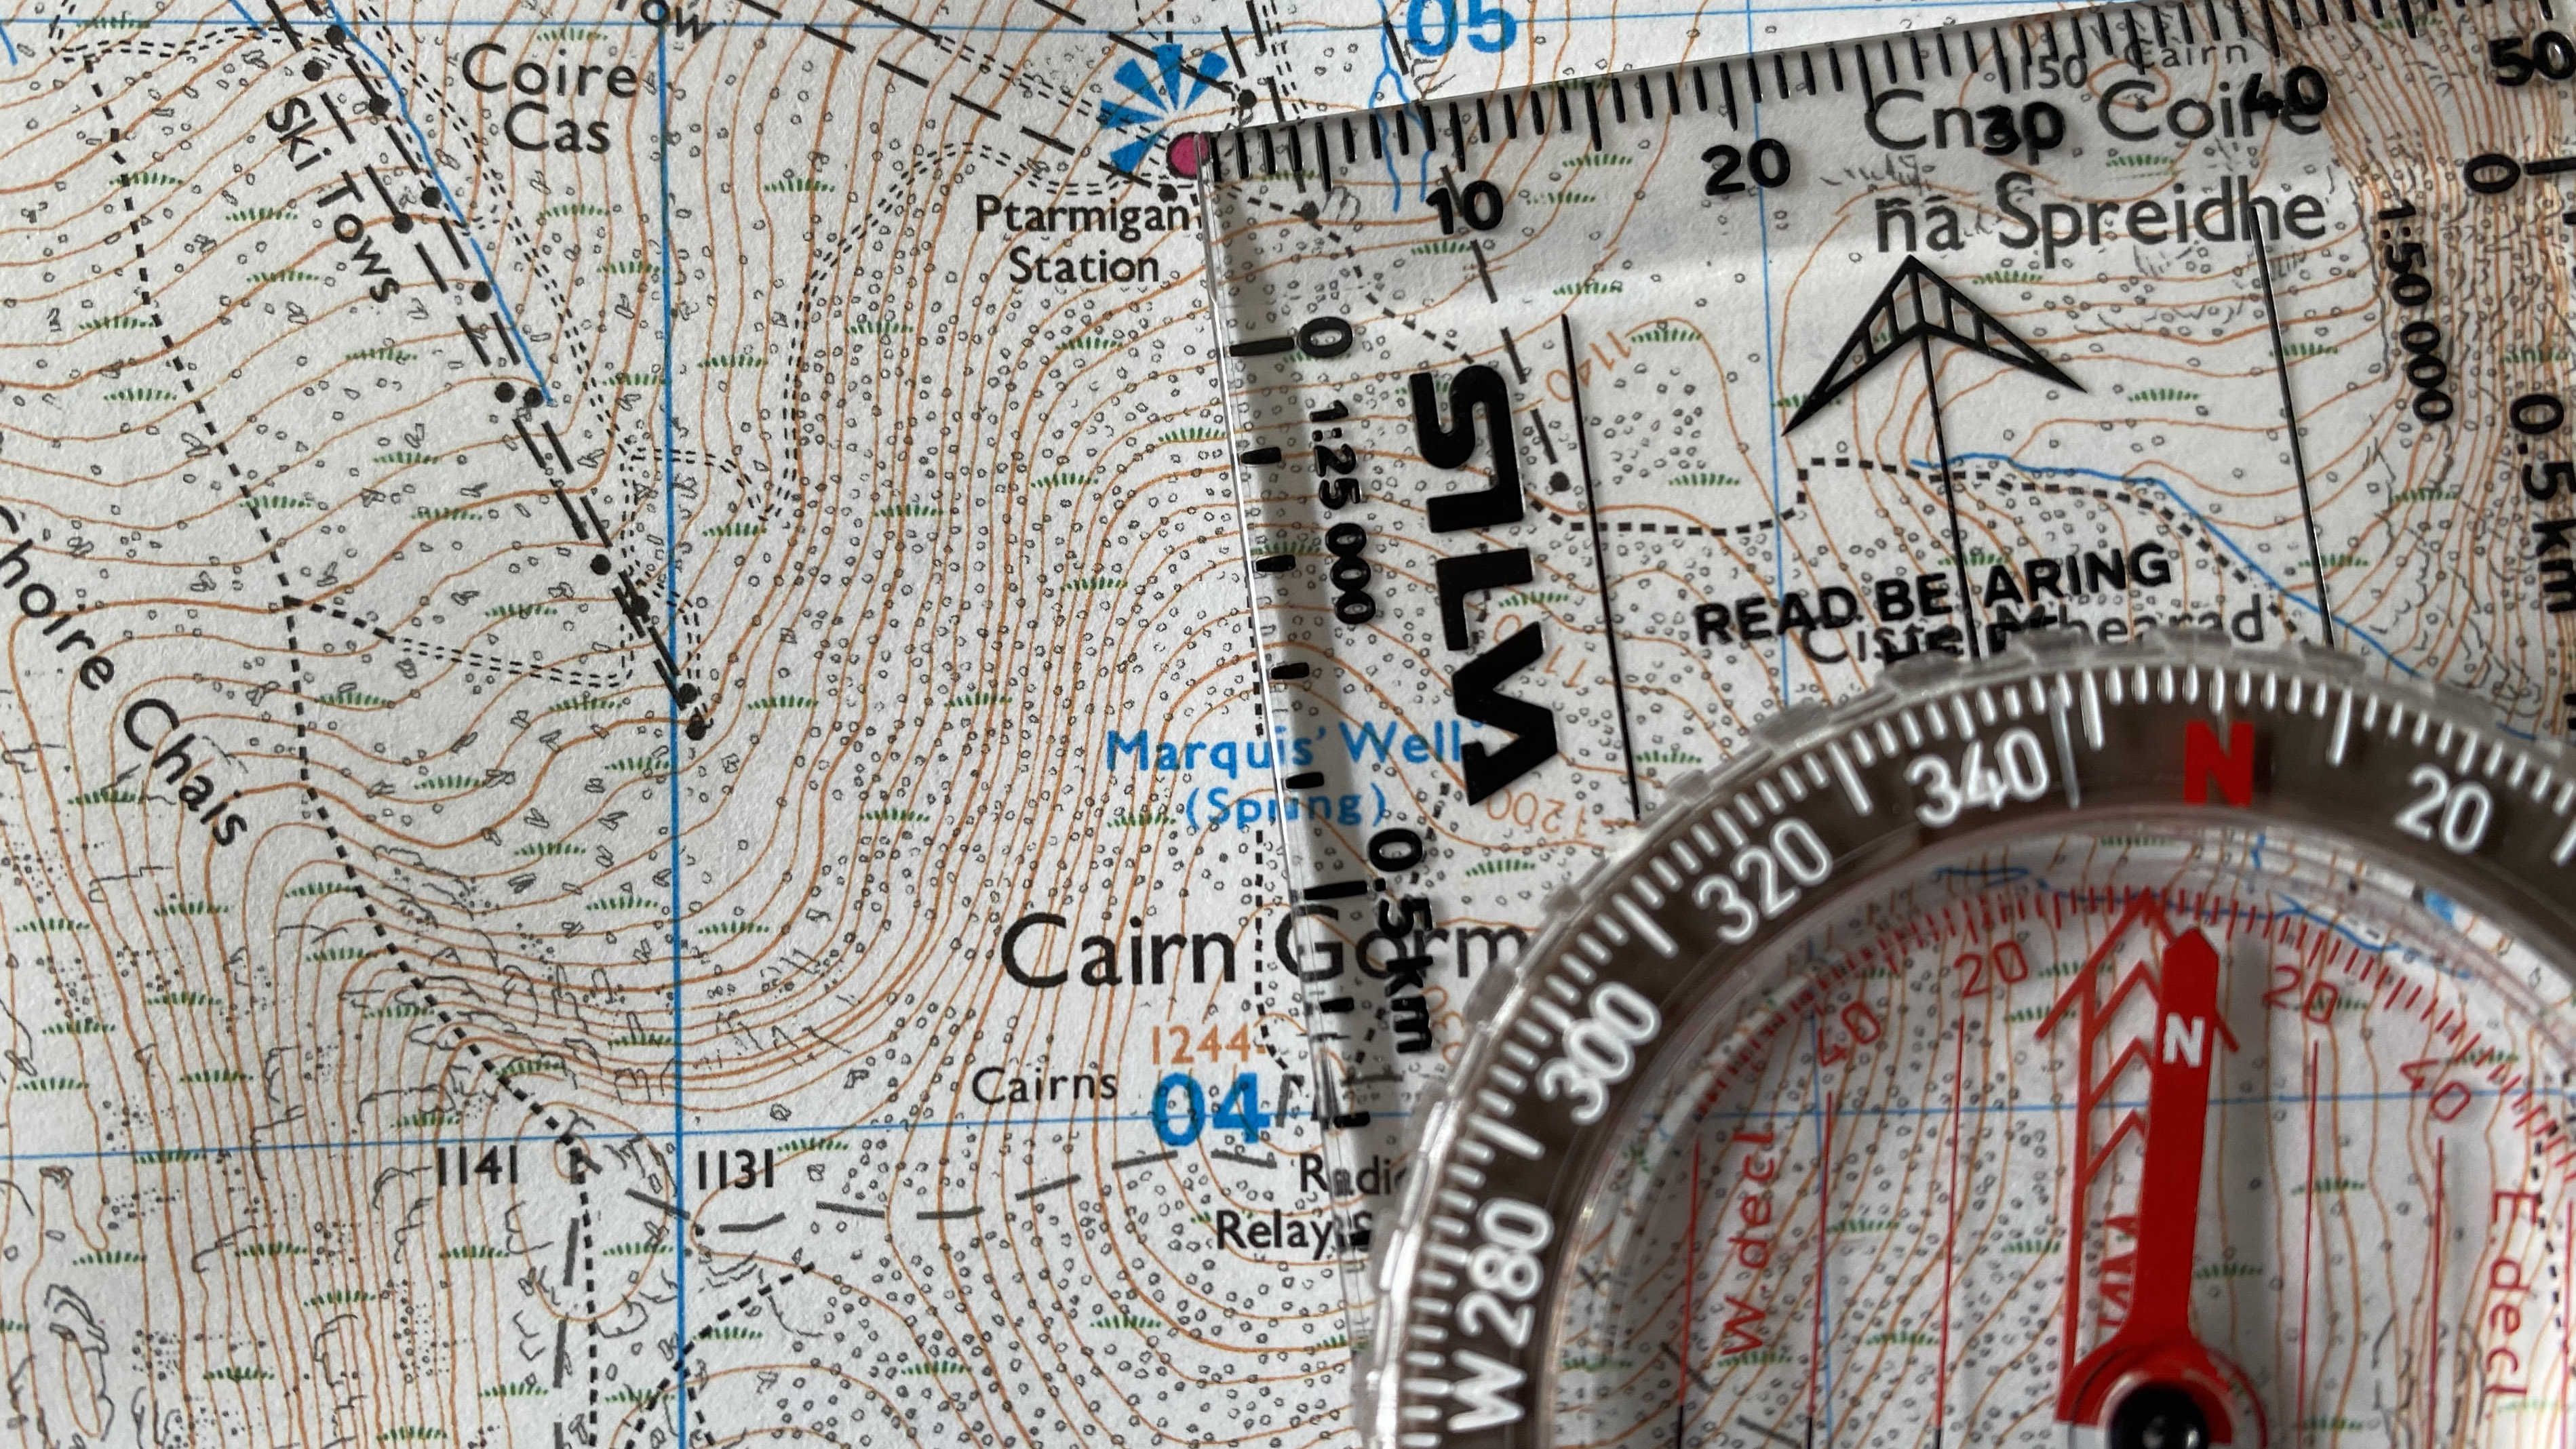
1. Find your current location on the map (call it point A) and identify a feature (for example a peak or campsite) you want to reach (call it point B). Place the long edge of your compass so it points in a straight line from point A towards point B, ensuring the direction of travel arrow is pointing at your intended destination.
2. While keeping the baseplate still, rotate the bezel so the orienting lines on the compass align with the north–south gridlines on your map, and the Orienting Arrow is pointing towards grid north (the top of the map). The number indicated by the index line (dash) is your bearing.
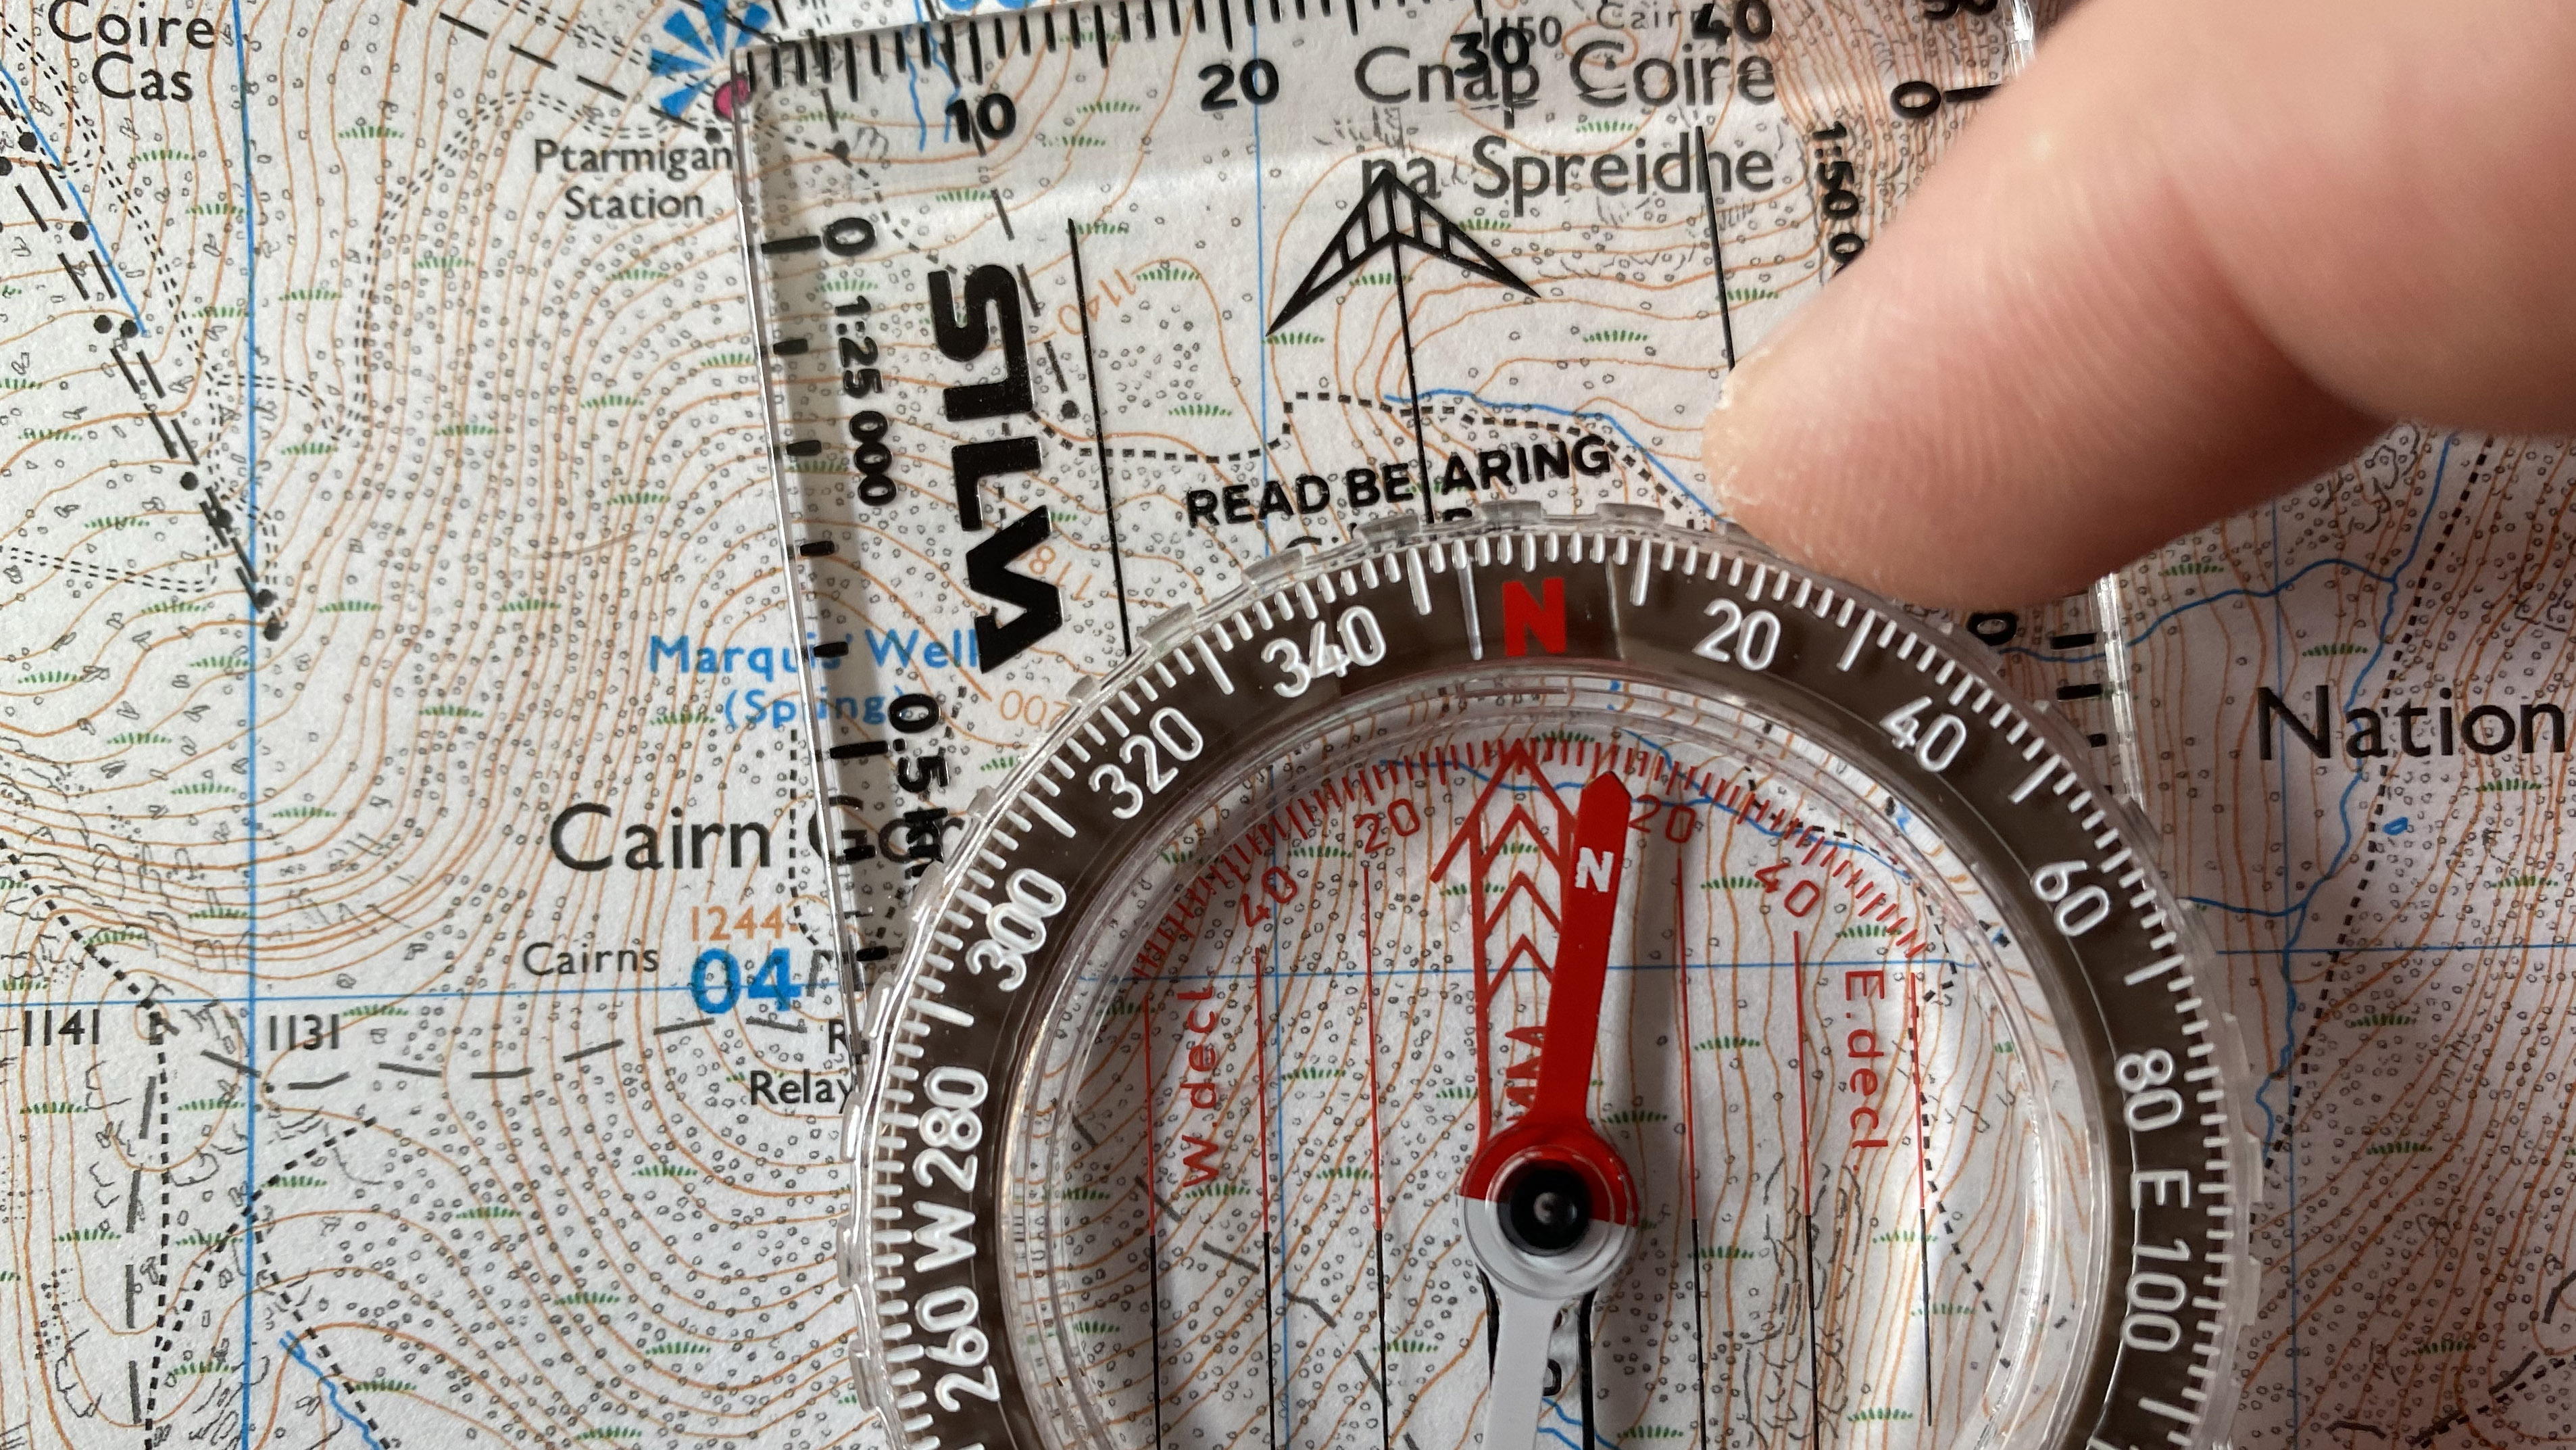
3. Take the compass off the map, hold it longways, flat in the palm of your hand, with the direction of travel arrow pointing away from you. Rotate your body until the red end of the floating needle settles exactly in the red orienting arrow on the base of the housing. You’re now facing in the direction you want to walk in. If you can’t see the feature you’re trying to reach, pick out something distinguishable that lies in same direction and walk towards it – repeat until you get to where you want to go.
Knowing how to take a bearing will help you navigate in the dark or when visibility is compromised.
How to use a compass: magnetic variation/declination
If you’re following a bearing over a short distance, it’s fine to keep it simple. If you want to plot a really accurate course of travel over a lengthy distance, however, you need to take something called ‘Magnetic Variation’ (called ‘Declination’ in the U.S.) into account.
The reason for this is that Earth's Magnetic North Pole (which your compass needle points to) is not quite the same as ‘true north’ (the direction of a meridian of longitude, which all converge at the North Pole), or Grid North (the direction of a grid line which is parallel to the central meridian on the National Grid). Knowing how to adjust for magnetic declination can help you to solve this issue.
Unfortunately, the Magnetic North Pole doesn’t stay still – it fidgets about a lot as the Earth's magnetic field changes. Over the last century, it has shifted over 1,000 kilometers towards Siberia, so the newer your map is, the more accurate the stated Magnetic Variation information will be. Maps usually state the annual change in Magnetic Variation alongside the publication date, so you can figure it out even if the map is old.
How to use a compass: compass zones
Because the pull direction of the planet’s magnetic field changes according to where you are on Earth (it pulls vertically at the poles, but more horizontally towards the equator), most magnetic compasses are balanced according to the part of the world they’ve been designed for use. So, a magnetic compass intended for use in Britain will not work so well in Australia.
There are no industry standard zones, but Silva is the dominant player and many manufacturers use their zones. If you have a Silva magnetic compass – such as the stalwart of the compass world, the Silva Expedition Type 4 – have a look at the bottom of the baseplate, beneath the housing and in line with the Orienting Arrow, and you should see two letters. Compasses designed for use in the UK, North America, Europe and most of Asia will have the letters ‘MN’, meaning ‘Magnetic North’. Compasses for use in Australia and New Zealand will have MS (‘Magnetic South)’, but there is also an ME (‘Magnetic Equator’) zone that takes in much of Africa and most of South America.
Some brands, for example Suunto, produce a universal magnetic compass that should work well anywhere on the planet.

Author of Caving, Canyoning, Coasteering…, a recently released book about all kinds of outdoor adventures around Britain, Pat has spent 20 years pursuing stories involving boots, bikes, boats, beers and bruises. En route he’s canoed Canada’s Yukon River, climbed Mont Blanc and Kilimanjaro, skied and mountain biked through the Norwegian Alps, run an ultra across the roof of Mauritius, and set short-lived records for trail-running Australia’s highest peaks and New Zealand’s Great Walks. He’s authored walking guides to Devon and Dorset, and once wrote a whole book about Toilets for Lonely Planet. Follow Pat’s escapades on Strava here and Instagram here.
