How to light a fire: our step-by-step guide
How to light a fire: get that campfire roaring – safely, of course – and let the good times roll with our comprehensive guide
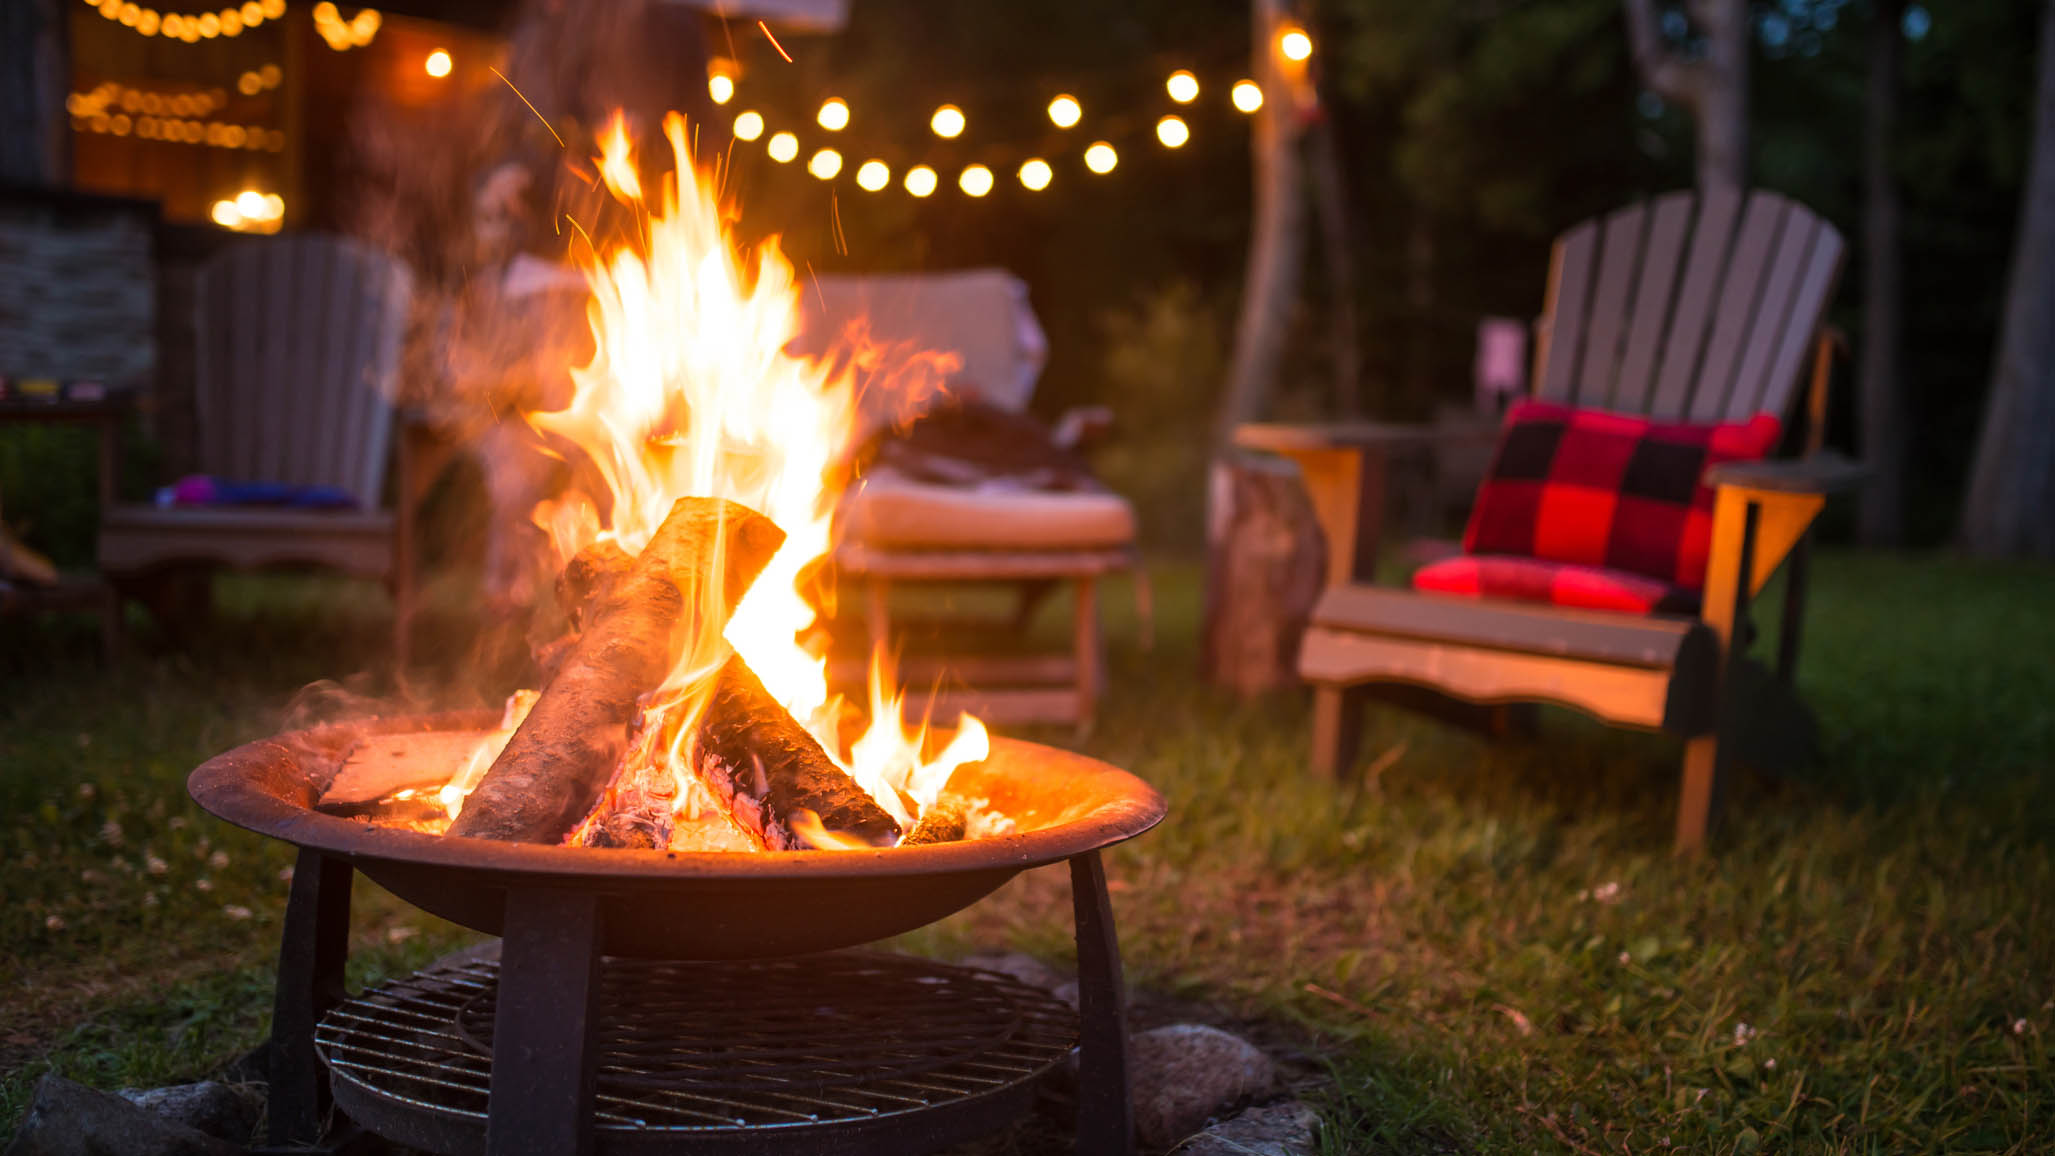
“Do you know how to light a fire?” As someone who’s done their fair share of work on children’s residential camping trips down the years, it’s a question I’ve been asked by colleagues many times. The first time I was asked, I hesitantly answered: “Yeah… I think so.” I mean, how hard can it be? We’ve got firelighters, we’ve got matches… we’re in a forest for heaven’s sake!
The good news is, I’ve never failed to light a campfire. Though the truth is that some have definitely roared to life with more pizzazz than others, especially the more recent ones. As with anything, perfecting your craft takes time, knowledge and experience. When I’m asked: “Do you know how to light a fire?” these days, I’m far more confident. “Oh, yes.”
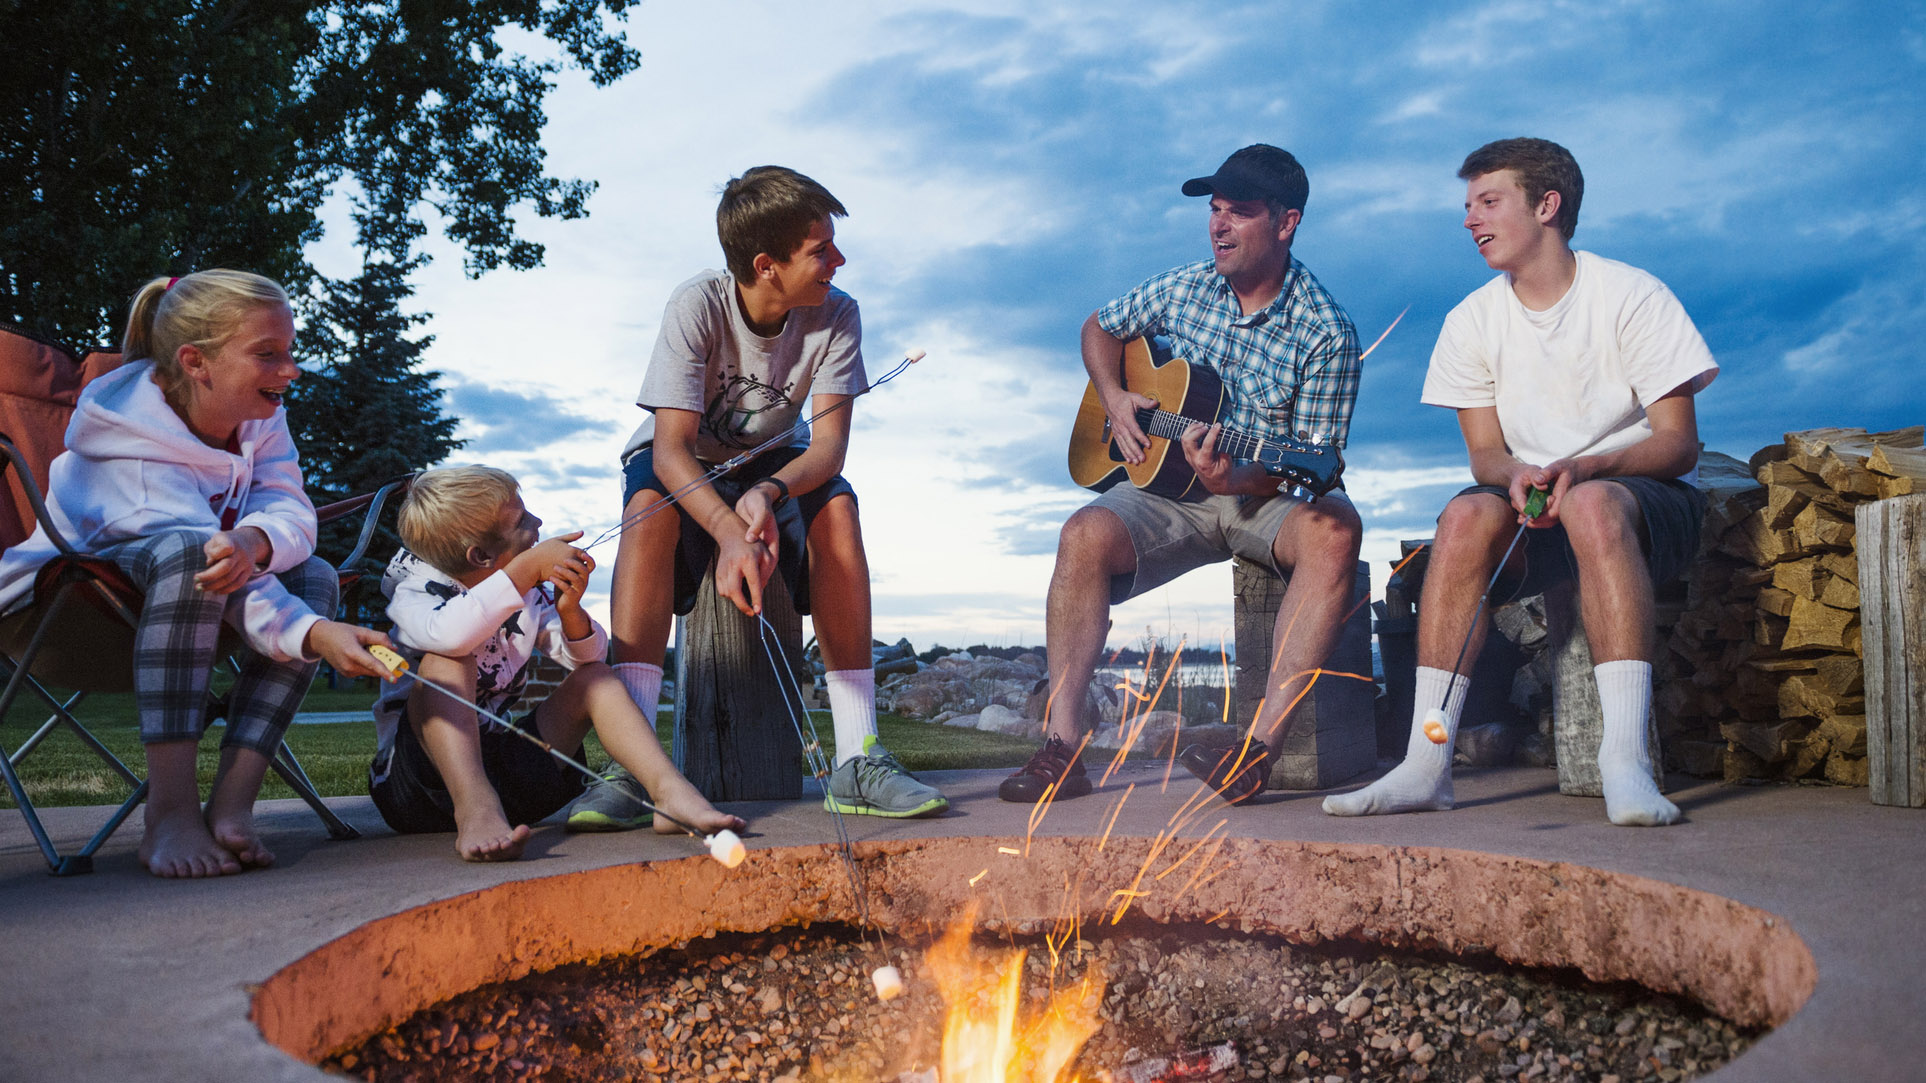
Lighting a fire is one thing. Keeping it burning solidly so that you can get through the prepared repertoire of campfire songs, a few ghost stories, tales of adventure and reporting back to the kids on times today that you witnessed bravery, kindness and resilience… well, that’s another matter. Plus, if you plan to cook on your fire, as an alternative to your best camping stove, you’re gonna need a solid burn, too.
Our step-by-step guide on how to light a fire
However, with our step-by-step guide, you’ll be lighting fires that happily burn all night. You’ll be the best firestarter since the Prodigy’s Keith Flint. With one eye on campfire safety of course, you’ll be a true master of the campsite. We’ve also included a little jargon buster, so that you when you’re asked to collect some kindling, you know what you’re looking for.
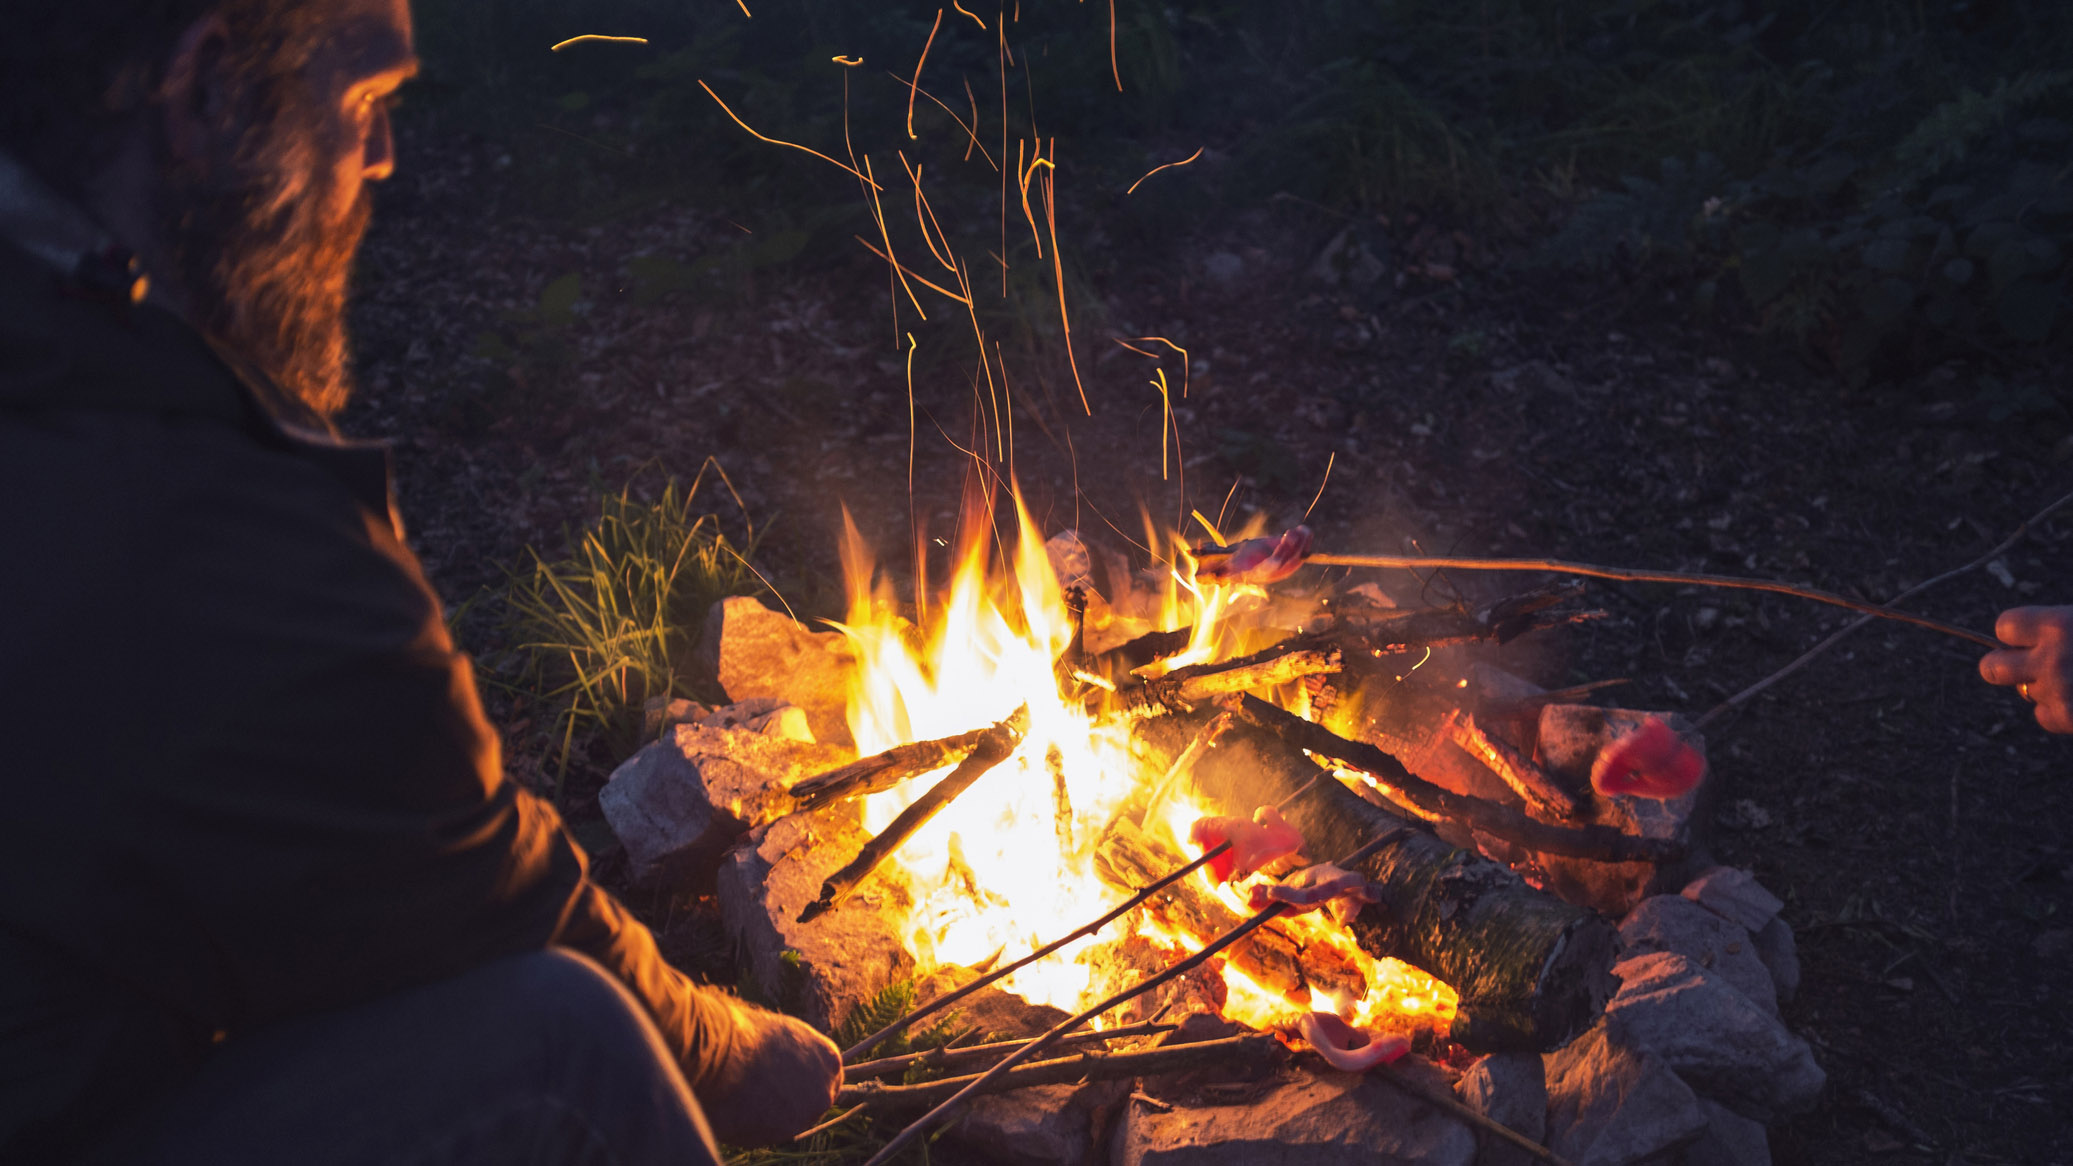
What you’ll need
- Healthy supply of firewood
- Plenty of kindling
- Firelighters
- Waterproof matches or lighters
- A headlamp (see our guide to the best headlamps for some good options)
- Water bucket
- A shovel
1. Check the weather
Get yourself one of the best weather apps and check amount of rainfall in the lead up to your trip. If it’s been dry for a few days, you should be able to find plenty of kindling options, such as twigs, branches and dried leaves. If it’s been wet, you should consider bringing your own tinder, such as lint or plain paper and newspapers from home.
On the day of your planned campfire, check the hourly forecast. It’s better to have a dry campfire in the early evening than a wet campfire at night, so don’t be afraid to shift it forward an hour or two if rain is forecast.
2. Gather firewood
Let’s deal with the big bits of firewood first. Admittedly, there’s something satisfying about collecting your own firewood from the surroundings, but for a truly successful campfire, you should use wood that has already been seasoned. If you know how to season wood, you’ll know it is a process that takes many months. Wood you find on the ground around the campsite may not be dry enough to burn effectively.
Advnture Newsletter
All the latest inspiration, tips and guides to help you plan your next Advnture!
A couple big no-nos here. Don’t bring your own wood from home. Introducing foreign wood to a new area can introduce invasive insects and diseases. Don’t chop down wood from live trees. This is obviously unethical and freshly cut wood is fairly useless as firewood anyway, due to its high water content.
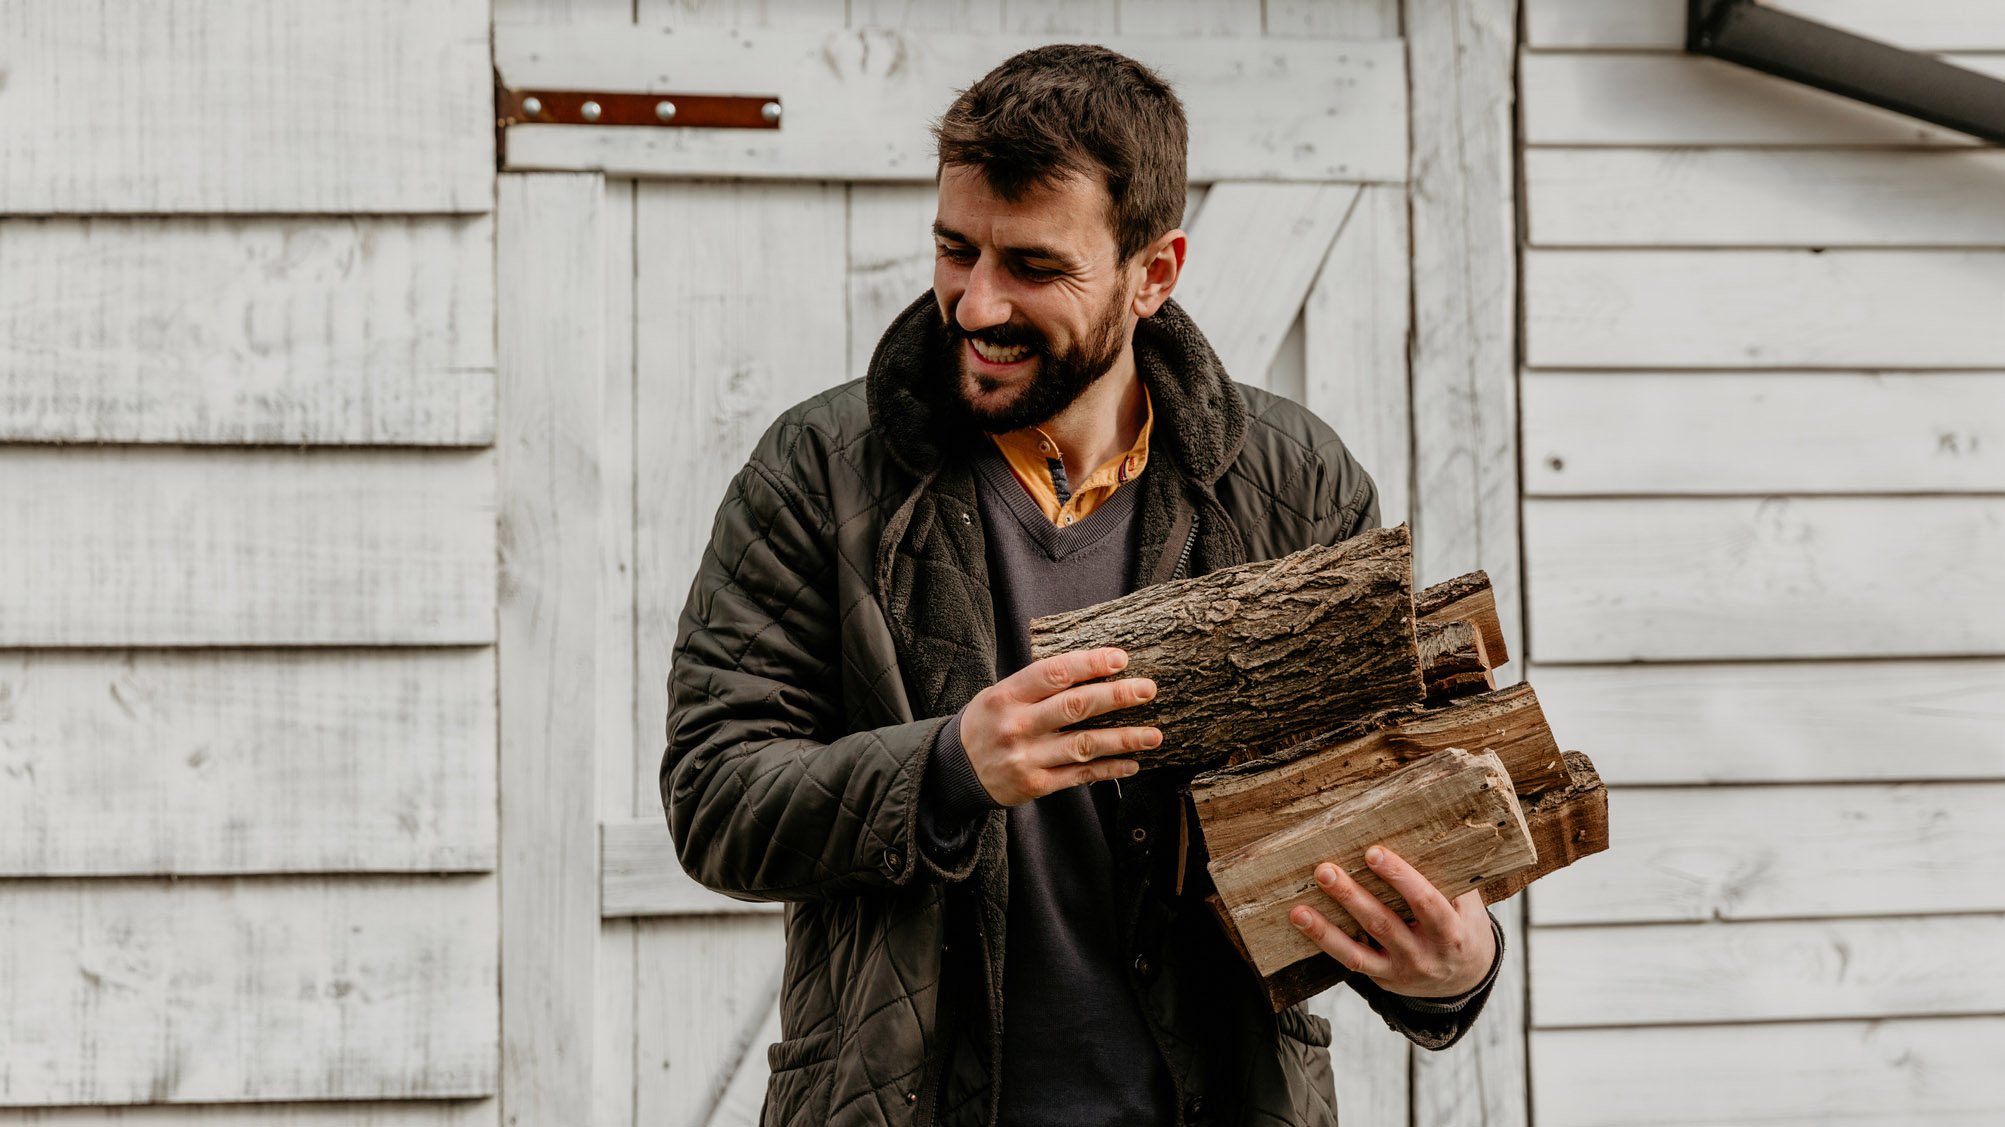
With all this in mind, source your firewood from a local shop or from the campsite. You should be able to get a load that has been properly seasoned and chopped down to size.
If you do decide to select wood from the surroundings, consider that hardwoods such as oak, ash, hazel, beech and birch are the best trees for firewood. They burn for longer and give a more consistent heat than softwoods, like larch and pine, which both have a tendency to spit when burning. Softwoods also produce more soot and creosote, not what you want if you’re using your best wood-burning stove.
3. Gather kindling
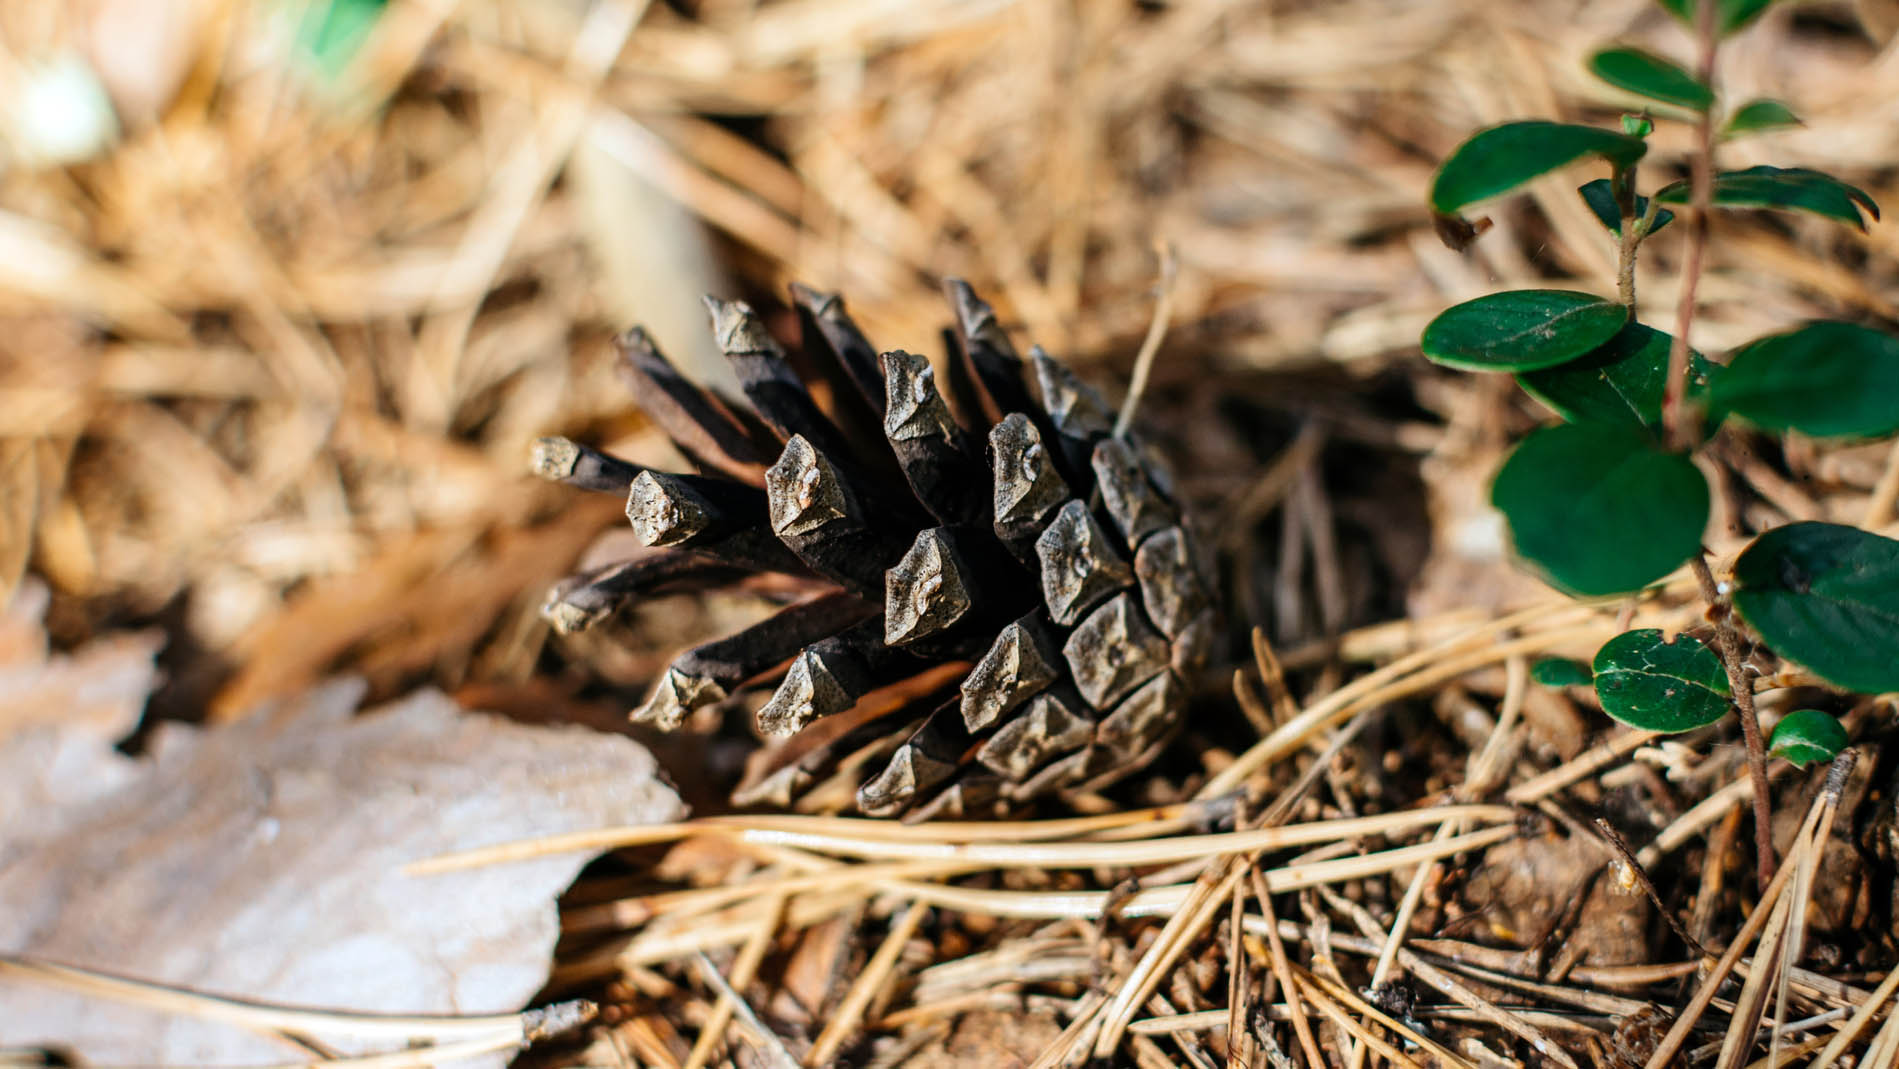
All kinds of things can be used as kindling, from newspapers and lint to dried twigs, grass and leaves. As long as it's dry, it will be useful for starting a fire. It’s also a good idea to have a stash of firelighters, as these will burn for longer than other kindling.
4. Prepare the pit
Campsites and residential centres often have firepits you can use. Ask about the guidelines to do with their use and respect these when creating your fire. It should be well away from other flammable materials and vegetation, usually in a pit of bare earth. It’s worth using small rocks or similar to create a barrier around your fire, especially if children are going to be involved. It’s essential to have a bucket of water to hand too, in case anyone burns themselves. In this event, after initial treatment with the water in the bucket, the burn should be kept under cold, running water for a full 20 minutes.
It should go without saying but, if you’re wild camping, you should follow the principles of leave no trace. Creating a fire in the wild is the total opposite of this ethos and is completely unacceptable unless in an emergency. No one wants to see the charred remains of a fire when enjoying the wilderness. This kind of behaviour is also one of the main causes of wildfires.
5. Create your stack of kindling
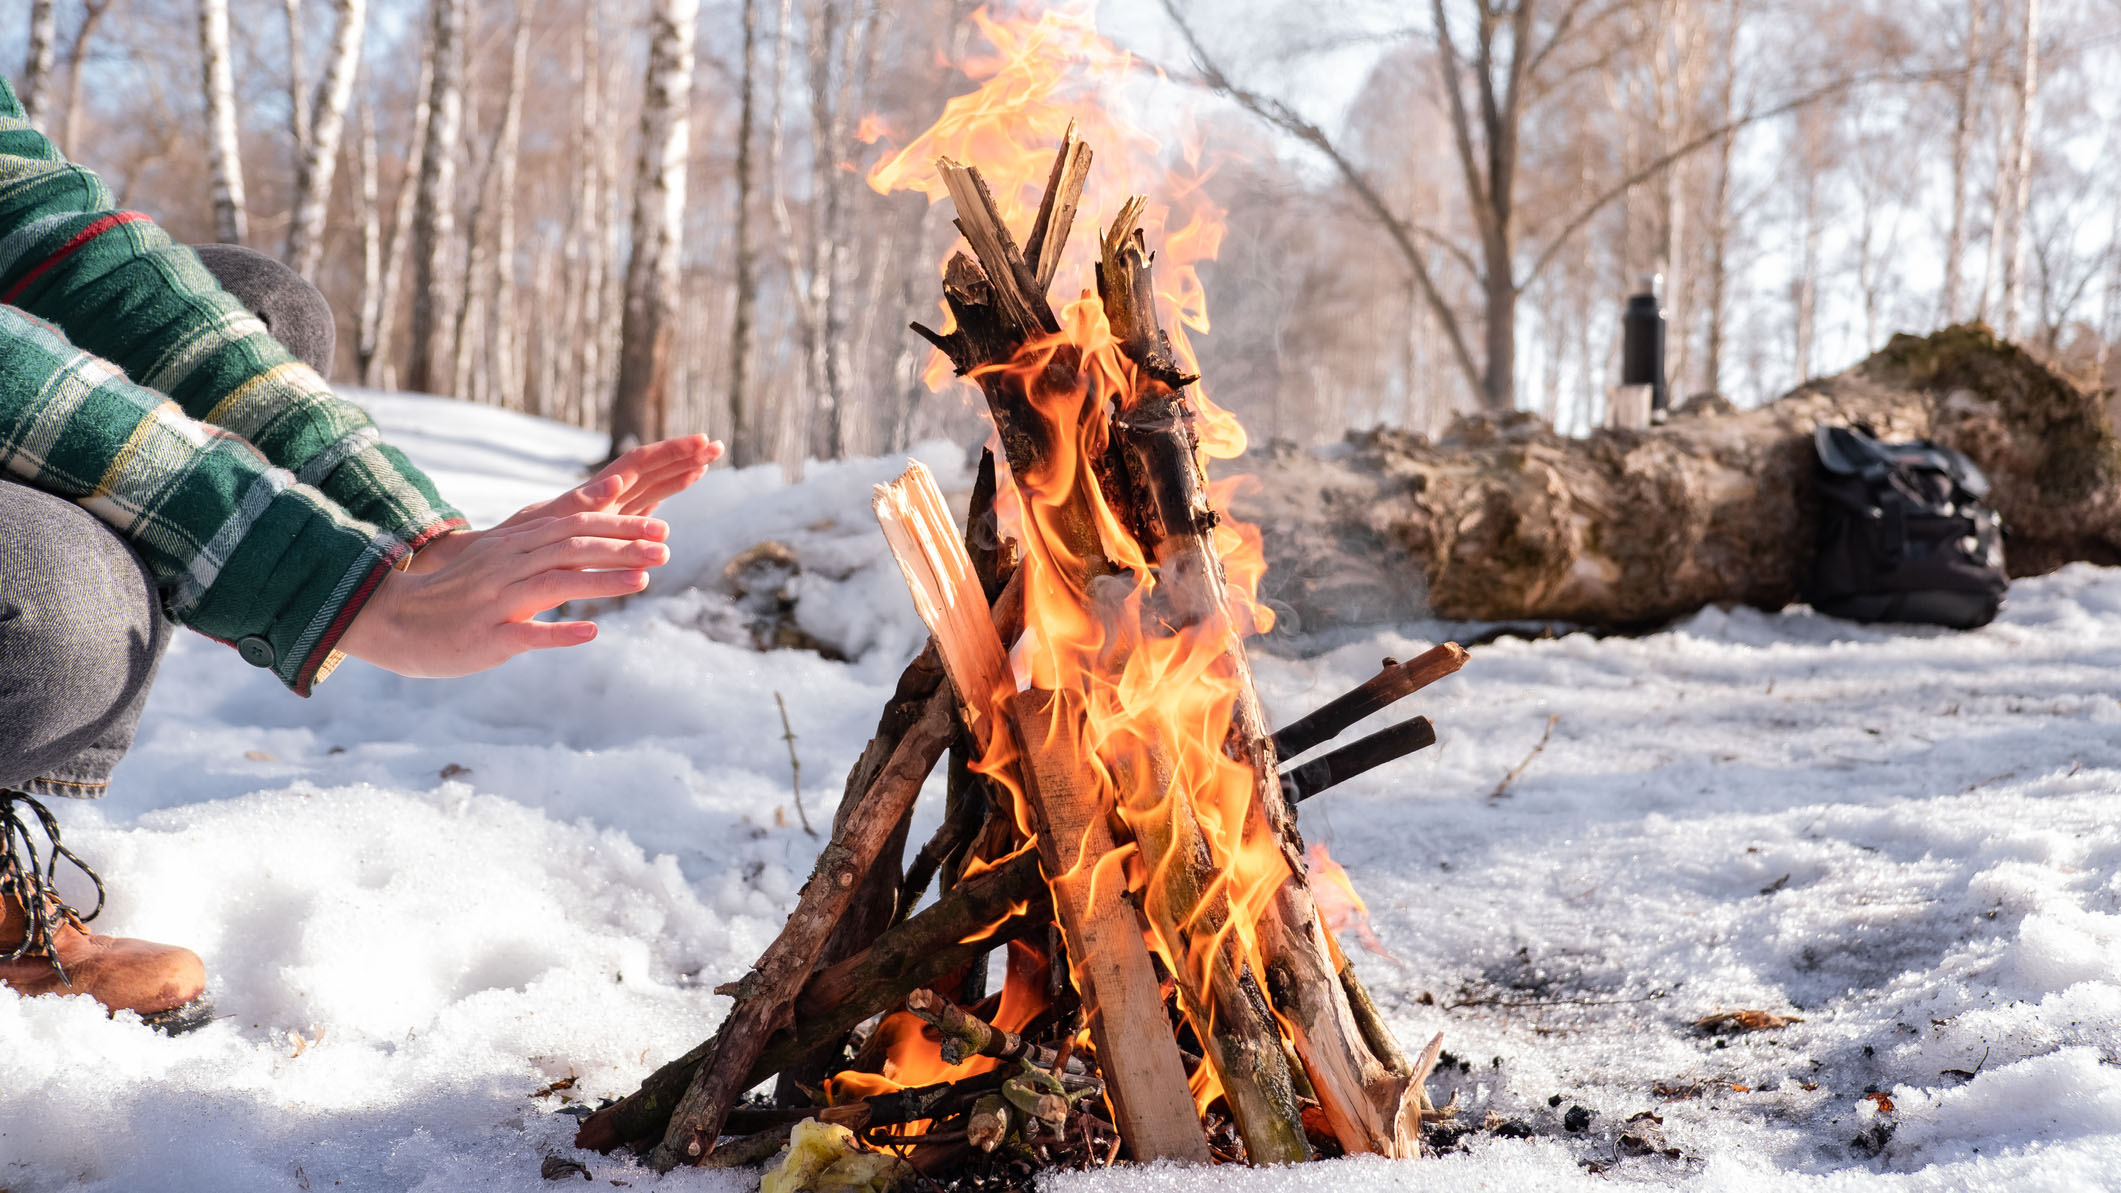
Place your smaller pieces of kindling, such as dried leaves, grass, twigs, lint and bits of newspaper, into the centre of the fire pit. Criss-cross your twigs and try to ensure there is space between the various bits, as the fire will need an oxygen supply to burn. Then build a tepee or pyramid like structure with your larger sticks and branches, again making sure there’s plenty of space for air to move between. If you have firelighters, strategically space them out amongst the kindling.
6. Ignite the fire
It’s time to get things started. Take your lighter or matches and ignite your firelighters or the dried grass and leaves. The idea is to get the flames to spread from these smaller flammable pieces to successively larger twigs, branches and logs. Gently blow on the flames to get the fire to spread towards the centre, where your kindling is gathered. Once the larger branches catch alight, the tepee structure will start to buckle.
7. Add larger logs
Once the fire is going, it’s time to add the larger logs. Everything on the fire so far will burn out relatively quickly, so it’s important to add the heftier logs for the fire’s longevity. Frequently add large logs for as long as you want the fire to burn.
8. Put the fire out
Making sure the fire is well and truly extinguished is extremely important. We’ve already mentioned wildfires in this feature and we all know how devastating they can be to both the environment and people’s lives.
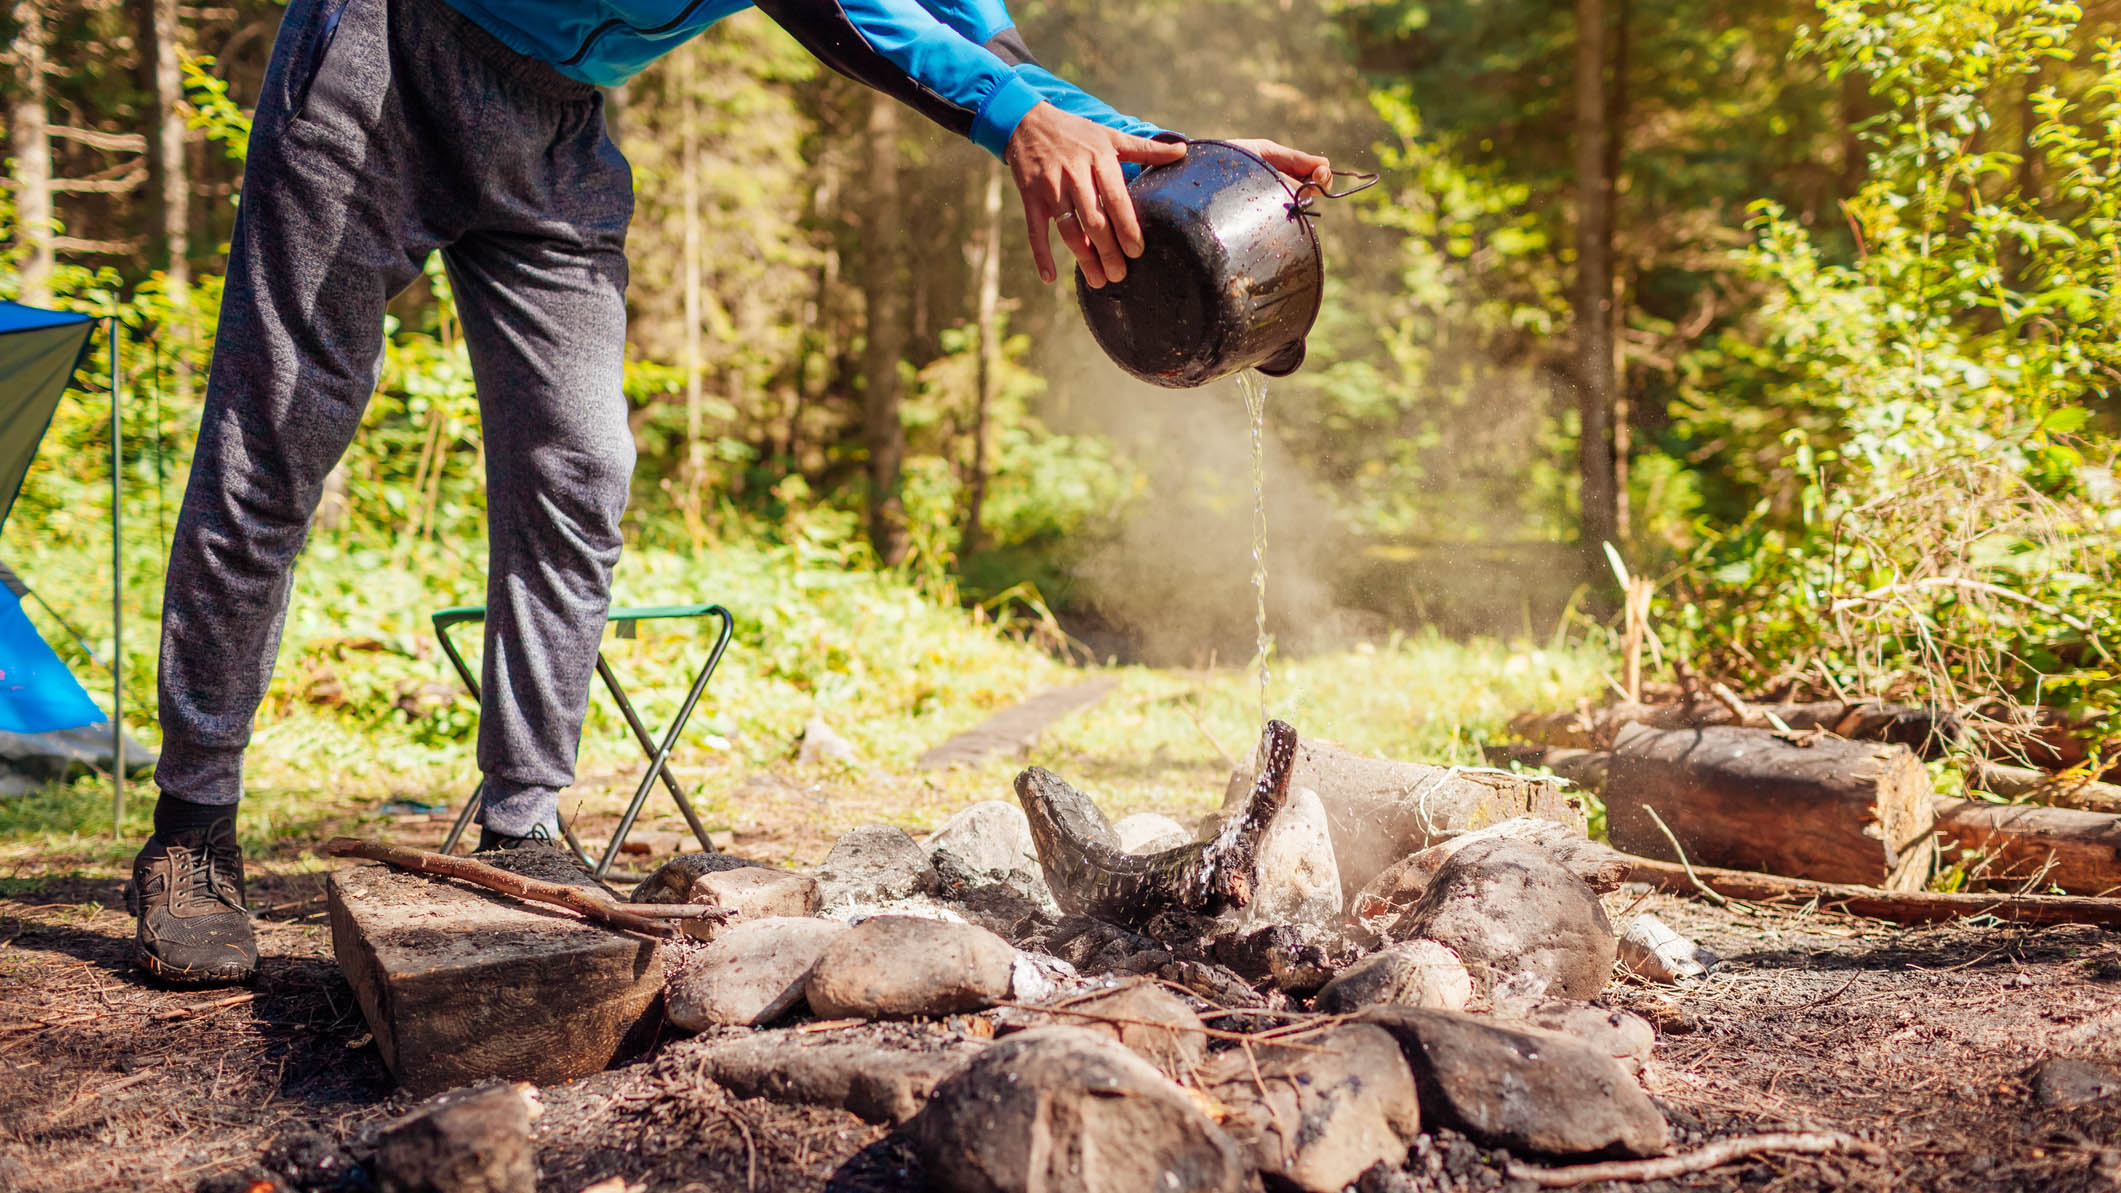
To put the campfire out properly, pour your bucket of water over the flames, stir the fire area with your shovel to soak the remaining embers and pour water on it once again. Finally, feel the campfire area with the back of your hand to ensure nothing is still smouldering.
Campfire jargon buster
Thought tinder was just a dating app? You’ve come to the right place. We bust the jargon involved with lighting a fire.
Kindling: The smaller pieces of wood and other materials, such as twigs, branches and dried leaves, used to get the fire going. Less obvious items that make great kindling include potato chips, pine cones and cotton balls mixed with Vaseline.
Tinder: Any flammable material used for lighting a fire, such as dry wood or paper.
Firelighter: A solid block of highly flammable material containing fuel, such as kerosene. They are ideal for getting a fire started.
Seasoned wood: Wood that has been dried over a period of many months, or even years, until it contains less than 20% water content. At this point, the wood is ideal for burning.
Green wood: Wood that has been recently cut from a tree. It will have a high water content and is not ideal for use as firewood.
Alex is a freelance adventure writer and mountain leader with an insatiable passion for the mountains. A Cumbrian born and bred, his native English Lake District has a special place in his heart, though he is at least equally happy in North Wales, the Scottish Highlands or the European Alps. Through his hiking, mountaineering, climbing and trail running adventures, Alex aims to inspire others to get outdoors. He's the former President of the London Mountaineering Club, is training to become a winter mountain leader, looking to finally finish bagging all the Wainwright fells of the Lake District and is always keen to head to the 4,000-meter peaks of the Alps. www.alexfoxfield.com
