How to cross a river safely – and when not to
Knowing how to cross a river safely and when not to even try is a crucial skill for all wilderness walkers
Wandering in the wilderness seems reasonably straightforward – just put one foot in front of the other until you reach your destination, right? Well, sure, until you come to a tumbling stream or a rushing river. Knowing how to cross a river might not be something you've given much thought to, but it's a skill that will come in more handy than you think.
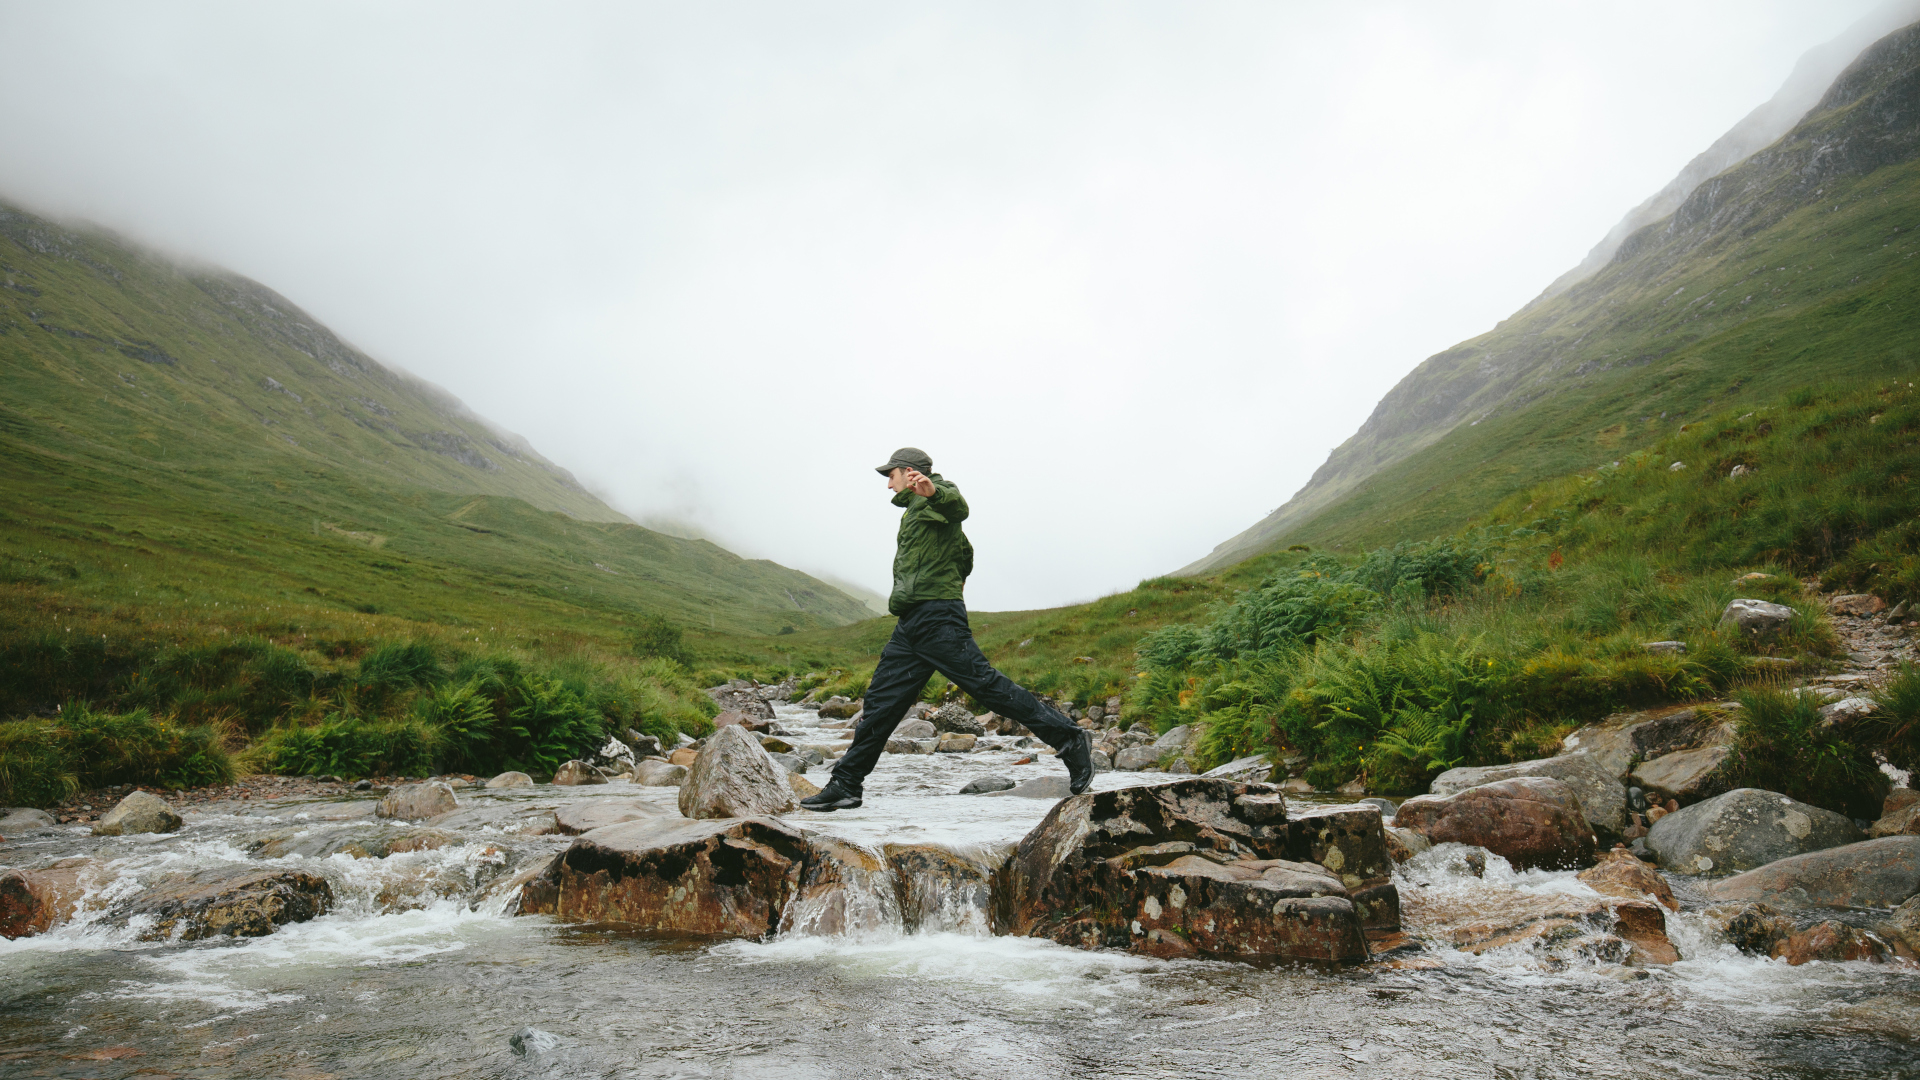
Though well-maintained trails in places like National Parks tend to have conveniently placed footbridges over bodies of water, when you’re hiking in the backcountry, sometimes there won’t be a bridge to cross. Many remote trails take you to a riverbank where there’s a ford, or stepping stones to help you cross, or sometimes you’re expected to jump or paddle your way across. If you’re truly intrepid, you may have ventured off-piste altogether, where there are no human-made paths or bridges.
Crossing fast-moving water can be a very hazardous experience indeed, especially when you’re wearing a heavy backpack, so you need to know how to do it as safely as possible – and when not to attempt it at all. Read on for our expert guide on how, when and where to cross, as well as when to turn back and forge a different path.
How to cross a river: sizing up the stream
The first consideration should always be whether it’s absolutely necessary to cross, or whether a diversion or change of plan would be the more sensible option. If a crossing goes wrong, it’s not just drowning you need to worry about – you can also end up with soaking wet kit and clothes, lost or damaged gear, and the grim possibility of injury or hypothermia.
This may all sound somewhat alarmist, but every year hikers do die after attempting ill-advised water crossings. Don’t be one of them.
If you really do need to proceed, there are several things worth checking and considering carefully as you approach the stream or river you want to cross:
- The width of the river – how far is the distance between the bank you’re on and the bank you’re trying to get to? If your stream or river is so narrow that you can simply step across it, then problem solved. If not, you’ll need to make a plan and do a mental risk assessment.
- The speed of the river – is your river a benign and lazy flow of water, slowly making its way to the sea, or is it a raging torrent that’s late for a meeting at the ocean?
- The depth of the river – if the river is so shallow it barely touches your best hiking boots, then you’re not going to think twice about crossing it, however fast or wide. Jumping into a waist-deep river, however, is much more of an undertaking.
- The visibility and appearance of the riverbed – if you decide to cross the river, you’re going to have to put your feet in it. If the riverbed is flat and sandy then walking across will be straightforward. If it’s full of slippery, potentially ankle-snapping boulders and broken semi-submerged tree branches, then it’ll be more difficult – and potentially dangerous. Bear in mind that you might put your foot in a nasty surprise if you can’t see clearly to the bottom.
- Conditions downstream – look at where the river is heading immediately beyond your planned crossing point. Are there overhanging or semi submerged trees or other hazards (known to kayakers as strainers), or boulder chokes you could be caught in if the flow takes you? This is a common cause of drowning. Are you at the river mouth, with the possibility of being swept out to sea? Is there a waterfall, or a set of rapids just around the corner?
- Ferocious fauna – in some places, Australia and Africa for example, you need to consider whether the river is home to things such as crocodiles. f you’re in any doubt about that whatsoever, stay well away from the water. Elsewhere, bears might be a consideration.
How to cross a river: choosing a crossing place
First, check your map, confirm your position on it and assess the information available to you. Have you veered off track and missed the place where the path actually crosses the river? Or, is there another trail with a footbridge a little bit further up or down stream. Alternatively, the map might suggest a good natural fording point – such as a spot where the river braids (divides into many shallower channels).
Advnture Newsletter
All the latest inspiration, tips and guides to help you plan your next Advnture!
Otherwise, you can walk up and down the stream or river until you find a place that looks most suitable to cross. Ideally, you want something straight, shallow and slow. Narrow sections can be tempting because you might get across quickly, but the water can be deeper and faster moving in a narrower channel. Avoid bends in the river, where the flow can be fast and undercurrents can exist. Usually, rivers tend towards these conditions if you walk upriver, towards the source. You never know, you may even find a tree that has fallen right across the water, or a natural dam, providing a relatively safe crossing point.
Next, take a quick look what’s down river from you. No one wants to get swept away downstream, but it’s always best to know what’s there if you do, so you know what the risks are. You don’t want to discover a Hollywood-sized waterfall just around the corner. Also carefully look for, and avoid, downstream log jams, semi-submerged trees and branches, and boulder chokes. You might think these will offer something to grab hold of if you’re swept away, but you’re much more likely to get pinned to them (or under them) by the force of the flowing water, which is terrifyingly powerful.
How to cross a river: timing
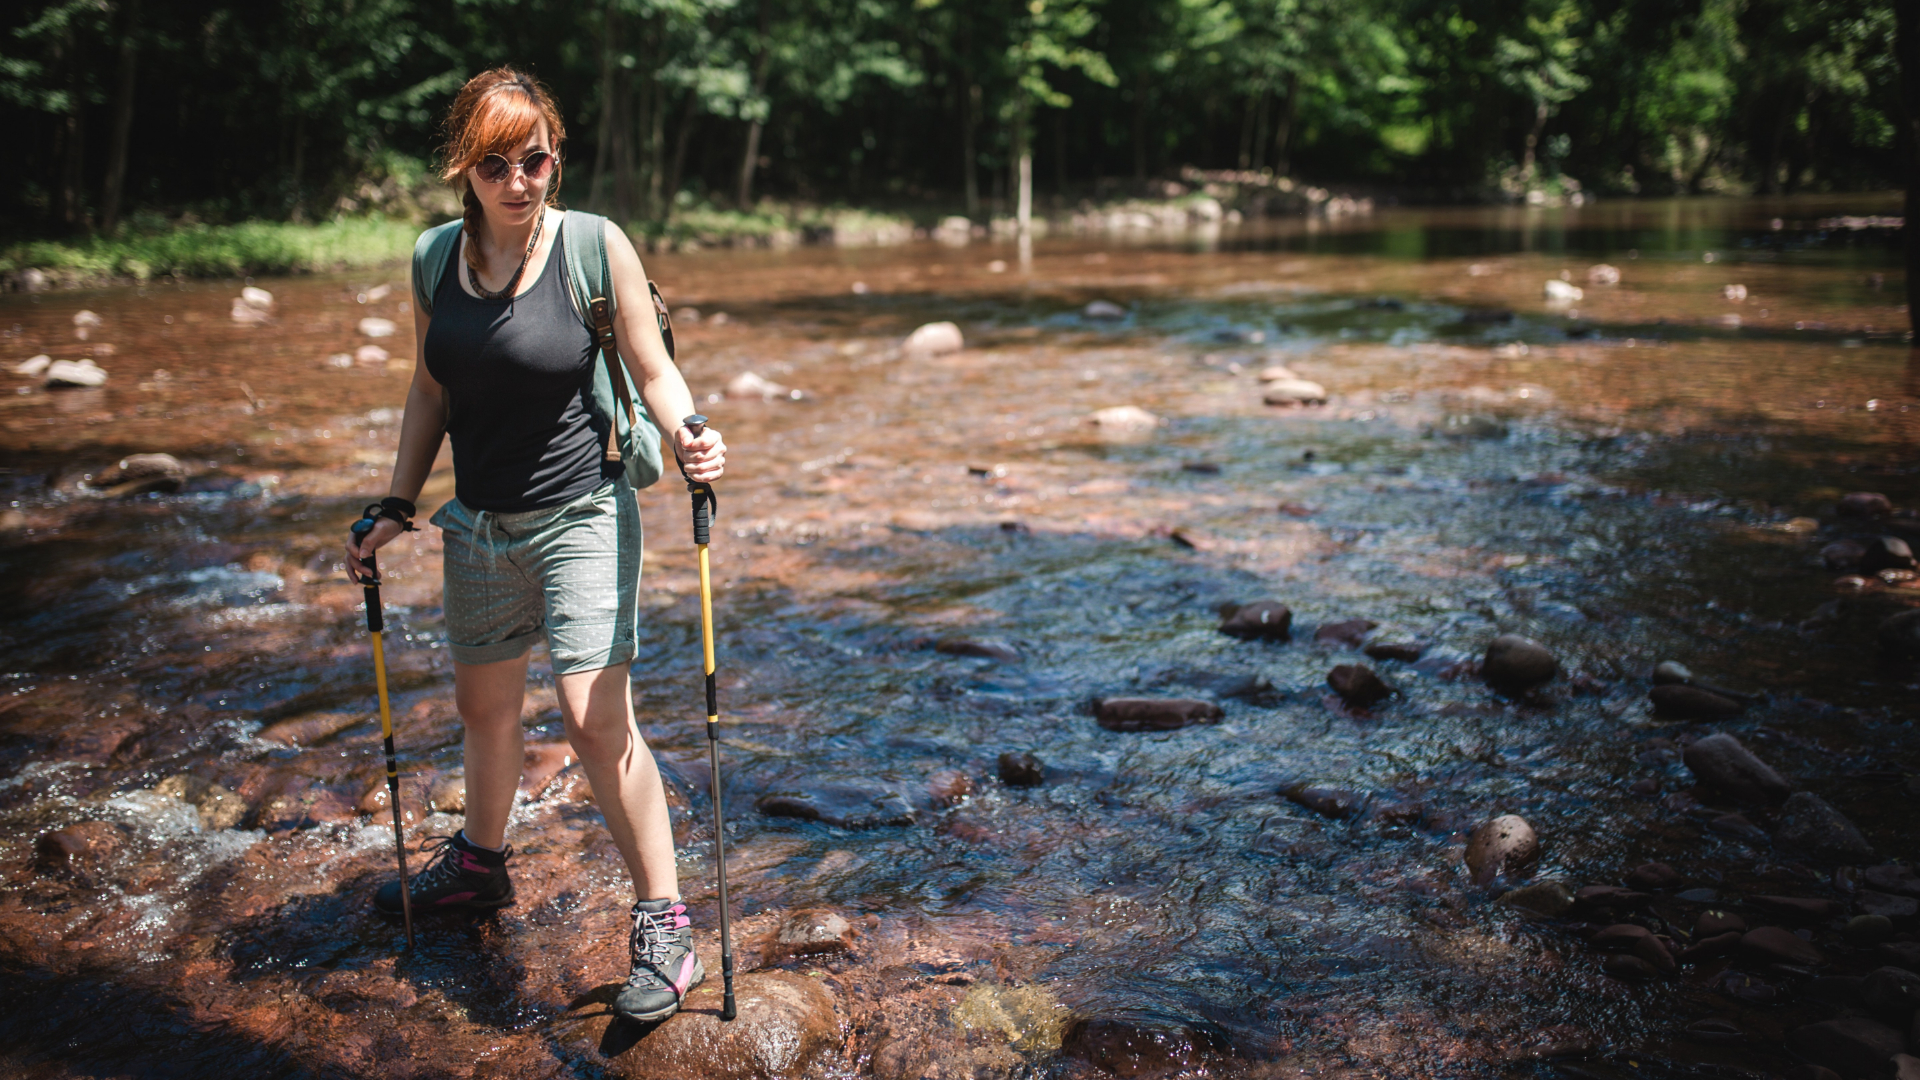
If you’re anywhere near the coast, consider whether the river might be tidal, and if levels might drop to a level where it will be safer to cross. Rivers downstream from snow-covered peaks and glaciers will run deeper and faster later in the day, when the sun causes more melt. It’s better to wait for more favorable conditions than to take a risk and end up in an emergency situation.
How to cross a river: entry and exit points
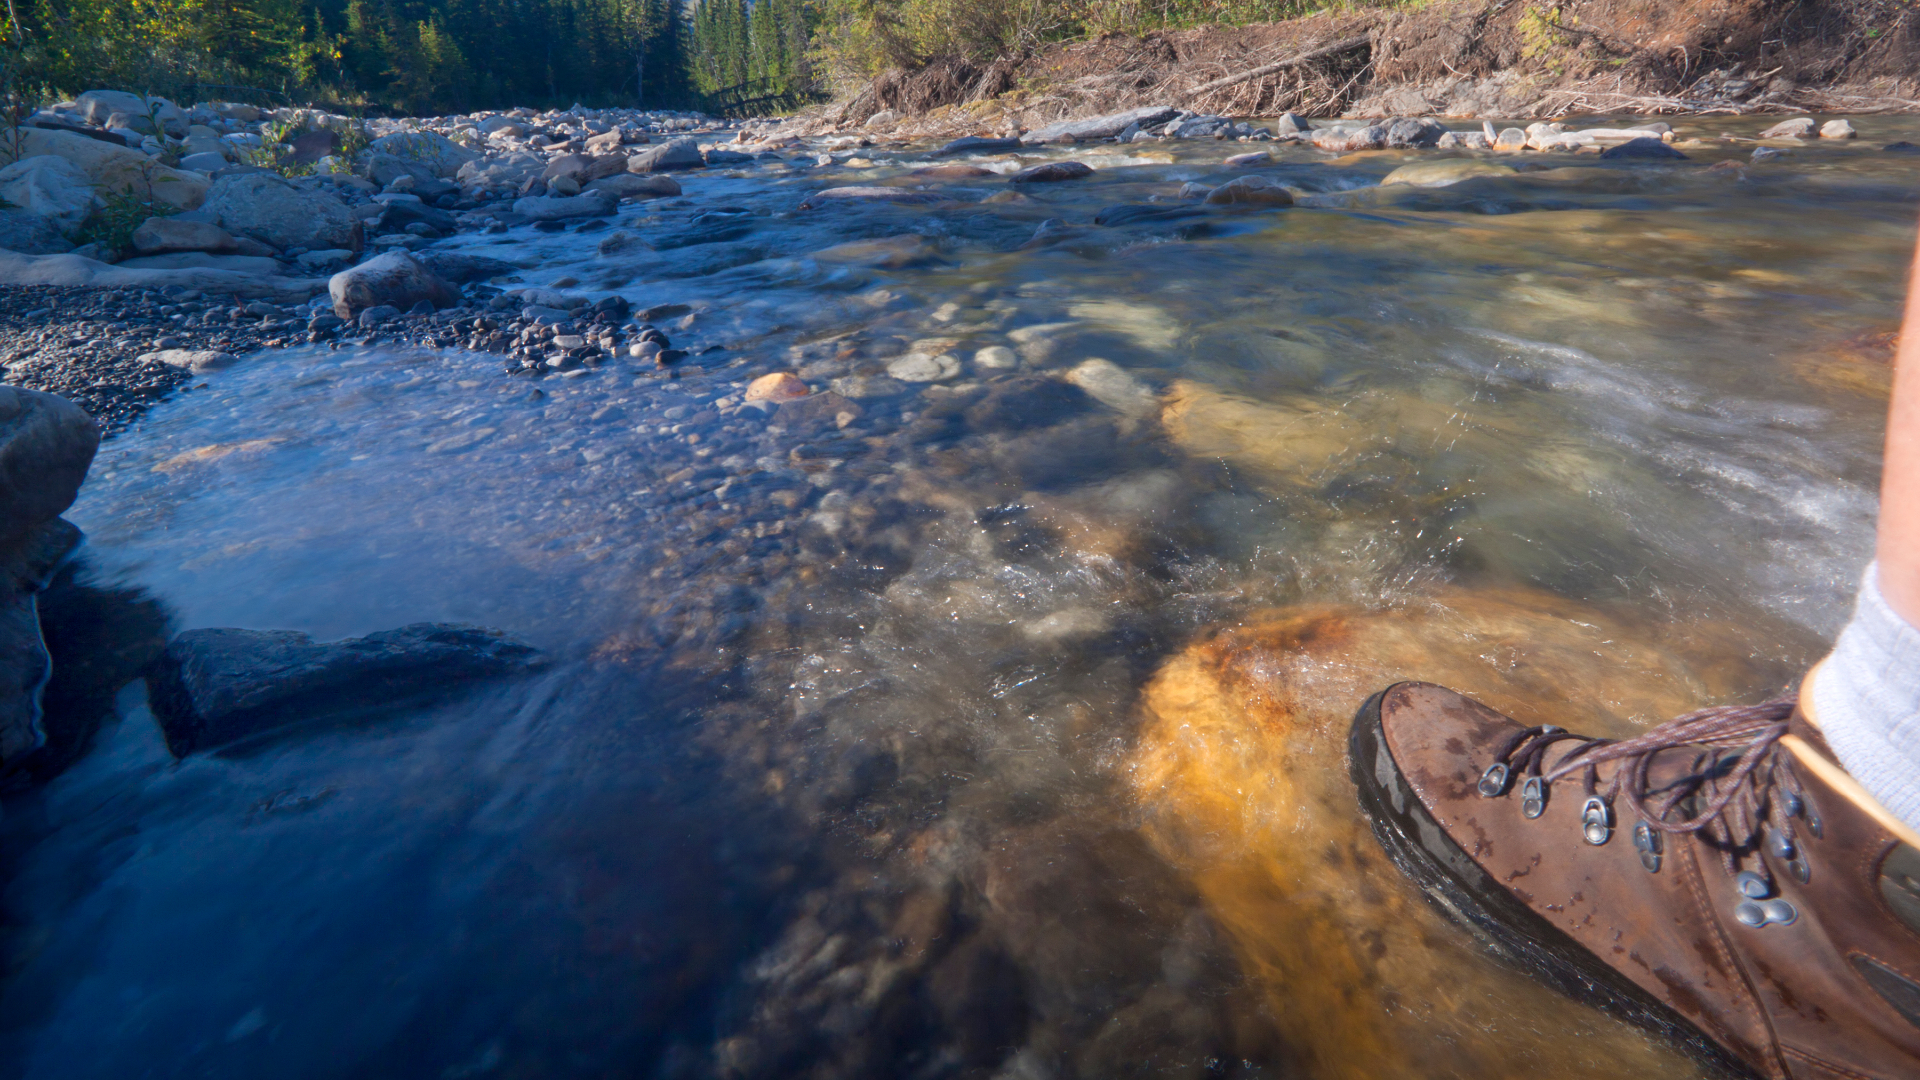
OK, so you’ve decided to cross, and you’ve picked the best time and place to do it. Now is a good time to recheck your ‘in’ and ‘out’ points. What does the bank look like close to you and on the opposite side? You’re more likely to fall in (or have trouble getting out) if it’s overhanging or overgrown. A steep exit point isn’t ideal either, and might indicate deep water on the far side. Make life as easy for yourself as you can.
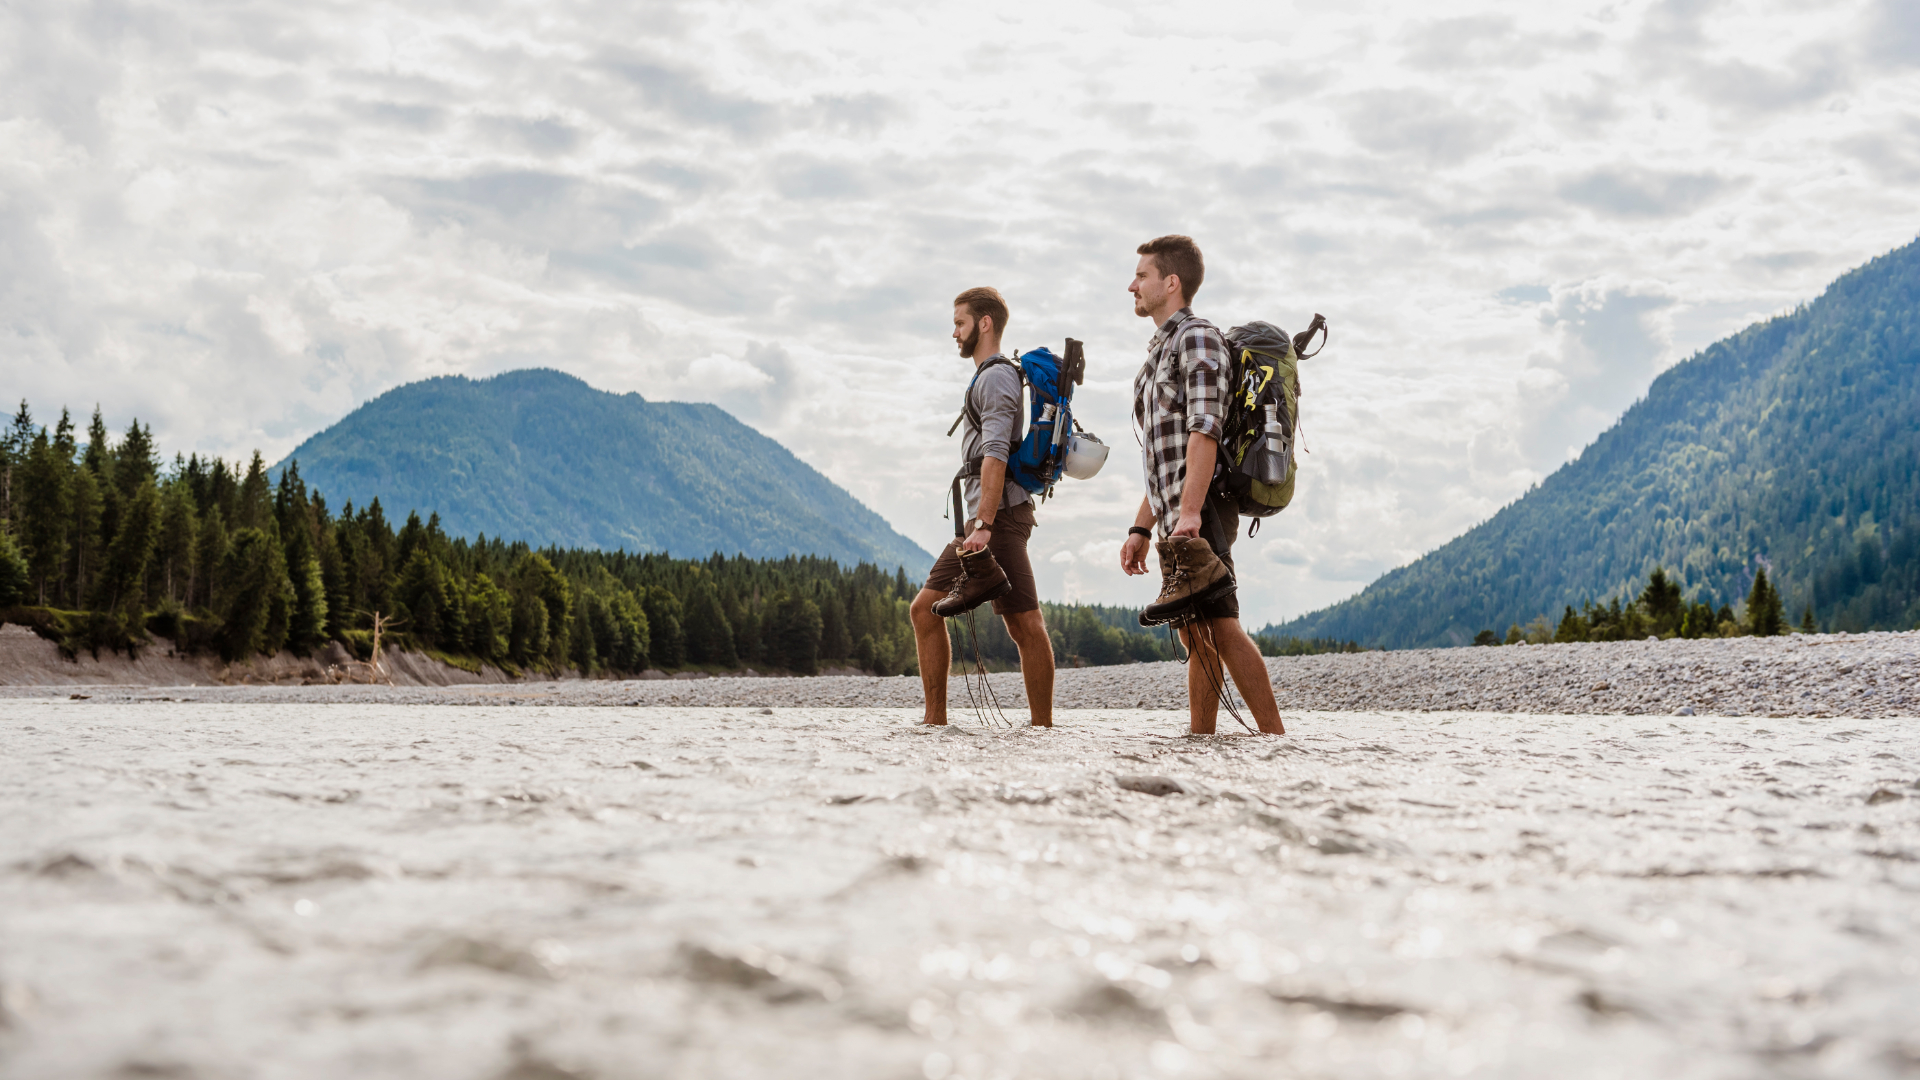
Unless you are sure the riverbed is sandy, leave your boots on – the risk of ankle or foot injury is worse than having wet boots. If you have good secondary footwear (for example hiking sandals or the best water shoes) you could consider swapping to those to keep your boots dry, but make sure your boots are then stashed away securely.
If the waterway is narrow enough for you to remove your backpack and throw it across the opposite bank, do so. Otherwise, undo your pack’s sternum and hip belts, so you can wriggle out of it easily in the event of a fall into deep water. Make sure everything else is fastened down securely, including any poles or axes you’re carrying, and check there are no trip or snagging hazards hanging off you or your pack.
How to cross a river: solo crossings
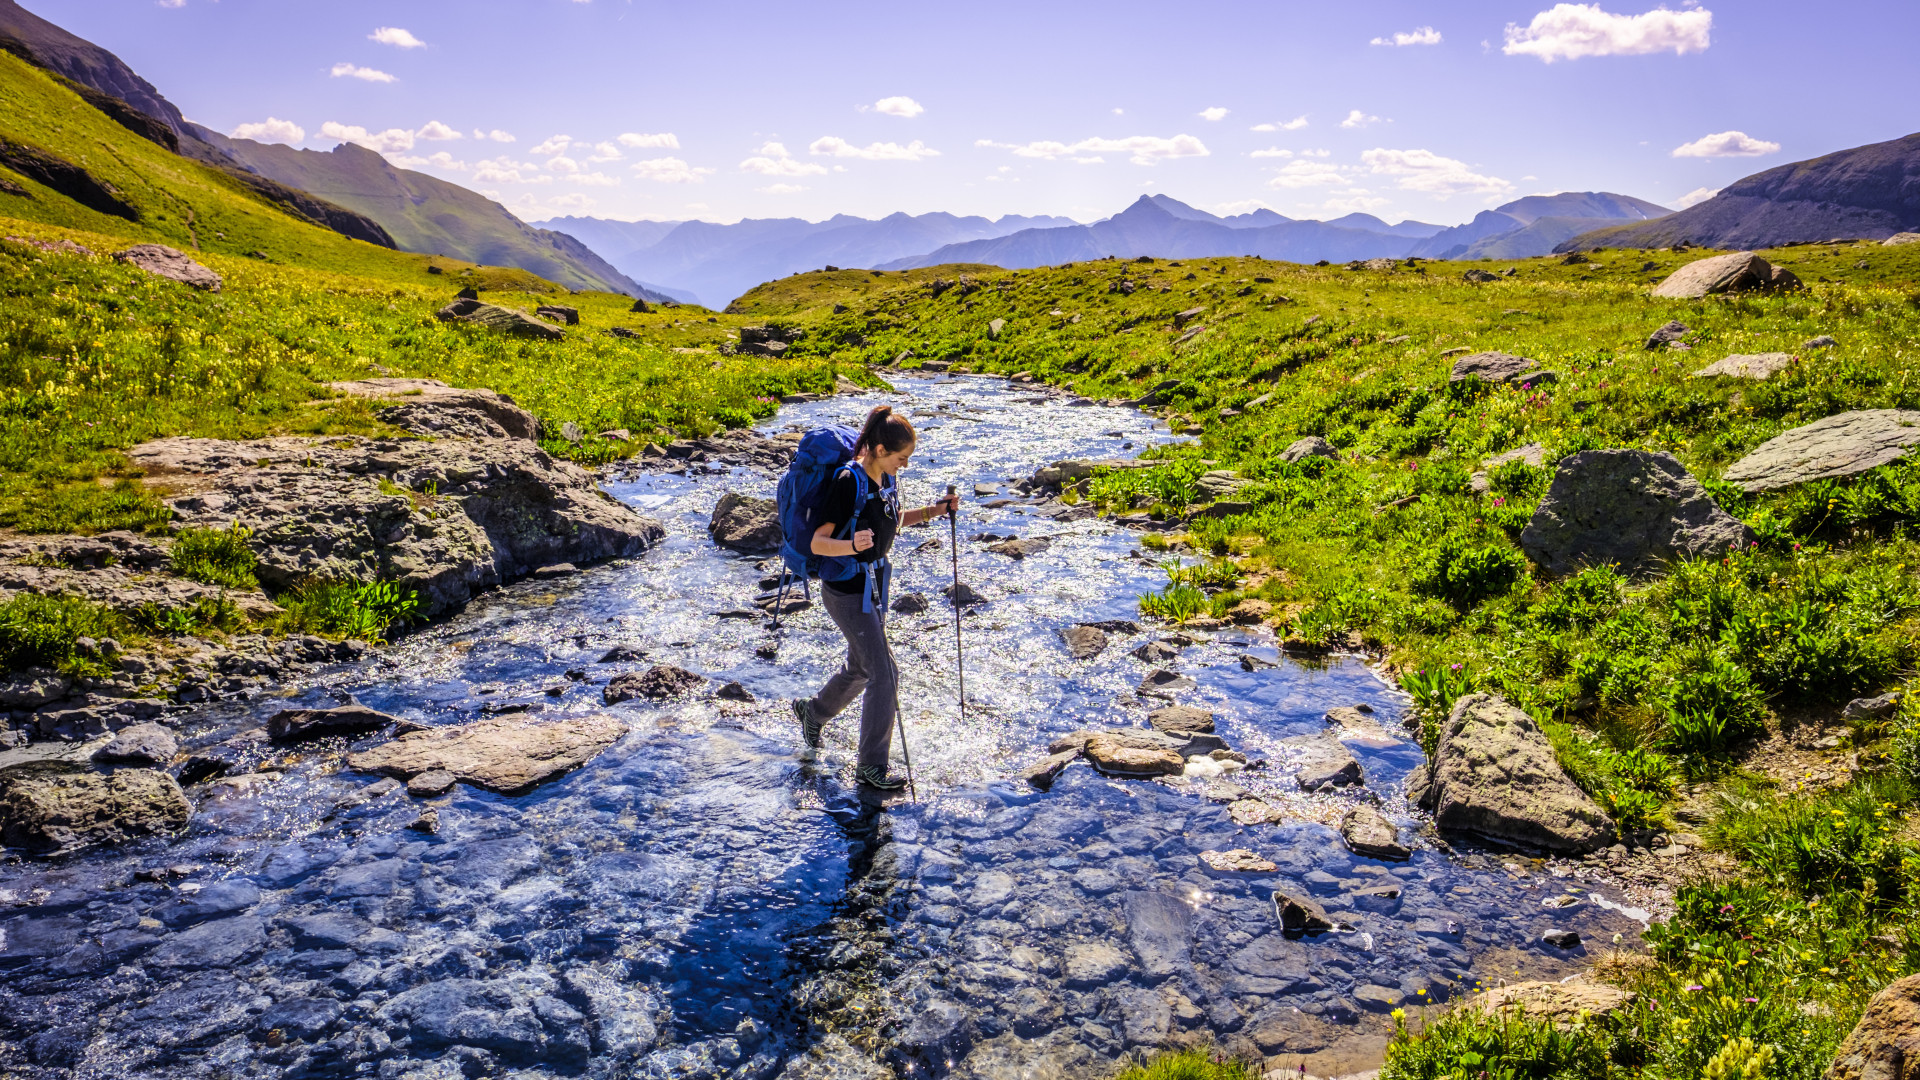
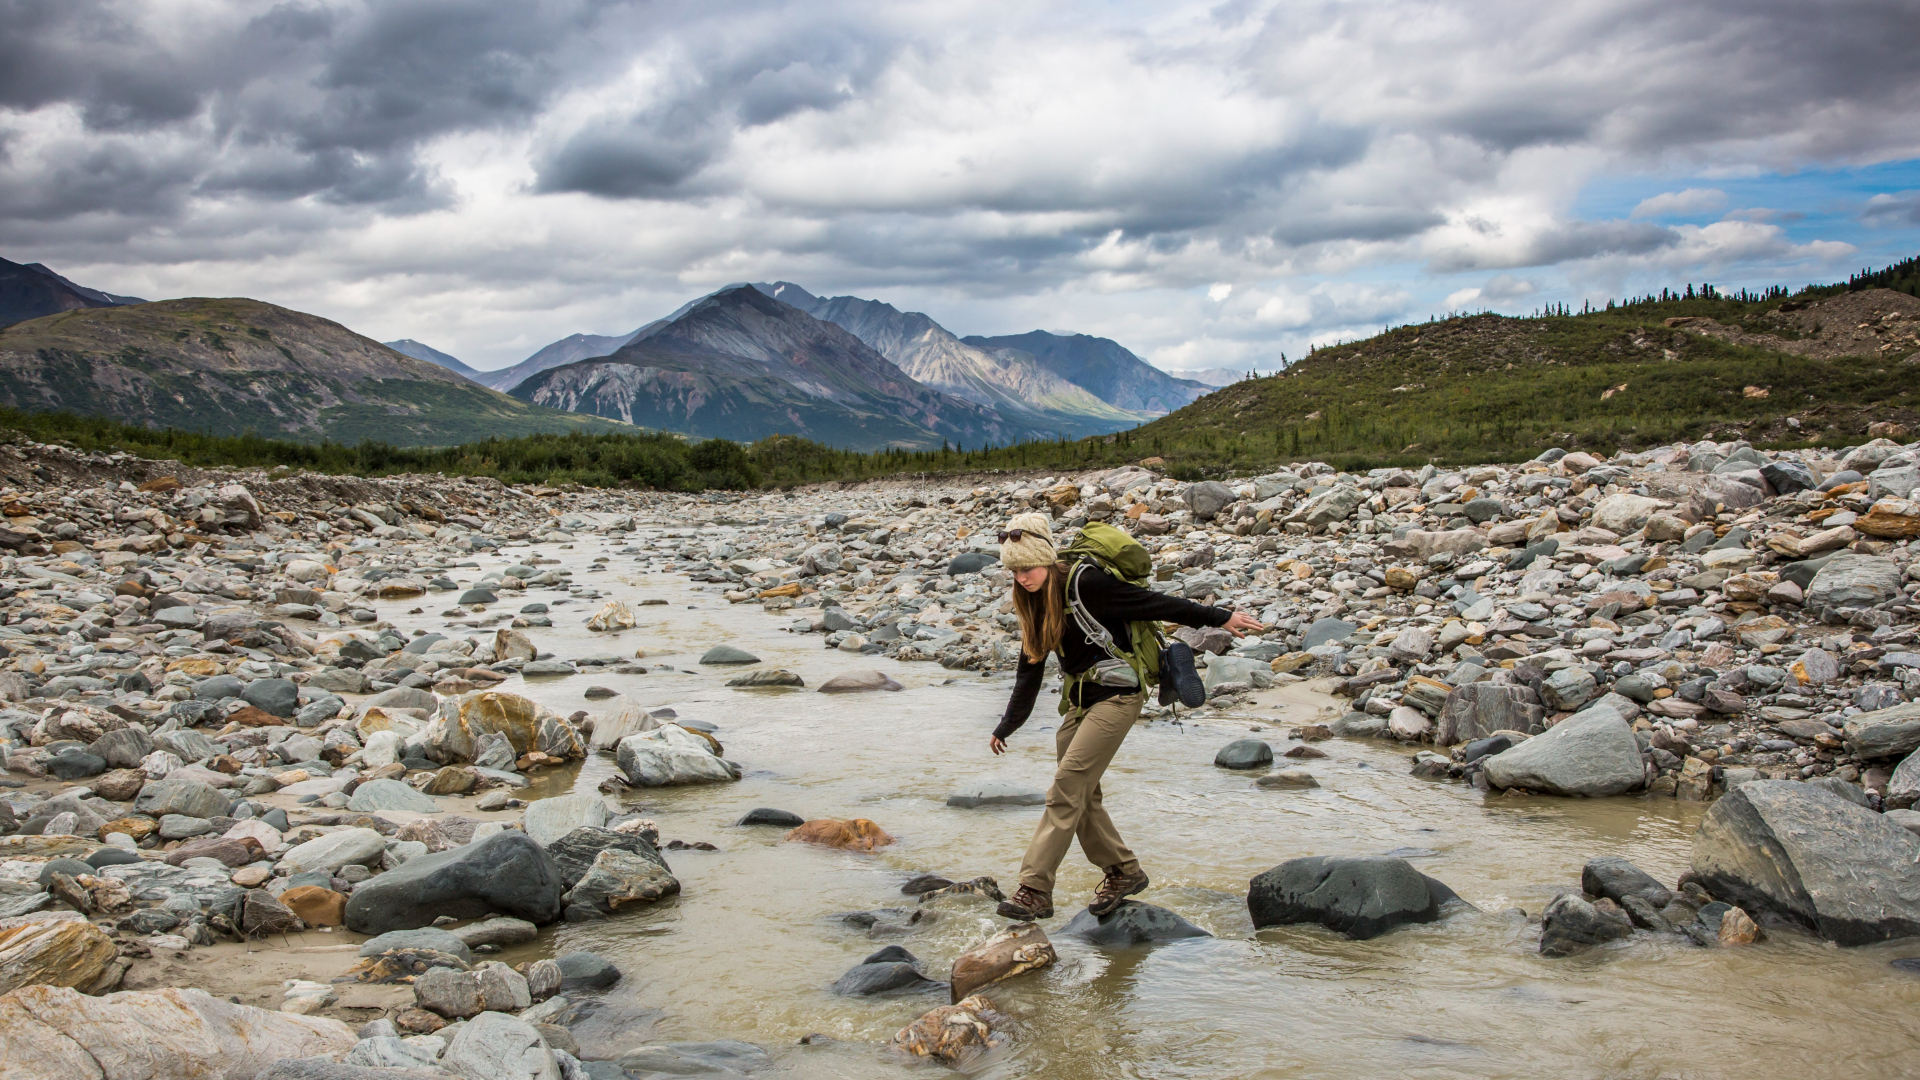
Crossing a stream or river alone is much more hazardous than a group crossing, so really carefully consider whether you need to cross the stream or river before proceeding. If you have carefully assessed the risks and decided it is safe to continue, make sure you have a stick – a trekking pole or a strong tree branch. You will need this as a probe to check water depth and riverbed conditions, and as a third point of contact with the ground.
Face upstream, form a tripod with your two legs and the trekking pole/stick. Carefully move sideways across the waterway, only moving one leg or the stick at a time, so you always have two points of contact with the ground.
How to cross a river: group crossings
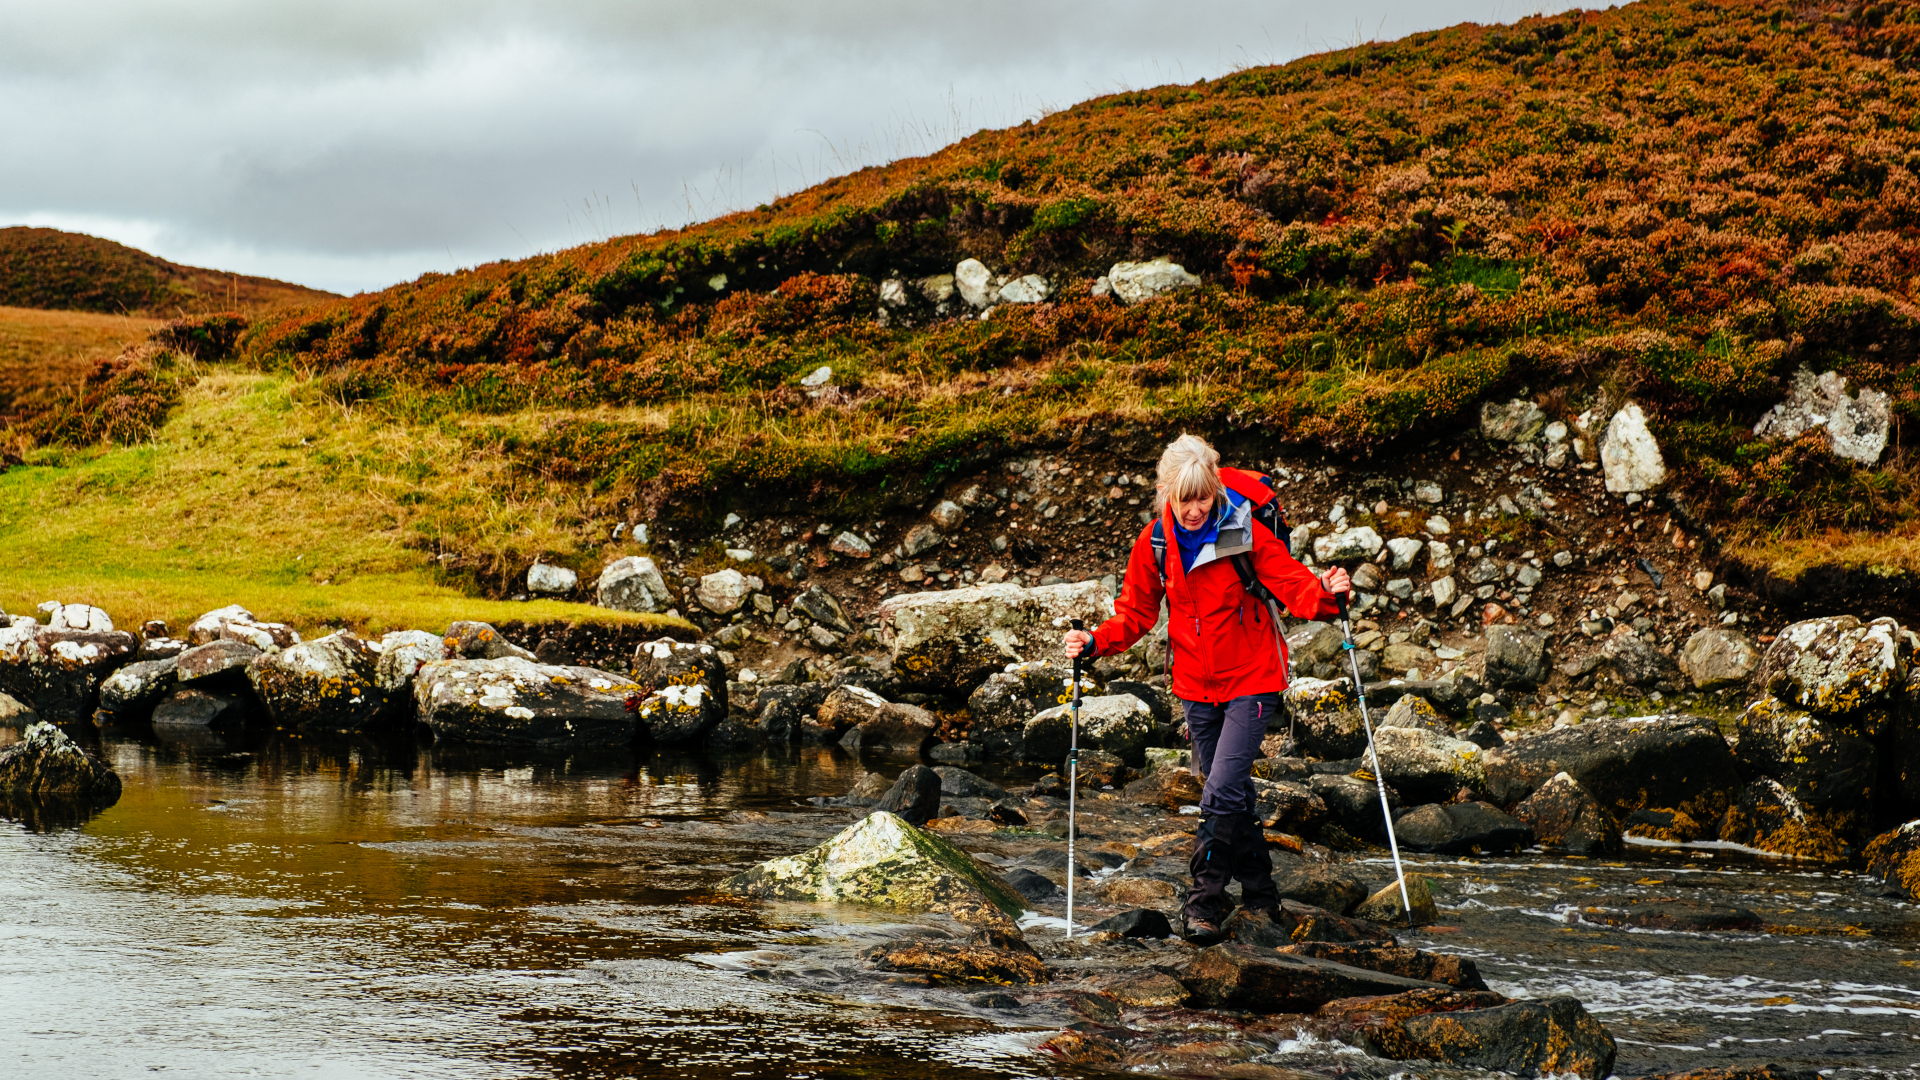
There are several techniques for crossing rivers as a group. One of the more popular ones is forming an upstream wedge shape or line (out of people), with the strongest/most confident person at the front, facing upstream and using a pole as described above. Everyone else holds on to the person (or the pack of the person) in front, and the group carefully walks sideways, like a crab, until everyone is on the far bank.
Another is to make a human chain and pass people along, so the person at the near end becomes the person at the far end, a method that ensures person-to-person contact at all times, in case of a slip.
How to cross a river: what if it all goes wrong?
If you do fall, or the current knocks you off your feet and takes you, try and stay calm. Get out of your backpack and forget about it until you are safe. If you’re being taken downstream, float on your back, feet first (better to knock your feet than your head). When you reach calmer water, head to the nearest bank.
How to cross a river: when not to cross
You should never get into the situation described above. There are a few rules of thumb about when not to cross a river. Firstly, if your river is travelling at anything above a jogging pace – and is wide enough you’ll need to get in it, or could fall in – then you shouldn’t cross. The odds are just a bit too high, and flowing water is very powerful stuff.
If you’re in a group, only cross in a place where everyone in the group is happy to cross. Yes, everyone. You don’t want to have the whole group on one side and Fred stuck on the other bank because he’s decided it looks too sketchy. Respect your teammates and don’t force people into things unless you really have to (aka in a genuine emergency). They’re even more likely to mess up if they’re scared.
Finally, don’t forget, if it’s really bad you can always walk to the nearest bridge. Even if that bridge is several miles away (yep, I’ve got the T-shirt). Or up and around the source of the river if that’s possible. Better to be safe than dead.
- Hiking first aid kit: why you need one for everyday occurrences
