How to build a campfire: our step-by-step guide to craft a hearty campsite hearth
Learn how to build a campfire in a trio of different ways in this straightforward, step-by-step guide for burgeoning campers and old hands alike
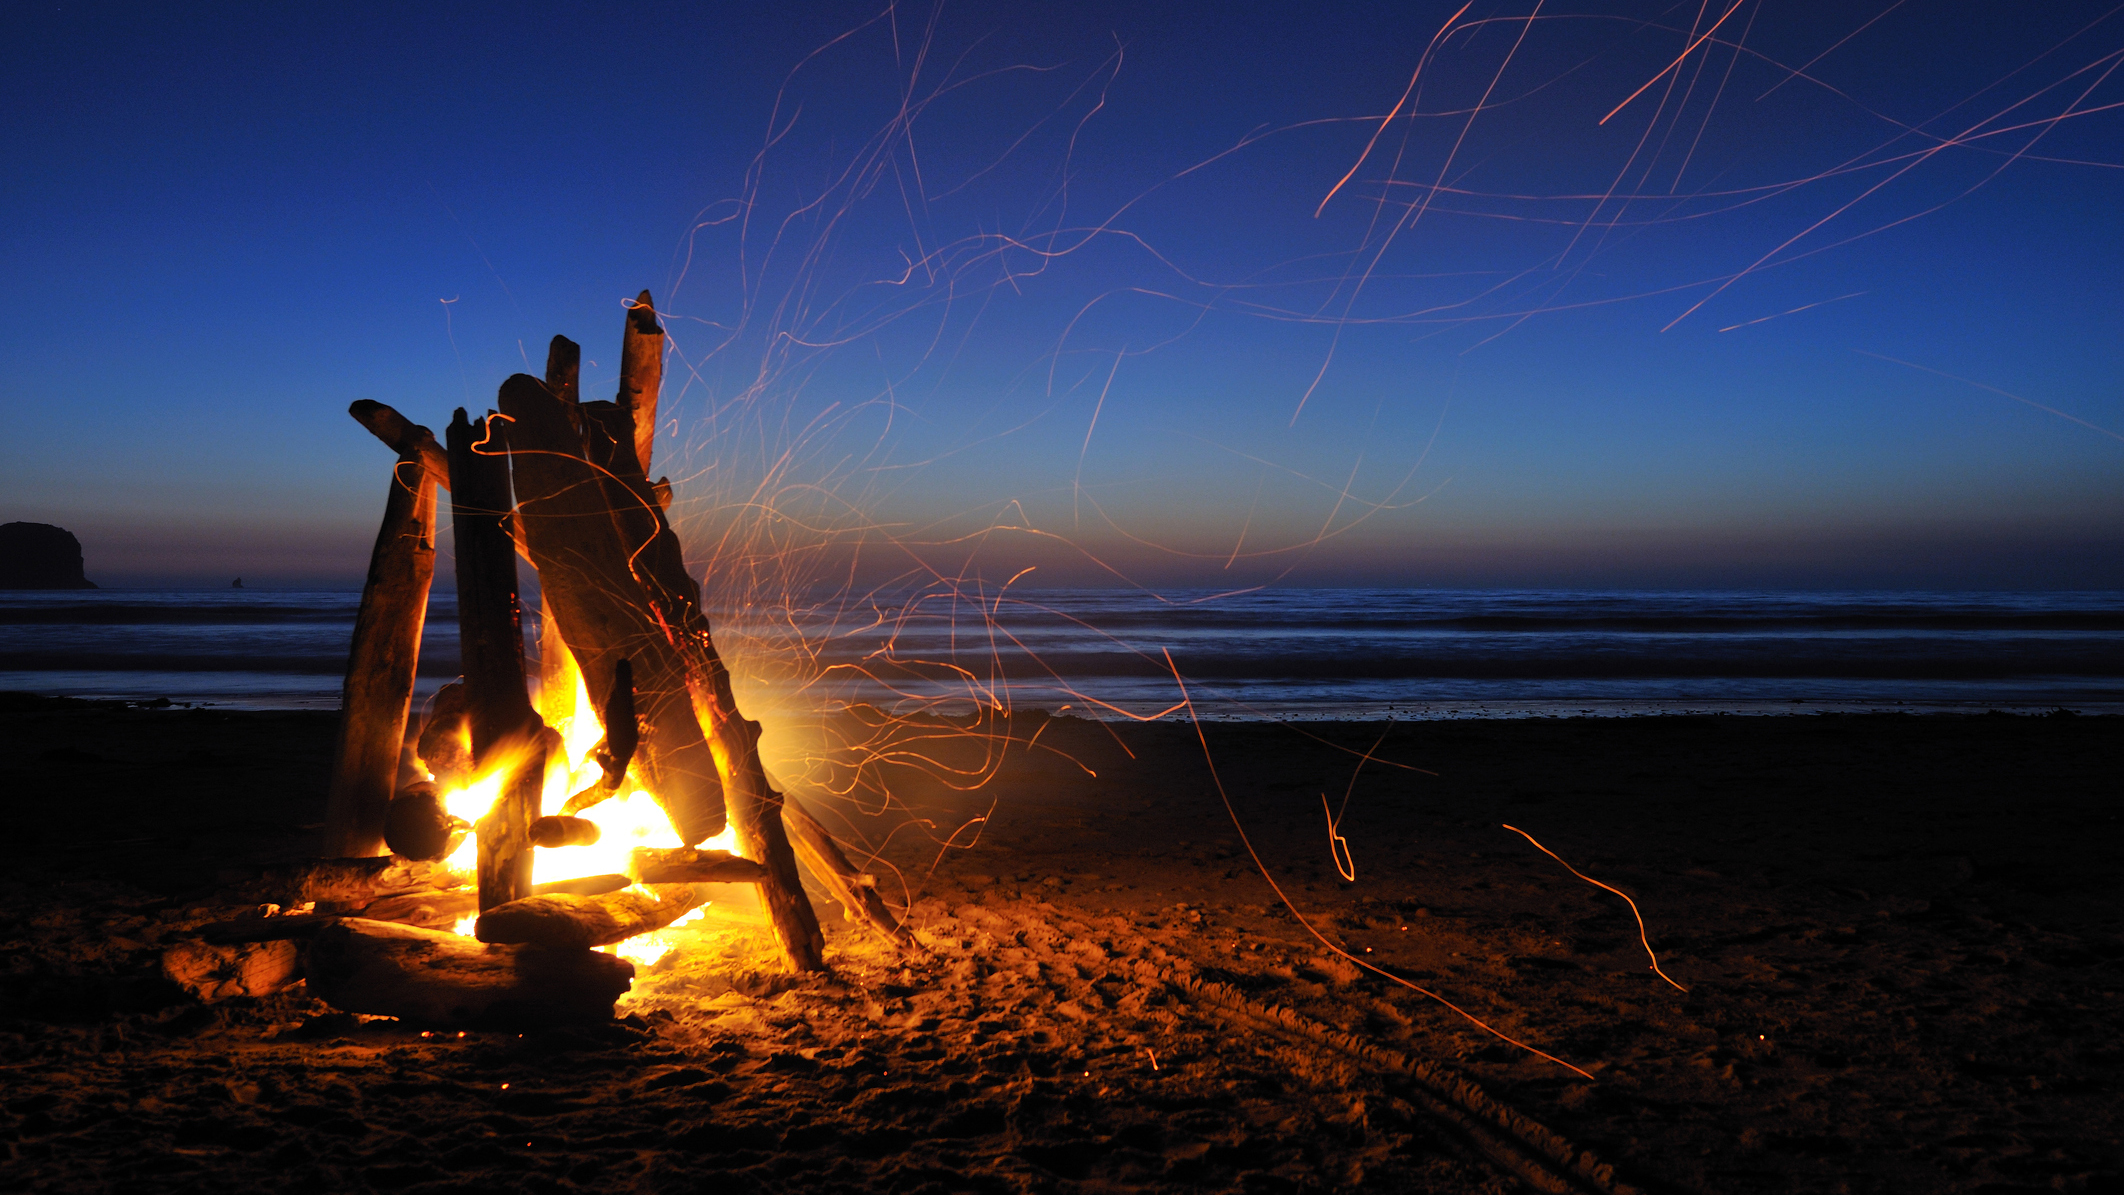
Getting to know how to build a campfire is a rite of passage for any burgeoning camper. Its knowledge that bestows upon you the status as warmth bringer and light maker. You can gather your friends and family around your fiery creation, dry out your clothes, boil the evening brew or cook some food beneath the shining stars – a romantic alternative to whipping out the camping stove. Perhaps most importantly – you can impress your camping cohorts with your proficiency in amateur pyrotechnics.
It's thought that the acquiring of this knowledge was one of the pivotal moments in the story of how humans have come to dominate planet Earth. Around half a million years ago, the discovery led to cooked food, which had a profound impact on our bodies and our minds. Cooking over a campfire shaped what our species is today, for better or for worse.
Today, not every camper, or human for that matter, knows how to build a campfire in a way that minimizes the impact on the environment or how to light a campfire without a series of false starts, much faffing around, or going through a lengthy process of trial and error. To help you avoid such frustrations, we’ve compiled an easy-to-follow guide to take you through every step of the fire-building process, from pre-trip prep and campfire safety right through to pre-departure clean-up.
Meet the expert
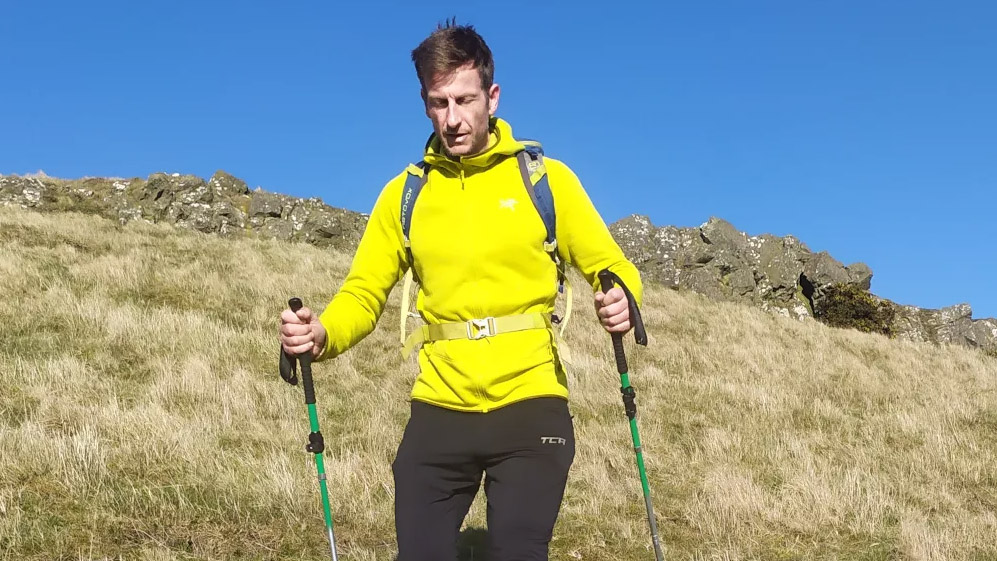
Kieran is passionate about the outdoors, particularly when it comes to climbing or a quality camping trip. He's started many a fire in his time and very much enjoys toasting marshmallows, telling campfire tales and a good old singalong.
Today's best deals
When the fire is done, you'll need a camping bucket of water to put it out. Here's today's best deals on our favorite...
1. Pre-trip prep
- Cotton wool balls in petroleum jelly work beautifully as a fire starter
- This removes the faff of having to source tinder
- Stow your homemade tinder in a dry bag, separate to your lighter or matches

Finding dry tinder to start your fire with around camp isn’t always easy. There are, however, a few easy hacks that can help ensure you’ll be able to get a good fire going even when camping in damp conditions. The best of these is to soak a few cotton wool balls in petroleum jelly and place them inside an egg carton to use as a fire starter. This way, when you get to camp, you can skip scrambling around on hands and knees in search of in situ tinder and go straight into the hunt for dry kindling and fuel wood, neither of which has to be quite as dry as tinder in order to burn well. Of course, the best option is properly seasoned wood, which you should be able to source at a local store or at the campground.
To avoid damaging your gear or any inadvertent arson en route, be sure to stow your homemade tinder in a zip-lock bag and use a separate dry bag for your lighter or matches.
2. Choose a spot for your fire bed
- Choose a spot at least 10 ft from anything that could catch fire
- Built it downwind of your tent
- Have water to hand in order to put it out if needs be
First things first: if your camping site has a fire ring or designated campfire area, always use this. If not, here’s how to go about creating a fire bed of your own:
Advnture Newsletter
All the latest inspiration, tips and guides to help you plan your next Advnture!
First up, choose a spot that is at least ten feet away from anything that might catch fire easily. This includes your tent, gear, vehicle, grass, and vegetation – no matter the size of your campfire, a stray spark could easily turn your small-scale toe-warmer into a raging wildfire. It’s also wise to build your fire downwind of your tent in order to reduce the risk of carbon monoxide poisoning and avoid stinking up your gear. And just in case your fire does get out of control, it’s a good policy to keep to hand enough water to put it out.
3. Prepare the ground
- Find a bare patch of ground and clear the surroundings
- Build a small platform of dirt 3 or 4 inches high
- Encircle your platform with a ring of rocks
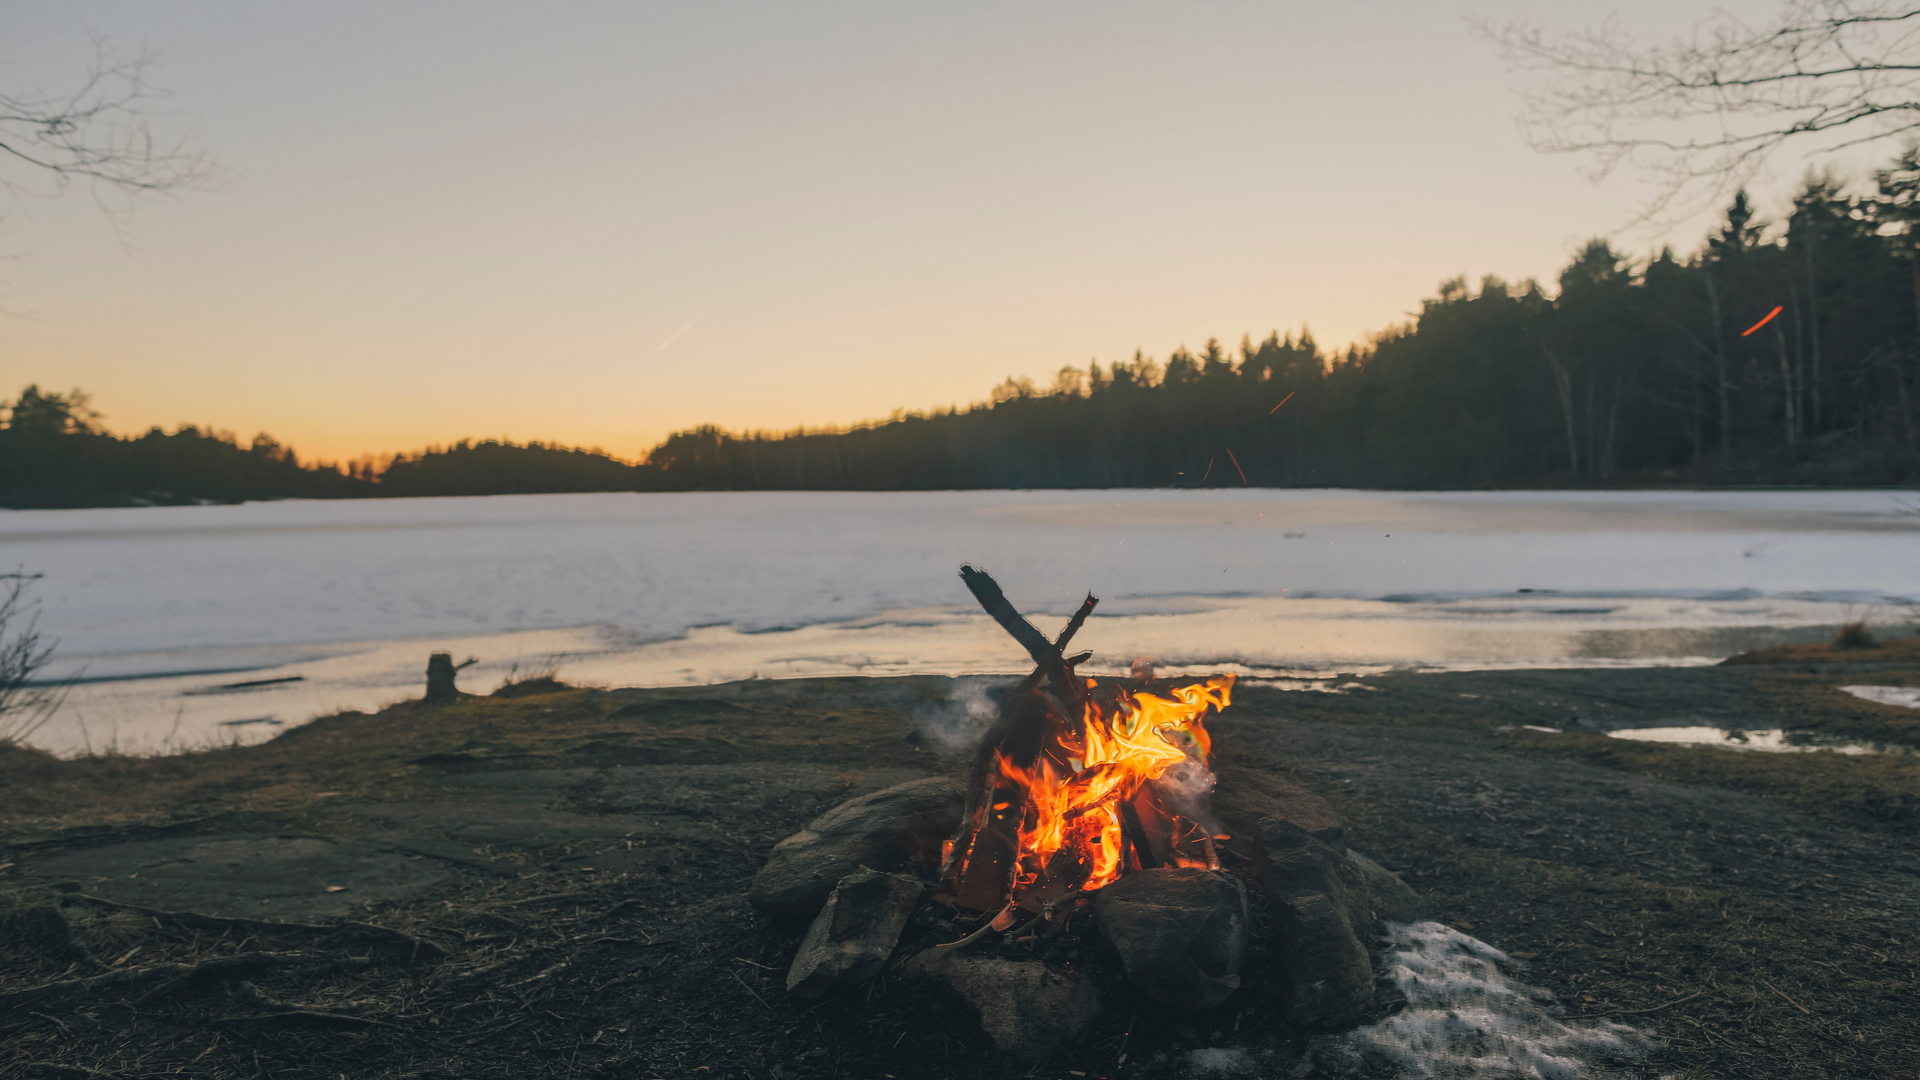
Start by locating a bare patch of ground and clearing away any twigs, foliage, or dry grass.
To make your fire bed, build a small platform of dirt 3 or 4 inches high and as wide as you want your fire to be. Doing so will prevent the heat from your fire sterilizing the surrounding earth and killing its microorganisms.
Next, build a ring of rocks around the platform to contain the fire. When choosing your rocks, be sure they aren’t covered in moss or lichen, both of which are unlikely to survive an evening in close proximity to your bonfire-to-be.
4. Gather your wood
To build your campfire, you’ll need three types of wood: tinder, kindling, and fuel wood.
- Tinder: This is anything that catches fire quickly and could take the form of the homemade firelighters mentioned above or, alternatively, a few handfuls of dry leaves, dry bark, dry grass, dry twigs, or wood shavings.
- Kindling: Throwing large logs on top of the tiny flame produced by your tinder will quickly snuff it out. To make that flame into one capable of burning larger logs, you need an intermediary of medium-sized twigs and branches, i.e. kindling. These should be no thicker than the width of two fingers and, like tinder, should be as dry as possible.
- Fuel wood: This is what you’ll be relying on to keep your fire burning throughout the evening once it’s up and running. While foot-wide logs might seem like the obvious choice, it’s best to use branches that are as wide as your forearm for starters, then gradually throw on larger logs once you’ve got a more substantial foundation of burning embers. Different trees produce firewood of differing qualities. The best trees for firewood are generally dense, hardwood species like oak, birch and beech.
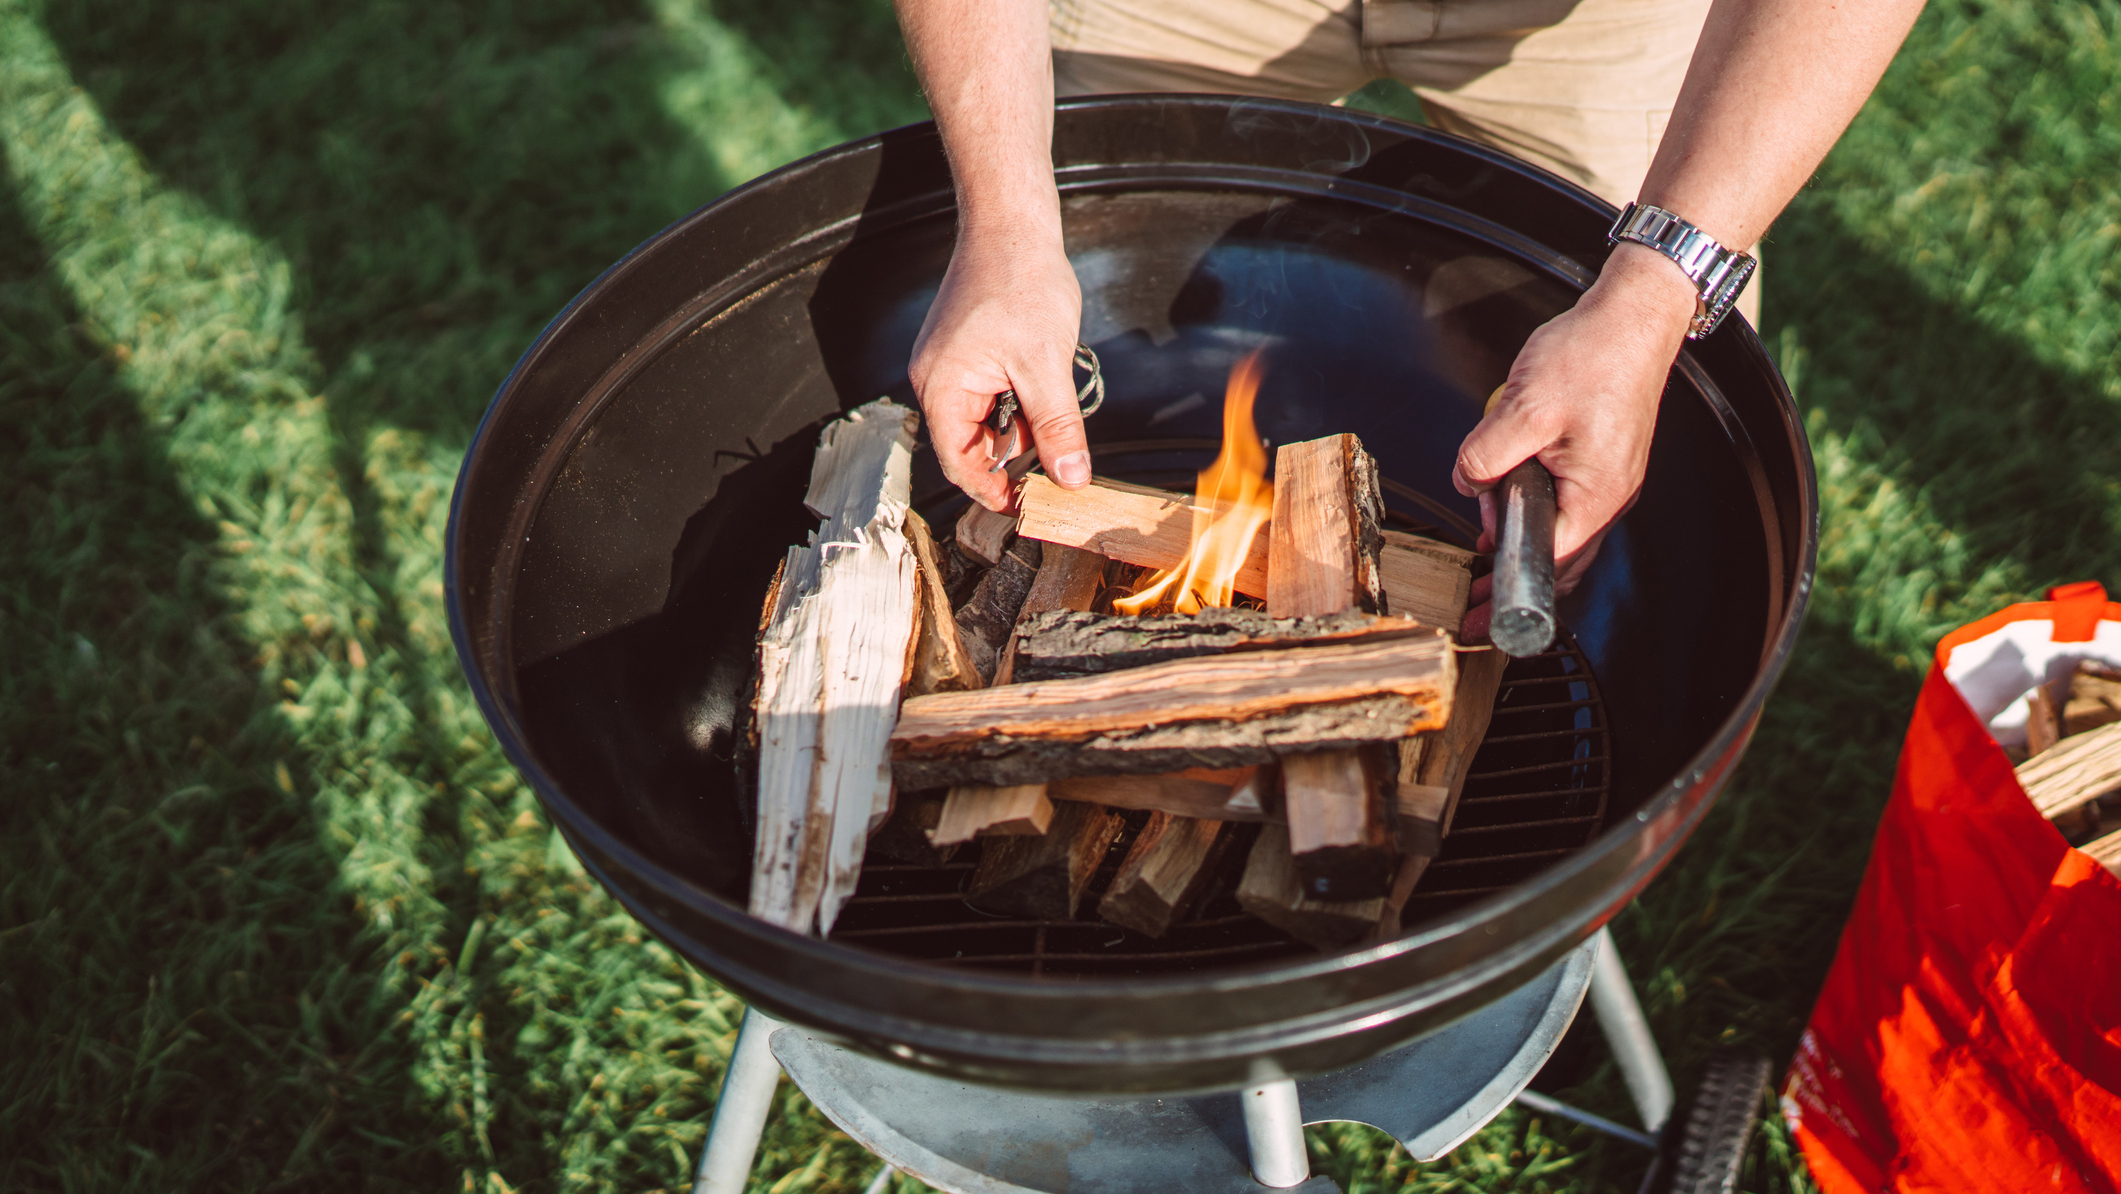
A few tips on wood gathering:
- Before rushing off to source fuel for your fire, be sure to check campground or park regulations regarding wood collection.
- Never be tempted to saw, chop, or snap off branches from live trees (no matter how enamored you are with your camping axe).
- Only gather wood that snaps and breaks easily. This shows that the wood is dry and will burn well once added to your fire. Wood that bends when you try to break it is known as “wet” or “green” wood. This type of wood will struggle to burn and, in most case, produce more smoke than heat.
- Trim your wood to a suitable size for your fire ring using a camping saw or multitool.
- Source wood for your original pile of fire fodder from beyond the immediate vicinity of your campsite – this way, you won’t have to go stumbling further afield when it’s dark and you’re tired. Alternatively, gather a bit more than you think you’ll need on your first sweep – getting rid of the excess later is easily done, collecting more when you’ve settled in for the night is sure to be a mighty pain in the posterior.
5. Build your fire
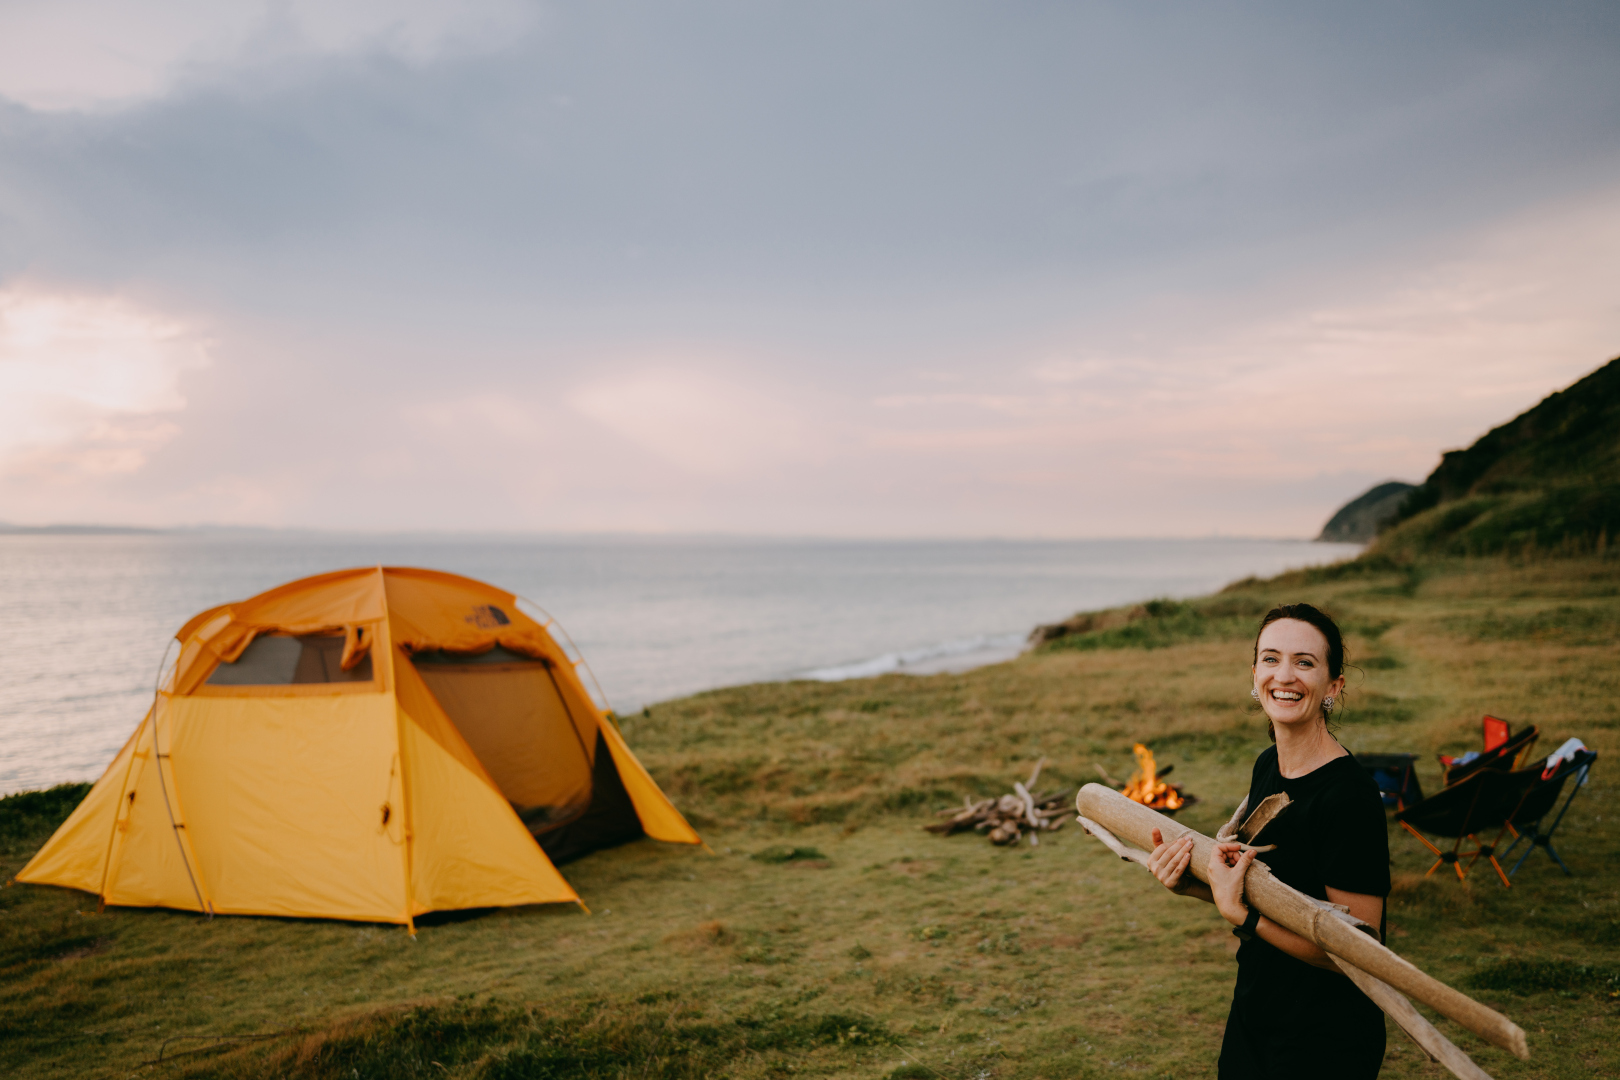
There are multiple ways to build a campfire. In our experience, the most effective are the teepee method, the lean-to method, and the log-cabin method.
5a: the teepee method
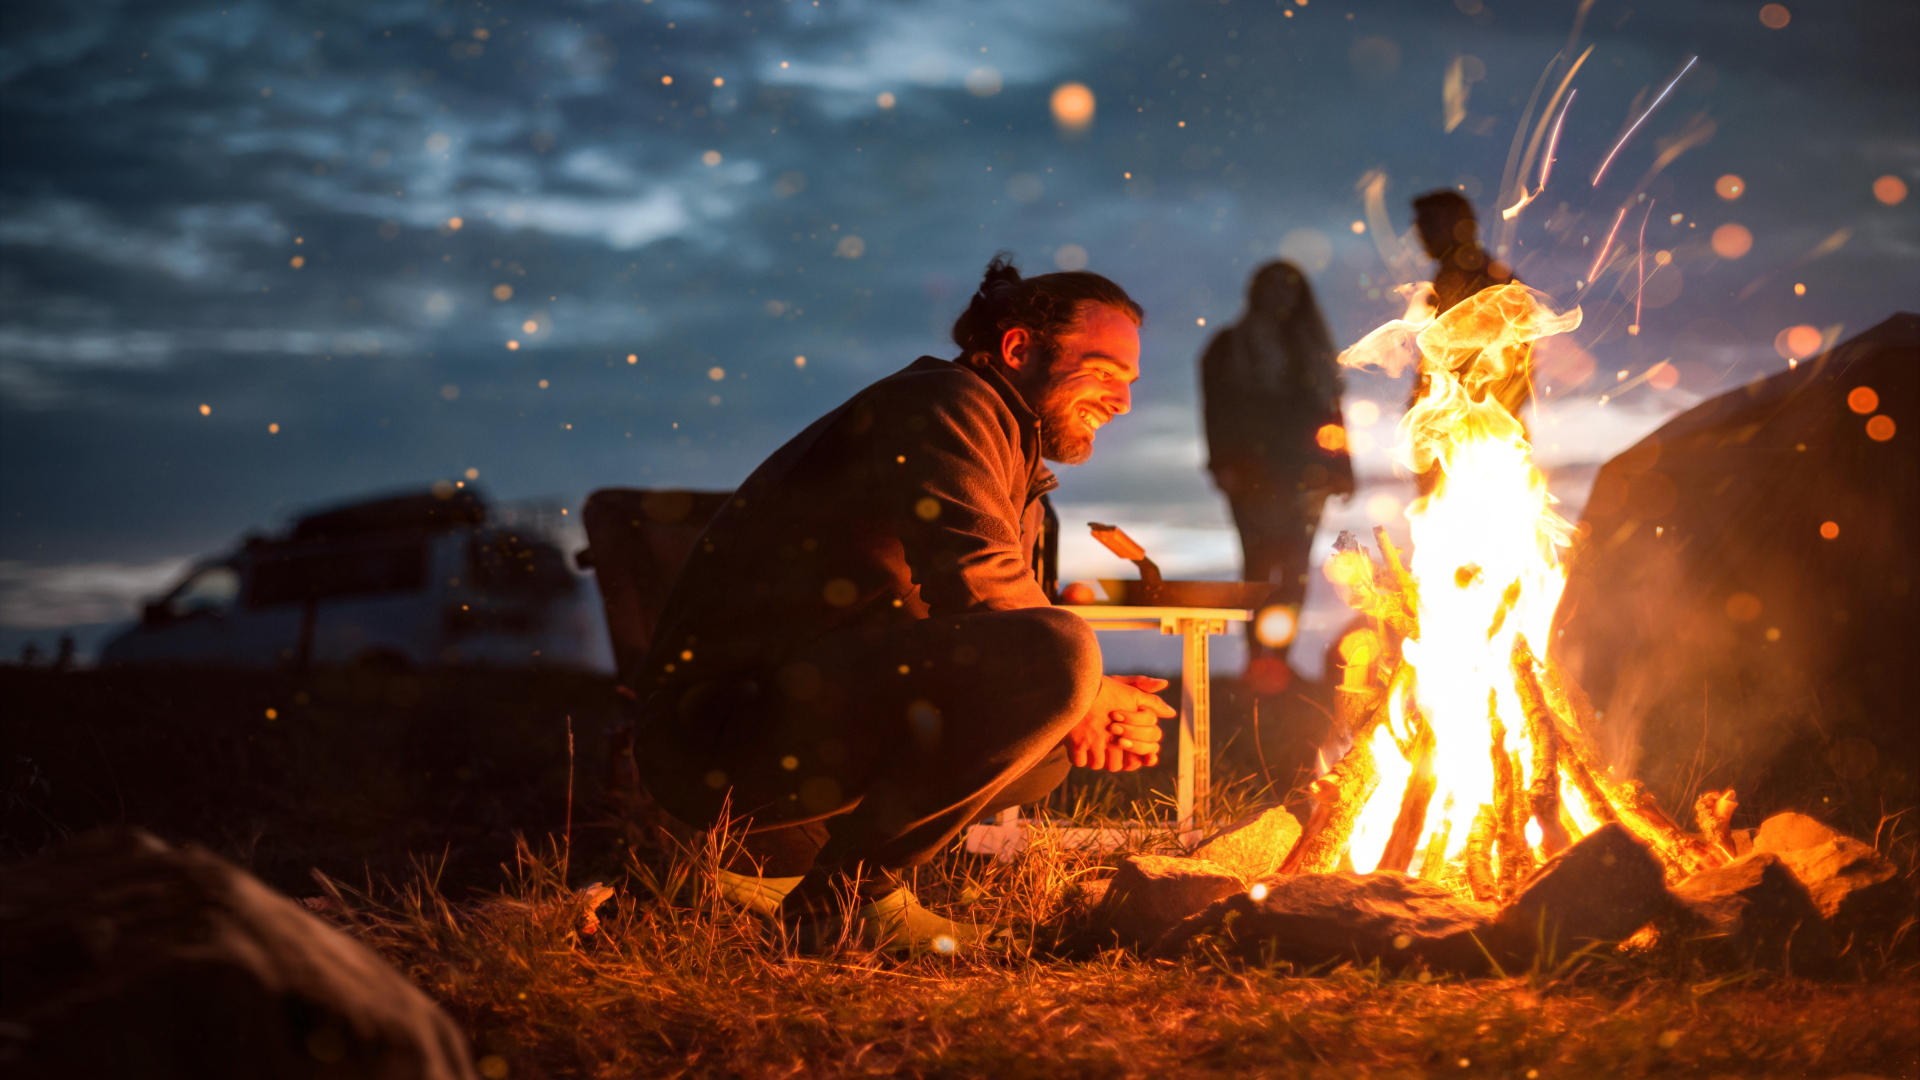
This classic method is easy to learn and gets a good blaze going lickety-split. On the downside, it can be tricky to keep a teepee burning once you start adding larger logs or branches as these usually cause the structure to collapse and deprive the embers of the air they need to burn at their best.
Here’s how it’s done:
- Create a “nest” of tinder at the centre of your fire area.
- Poke a longer piece of kindling through the middle of your bundle of tinder and into the ground to create a mast-like support.
- Lay lengths of kindling against the support to create a conoid structure – ie a teepee – over the tinder, continuing all the way around but leaving a small opening where you can light the fire.
- Light the tinder, wait until the structure collapses, then add progressively larger logs or branches until a blaze is born!
5b: The lean-to method
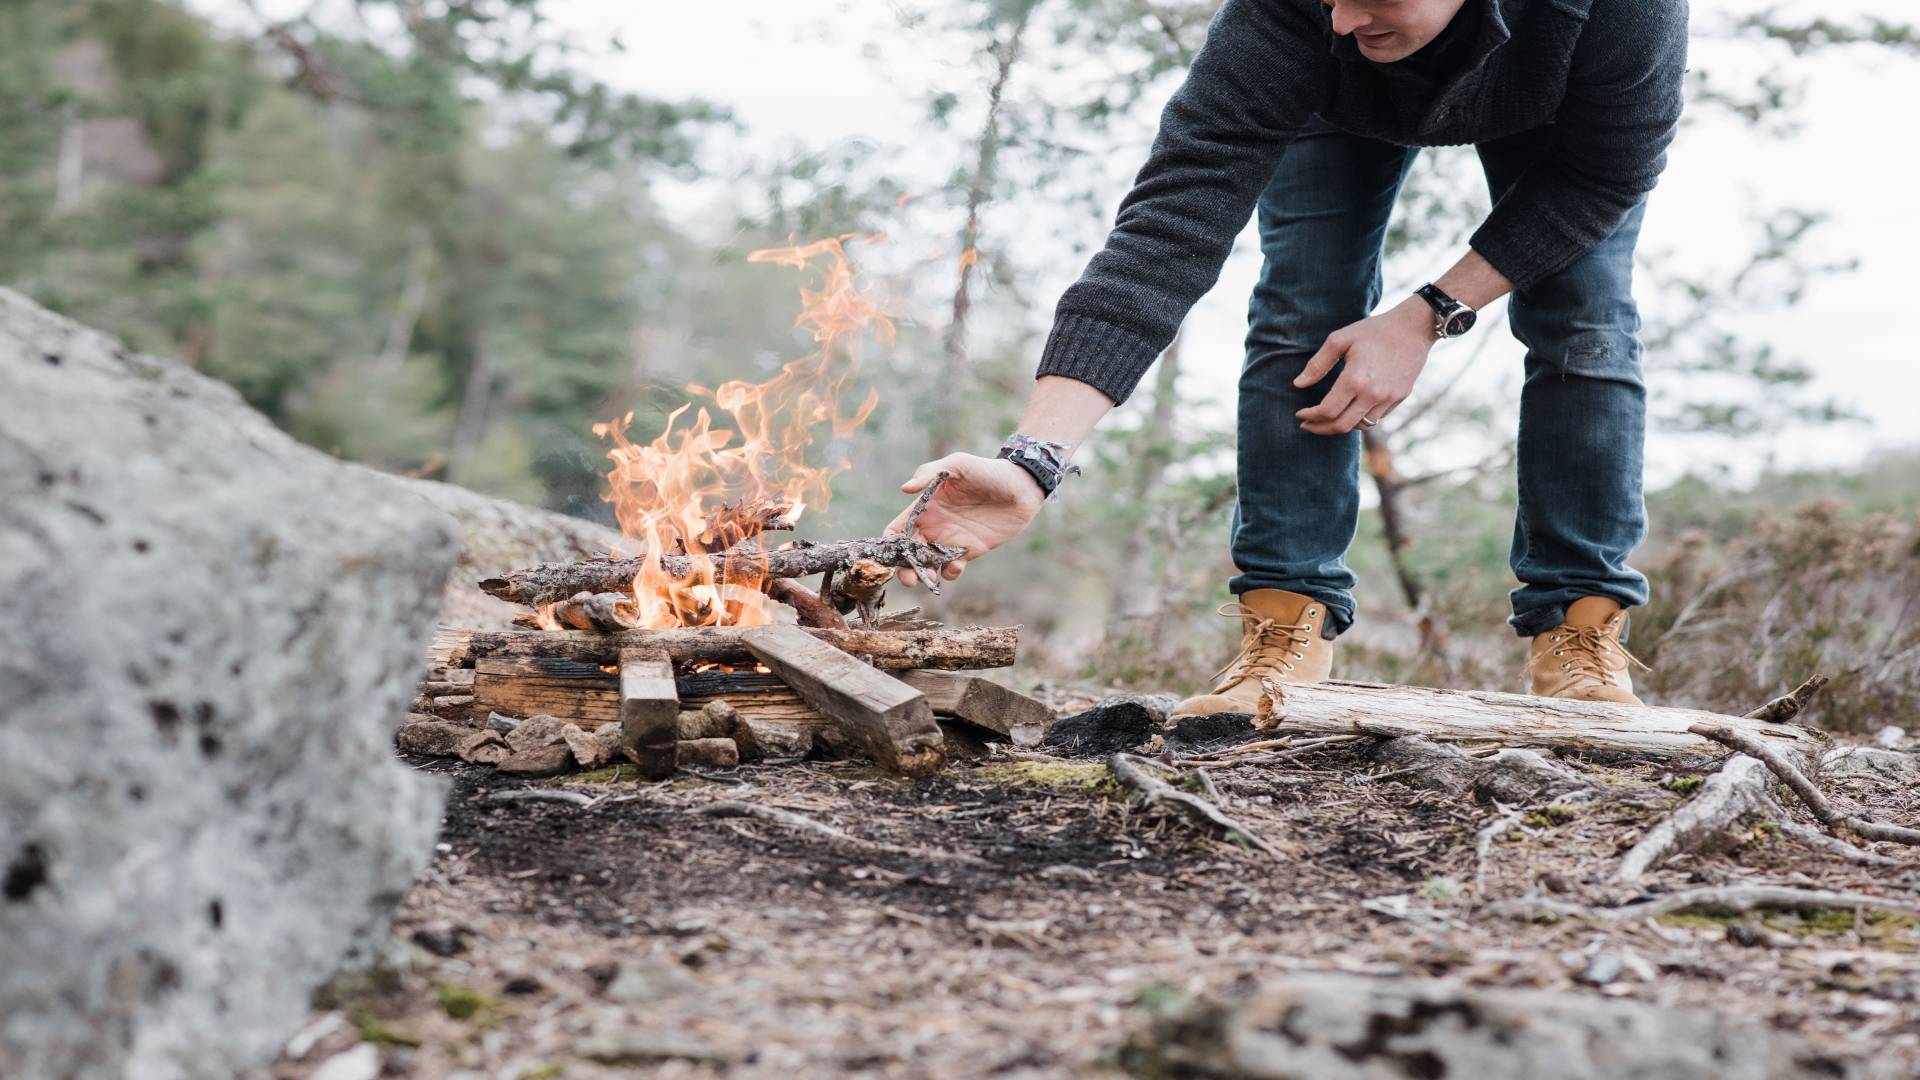
This method won’t give you a roaring fire quite as quickly as the teepee method but is a winner in windy conditions.
Here’s how it’s done:
- Place a large log in your fire ring – this should ideally measure 6-8 inches tall.
- Spread your tinder out on the downwind (sheltered) side of the log.
- Cover the nest of tinder with small scraps of kindling.
- Lean larger pieces of kindling against the log to create a roof for the tinder and smaller pieces of kindling.
- Light your tinder and add progressively larger logs or branches.
5c: The log-cabin method
Gladly, this method doesn’t entail locating the nearest timber-build residence and setting it ablaze but instead creating your own mini, cabin-shaped pyre to burn to the ground inside your fire ring. This method requires a little patience and is hungry on the fuel but provides a toasty burn by optimizing airflow.
To use this method:
- Create a nest of tinder at the centre of your fire ring.
- Lay a piece of large kindling on either side of it, roughly a foot apart.
- Lay two more pieces of kindling across the ends of the first two to create a rough square.
- Continue building upwards until you have a small, cabin-like structure measuring 6-8 inches tall.
- Light the tinder and continue to add kindling until the blaze is big enough to add fuel wood.
6. Put out your fire
Knowing how to put out a campfire is every bit as important as knowing how to build a campfire. Do it wrong, and there’s every chance you’ll be enjoying a rude awakening in the middle of the night or have become an inadvertent arsonist by the time you’ve decamped and returned to your car.
Here’s how it’s done:
- Use your camping bucket or similar to collect water. It's worth having this ready from before you start your campfire, as it can also be used to treat any accidents.
- Sprinkle water over the fire area to put out the embers and coals. As a fire can burn even when no smoke is visible, it’s a good policy to do this even long after the fire appears to have burned out.
- Stir the fire bed with a stick while sprinkling the water to ensure no hot or buried embers remain flammable.
- Do a heat test by hovering your hand over the ashes. If they’re still hot, sprinkle again.
- Clean up to reduce visual impact by scooping up and dispersing ashes around your campsite, returning the rocks from your fire ring to their original location, and replacing the earth used to build your fire bed.
Former Advnture editor Kieran is a climber, mountaineer, and author who divides his time between the Italian Alps, the US, and his native Scotland.
He has climbed a handful of 6000ers in the Himalayas, 4000ers in the Alps, 14ers in the US, and loves nothing more than a good long-distance wander in the wilderness. He climbs when he should be writing, writes when he should be sleeping, has fun always.
Kieran is the author of 'Climbing the Walls', an exploration of the mental health benefits of climbing, mountaineering, and the great outdoors.
