How to adjust for magnetic declination (and a tale of three “norths”)
Knowing how to adjust for magnetic declination is essential for accurate backcountry navigation

All the latest inspiration, tips and guides to help you plan your next Advnture!
You are now subscribed
Your newsletter sign-up was successful
Ever taken your bearings with a compass, traveled on them, then found yourself a long way from where you’d hoped to be? If so, the chances are that you failed you failed to adjust correctly for magnetic declination (aka “magnetic variation”).
While there are myriad other ways to get things wrong when navigating with a map and compass, omitting this small but vitally important step is by far the most common.
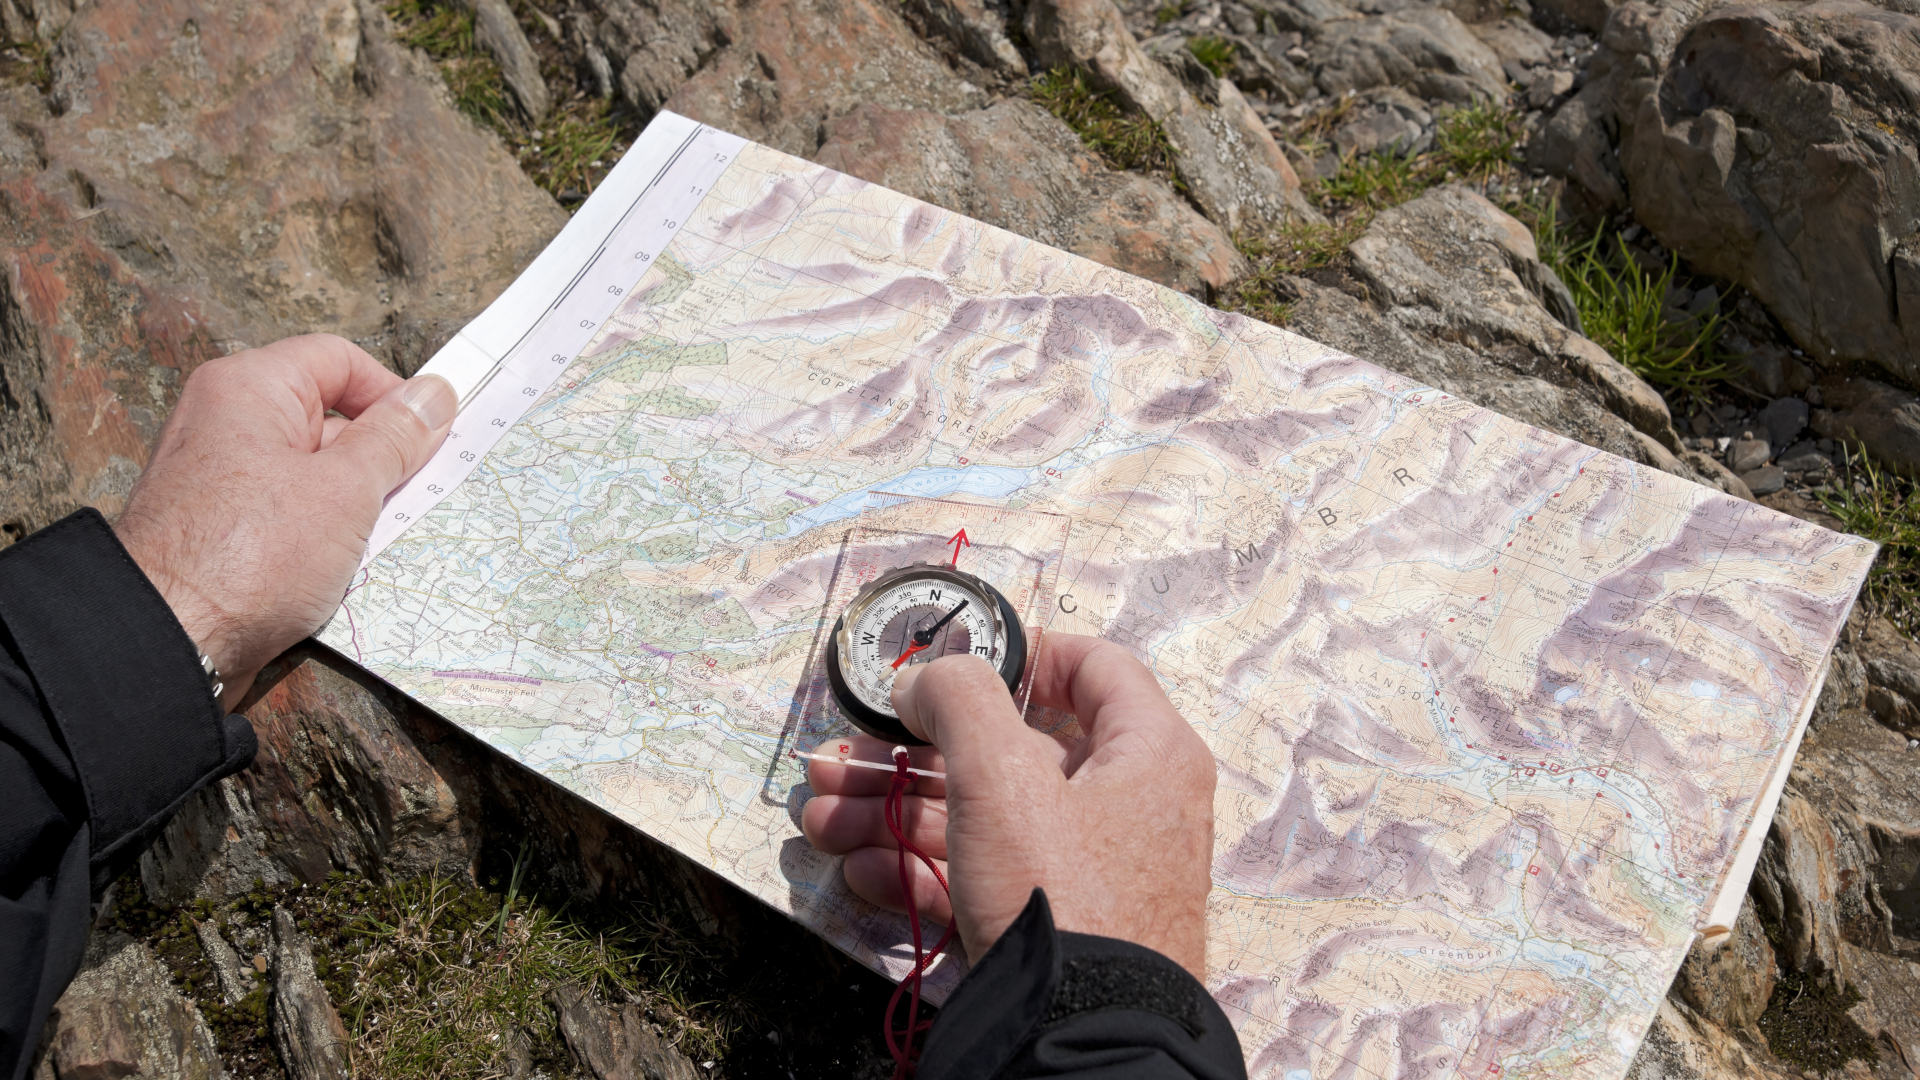
Luckily, learning how to adjust for magnetic declination is easy, especially if you already know how to use a compass and how to read a map (if you haven’t yet been converted to map and compass use, our feature Why learn navigation? will hopefully do the trick!). In this article, we will show you how to adjust for magnetic variation with both regular and adjustable compasses, right after a quick word on why doing so is necessary in the first place.
How to adjust for magnetic declination: a tale of three norths
Believe it or not, there are a grand total of three norths, not just the one. These are True North, Magnetic North, and Grid North. Each one is a little bit different to its near-namesake and the difference between two of them – True and Magnetic – is so significant that safe backcountry navigation requires a little fine-tuning with our compasses whenever we head out on a hike. But before we get into that, let’s first take a look at a brief bio of each one:
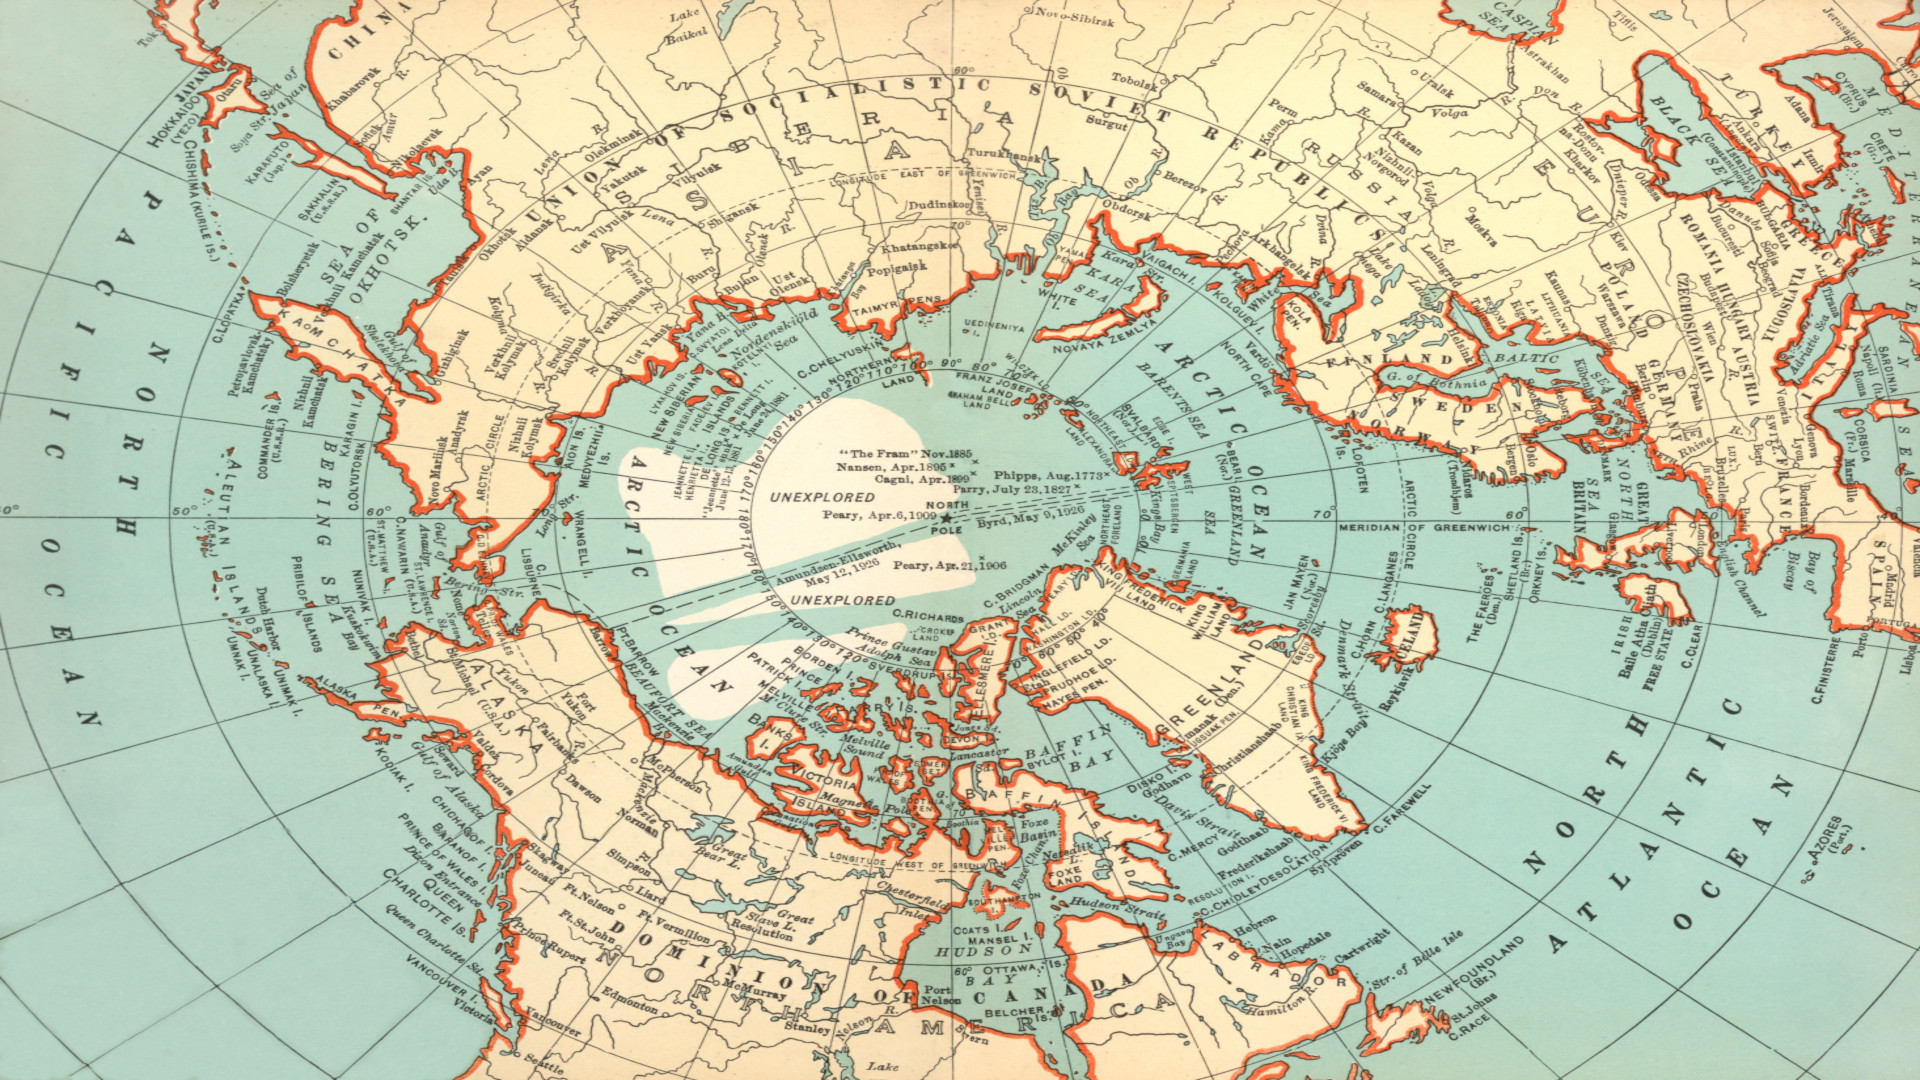
True North (aka geodetic north) refers to the direction, along the Earth’s surface, of the geographic North Pole – the point whether the Earth’s latitudinal lines all meet at the planet’s northernmost point.
Magnetic North, in a few words, is the one that your compass needle points towards when held out in front of you. However, this is located quite a way from True North, and is not a fixed point, because Earth’s magnetic field is in constant flux and moving in tandem with changes in the liquid iron at the planet’s core.
At present, Magnetic North is located somewhere in Northern Canada but is gradually shifting westward towards Siberia.
All the latest inspiration, tips and guides to help you plan your next Advnture!
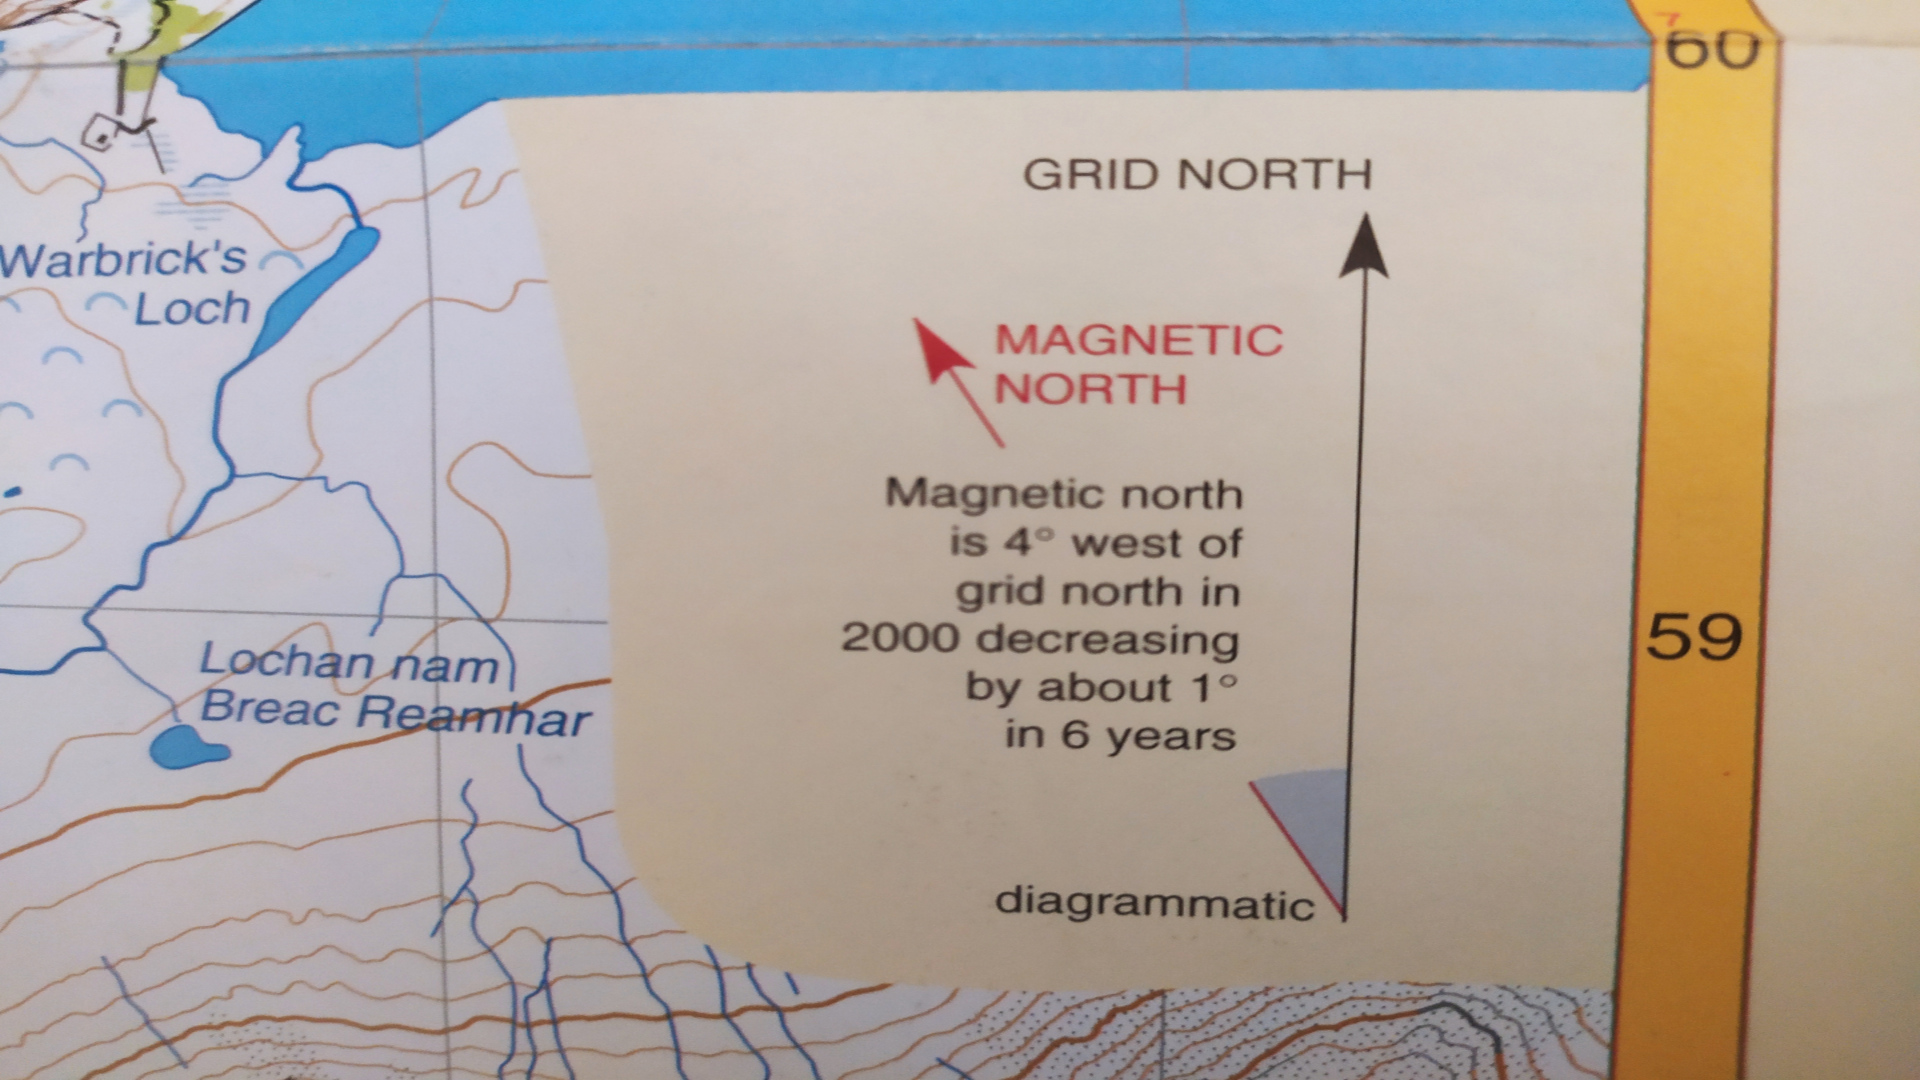
Grid North While both Magnetic and True North refer to a specific location, Grid North refers to the northward direction represented by the gridlines on a map.
But aren’t these pointed towards True North? You may ask.
Sadly, no. Because topo maps are flat and the Earth is spherical, cartographers have to make slight variations to compensate for the curvature of the Earth’s surface. As a result, the grid lines on your map actually point ever so slightly wide of True North.
While the variation between Grid North and True North is so trivial that land-based travelers can ignore it without veering off course, the difference between Magnetic North and True North is a different story entirely.

How to adjust for magnetic declination: what is magnetic declination?
Magnetic declination, in a few words, refers to the disparity that exists between True North and Magnetic North – or, if you prefer, the angular deviation between the real, geographical north and the north pointed towards by the magnetic needle in our compass.
This disparity varies depending on where you are in the world – simply put, because different locations lie at different angles in relation to Magnetic North. To give you an example, the current declination in Grand Canyon National Park is 10° East, while on Scotland’s Ben Nevis it is 2° West.
Because our maps reflect how the terrain relates to True North, it’s necessary to adjust our compass for declination in order to take accurate readings. Navigating in the Grand Canyon, this would mean that if you take a bearing on the map, you need to subtract 10 degrees before following it, while on Ben Nevis you need to add 2 degrees.
Why is this important? Well, being 2 degrees off might not make much difference over a few hundred yards, but over a mile or two it could land you well wide of your intended target. And with a declination of 10 degrees, a mere 1.5-mile hike would land you around a quarter of a mile wide of where you’d planned on going.

How to adjust for magnetic declination: how to find the declination for your area
The easiest way to do this is to use the NOAA calculator, which uses the latitude and longitude of the location you enter in the search bar to provide an accurate and up-to-date declination value for that area.
Some topo maps also provide the declination for the area covered in the legend or on the cover. The declination value that is given here, however, will be for the year in which the map was published. Because declination values are constantly changing, this will only be useful if you have the most up-to-date map available.

How to adjust for magnetic declination: step-by-step instructions
The process of adjusting for magnetic declination varies depending on the type of compass you are using – one with adjustable declination or one without.
How to adjust for magnetic declination with a non-adjustable compass
For compasses without adjustable declination, a spot of mental arithmetic every time you take a reading:
- Start by finding the declination value for your area or the area in which you plan to do your hiking.
- Each time you use your compass, any reading you take will be off by the declination value for your area, so you have to make declination adjustments for every bearing you work with.
- Bear in mind that an east declination value will be a positive number, and a west declination value will be a negative number.
- When taking a reading from the terrain and transferring it to your map, you must add the magnetic declination variation to get the correct bearing (west bearings are subtracted because you are adding a negative value).
- When transferring a bearing from your map to the terrain, on the other hand, you must subtract the magnetic variation to calculate the magnetic bearing you will travel on (west bearings are now added because you’re subtracting a negative value).
How to adjust for magnetic declination with a declination-adjustable compass
Compasses with adjustable declination offer “set it and forget it” functionality – once you’ve set your compass, you don’t need to worry about magnetic declination again for the rest of your hike.
Using a compass with adjustable declination, simply find the declination value for your area, use the compass’s adjustment key to shift the indicator to the required number of degrees either side of zero, and you’re good to go.
Former Advnture editor Kieran is a climber, mountaineer, and author who divides his time between the Italian Alps, the US, and his native Scotland.
He has climbed a handful of 6000ers in the Himalayas, 4000ers in the Alps, 14ers in the US, and loves nothing more than a good long-distance wander in the wilderness. He climbs when he should be writing, writes when he should be sleeping, has fun always.
Kieran is the author of 'Climbing the Walls', an exploration of the mental health benefits of climbing, mountaineering, and the great outdoors.

