How to repair a sleeping bag: patching holes and fixing zips
Our guide to how to repair a sleeping bag covers patching holes, tinkering with stuck zippers, plus caring for your bag and knowing when it’s time to replace it

If you bought your best sleeping bag in recent years, it’s likely one of the most expensive items in your camping kit, and prolonging its shelf life should be your top priority. But we know that, even with the best care, sleeping bags can take a real beating on the trail. Not only is the outer fabric relatively fragile and prone to snagging, but the positions that you sleep in can exert a lot of pressure on the zip and seams. As a result, you might find yourself with annoying, stuck zip or worse, wake up in your tent to discover that it looks like a fox got into the henhouse! Our guide to how to repair a sleeping bag covers patching small holes and fixing zippers as well as caring for your sleeping bag properly and knowing when it’s time to invest in a new one.
How to care for your sleeping bag

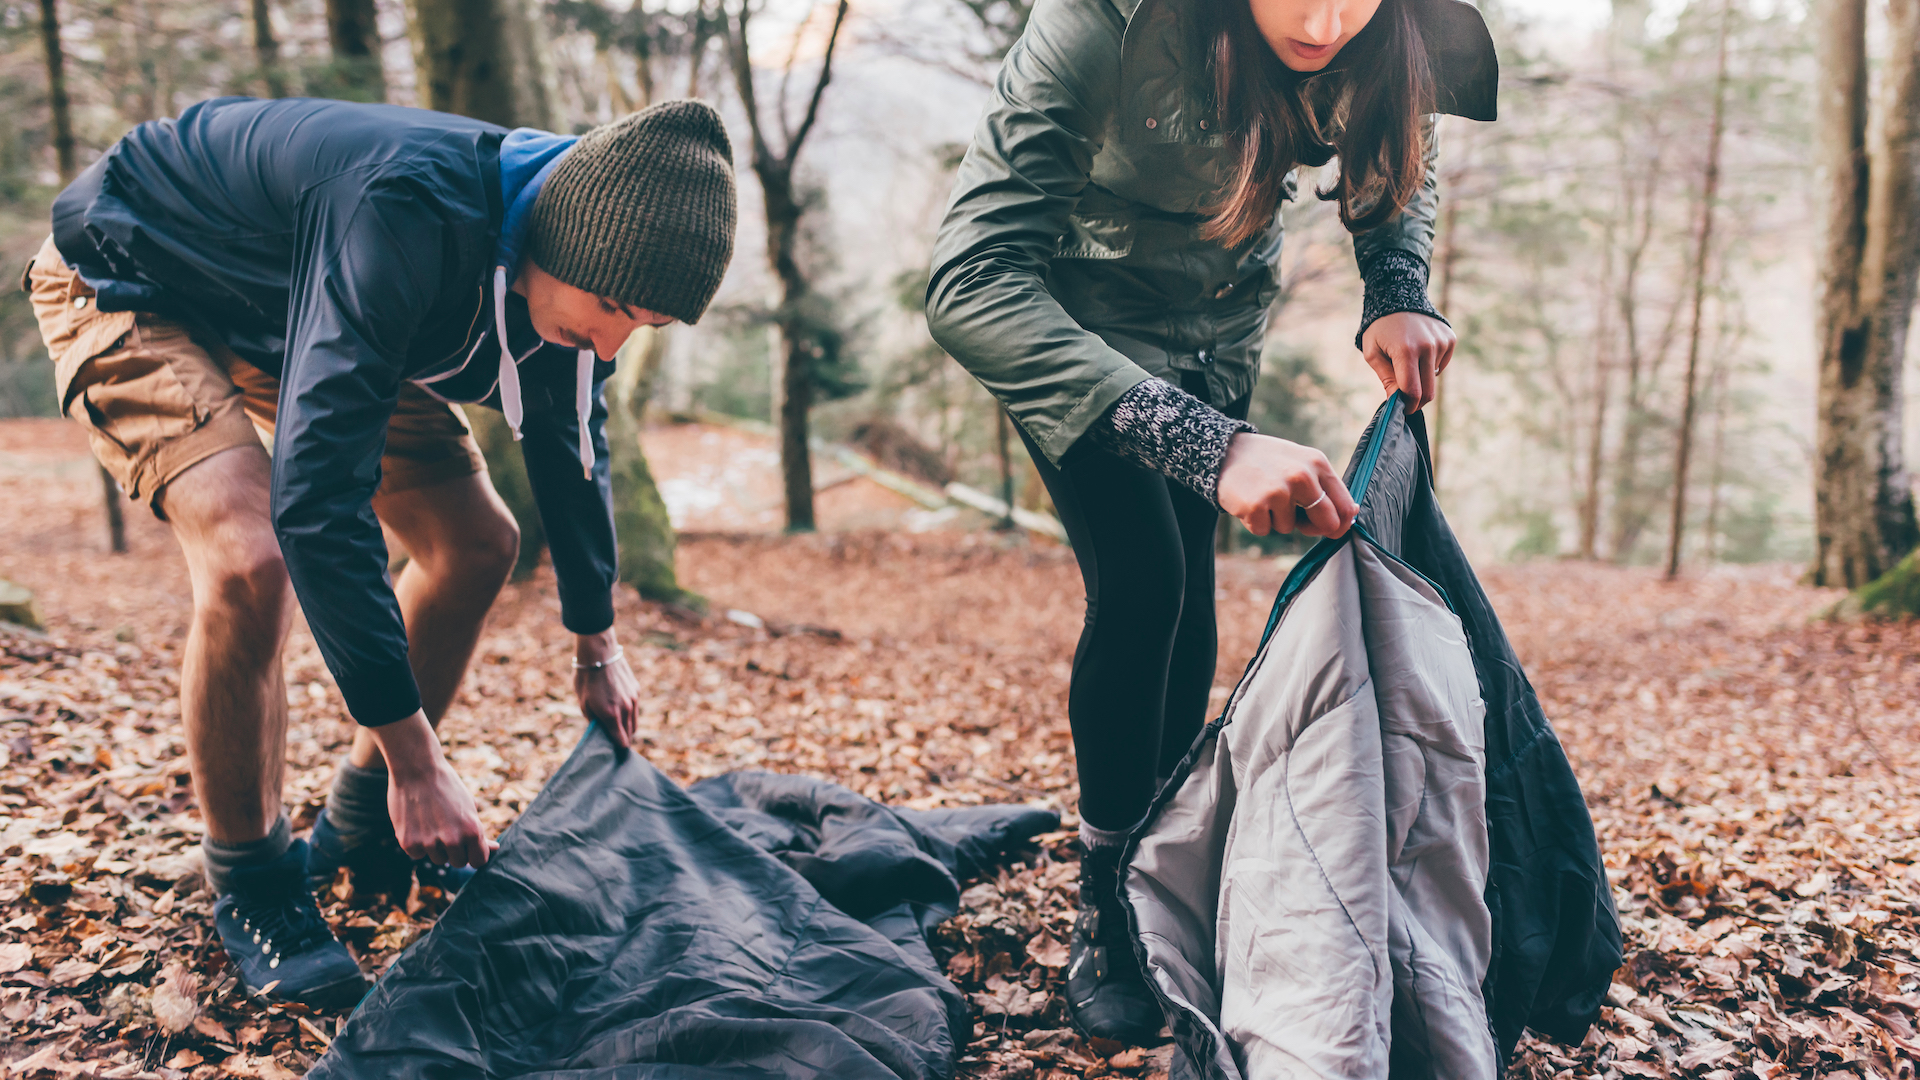
First, you’ll want to employ some best practices to keep your sleeping bag spic and span in the first place. If you’re hiking with it, check out our guide to how to attach a sleeping bag to a backpack to keep it safe from being torn by branches and prickly plants and treat it with respect (don’t walk on it while wearing muddy hiking boots, for example).
At the end of each camping season, give it a careful wash using our guide to how to wash a sleeping bag so it stays fresh and the fabric doesn't break down prematurely. Finally, follow our guide to how to store a sleeping bag so you don’t lose loft over the winter months.
How to repair a sleeping bag: patching small holes

If worst comes to worst and you’ve unpacked your sleeping bag only to discover that it’s leaking those lovely insulating down feathers, you’ll need to perform surgery as soon as possible. For a very big tear, it’s best to have it professionally repaired by the manufacturer or a gear store, but you can patch small holes yourself.
It’s ideal if you discover the hole before you set off but if you find it in the field, you can perform a temporary repair using duct tape or gear tape (preferred) which is why it’s a good idea to always travel with these items in your backpack.
To patch a small hole in your sleeping bag, you’ll need the following items:
- Adhesive gear patch
- Rubbing alcohol
- A clean cloth
- Tweezers
When you’ve gathered these items, lay your sleeping bag out on a broad, flat surface like the floor or the dining table and make sure none of it is hanging over the edge where it might slide off while you’re working. Next, follow these steps:
Advnture Newsletter
All the latest inspiration, tips and guides to help you plan your next Advnture!
1. Clean the area around the tear
For the best results, you should clean the area around the tear in case there are oils or dirt that will impede the adhesiveness of the patch. Fortunately it’s easy – the best way to do this is to use an alcohol swab or if you’re at home, put a little rubbing alcohol on a clean cloth and gently wipe the area around the hole, then let it dry before you proceed.

2. Find and prepare the hole
First, you’ll need to find the hole, obviously, but a quick note on this – if there is no obvious hole and you’re leaking a lot of down, sadly it’s time for a new sleeping bag as the stitching has degraded beyond repair.
If there is a hole, trim any loose threads around it with scissors. If there are any feathers poking out, don’t pull them out; rather, use your finger or a pair of tweezers to coax them back inside.
3. Ready the patch
Turn the patch over and on the back of the patch, draw a circle that is at least 1/2" in diameter bigger than the hole, then cut the patch out with scissors. Before going any further, check that the patch is big enough by laying it over the hole.

4. Apply the patch
Lay the patch over the hole but don’t press down just yet. Instead, use your hands to make sure the sleeping bag fabric is as smooth and flat as possible. Once you’ve done that, press down on the edges of the patch to secure it, then use your fingernail or a plastic ruler to press down on the patch to smooth out any air bubbles and make sure the patch is well adhered.
If you’re at home, set the sleeping bag aside for 24 hours to allow the patch to adhere properly, then you can get it back outdoors. If you’re camping, you obviously won’t have this luxury, but you can apply seam grip to the edges of the patch when you get home to secure it.
How to repair a sleeping bag: fixing the zipper

Believe it or not, a broken zipper doesn’t necessarily mean the end of your sleeping bag’s life. Unless you sleep flat on your back without ever moving your limbs, the chances are you'll put more strain on your sleeping bag zipper than you would just about any other zipper. While you may have to send it in to be replaced or repaired, there are small fixes you can do on your own.
Replacing the pull tab
If your pull tab has come off, making it a pain to zip and unzip, you can use a zip tie or ribbon as a temporary fix until you get home, then order a replacement online and attach it to your slider, using a pair of pliers to tighten it.
Tightening the slider
If the teeth of the zipper aren’t staying together, you may be able to perform a temporary fix – unzip the zipper all the way to the end stop at the foot end of your sleeping bag then examine the slider to see if it looks like it’s wider than the end stop. If so, you can try using pliers to gently squeeze the slider back into position. Don’t overdo this as then the slider won’t move at all.

Replacing the slider
If you’ve tried the above method and it hasn’t worked, it’s time to replace the slider. Sliders come in different sizes, so look at the existing slider to see what size it is and order the same size online, as well as new end stops. Use pliers to remove the end stops at the head end of your sleeping bag, pull the damaged slider off and put the new slider on. Finally, put the new end stops where the old ones were and pinch them tightly with your pliers to secure them in place.
This article is part of Advnture's Sleep Week 2022 (running from Monday 22 August to Sunday 28 August), our in-depth look at how to choose the best gear for sleeping outdoors and get a better night's rest in the backcountry.
Julia Clarke is a staff writer for Advnture.com and the author of the book Restorative Yoga for Beginners. She loves to explore mountains on foot, bike, skis and belay and then recover on the the yoga mat. Julia graduated with a degree in journalism in 2004 and spent eight years working as a radio presenter in Kansas City, Vermont, Boston and New York City before discovering the joys of the Rocky Mountains. She then detoured west to Colorado and enjoyed 11 years teaching yoga in Vail before returning to her hometown of Glasgow, Scotland in 2020 to focus on family and writing.

