6 tips for doing yoga outside
Our tips for doing yoga outside cover what to wear, where to practice and how to approach your practice to help you to maximize your time in nature
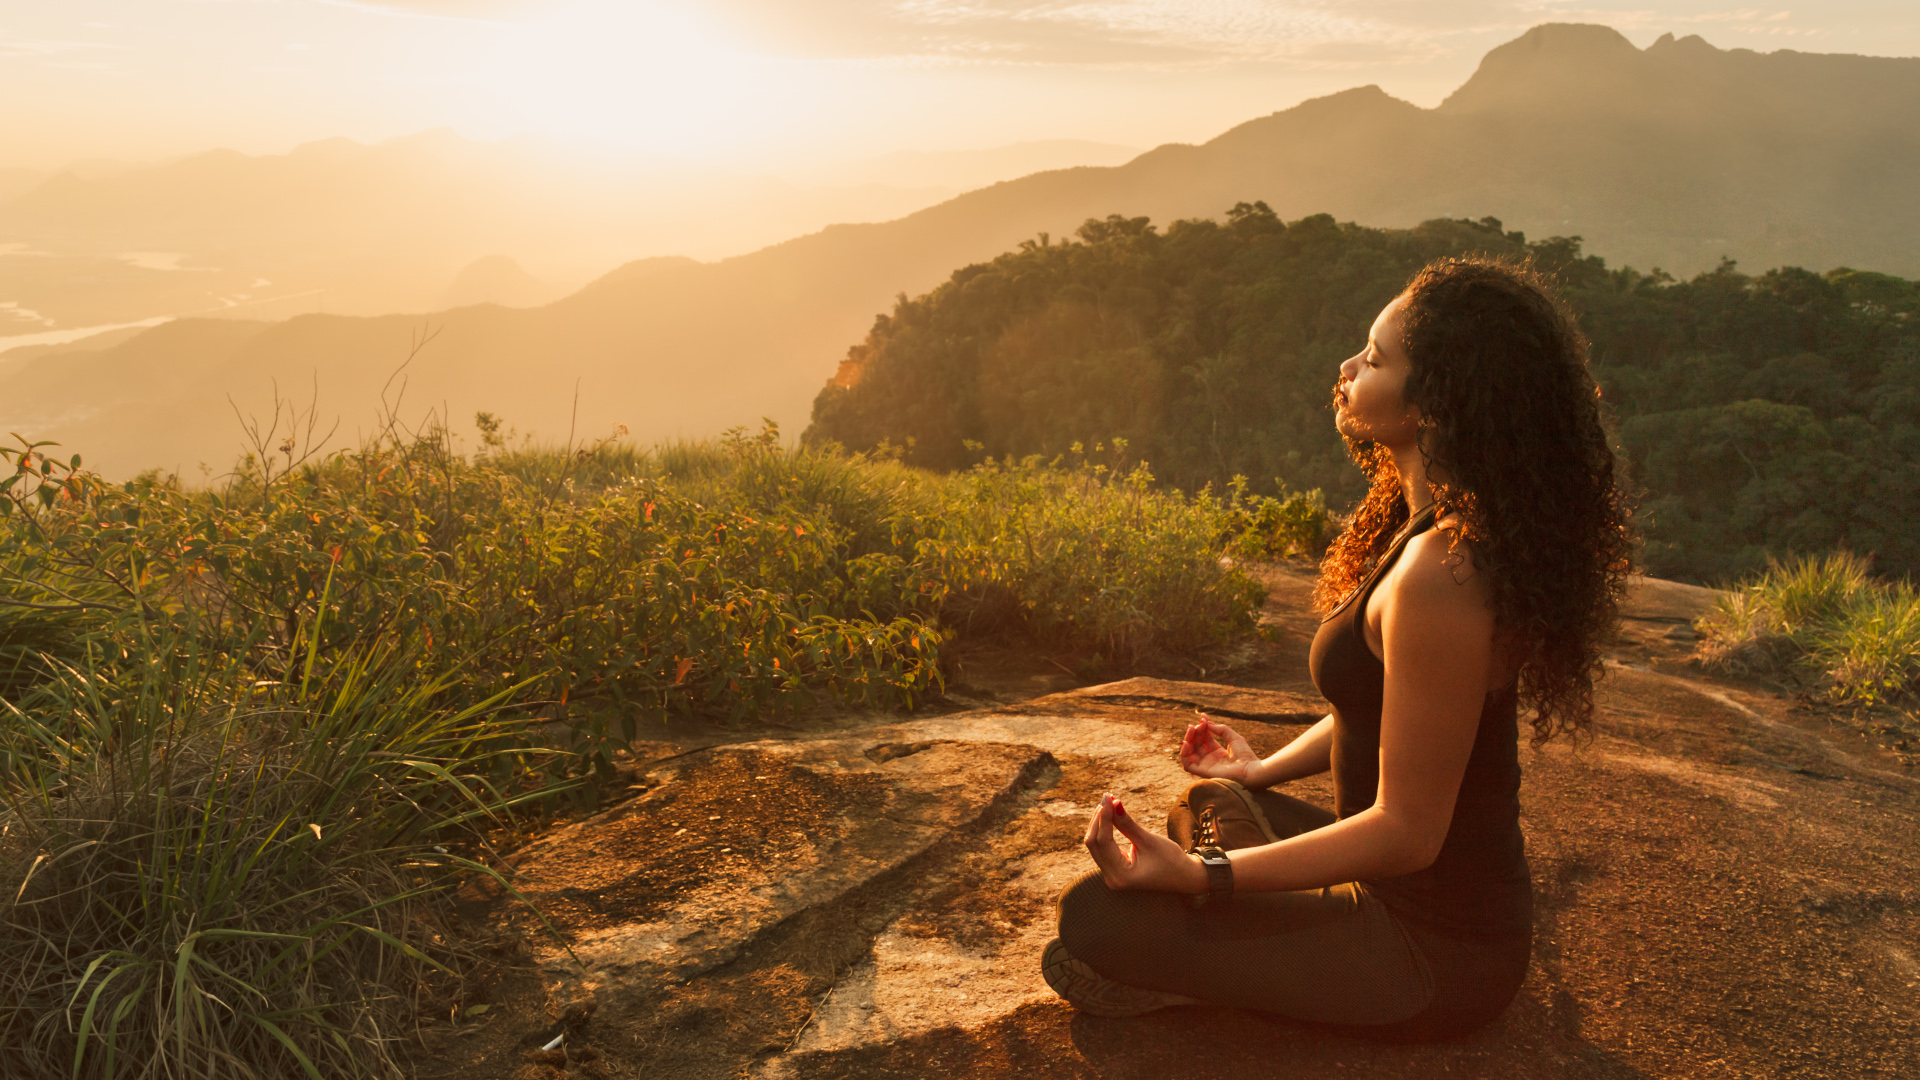
When the weather warms up, it’s normal to want to forego too much indoor time at the gym and hit the hiking trails instead, but that doesn’t mean you have to trade your yoga practice for for your hiking boots – or worse, miss out on gorgeous afternoons because you’re sweating away in a stuffy yoga studio. Why not take your yoga outside with you instead? Whether you’re finding a perfect outdoor spot for your daily practice or just stretching out after a long day of backpacking, our tips for doing yoga outside help you to maximize your time in nature.
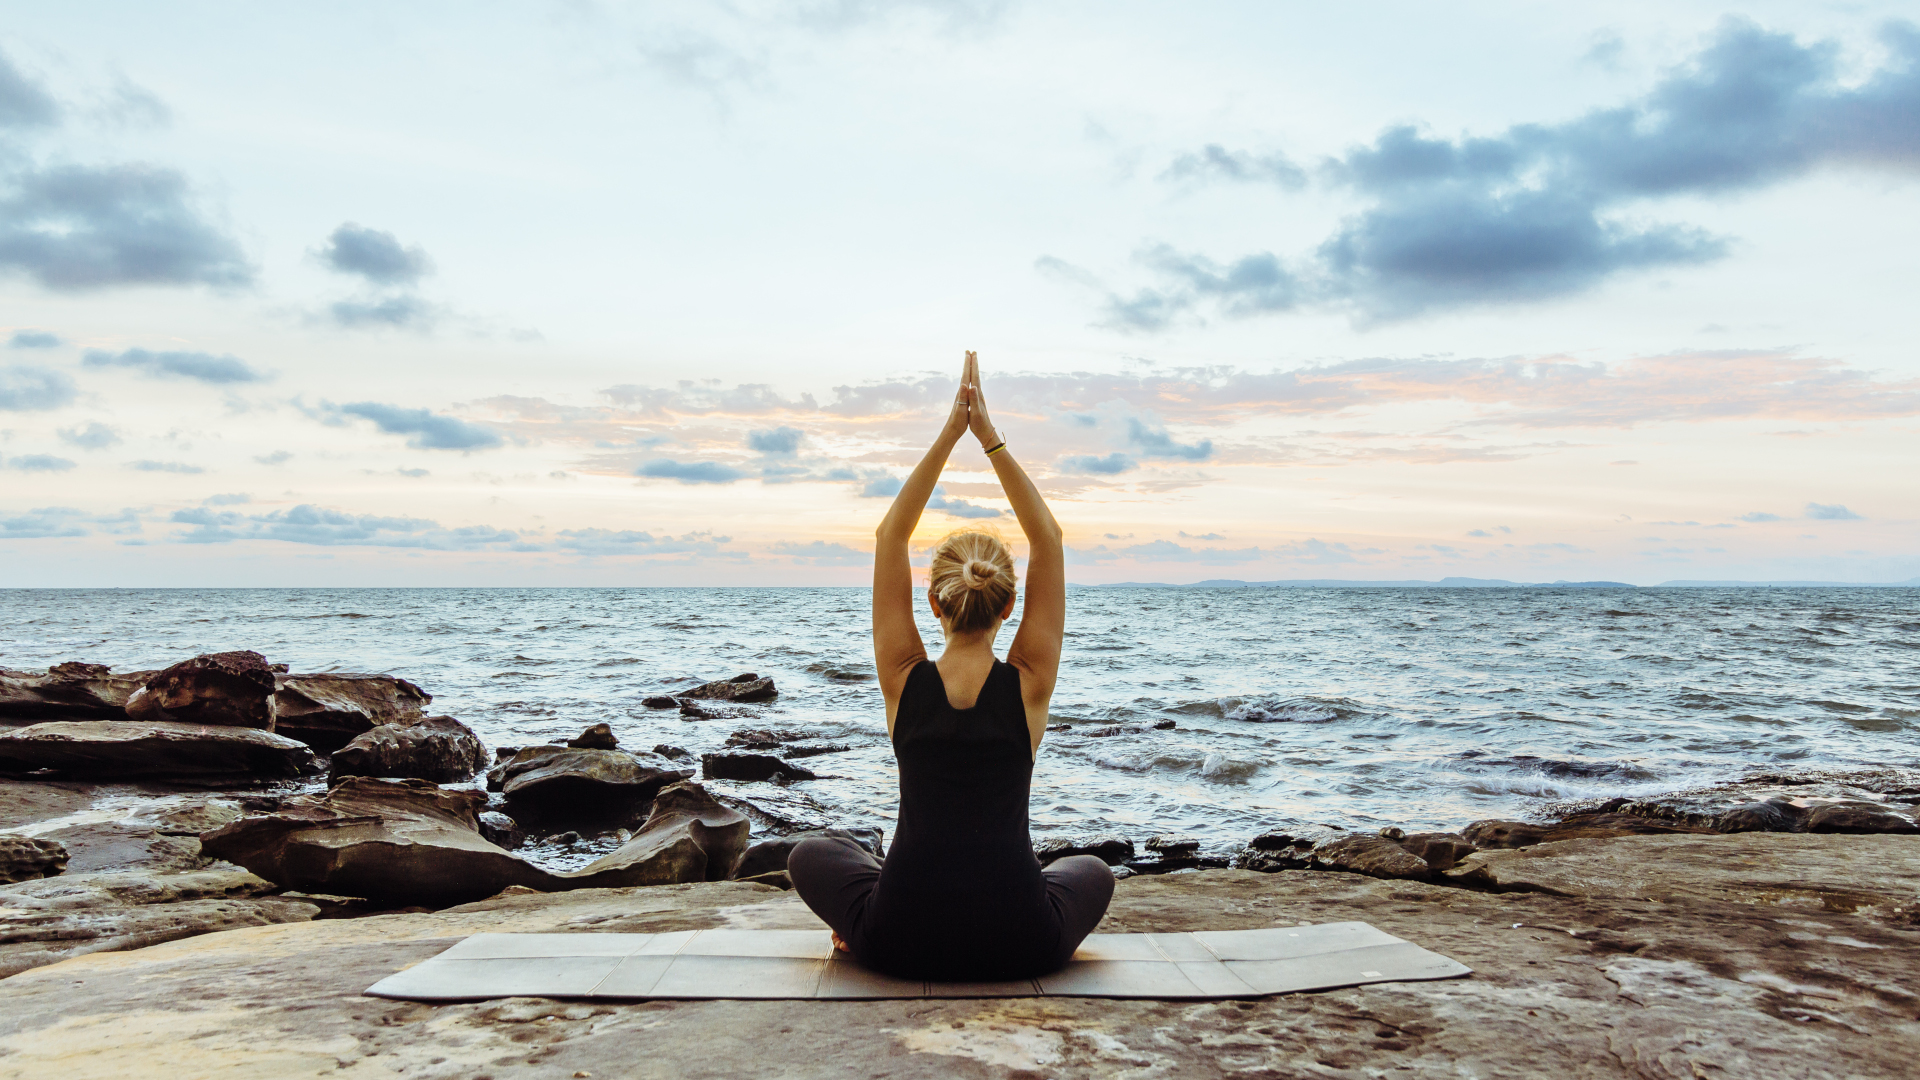
It’s well known that yoga can offer some amazing benefits, such as increased strength and range of motion, deeper breathing and improved concentration, according to the International Journal of Yoga. But because yoga tends to happen indoors, you might find yourself doing less and less of it as the days get longer, even though you arguably need it more to balance all that time on the trail. For that reason, more and more people are taking to parks, forests and beaches to practice yoga in the fresh air and get benefits of green exercise, but an outdoor environment definitely adds some unpredictability to your practice – weather, sand, biting bugs and uneven ground are just a few examples. However, it can also force you to stay really present on your mat and can encourage you to focus on your natural surroundings more so than when you’re chatting, picnicking or taking photographs. In this article, we walk you through where to unroll your mat, what to wear and how to approach your practice for success in doing yoga outside.
1. Embrace your surroundings
In other words, drop your expectations around what your yoga practice looks and feels like. At the yoga studio, you can carefully curate your environment and reasonably expect an even surface, a non-slip mat, controlled temperature and humidity and perhaps even a predictable sequence and playlist. If you’re too invested in that experience, you’re going to be mighty disappointed when you get outdoors and discover lumpy, uneven ground, flies buzzing in your ear and alternating hot/cold temperatures.
When you’re outside, the best approach is to let your surroundings dictate the energy of your practice. If it’s sunrise and the birds are chirping, perhaps move a little more briskly to stir up your energy and align with nature’s awakening, but at dusk, slow things down. If you’re at the beach, let the rhythmic waves inspire your movement patterns or if you’re practicing under a huge chunk of granite somewhere like Yosemite National Park, focus on long holds and enjoy that strong, steady presence. Consider combining your practice with some nature journaling or forest bathing before or afterwards.
2. Dress to get dirty
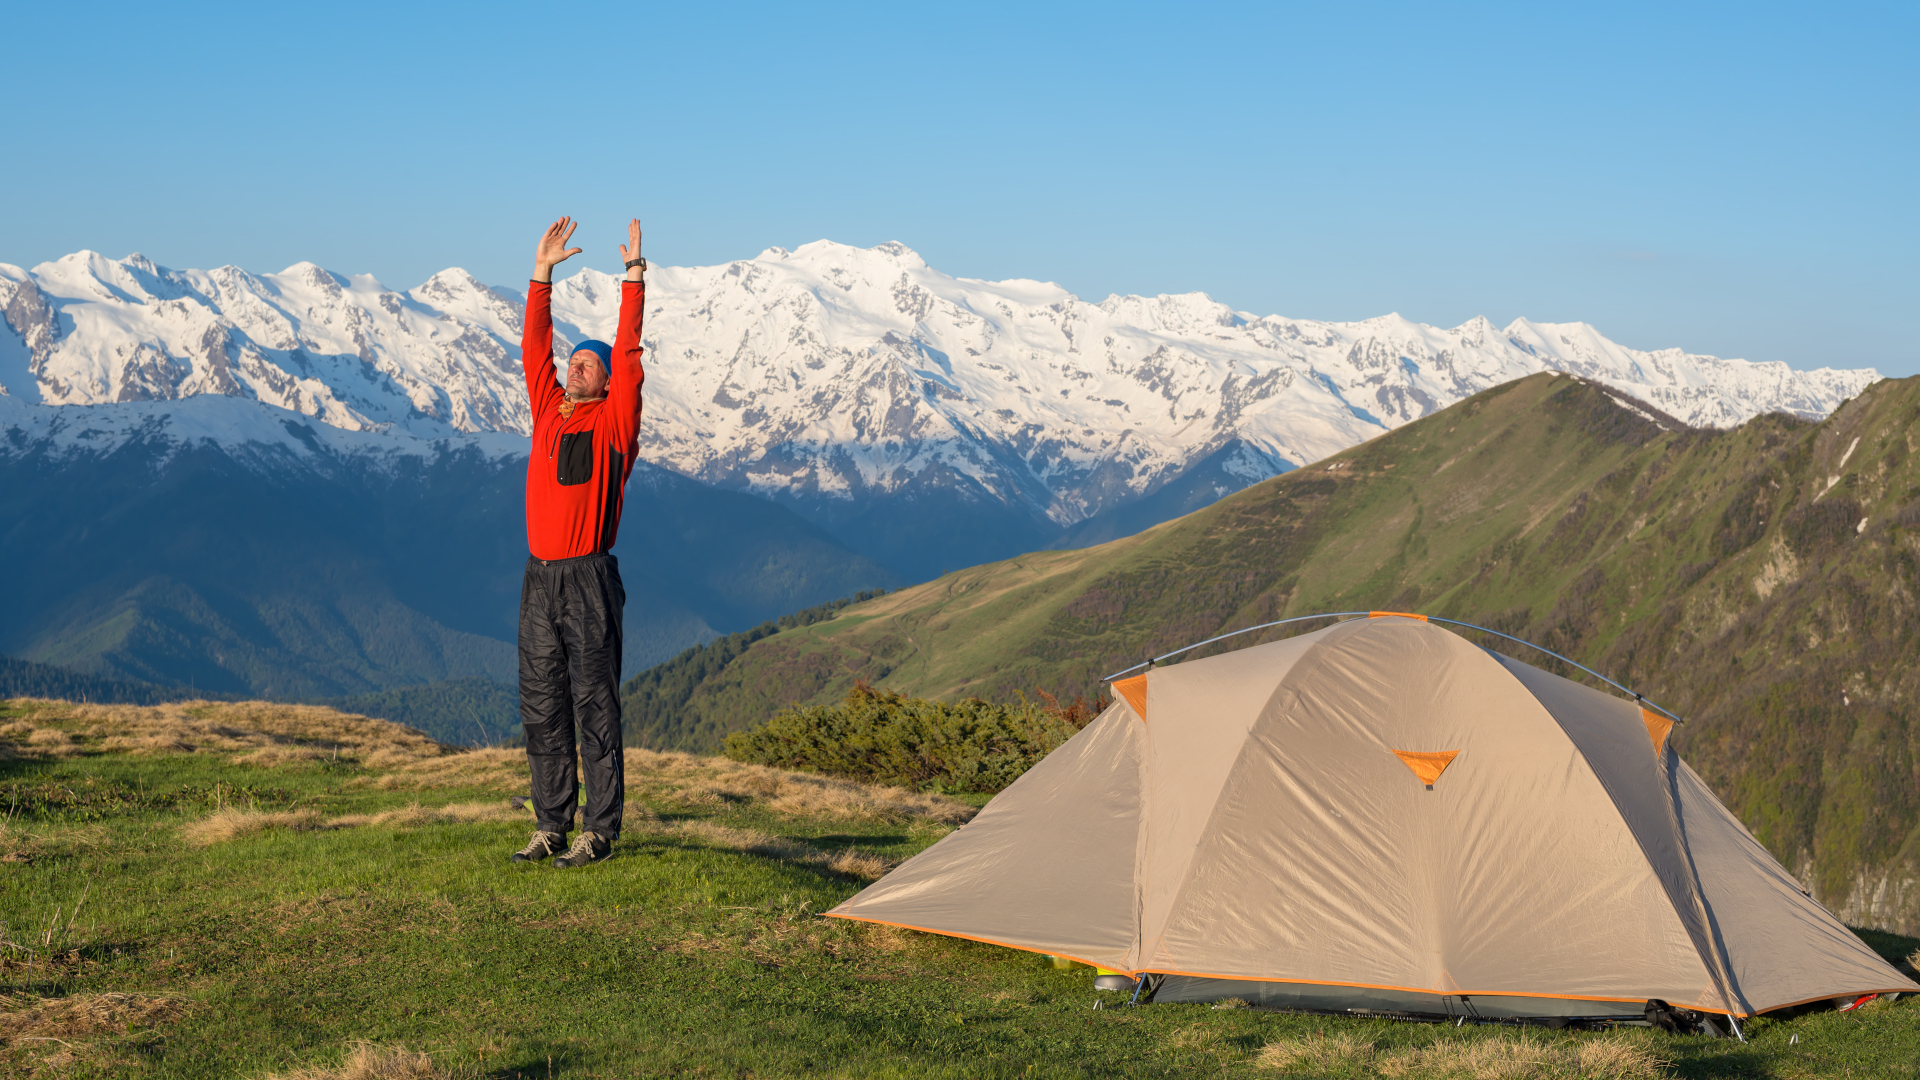
You might have a closet full of all the finest yoga clothes at home, but you’ll want to leave those behind for outdoor yoga. The chances are, whatever you wear will come back covered in dirt and sunscreen, so old clothes you don’t care about are best. Of course, if you’re combining yoga with a hike, you don’t need to carry a whole extra set of clothes with you – just wear your best hiking pants and a top with some stretch in them. If you’re camping, you can change into your base layer and long underwear for yoga, then you’ll already be in your pajamas when it’s time to crawl into your best sleeping bag.
You’ll probably start with a couple of layers on, such as wool socks and a fleece jacket, remove your outer layers once you get moving, then pull them back on towards the end when you cool down again. Keep a scarf or hat nearby to cover your face during relaxation if it’s sunny.
3. Seek out the perfect spot
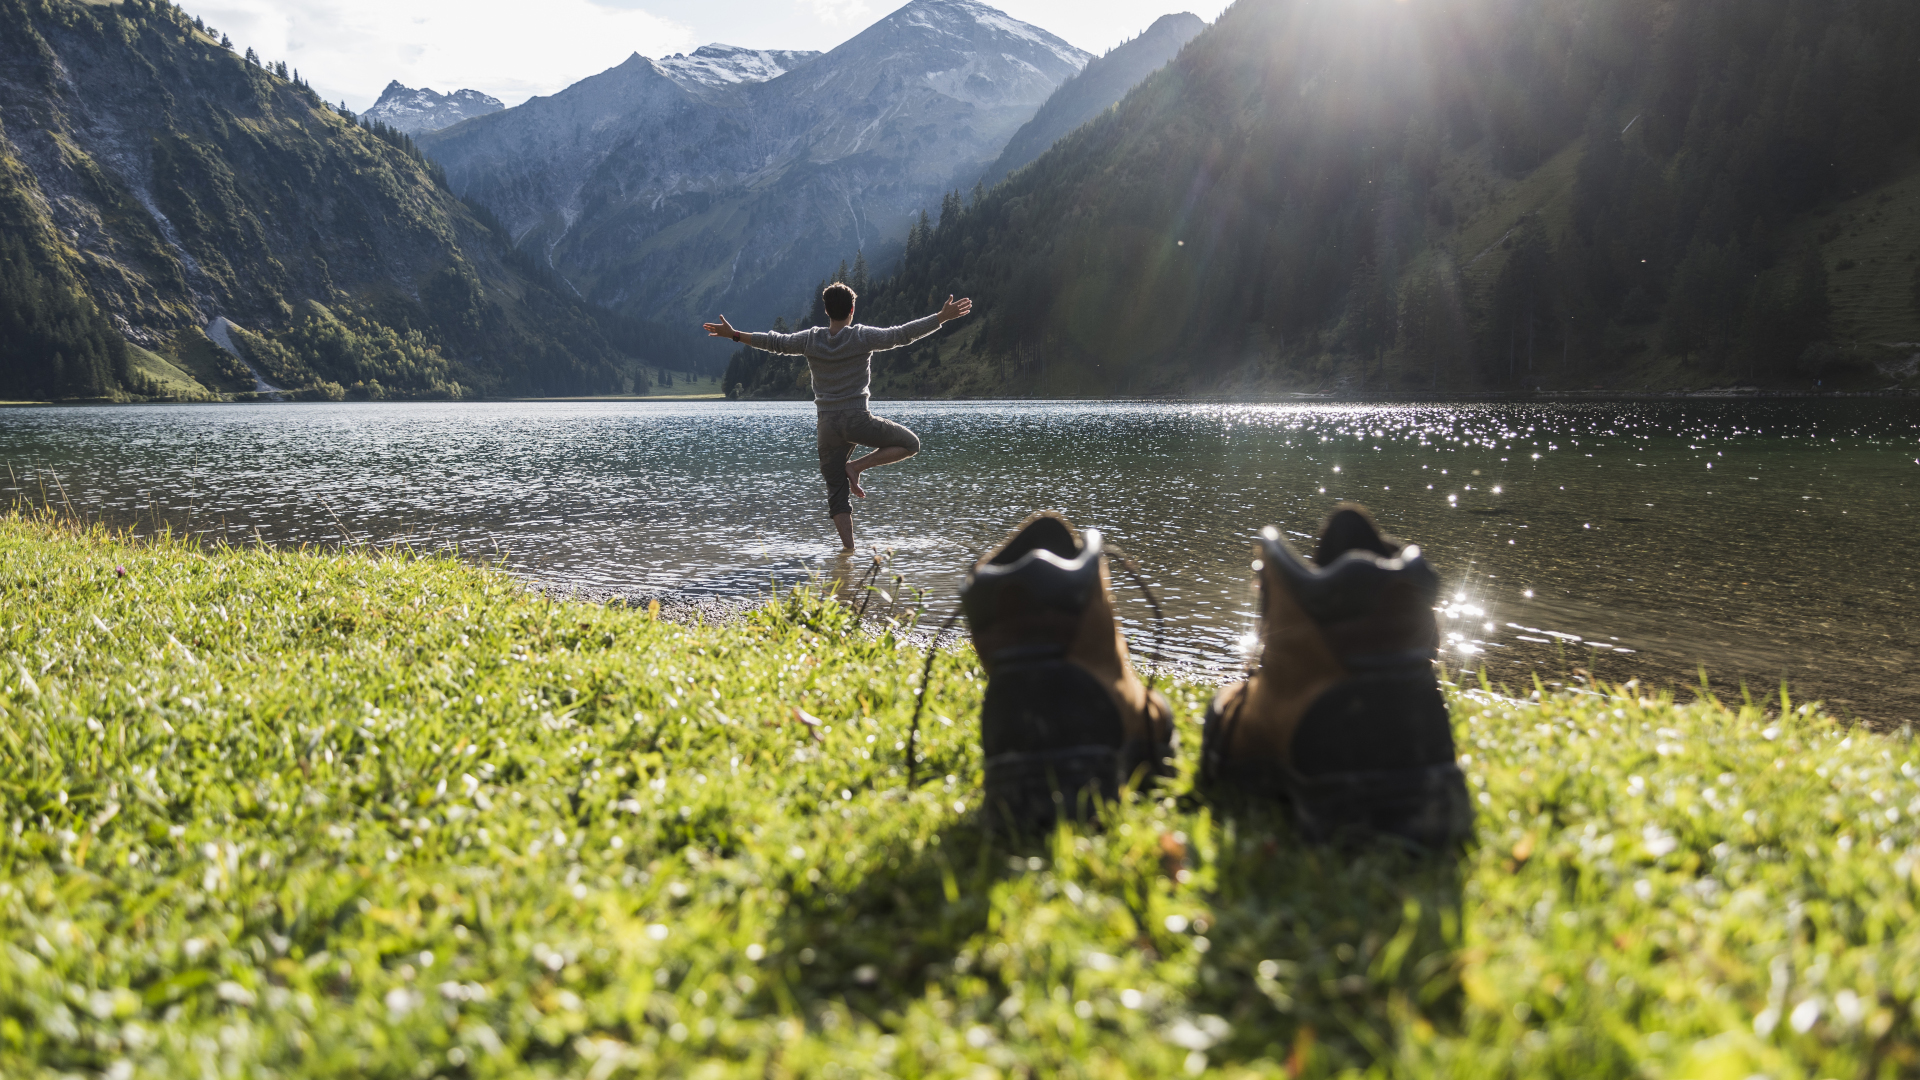
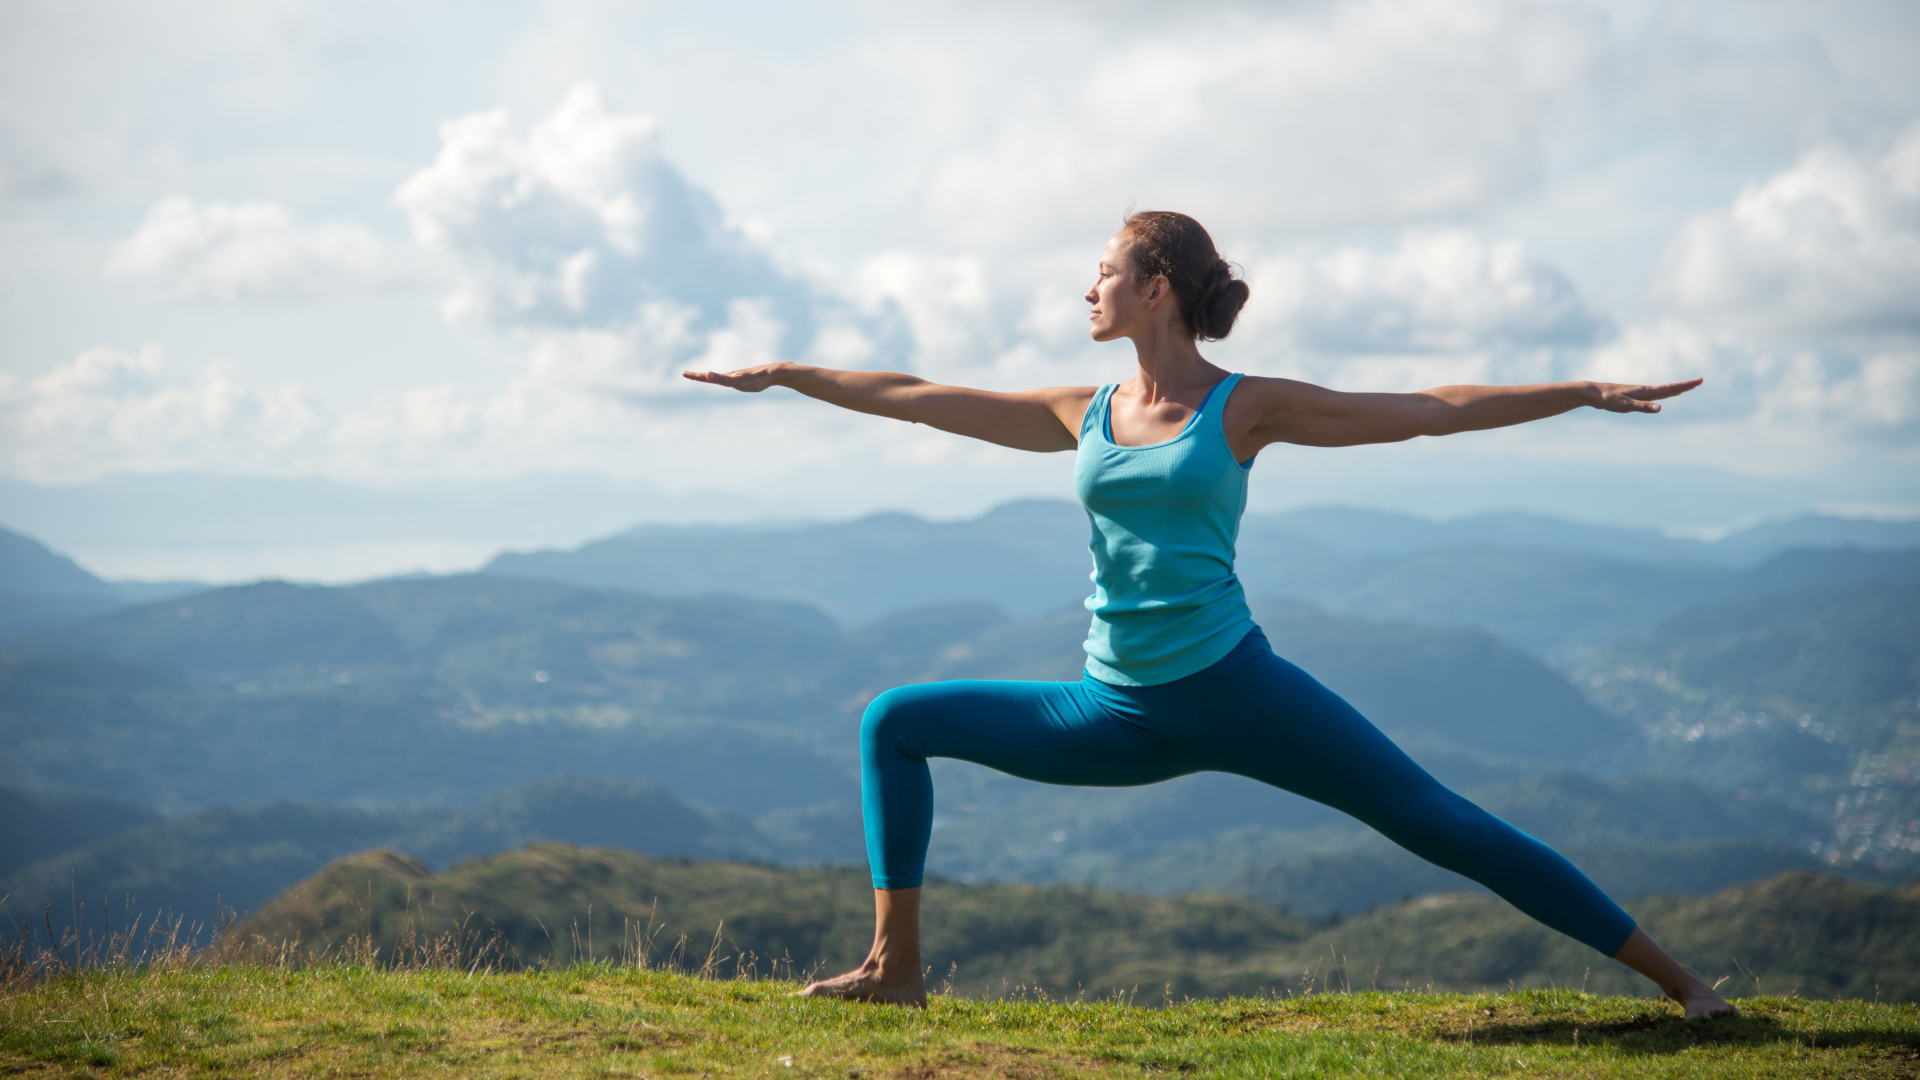
First things first, if you’re going to bother practicing yoga outside, you might as well have an amazing view while you do it. Find that mountain range vista, sun-dappled forest or ocean view and start looking around for some ground that’s relatively flat (campsites provide great cleared ground). If it’s on a slight slope, that’s no problem, though when you’re lying down, position yourself so that your feet are downhill from your head for comfort. Look for ground that’s neither too hard and rocky, nor too soft – short grass or firm sand can feel really nice to practice in.
All the latest inspiration, tips and guides to help you plan your next Advnture!
Look for some shade, as practicing yoga in the direct sunlight can be pretty draining. The best spots are under a tree, where you can get a bit of sun and some shade for relief, and it’s usually more comfortable to face away from the sun.
Don’t block trails or areas that other people are trying to use, but also don’t feel that you need to hide. If you prefer a bit of privacy, find some, but you don’t have to practice in secret and you might inspire other hikers to have a bit of a stretch too.
4. Consider losing the mat
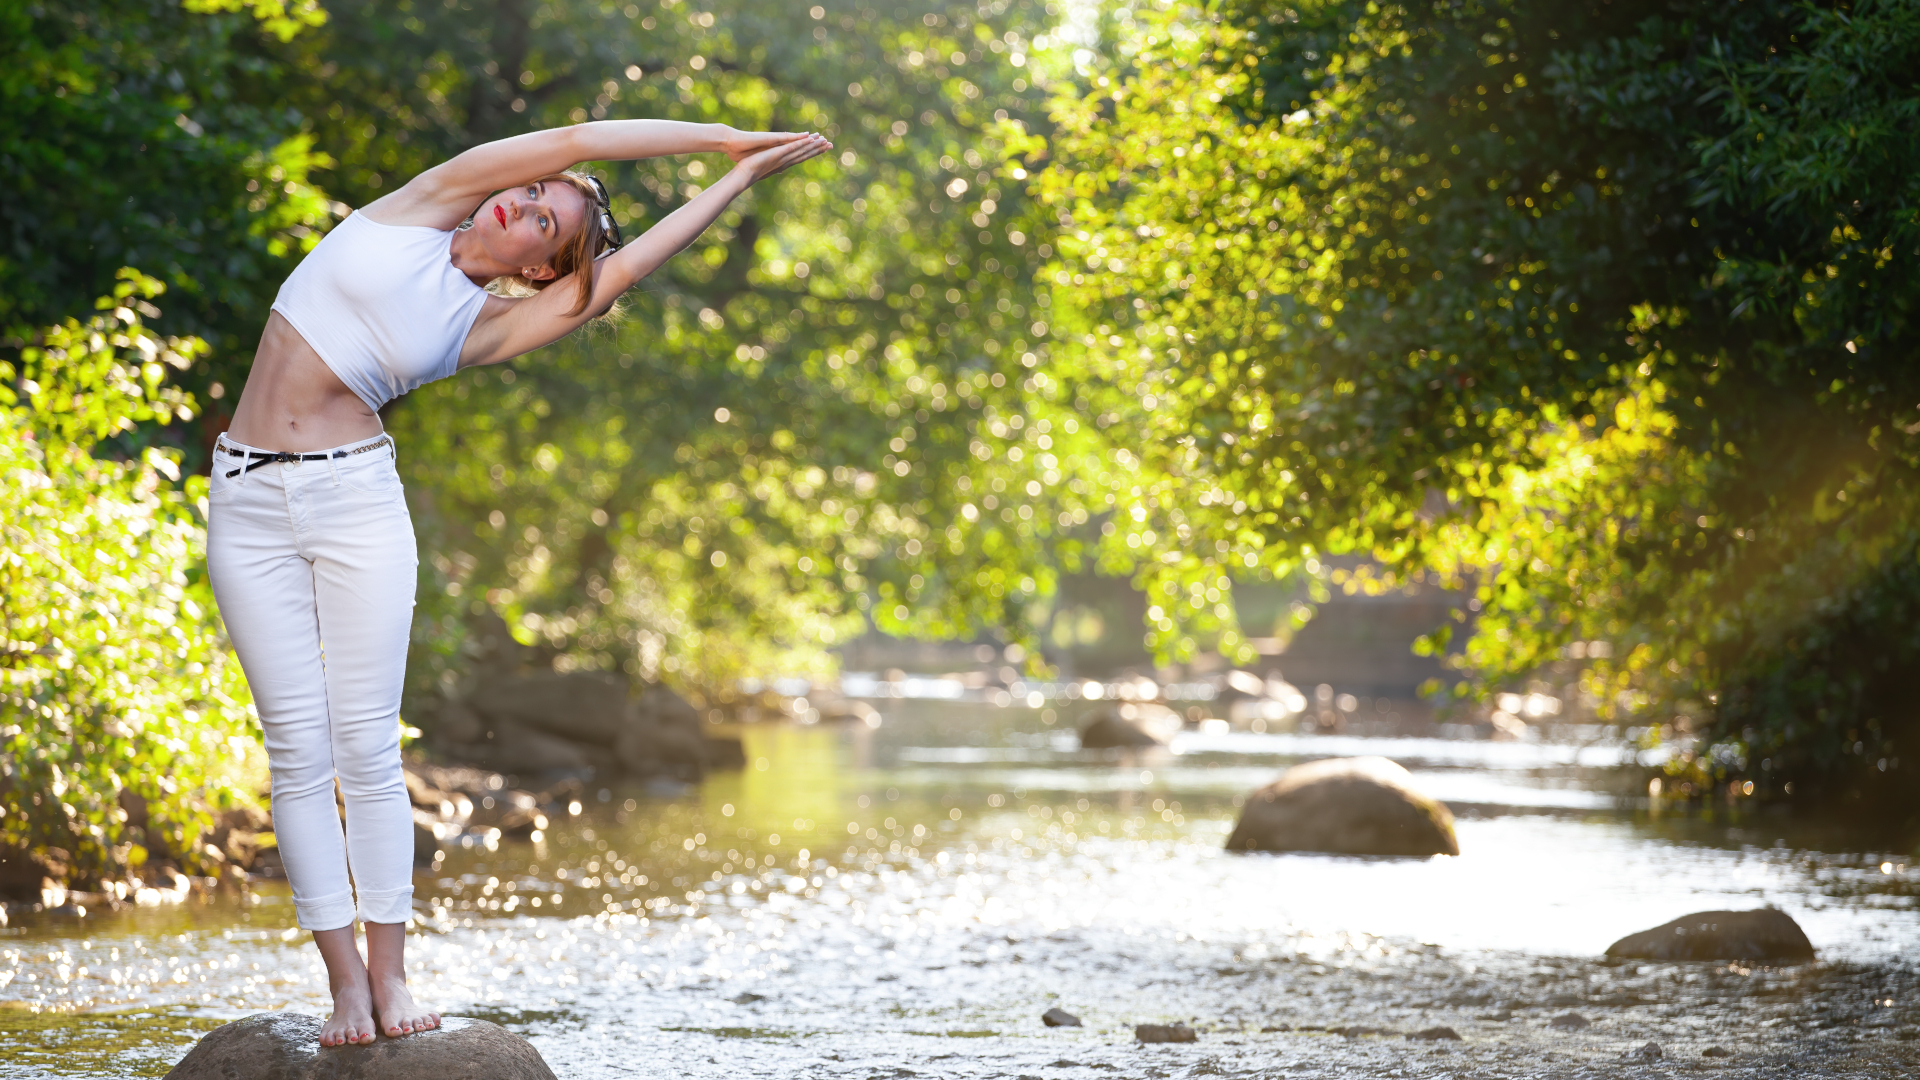
You might be really attached to your yoga mat and all its non-slip capabilities, but for yoga outside, you may want to ditch it. First, if you’re backpacking, it’s extra weight to carry and you could always substitute your camping blanket, foam sleeping pad or deflated air mattress instead. Next, even though it provides cushioning and stability on a hardwood floor, on uneven ground a yoga mat can often bunch up and make you feel less stable, especially if it’s very thick. Practicing without a mat can give you an even more tactile connection to your surroundings anyway.
If you are using a yoga mat, bring an old one that can get dirty, and clear the ground of sharp rocks and twigs underneath it before you begin.
5. Practice sun safety
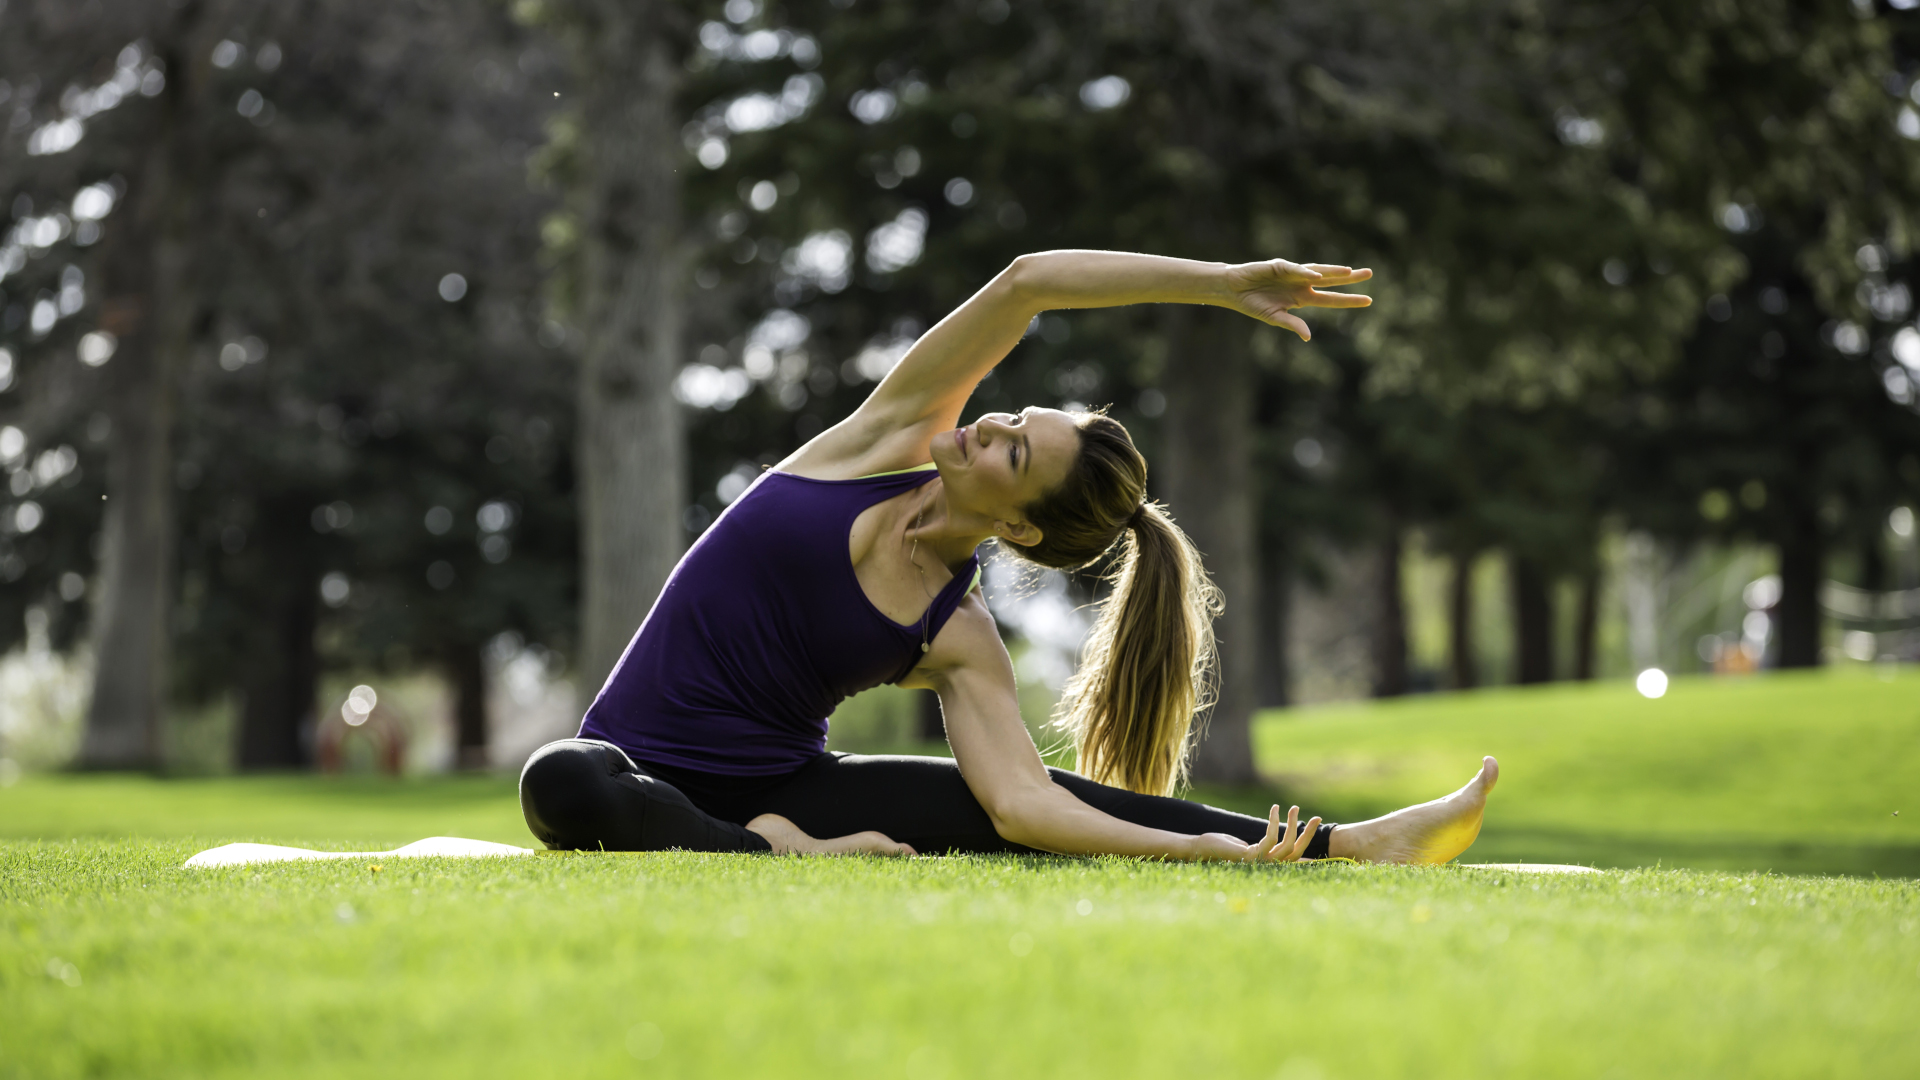
Like any time you're outdoors, you should be practicing good sun safety. If there’s a cool breeze and you’re not used to lathering up with sunscreen for yoga, it’s easy to forget, but you don’t want to end up burned to a crisp. Apply sunscreen that can handle sweat before you practice, avoid practicing in the middle of the day when the sun is strongest and drink plenty of water when you’ve finished.
6. Slow down and simplify
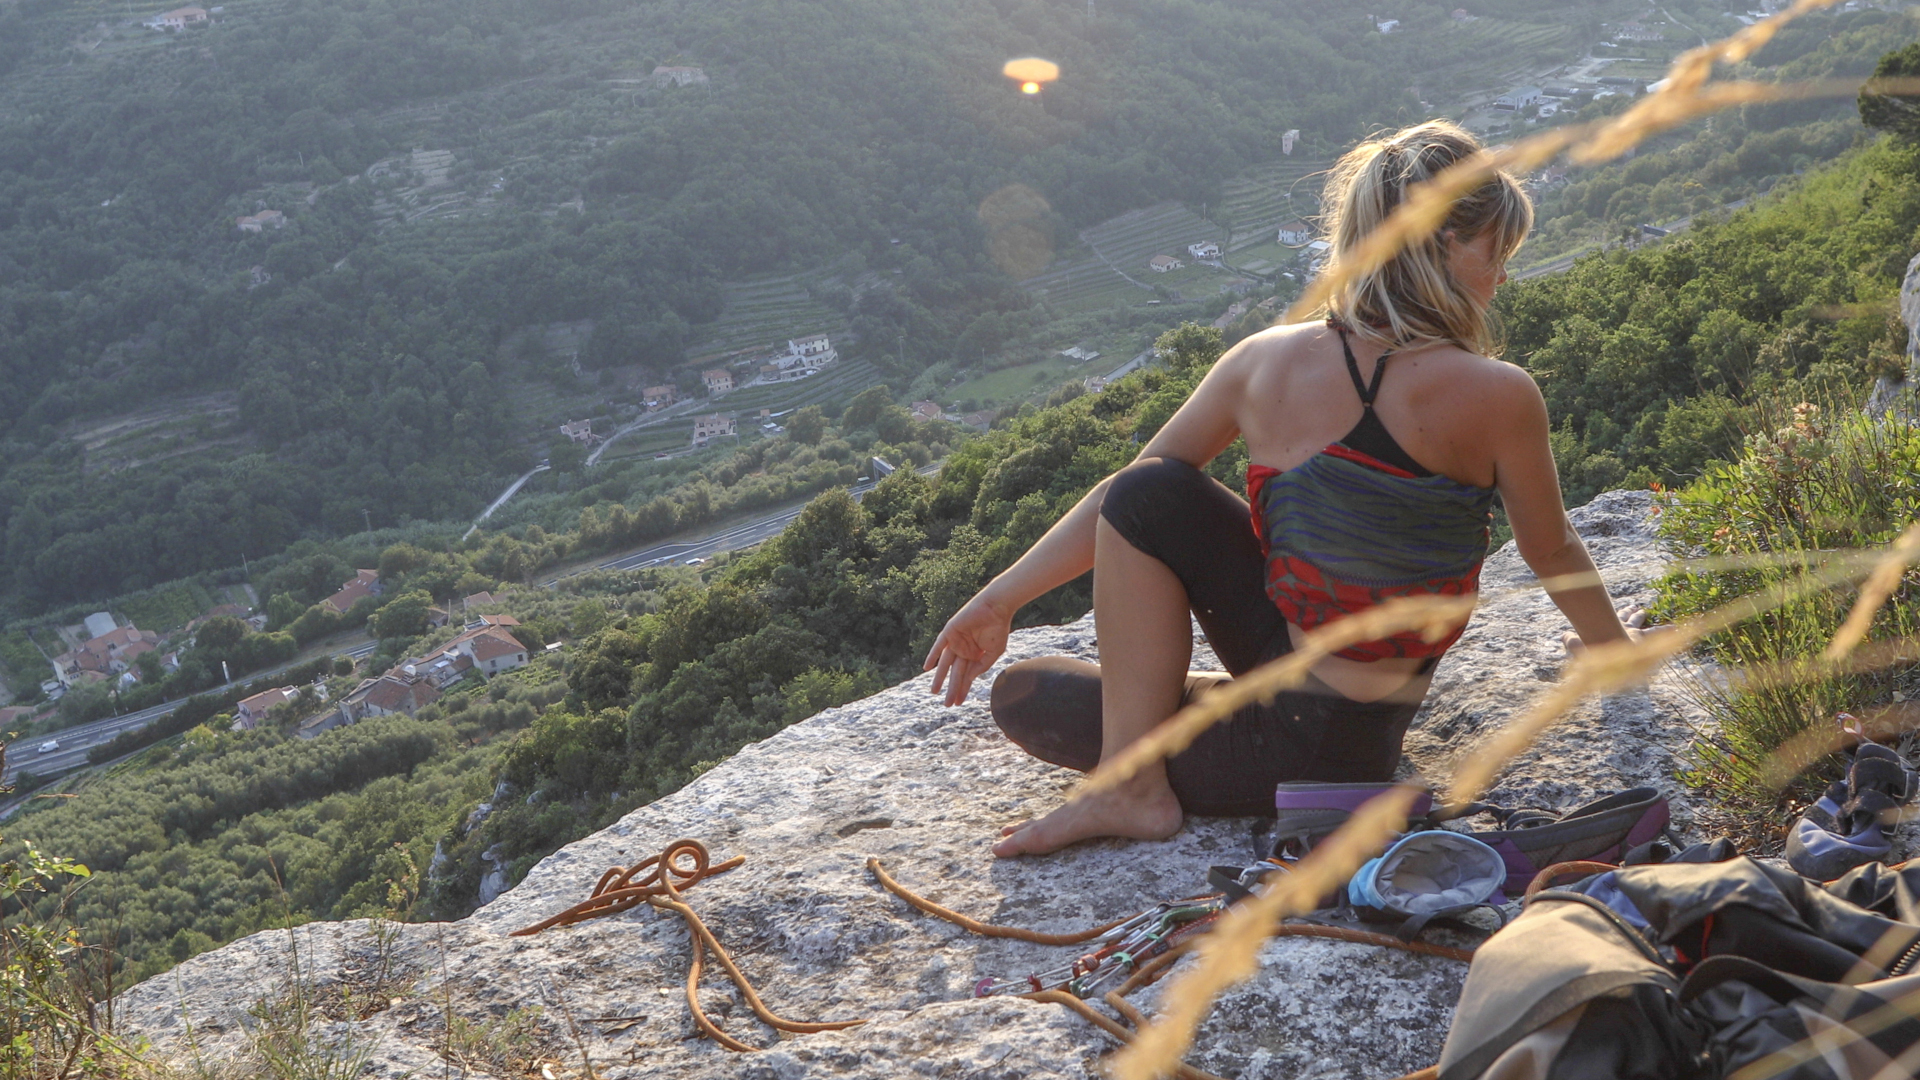
Now that it’s time to practice, what do you do? Do you go through the same sequence as you always do? The short answer is that you can do whatever you want, but if your practice tends to be fast and furious, consider slowing it down. Practically, this helps you to ensure you stay balanced on uneven ground, but it also gives you time to really tune into all the sounds, sights and feels of nature.
Speaking of tuning into nature, please leave the tunes at home. You might be used to practicing with a playlist at the studio, but don’t try to drown out the birds or the waves – after all, that’s what you’re here to enjoy and you don’t want to disturb local wildlife or other trail users.
Finally, go for a simpler practice – chances are, you won’t have access to yoga props like blocks and straps and if you try to get too fancy, you might miss the moment. If you need some inspiration, try our yoga for backpackers sequence for a mellow approach.
Julia Clarke is a staff writer for Advnture.com and the author of the book Restorative Yoga for Beginners. She loves to explore mountains on foot, bike, skis and belay and then recover on the the yoga mat. Julia graduated with a degree in journalism in 2004 and spent eight years working as a radio presenter in Kansas City, Vermont, Boston and New York City before discovering the joys of the Rocky Mountains. She then detoured west to Colorado and enjoyed 11 years teaching yoga in Vail before returning to her hometown of Glasgow, Scotland in 2020 to focus on family and writing.
