5 yoga poses for glute strength
Our favorite yoga poses for glute strength help you maintain stability and balance when you’re moving over rough ground, as well as minimizing low back pain and your risk of knee injuries
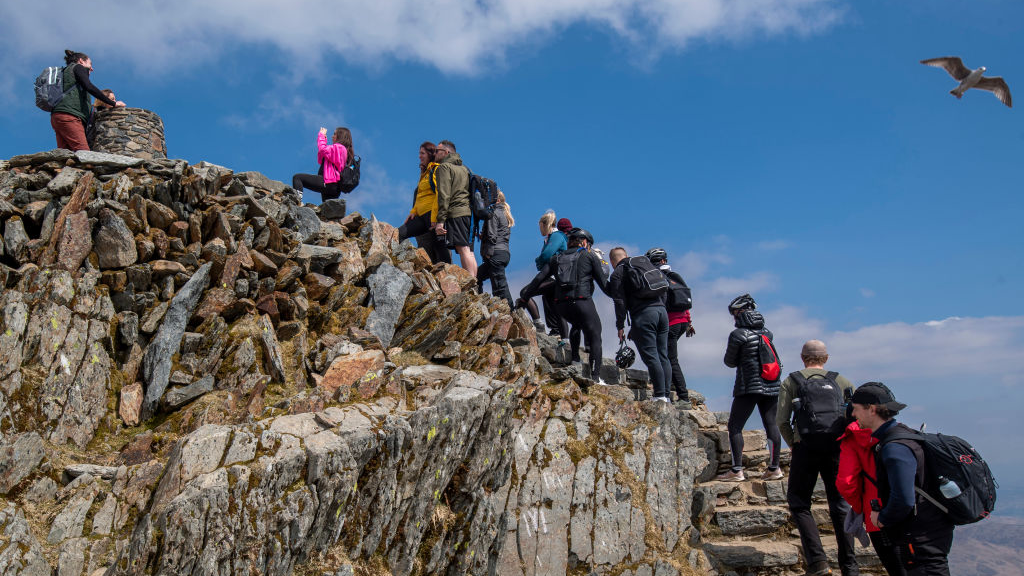
Strong glutes are key to maintaining pelvic stability and balance when you’re moving over rough ground, as well as minimizing low back pain and your risk of knee injuries. If you spend a lot of time in your hiking boots, trail running shoes or gliding over snowy surfaces on skis, it will be obvious that you want your glutes to be functional to help boost you along the trails, but it’s surprisingly how many of us to rely mostly on quad strength and forget about our posterior power. If you’re active, you might think of yoga primarily as a recovery tool to stretch out your muscles after a long day in the hills, but it can also be a great way to strengthen your muscles in various states of contraction. Our five favorite yoga poses for glute strength poses help keep your hips strong and stable for all of your mountain adventures.
What are your glutes anyway?
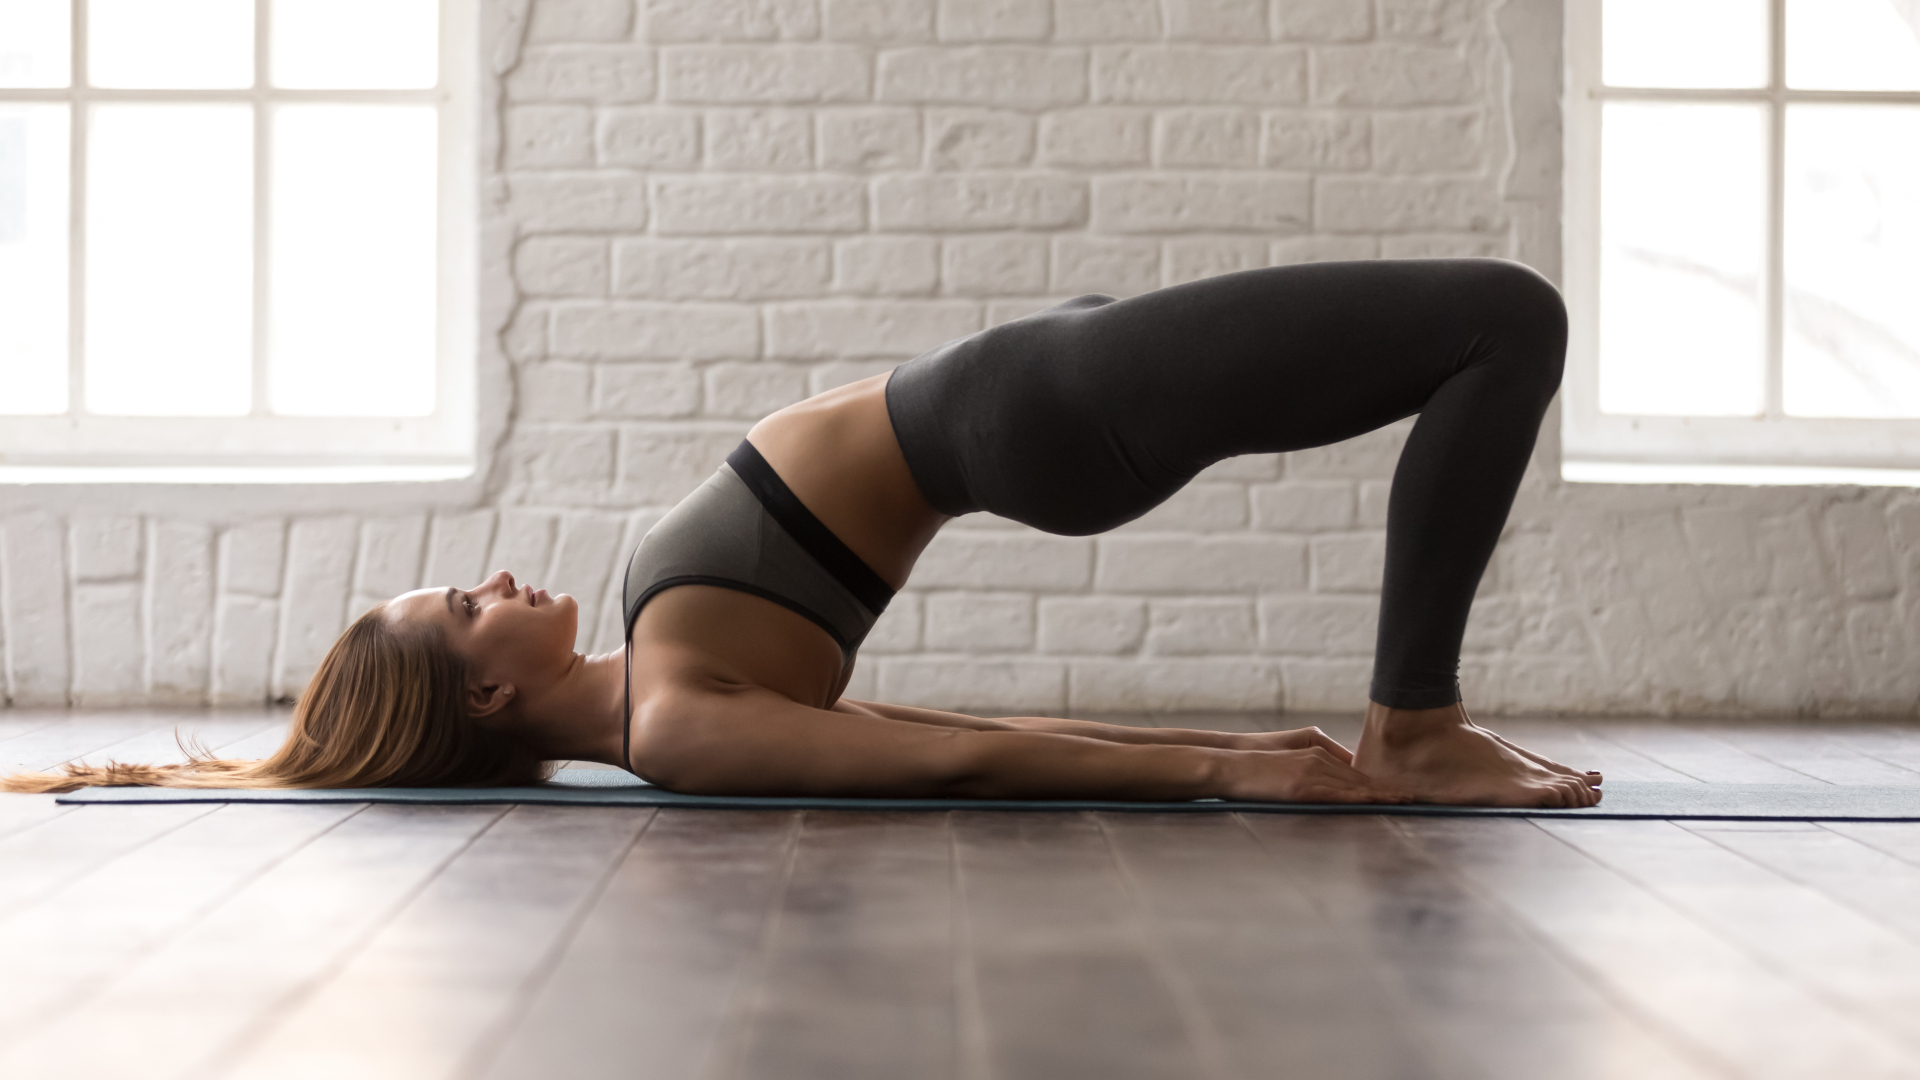
Your gluteal muscles – nicknamed your glutes – are a group of three muscles that form your buttocks. Your gluteus maximus, gluteus medius and gluteus minimus are posterior hip muscles that originate on your sacrum and ilium (the uppermost and largest bone of your pelvis) and insert into your sitting bones or upper femur. Of these muscles, the gluteus maximus is the largest and the most superficial. These muscles perform everyday movements such as hip extension (you use them every step you take on the running path or hiking trail when your leg moves back) as well as abduction of your hip (when you move your leg out to the side) and preventing internal rotation of your thigh.
When identifying yoga poses that will help with glute strength, the key is usually to fin poses where your hips are in extension or abduction, and squeezing your glutes to maximize that movement within the pose. These five postures can be practiced on their own or woven into your existing yoga practice. Make sure you have a yoga block or a large book for this practice, and aim to hold each pose for at least 5 - 10 long breaths.
1. Bird dog
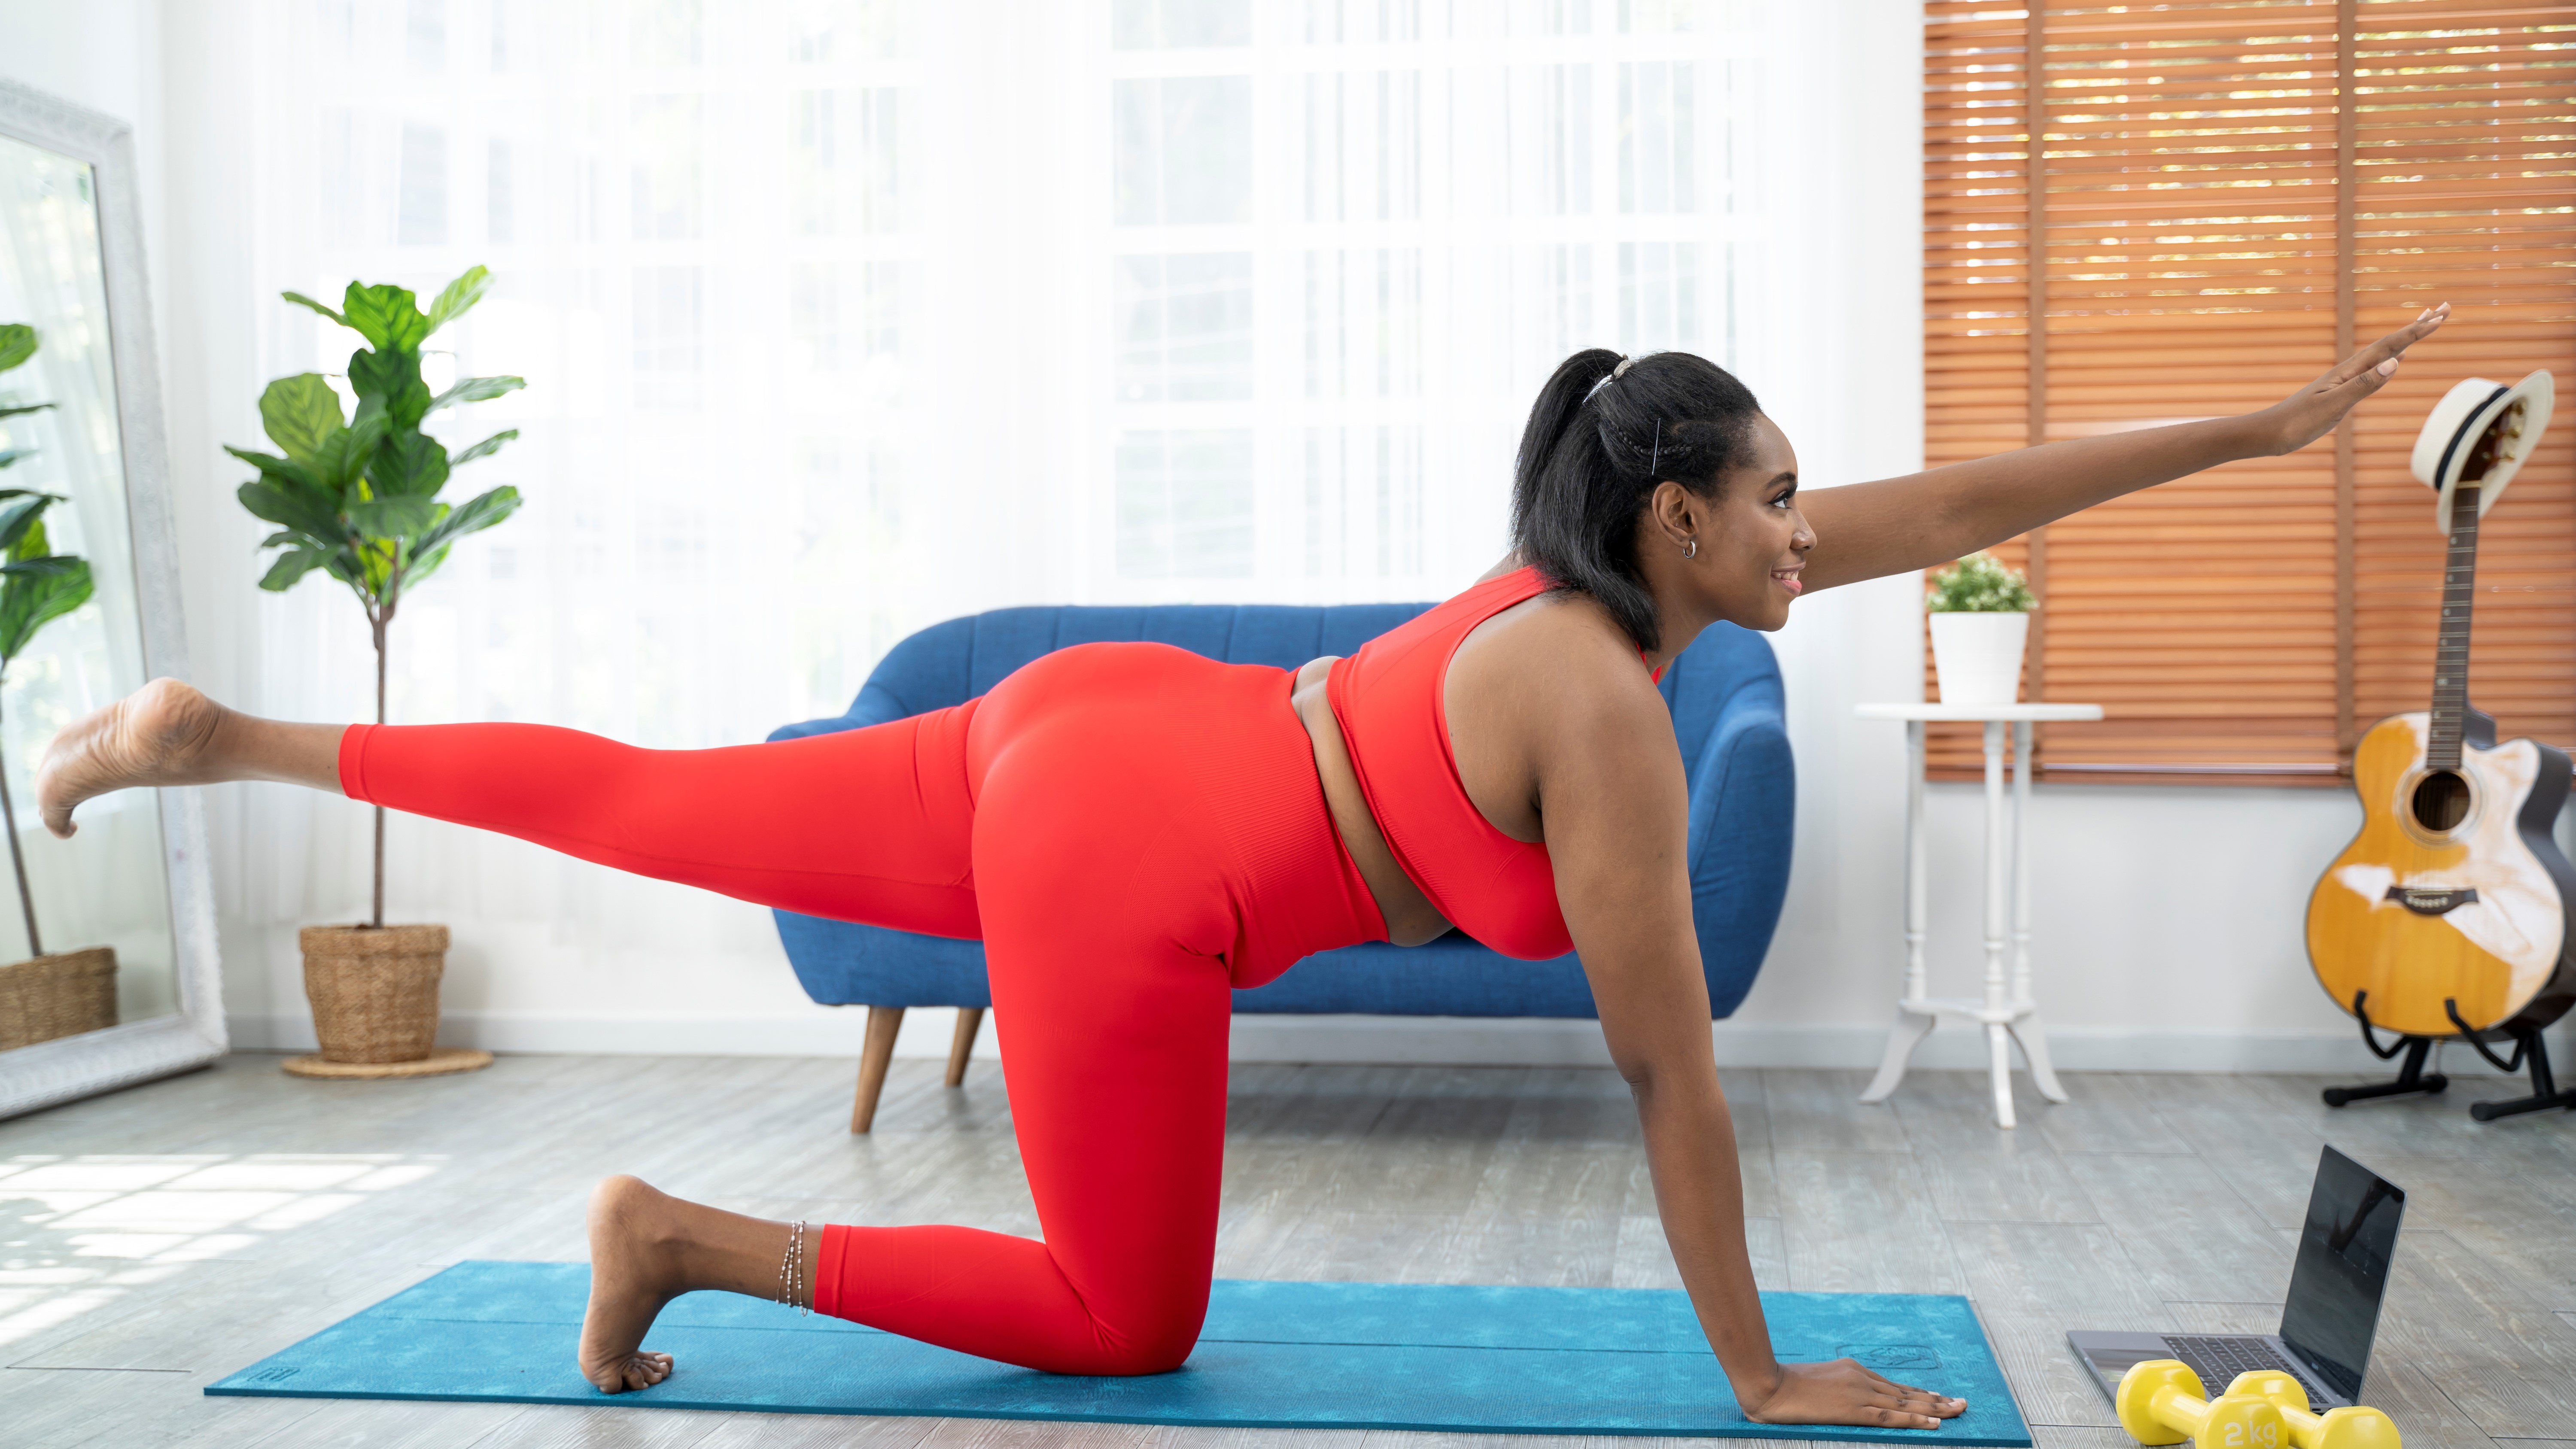
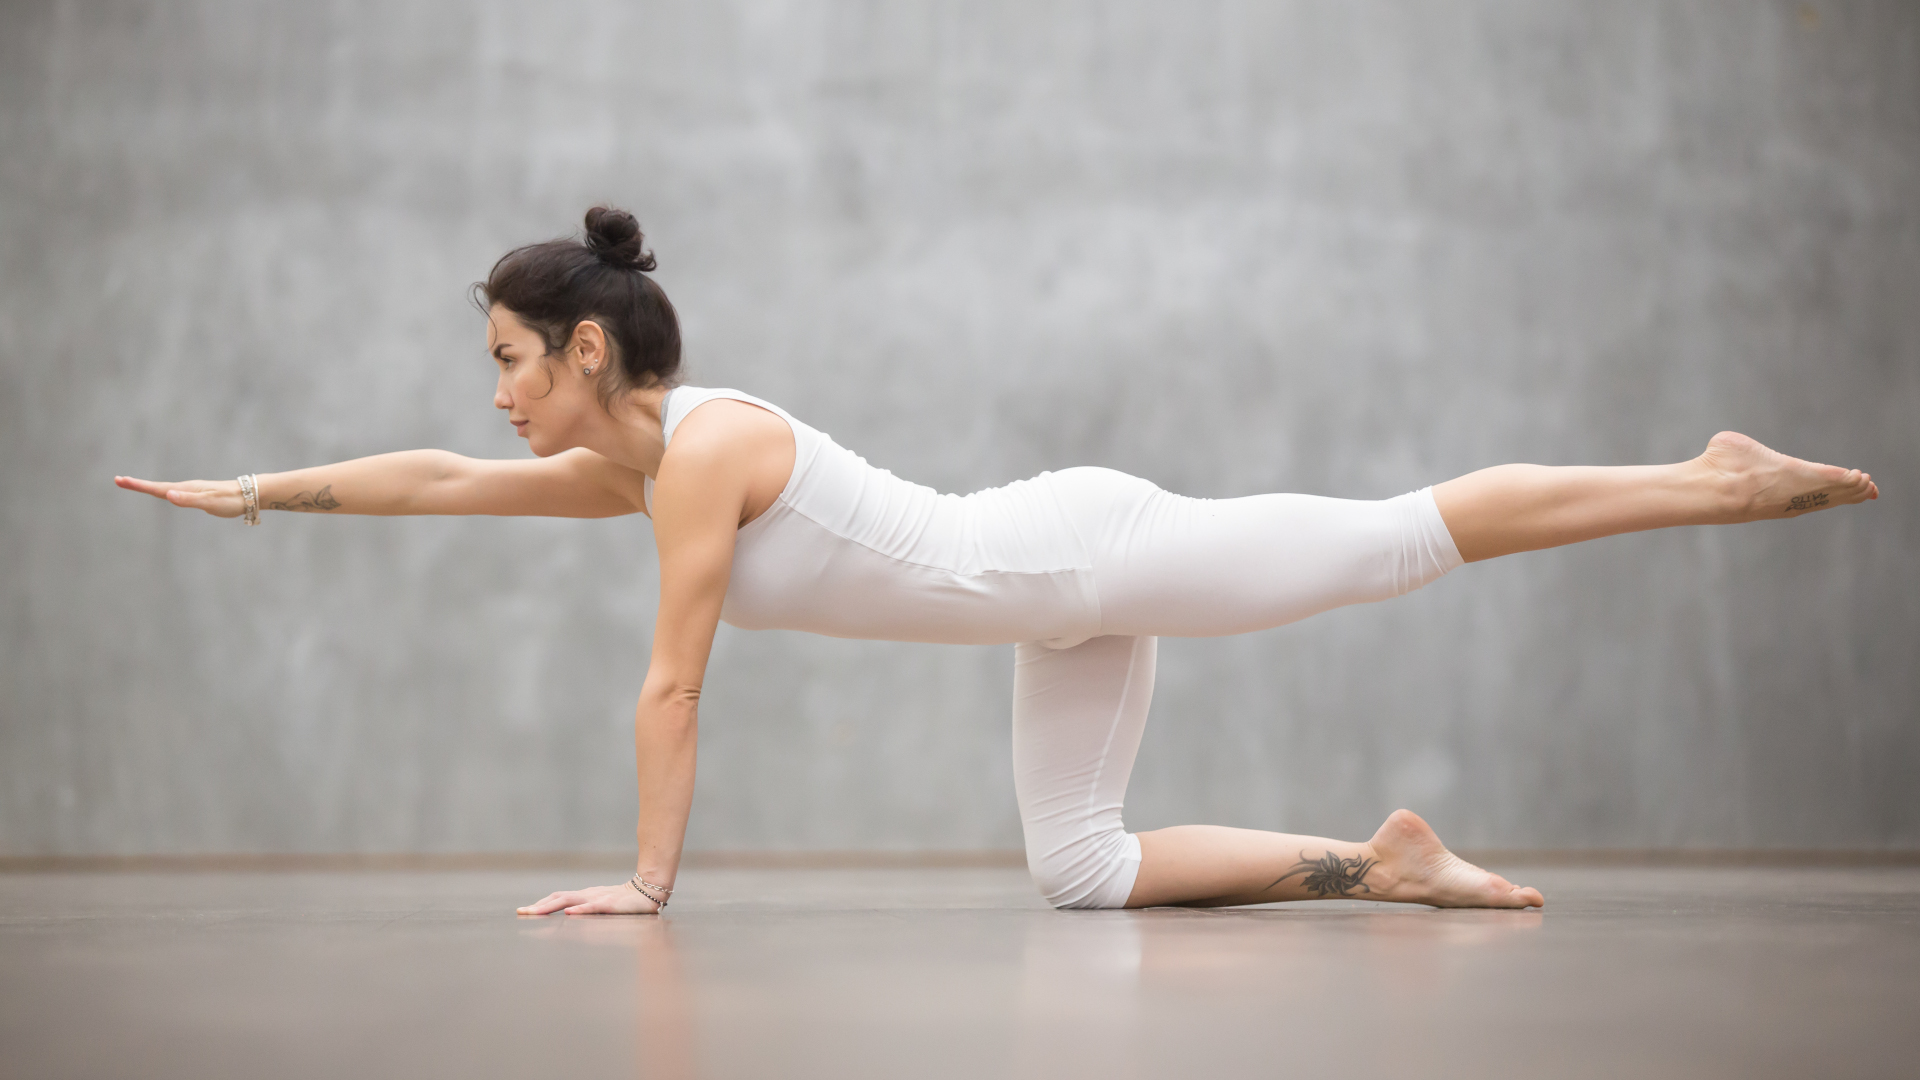
This position is great for beginners and even those who are working with injuries. In addition to helping to cultivate balance and core stability, you can use it to fire up those glute muscles without worrying too much about falling over.
How to do it: Starting from your hands and knees (you can kneel on a blanket if you need some padding), draw your abdominal muscles in then lift your right leg and extend it back behind you, straightening at your knee. Press evenly into both hands and squeeze your glutes to lift your leg higher. Keep both hands on the floor or lift your left arm and reach it forward. Come back to hands and knees and re-engage your abdominal muscles before changing sides.
2. Locust
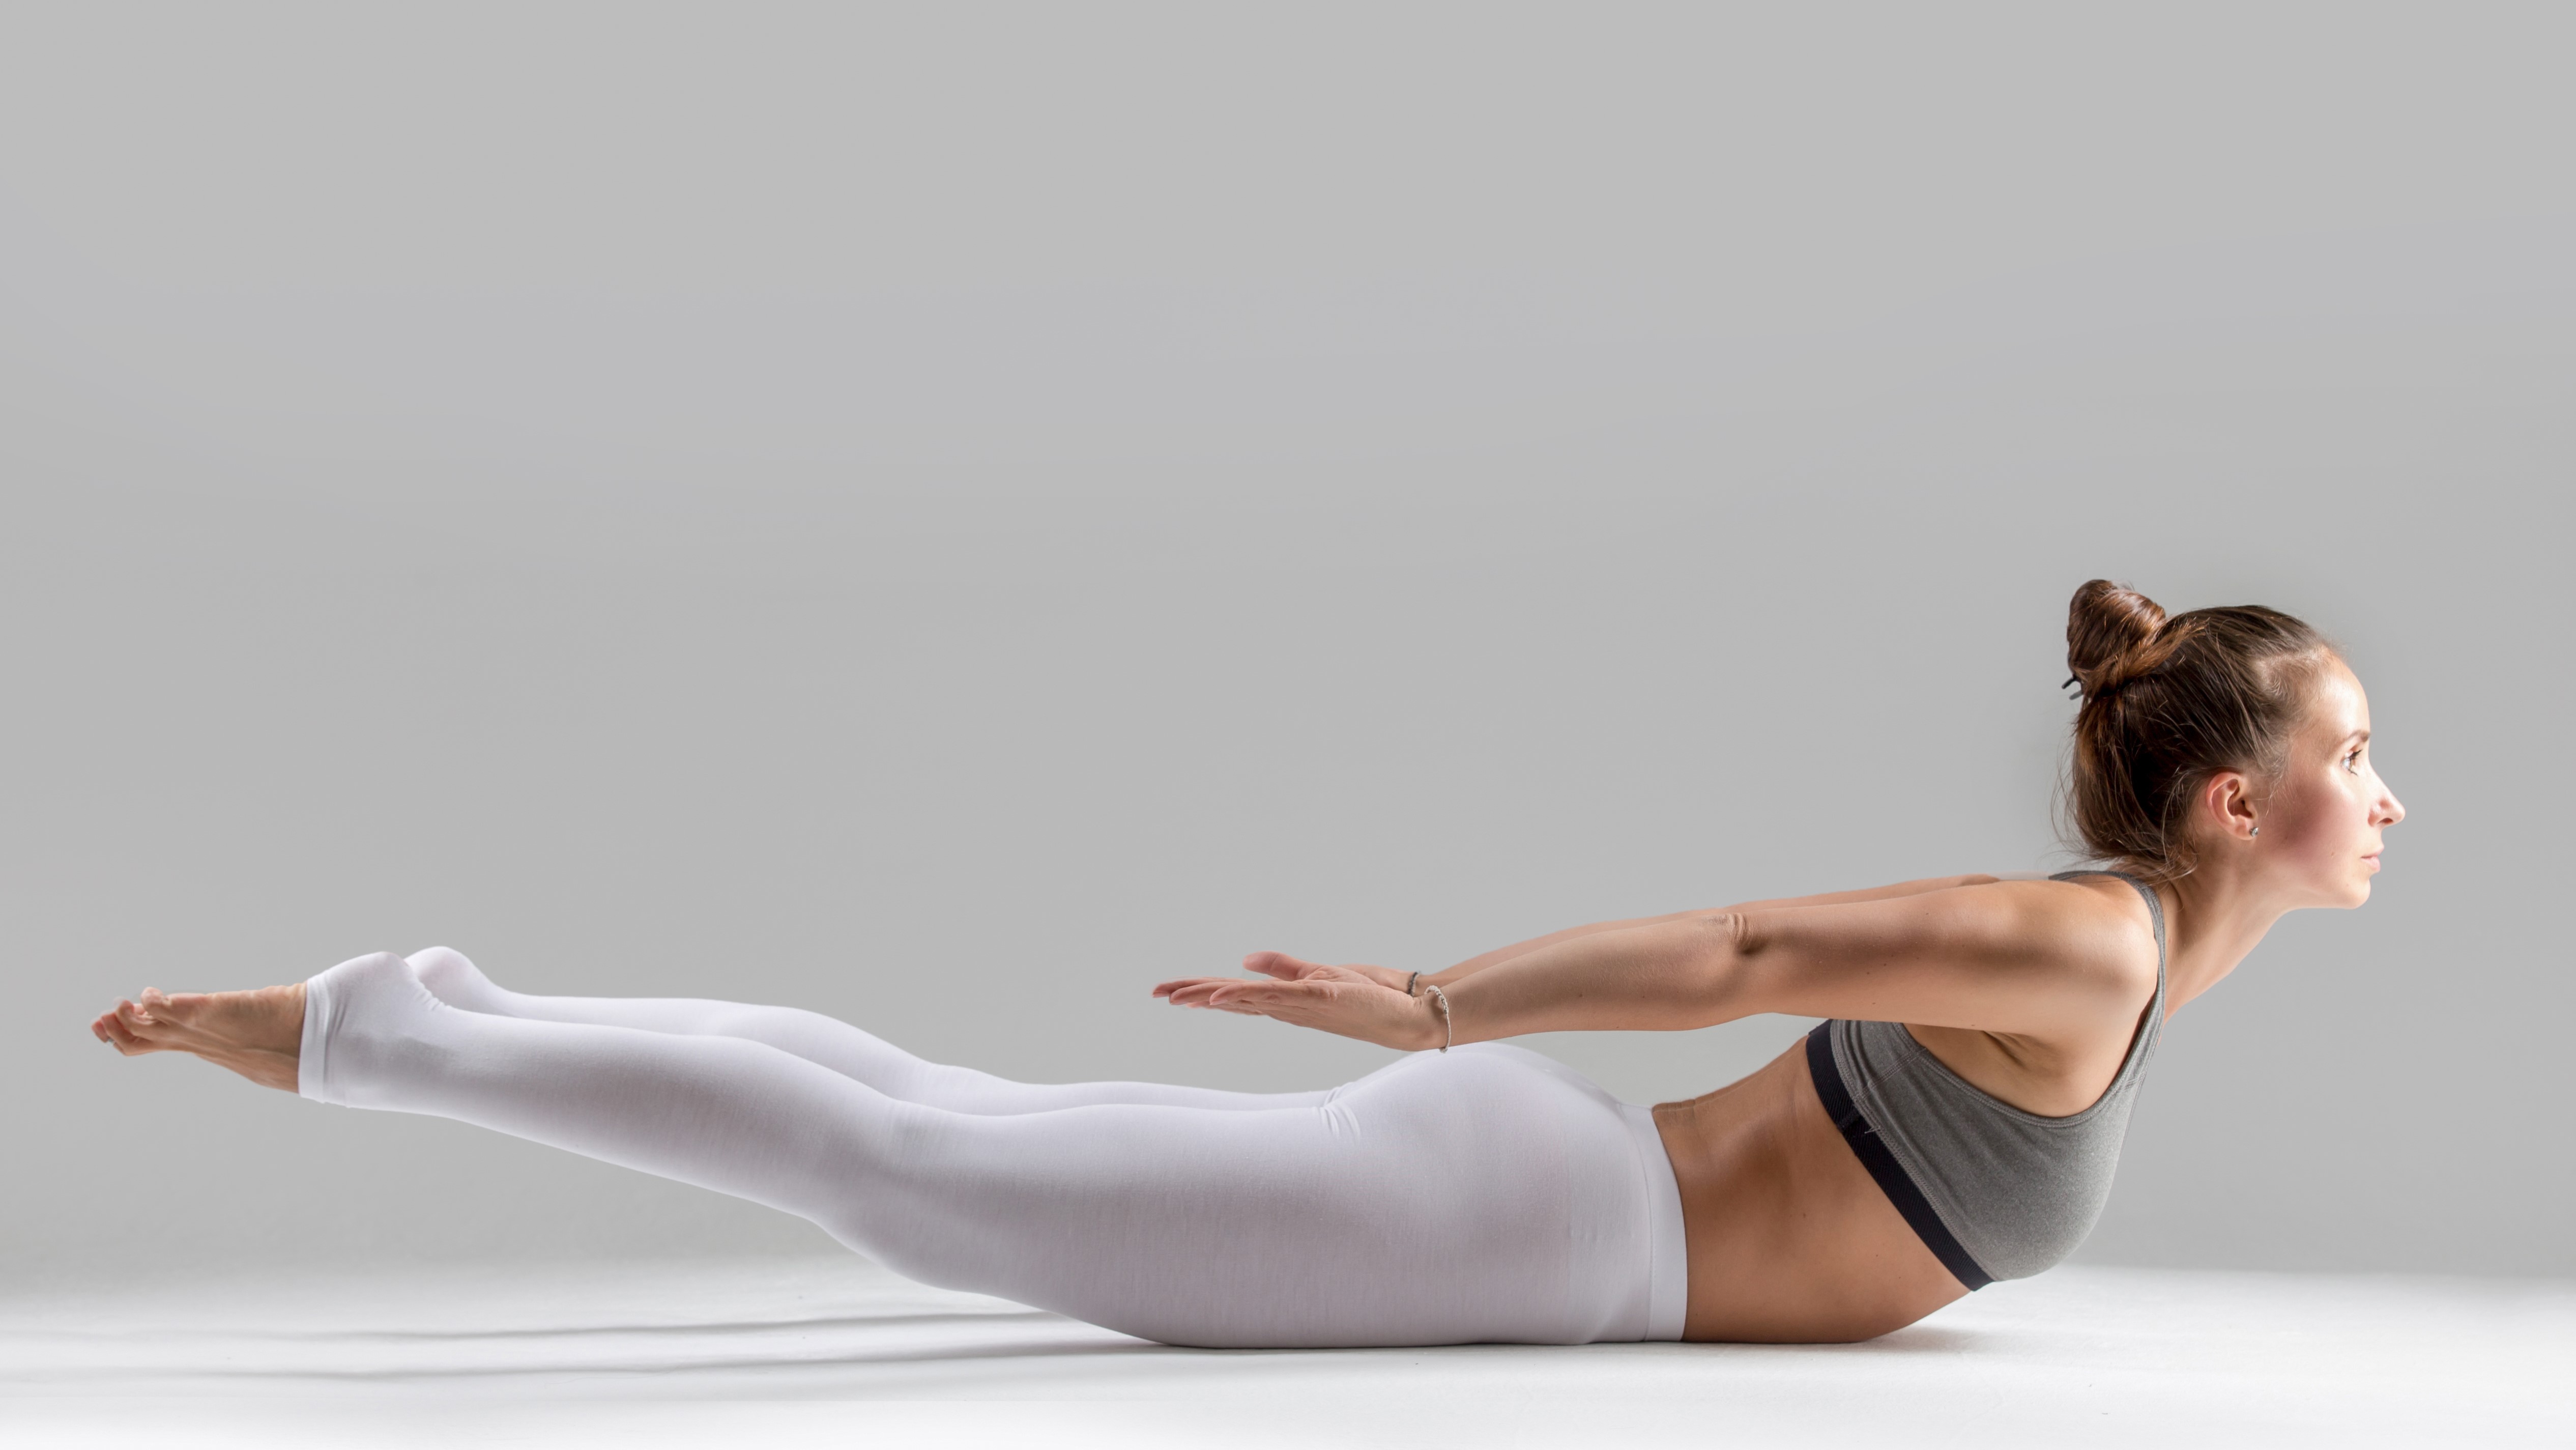
Another great pose for beginners as well as experienced practitioners, Locust Pose helps to strengthen the entire back chain of posterior muscles, including your glutes.
How to do it: Lie down on your belly and reach your hands back alongside your hips. Engage your abdominal muscles, press your hips down into the floor, then lift your legs, arms, chest and head up. Hold the posture for a few breaths and keep drawing your abdominals in rather than expanding your belly out like an inflated balloon, and focus on engaging your glutes to lift your legs higher. When you release the pose, relax on your front for a few breaths and rock your hips from side to side, then repeat the pose one more time.
Advnture Newsletter
All the latest inspiration, tips and guides to help you plan your next Advnture!
3. Crescent lunge
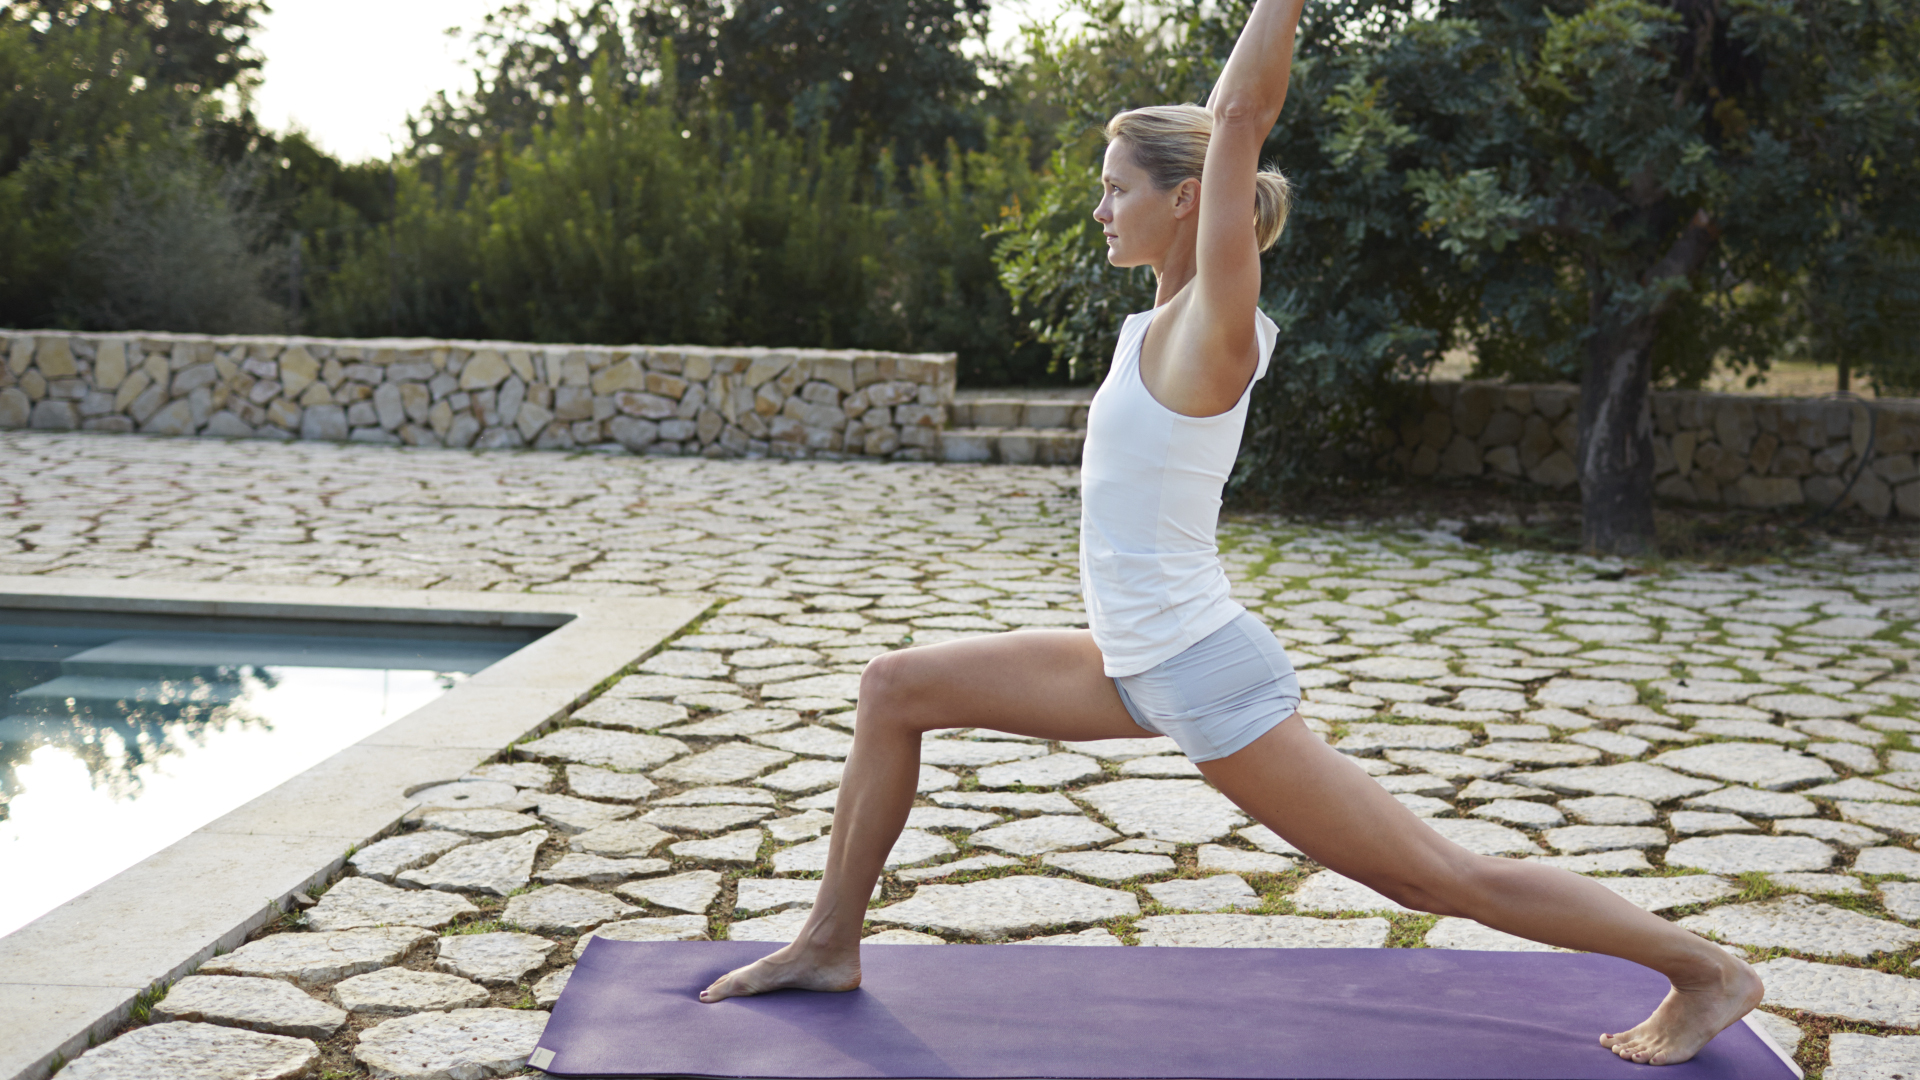
This practically ubiquitous yoga pose has loads of benefits, from stretching your hips in extension to strengthening your legs, but you can also use it to strengthen your glutes.
How to do it: Starting from a forward bend with your fingertips on the floor, step your right foot straight back into a long stance, keeping your feet hip width to help with balance. When you feel steady, rise up and either place your hands on your hips or reach them up towards the ceiling. Bend your back (right) knee a little, then slowly squeeze your right glutes as you straighten your knee and keep them engaged while you hold the pose. You’ll feel a good stretch on the front of your right hip.
To switch sides, bring your hands down, step your right foot forward then your left foot back.
4. Warrior 3
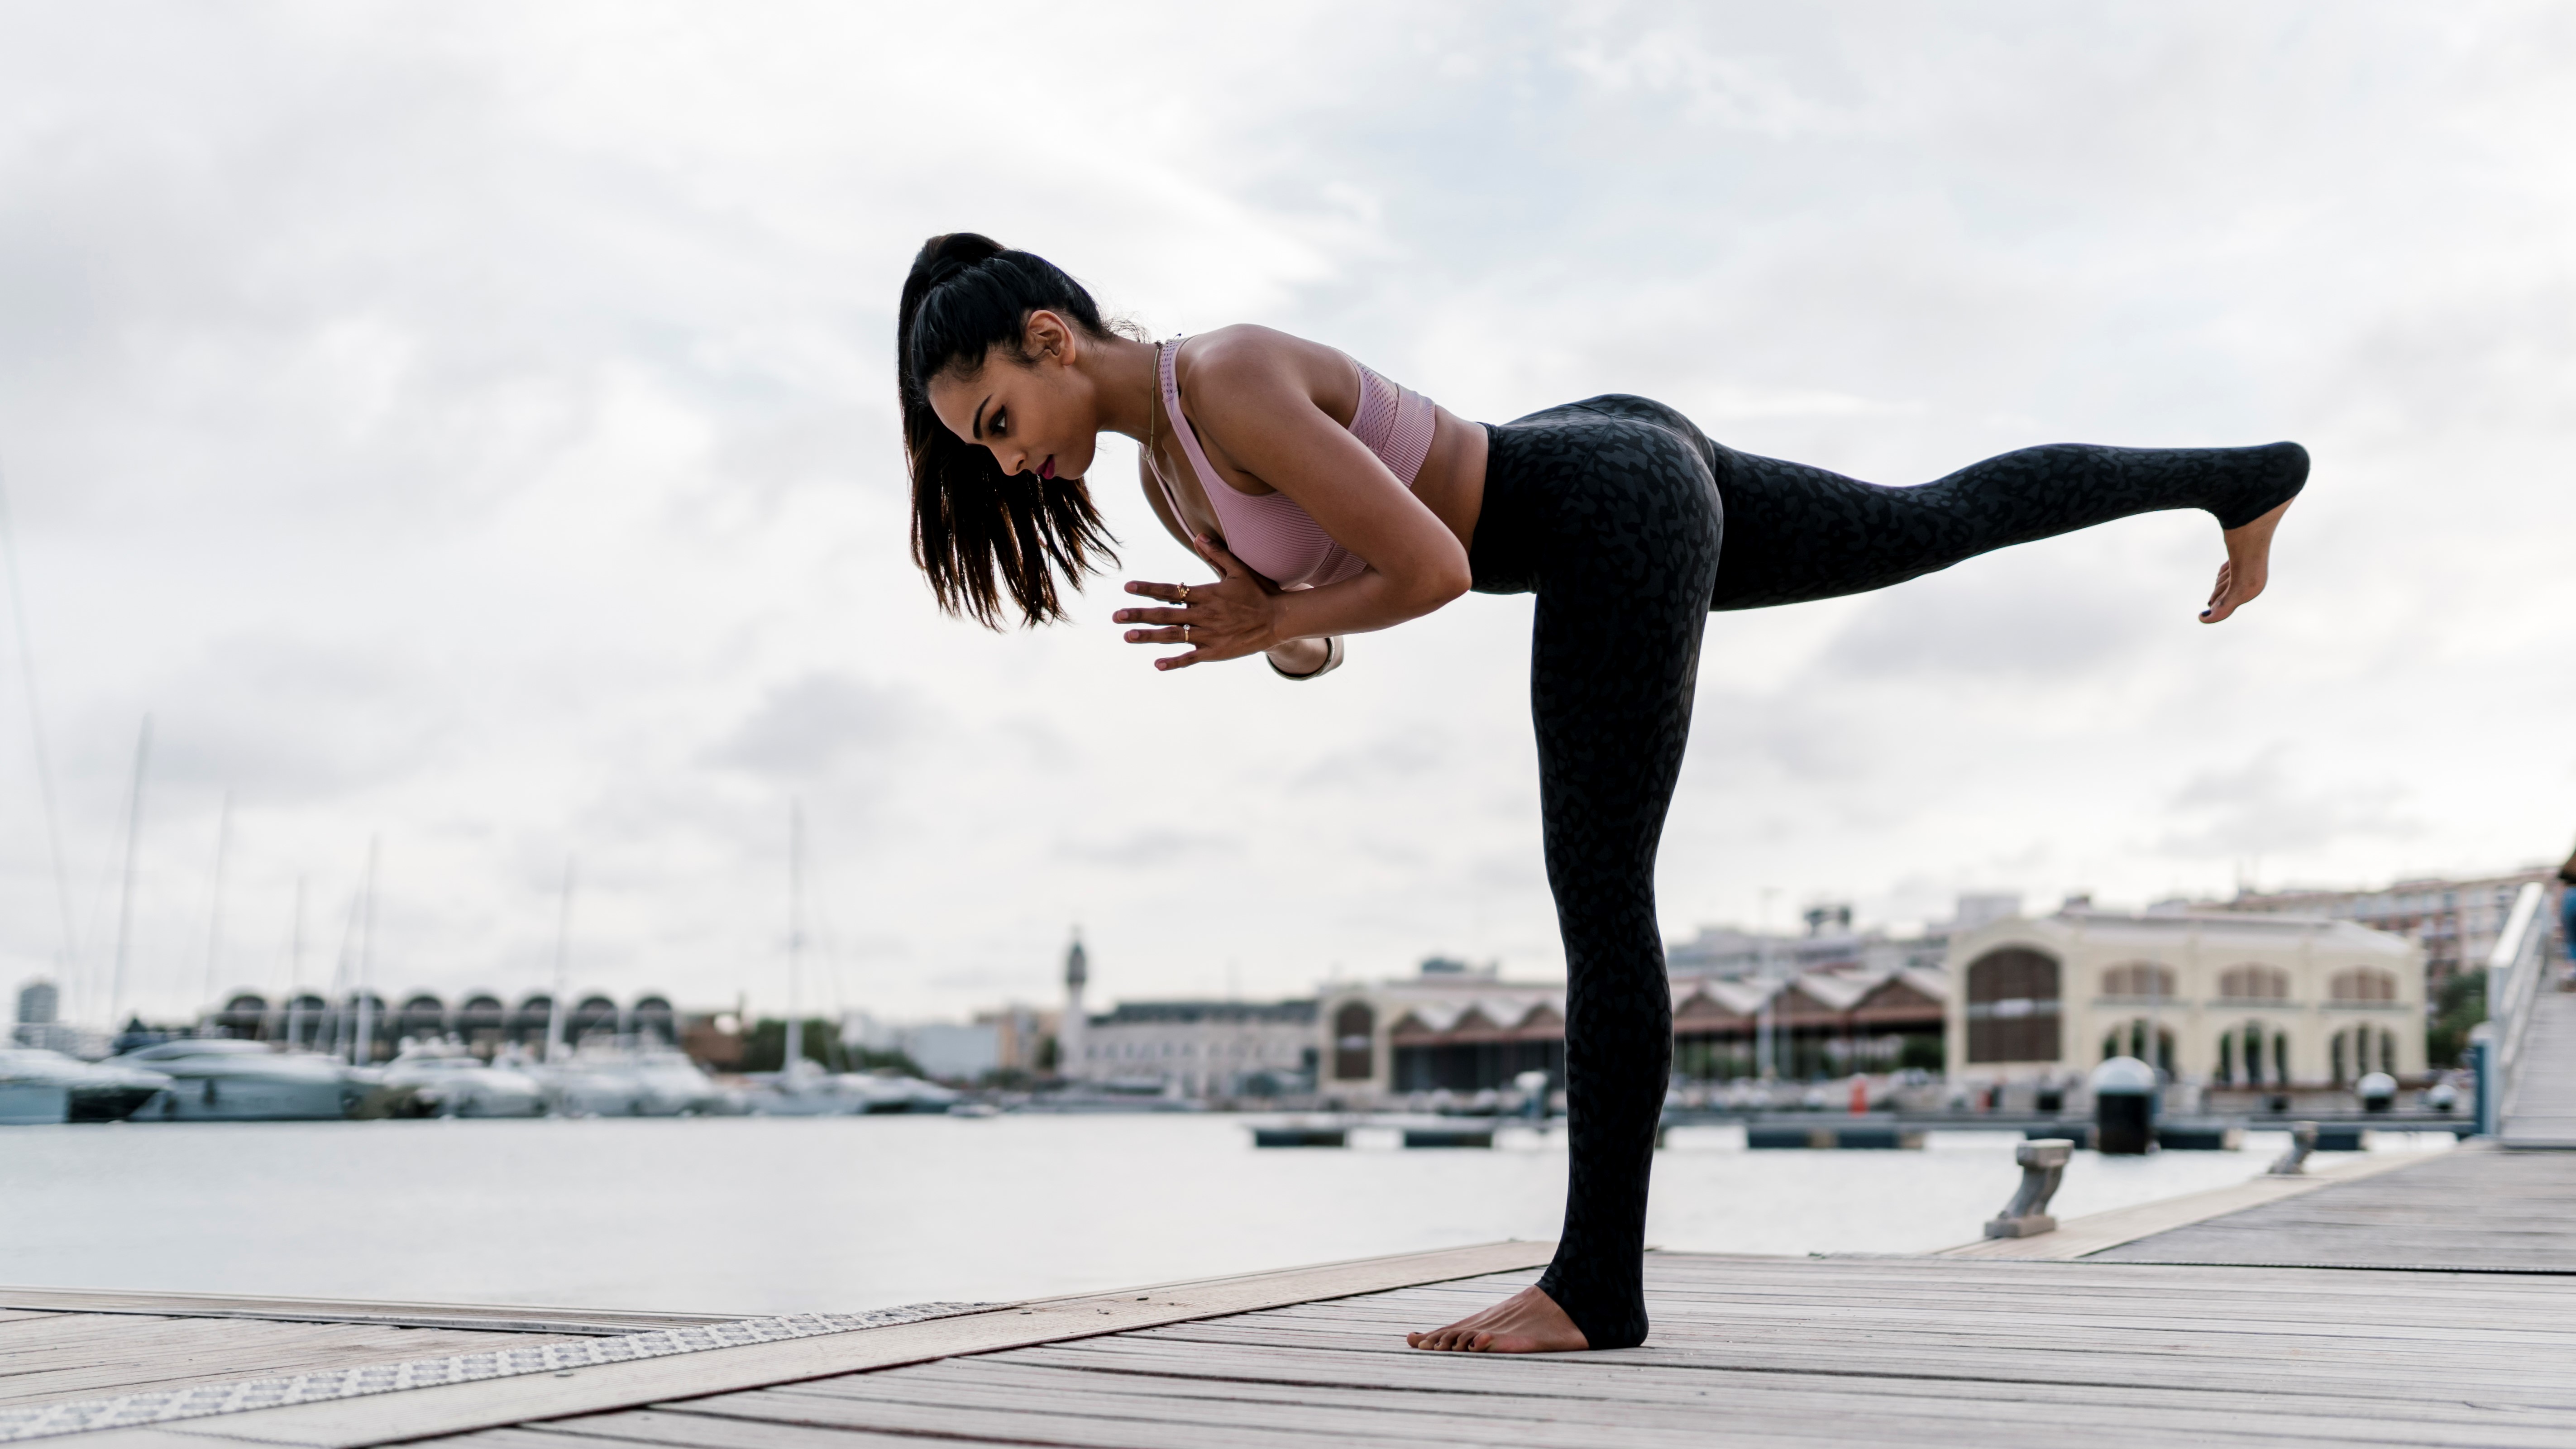
This challenging pose is great to test your balance and strengthen your standing leg – so great, in fact, that you might forget all about the glutes of your lifted leg. Don’t miss out on the opportunity to strengthen your glutes here – if you need to, bring your hands down onto yoga blocks or use a chair or wall to help you balance and make sure you can focus on what’s behind you.
How to do it: From standing, shift your weight into your right foot and bend your left knee up towards your chest. Make a small bend in your standing knee, then start to hinge forward at your hips as you kick your left leg back, bringing your torso and left leg parallel to the floor. You can keep your arms by your sides, place your palms together at your chest or reach your hands forward. Keep the small bend in your standing leg, but try to straighten your lifted leg completely otherwise your hamstrings might hijack things. Squeeze the glutes of your lifted left to bring it higher.
Bend both knees to come back to standing then switch sides.
5. Half Moon
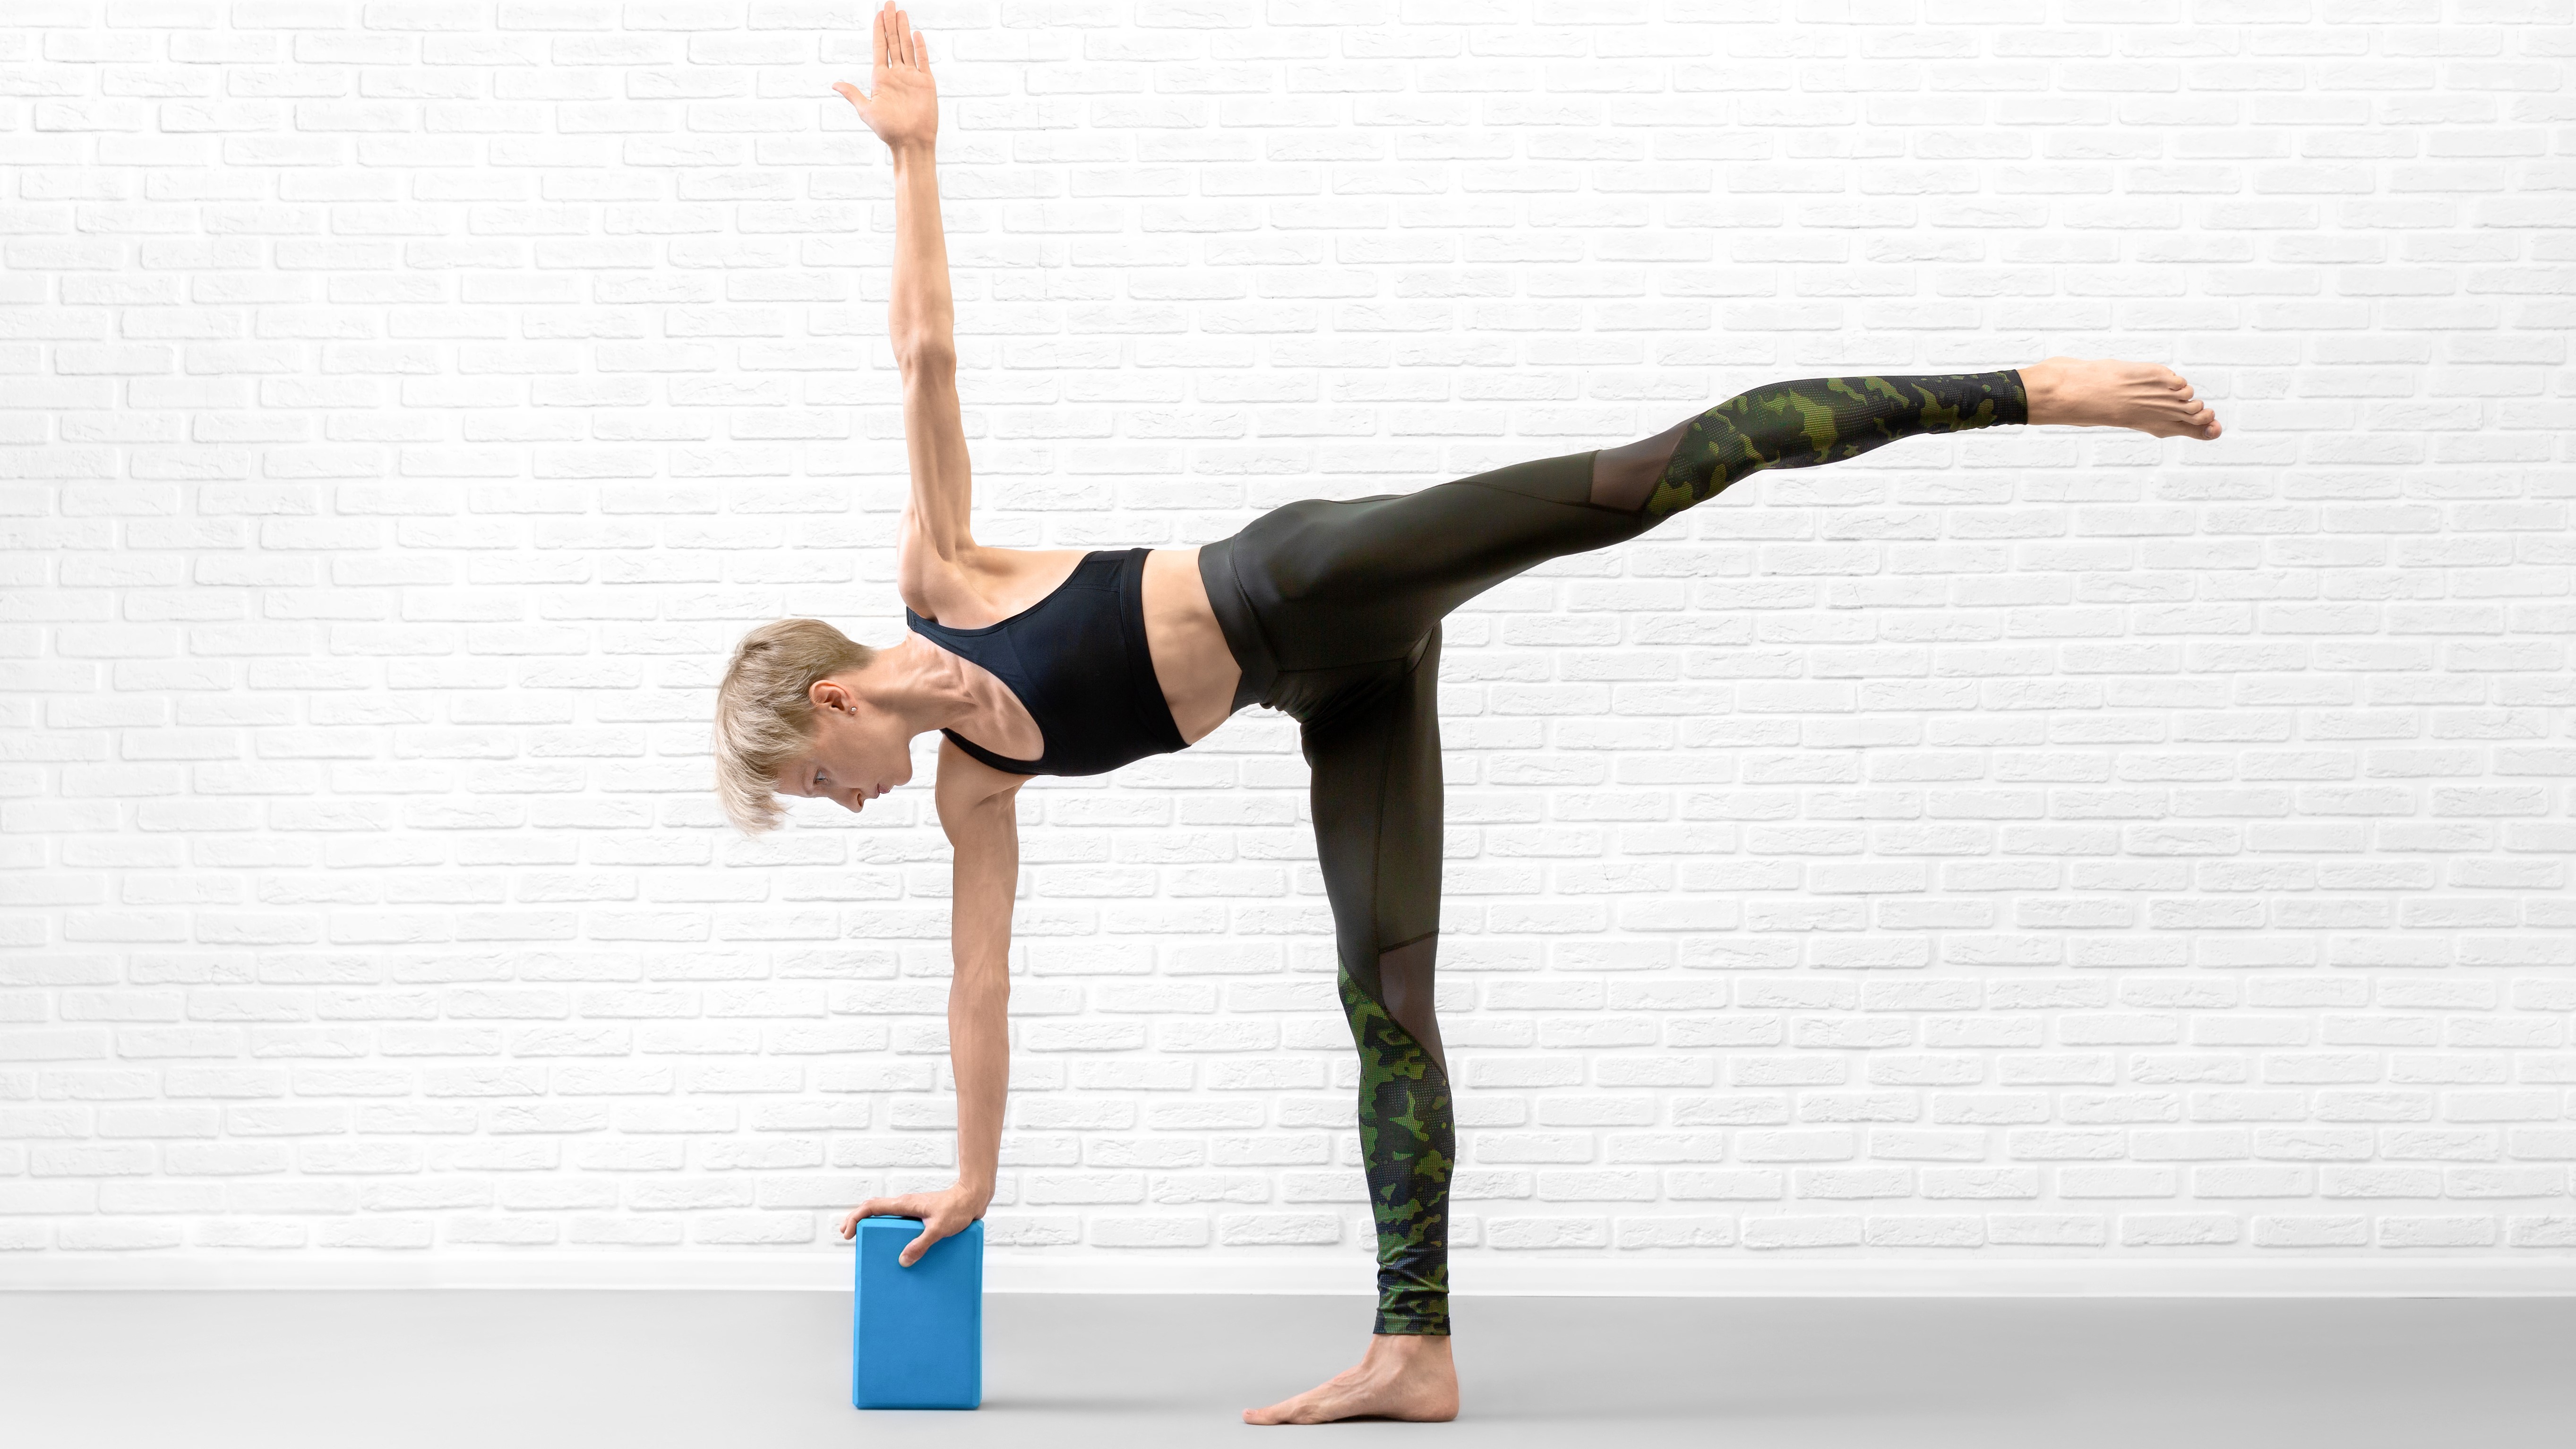
All of the previous exercises draw your leg straight back in hip extension, and are great for strengthening your gluteus maximus, but let’s not forget about your glutes medius and minimus which also perform the important role of abducting your hip, or taking your leg out to the side. These muscles perform an important role in hip stability and are useful for hiking or running over uneven terrain, and activities like cross country and skate skiing. We tend not to strengthen them much unless we really focus on it, so it’s helpful to include Half Moon in your yoga routine.
How to do it: Step your feet wide on your yoga mat, then turn your right toes to face the short edge of your mat. Hold a yoga block or a book in your right hand, bend your right knee and place the block on the floor in front of your right foot. Place your left hand on your left hip. Hop your left foot in a few inches so you can slide the block forward and diagonally out to the right, so it isn’t directly in front of your right foot as that will make it more difficult to balance. Push your right foot down and float your left leg up, leading with the pinkie toe edge of your left foot, so your balance on your right foot and right fingertips. Squeeze your outer glutes on your left hip to lift your left leg as high as it will go.
To come out, bend your right knee and carefully place your left foot back down on the mat. Rise up to standing and bring your feet back to a parallel, wide stance. Move the block into your left hand, turn your left toes to face the back edge of your and repeat the pose on the other side.
Julia Clarke is a staff writer for Advnture.com and the author of the book Restorative Yoga for Beginners. She loves to explore mountains on foot, bike, skis and belay and then recover on the the yoga mat. Julia graduated with a degree in journalism in 2004 and spent eight years working as a radio presenter in Kansas City, Vermont, Boston and New York City before discovering the joys of the Rocky Mountains. She then detoured west to Colorado and enjoyed 11 years teaching yoga in Vail before returning to her hometown of Glasgow, Scotland in 2020 to focus on family and writing.
