Yoga for skiers: 10 essential poses for recovery
Our yoga for skiers sequence is designed to stretch out the muscles you use the most in skiing so you can relieve aches and pains and get back on the hill faster
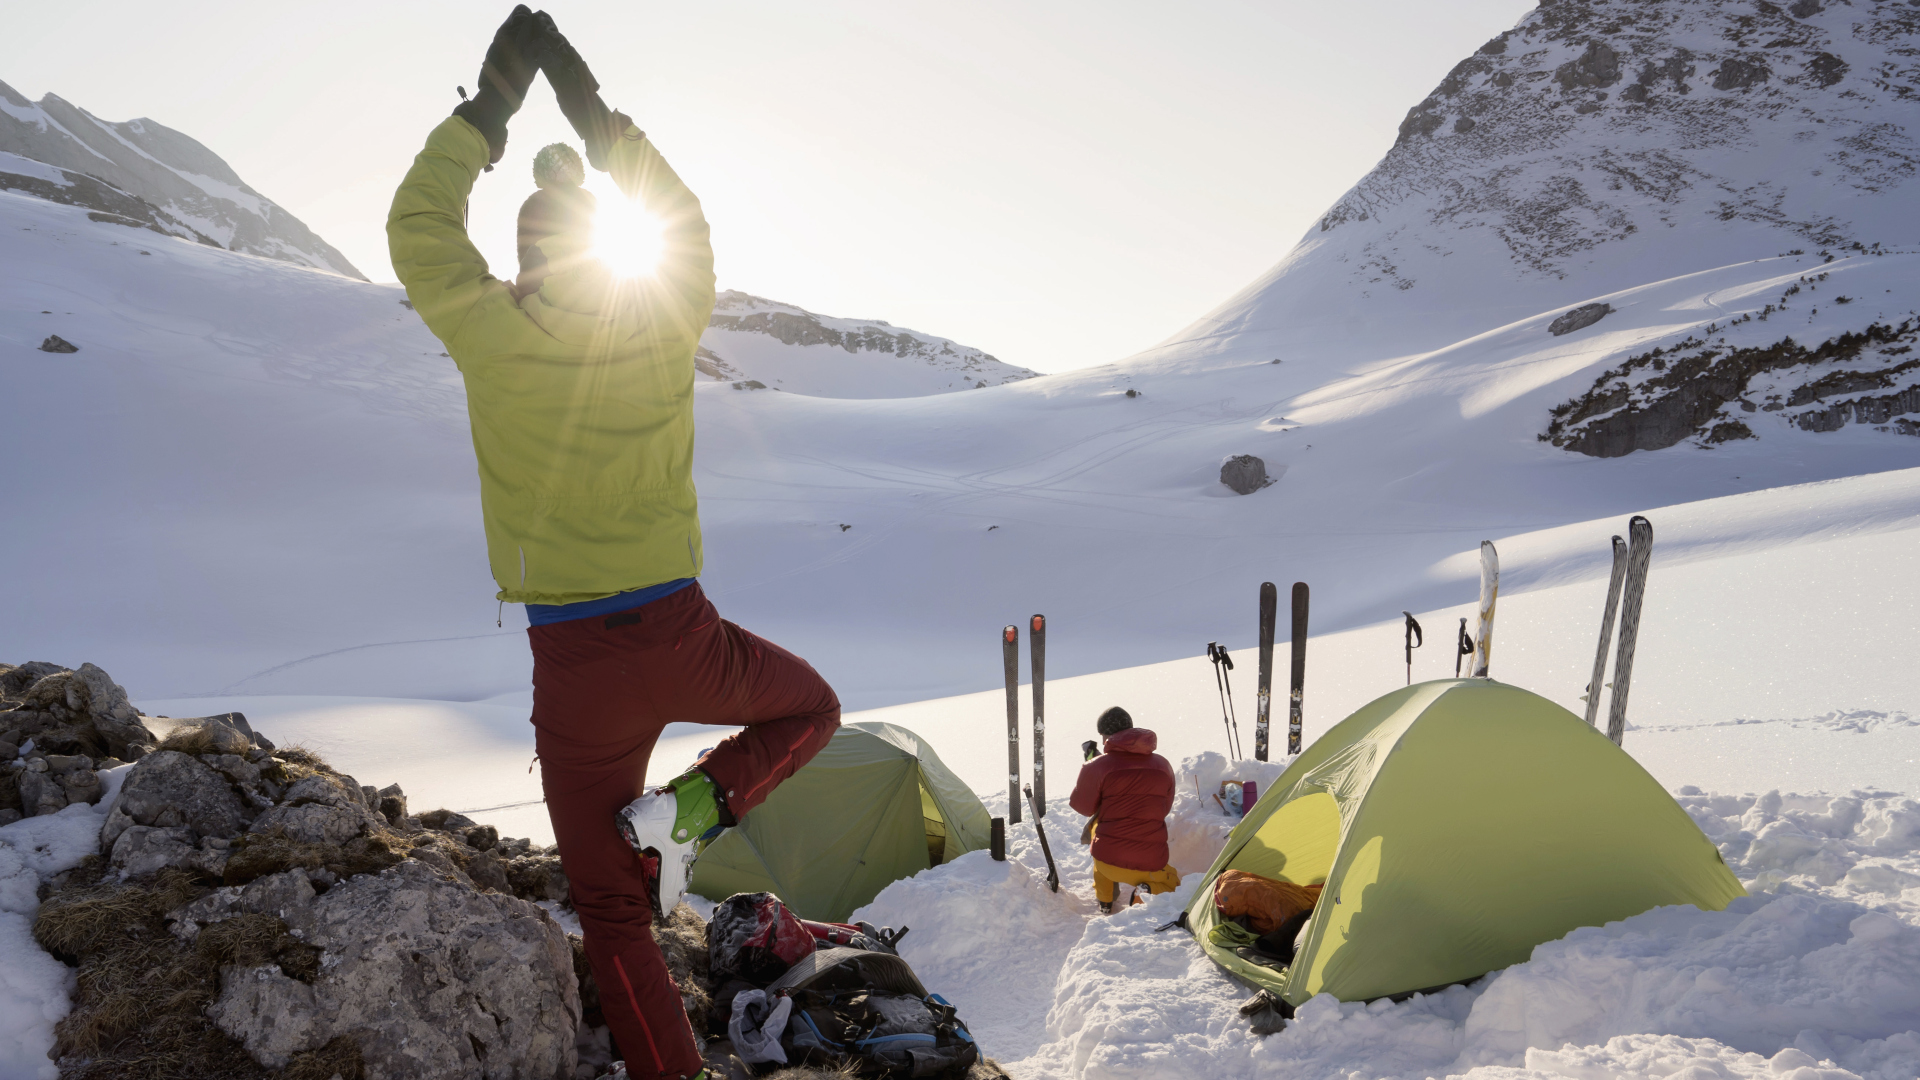
If you’re a skier, you know that skiing uses your leg muscles in a way that no other activity can. No matter how in shape you already are and how much time and effort you put into ski conditioning in the lead up to winter, it’s virtually impossible to avoid that early season burn during and after your first few days on the hill. So we created this yoga for skiers sequence to help you stretch out and unwind from a day of shredding.
Skiing really uses your full body, but there are certain muscles that bear the brunt of the work, whether you’re cross country skiing or alpine skiing. The number one muscle group that tends to be sore after a day on skis are your quads, which are either working in eccentric contraction to slow you down on the slopes or to power your forward in cross country. It’s also common to notice that your feet muscles, calves, hamstrings and glutes can be quite sore after skiing.
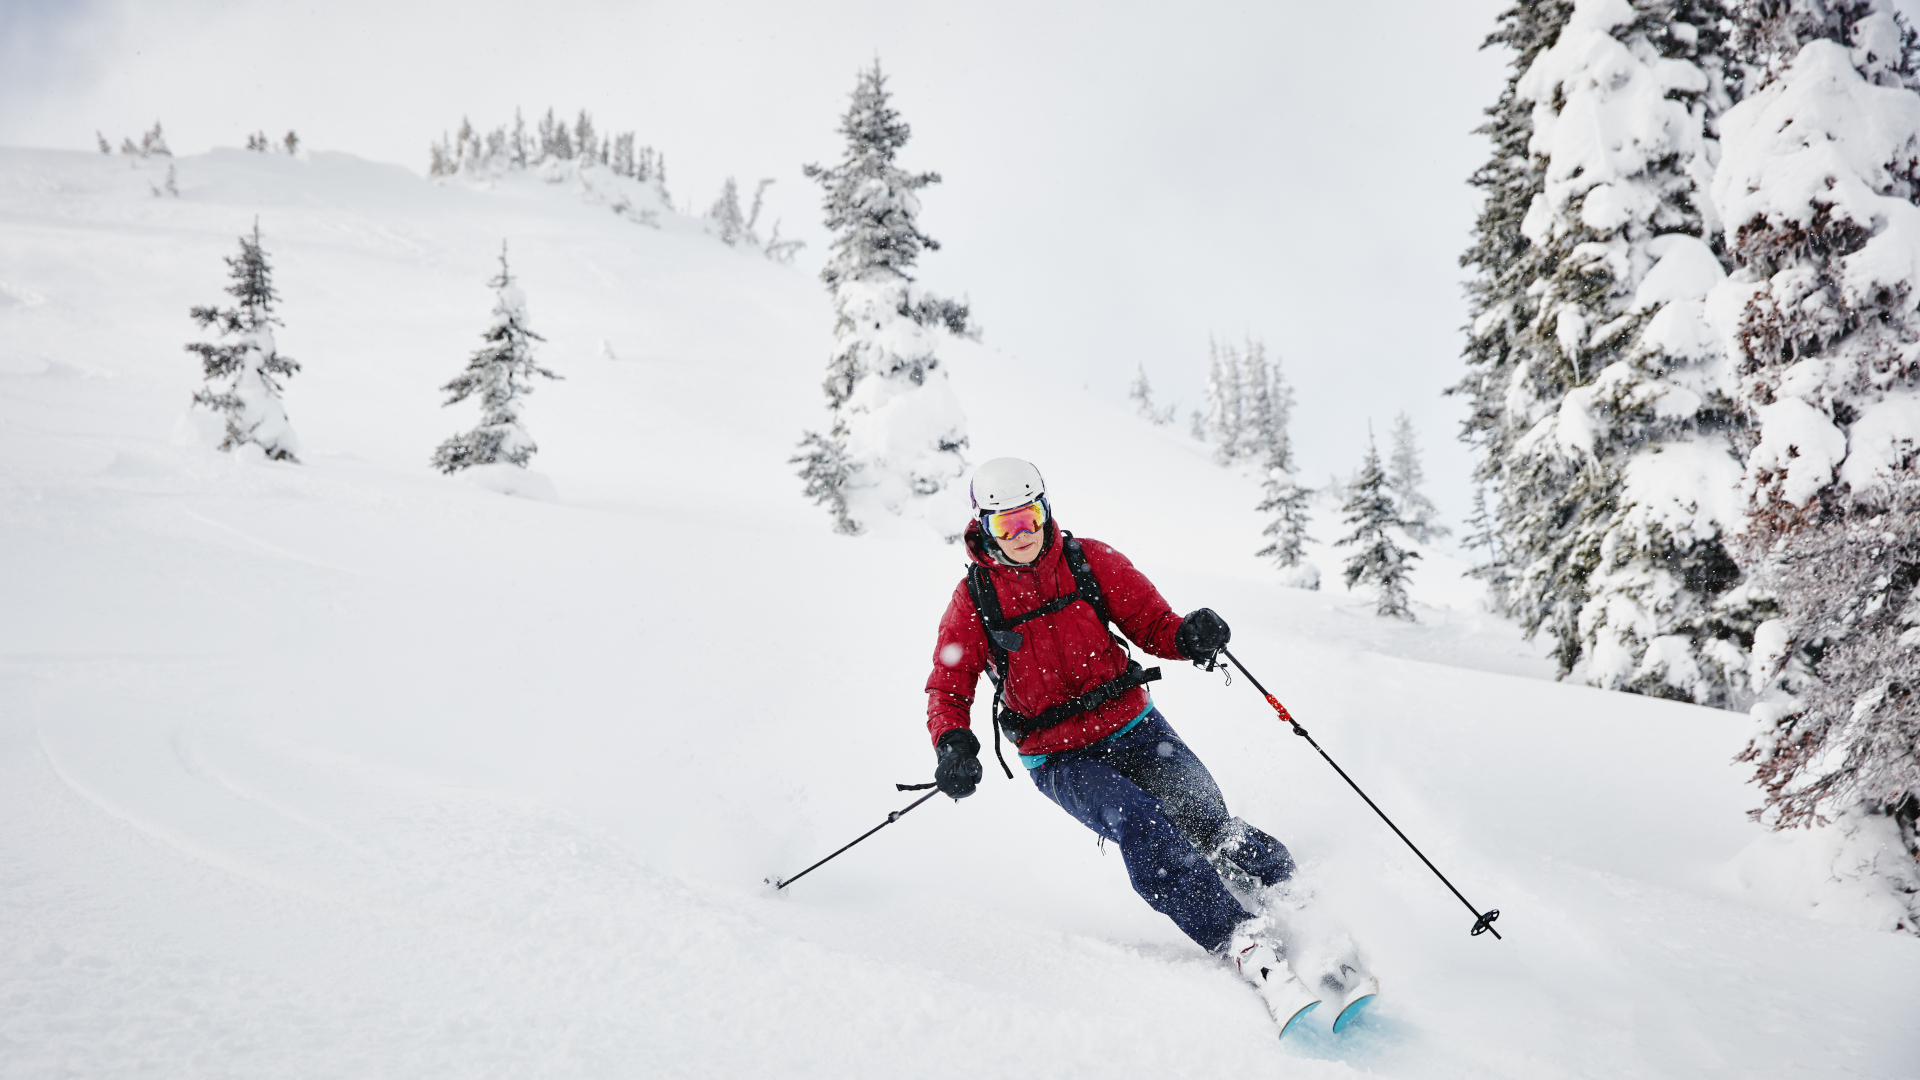
Although skiing certainly uses your abs and, for cross country skiers, your arms and shoulders, our yoga for skiers sequence focuses on your lower body to target the muscles that work the hardest when you’re skiing, beginning with your feet and ankles and working up to your hips.
Though the jury is still out on how stretching helps with muscle soreness, many of us find it an effective way to offset the workout you get while skiing, and the movements of these yoga poses help to restore range of motion to joints like your ankles, knees and hips that are being strengthened within a relatively short range of movement during skiing. Further, skiing is a pretty high adrenaline activity and the slow, meditative nature of yoga can be a great way to restore balance to your nervous system.
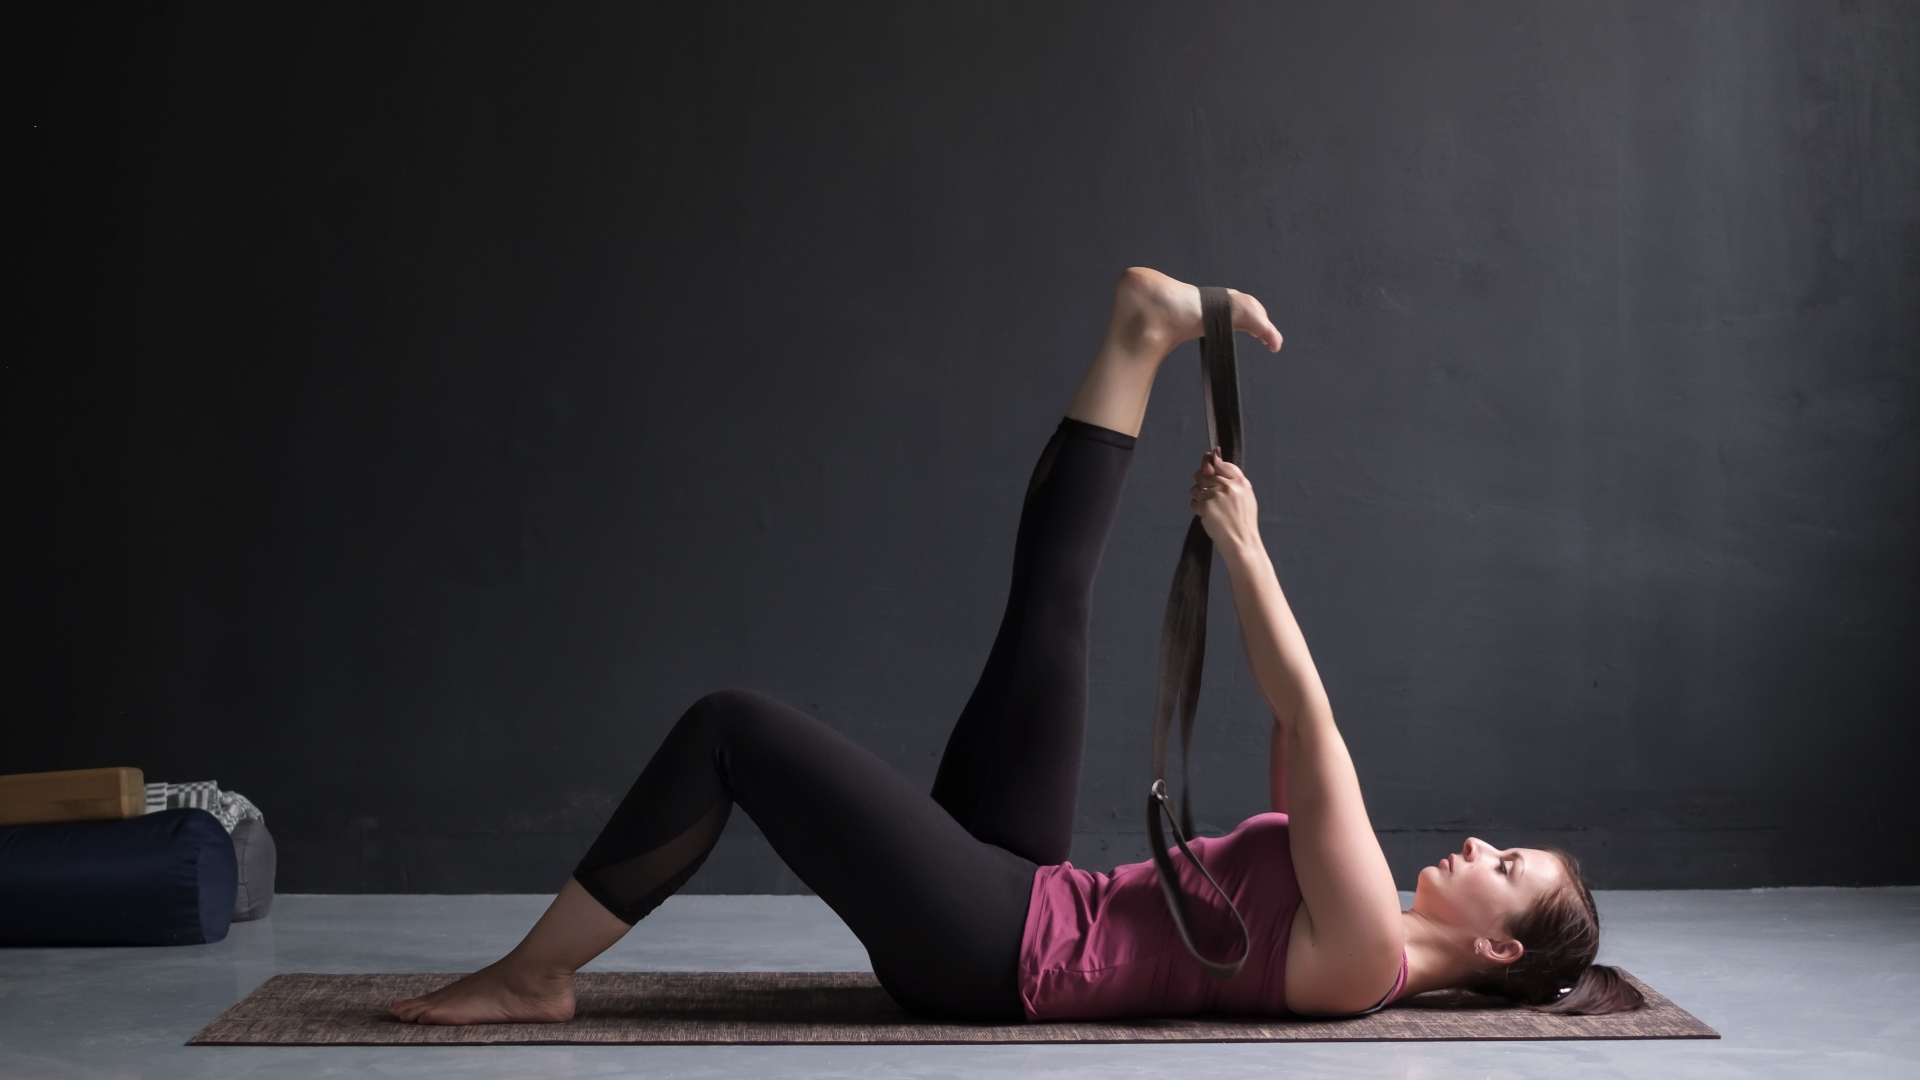
Once you get your ski pants off, pull on some leggings, grab a yoga mat and a couple of yoga blocks or large books and follow this short, simple sequence for recovery. Skip any postures that aren’t appropriate for your body.
You might also be interested in our yoga for hikers sequence if you’re snowshoeing this winter.
1. Hero’s pose (1-2 minutes)
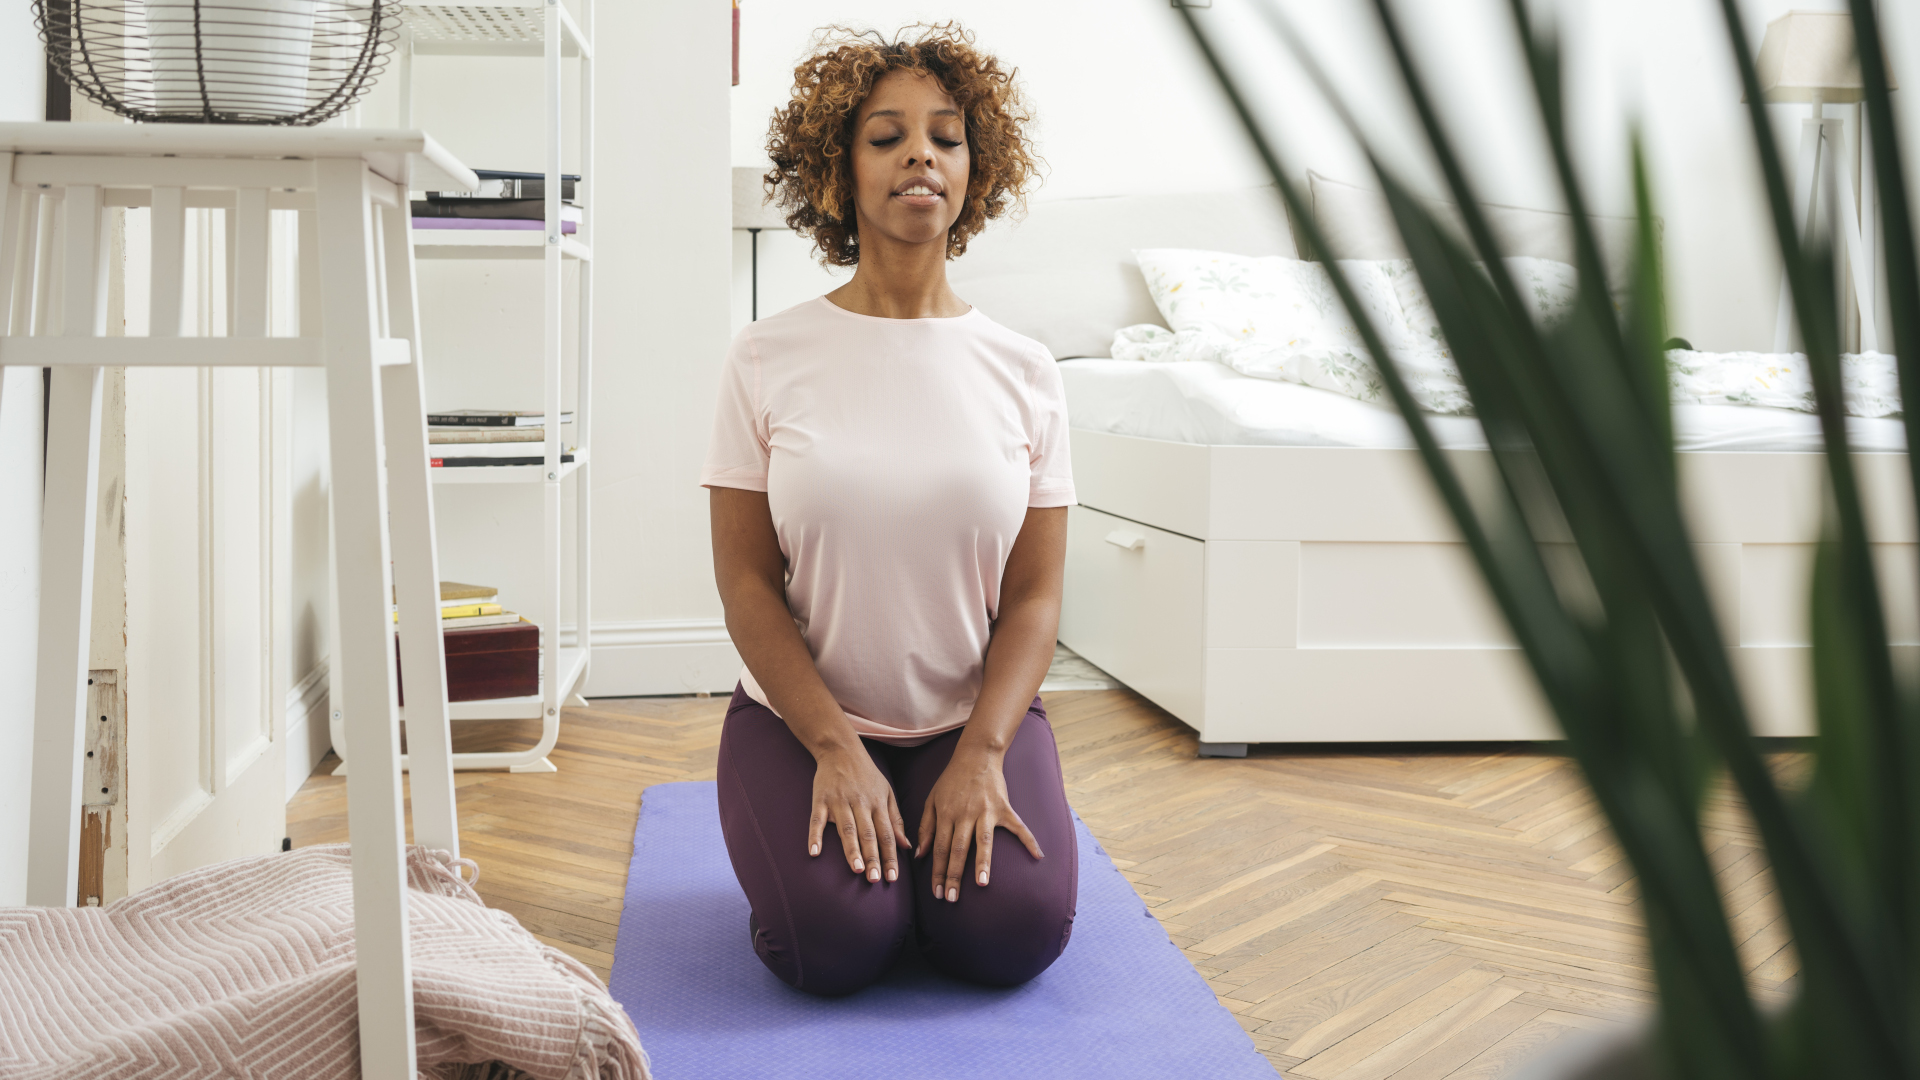
The front of your ankles can be stiff and sore after using your ankles to turn and stop on the snow, and if you’ve been riding a ski lift, you’ve probably been dorsiflexing your ankles a lot to counter the weight of your skis.
All the latest inspiration, tips and guides to help you plan your next Advnture!
To begin your practice, come onto hands and knees, untuck your toes and then slowly sit back on your heels.
If your knees don’t allow you to do this pose as pictured, you can either keep your hands on the ground in front of you and your weight a little forward, or slide a folded blanket or towel in between your calves and hamstrings to add some more space for your knee joints.
Otherwise, let your weight come back into your hips and as they sink down on to your heels, feel your ankles get a good stretch in plantar flexion. Relax your face and shoulders and take deep, slow breaths here.
This posture has the added benefit of starting to stretch out your quads, too.
2. Toes pose (30 seconds-1 minutes)
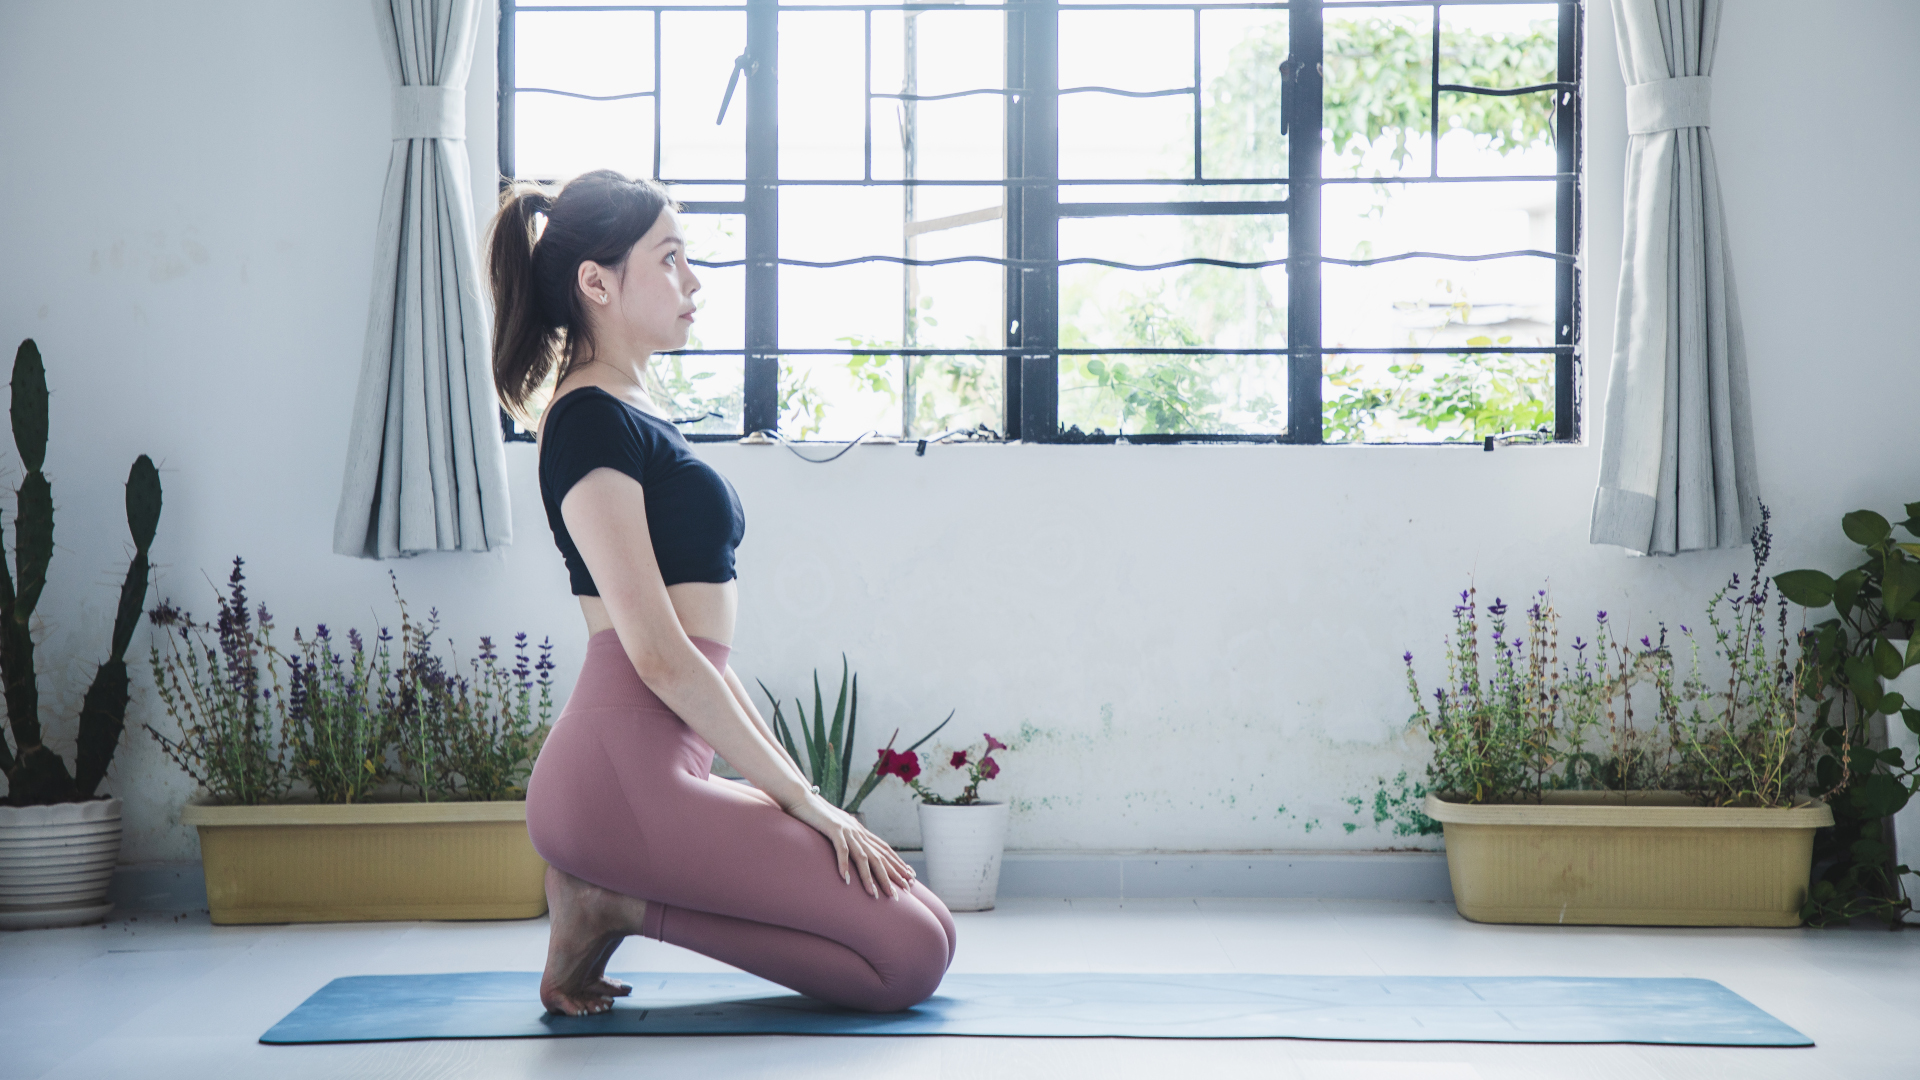
Good turns come from your feet and no activity uses your feet quite like skiing does. Plus your feet have been jammed into stiff ski boots all day, so it’s common to have sore feet.
From Hero’s pose, come onto your hands and knees for a few moments, then tuck your toes under and sit back on your heels again. This time, you’ll feel a good (read as: intense) stretch on the bottoms of your feet, Achilles area and calf muscles. Don’t hold your breath.
3. Downward dog (1-2 minutes)
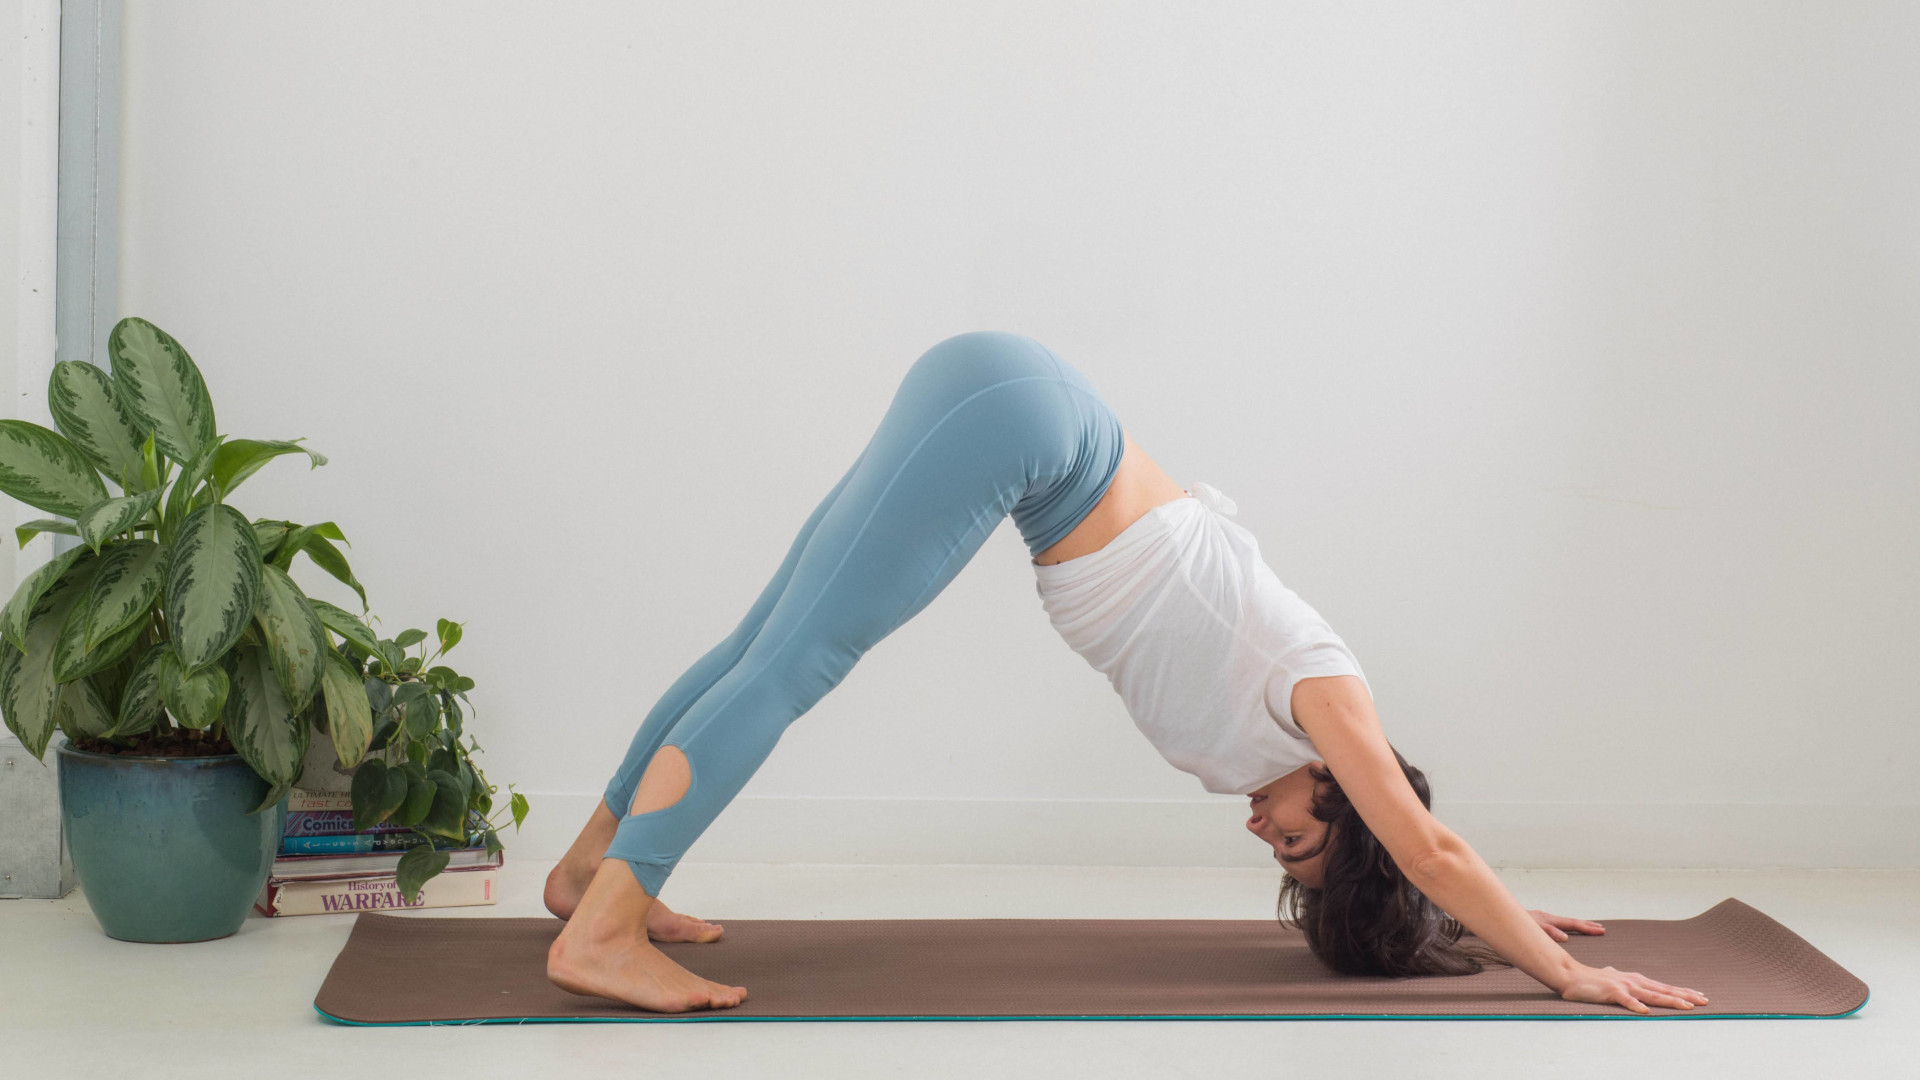
Turning, gliding and skating all rely on your calf muscles to stabilize your ankles and your calves can be a little harder to access when it comes to stretching.
Fortunately, yoga’s best-known pose is a great calf stretch. After Toes pose, come back to hands and knees for a few moments to recover, then move your hands forward about one hand print. Tuck your toes under and lift your knees and hips, making an upside down V shape with your body. To start, bend both knees a little so you can push down and forward with your hands and take the weight out of your wrists, sending your sitting bones up and back.
To access your calves, bend your right knee more deeply and straighten your left knee, sinking your left heel down toward the floor. After a couple of breaths, switch sides. Alternate between the two for a couple of minutes.
Of course, Downward dog also starts to stretch out your hamstrings too.
4. Forward bend (1-2 minutes)
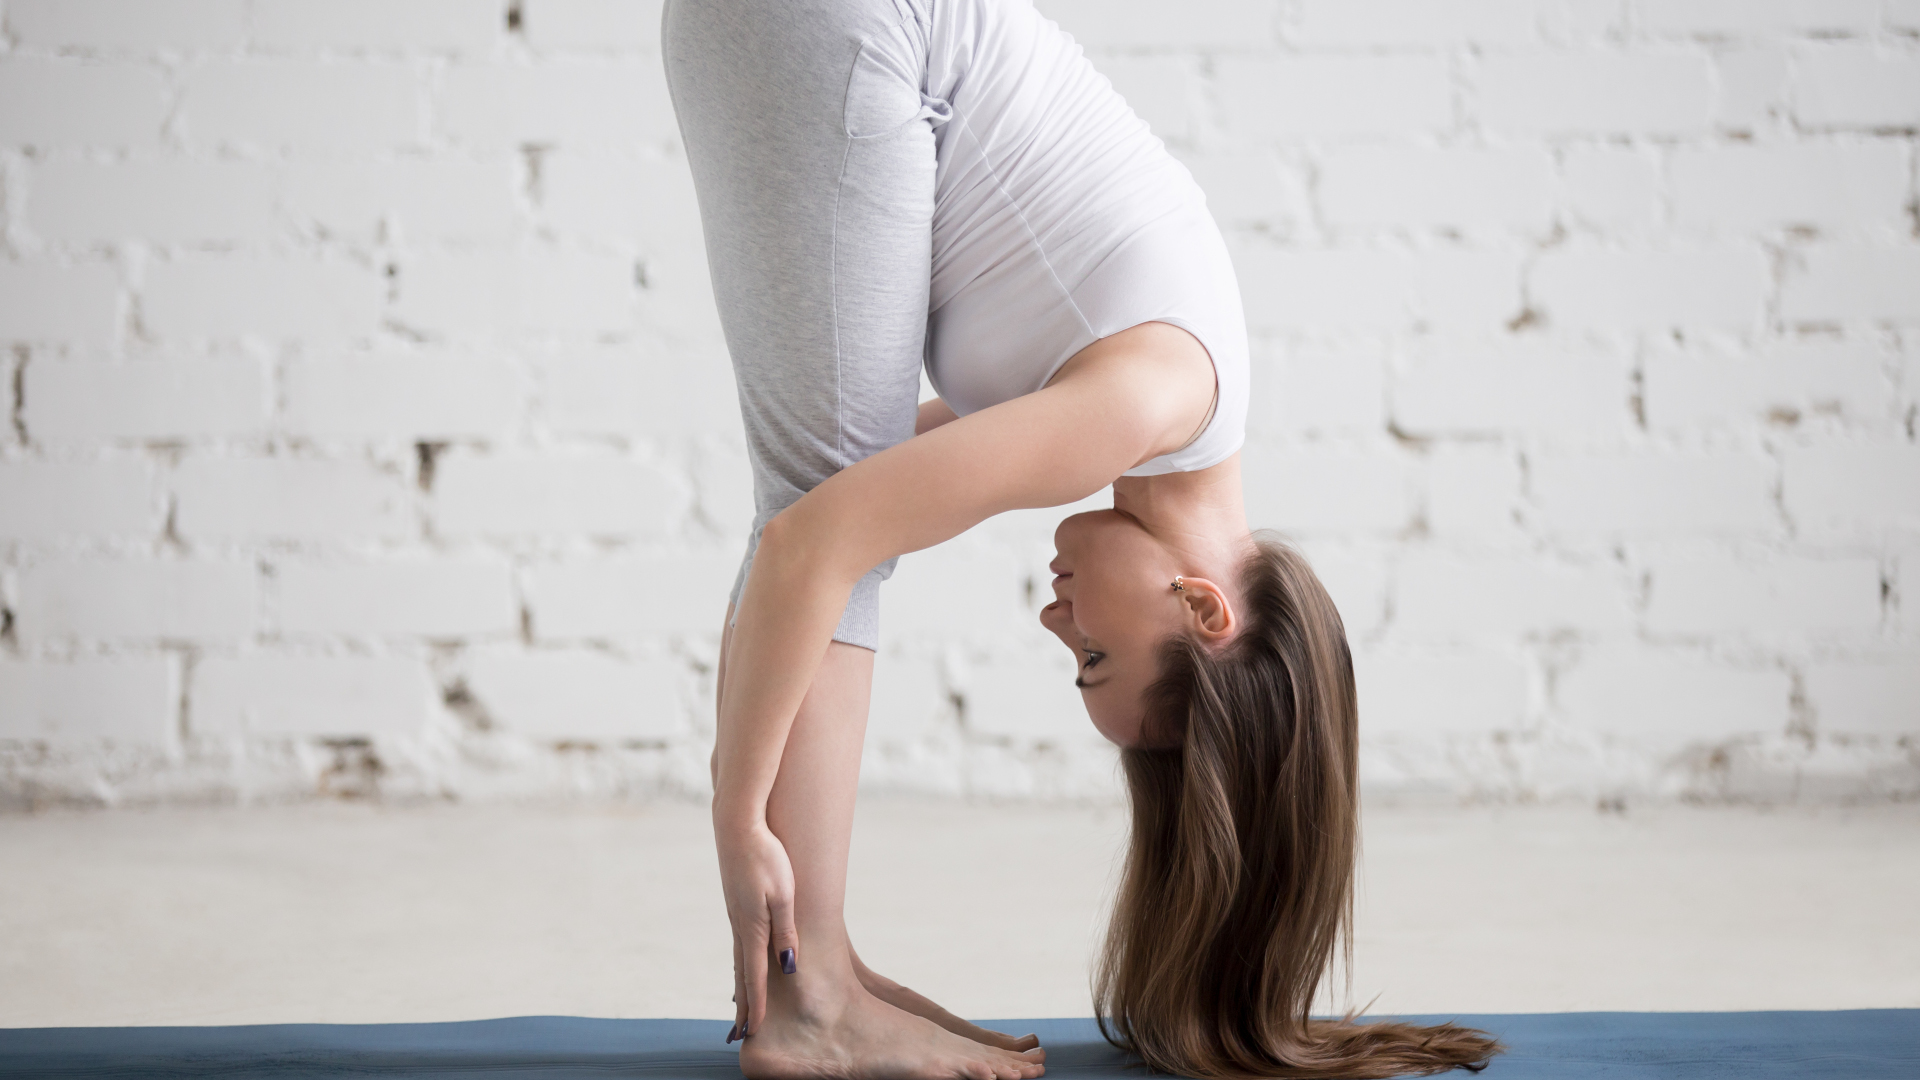
Speaking of your hamstrings, they do a lot of work in skiing since your knees are almost always bent.
From Downward dog, walk your feet up to your hands until you’re in a standing forward bend at the top of your yoga mat. Get your weight completely off your hands, bend your knees any amount that feels comfortable and let your torso hang forward.
You can have your hands on the ground, or if your low back needs a bit more support, place them on your shins or thighs. Relax your face, neck and shoulders here.
This posture also gets your glutes.
5. Low lunge (1-2 minutes)
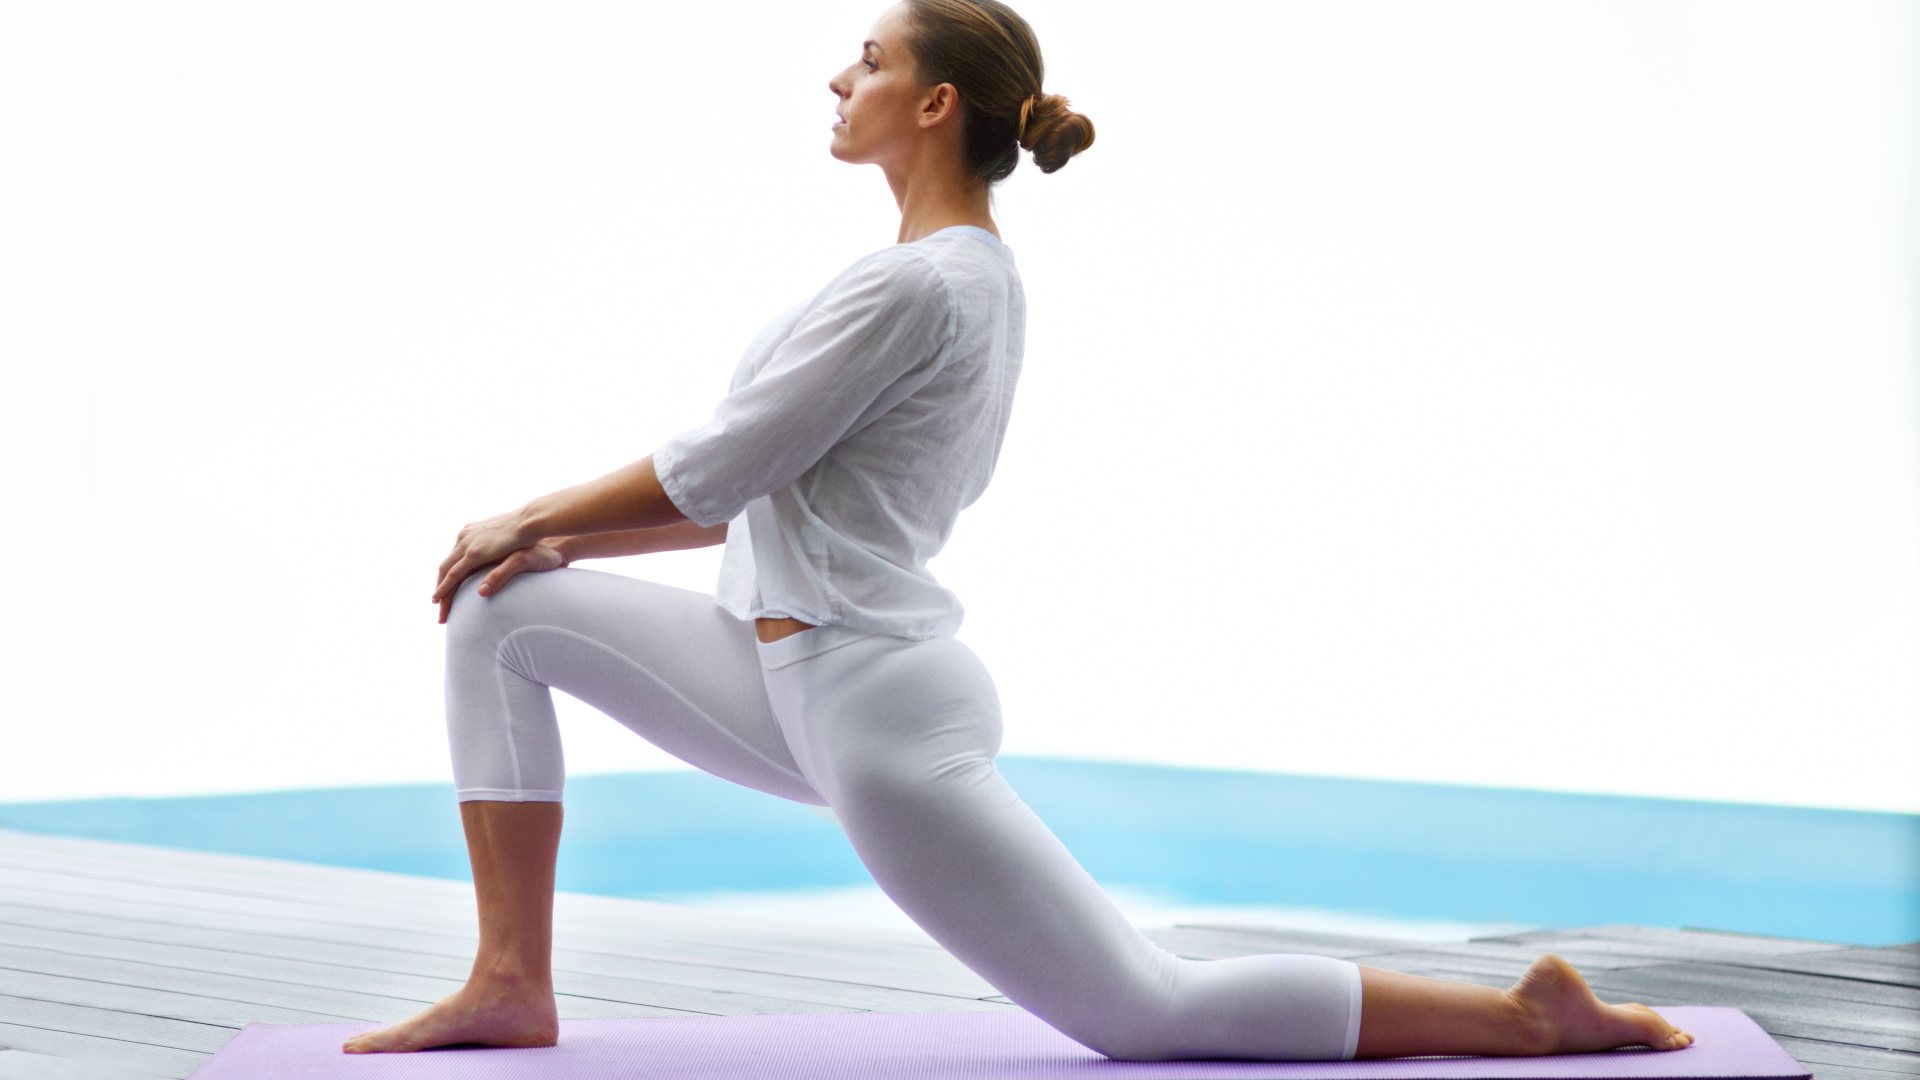
Your hip flexors and quads do a lot of work no matter what type of skiing you do. In alpine skiing, they slow you down and in uphill skiing, cross country and skate skiing, they propel you forward. These muscles are typically the most sore and tired after a long day of skiing and one of the best postures is a simple lunge.
From Forward bend, simply step your left foot back and lower your knee down into a Low lunge. Make sure your knee is far enough back that your left thigh is at a diagonal. Gently sink your hips forward. You can keep your hands on the ground on either side of your right foot, or for a little more stretch, climb your hands up on your right thigh as pictured.
This pose will start to stretch out your quads and hip flexors on your left leg.
6. Half splits (1-2 minutes)
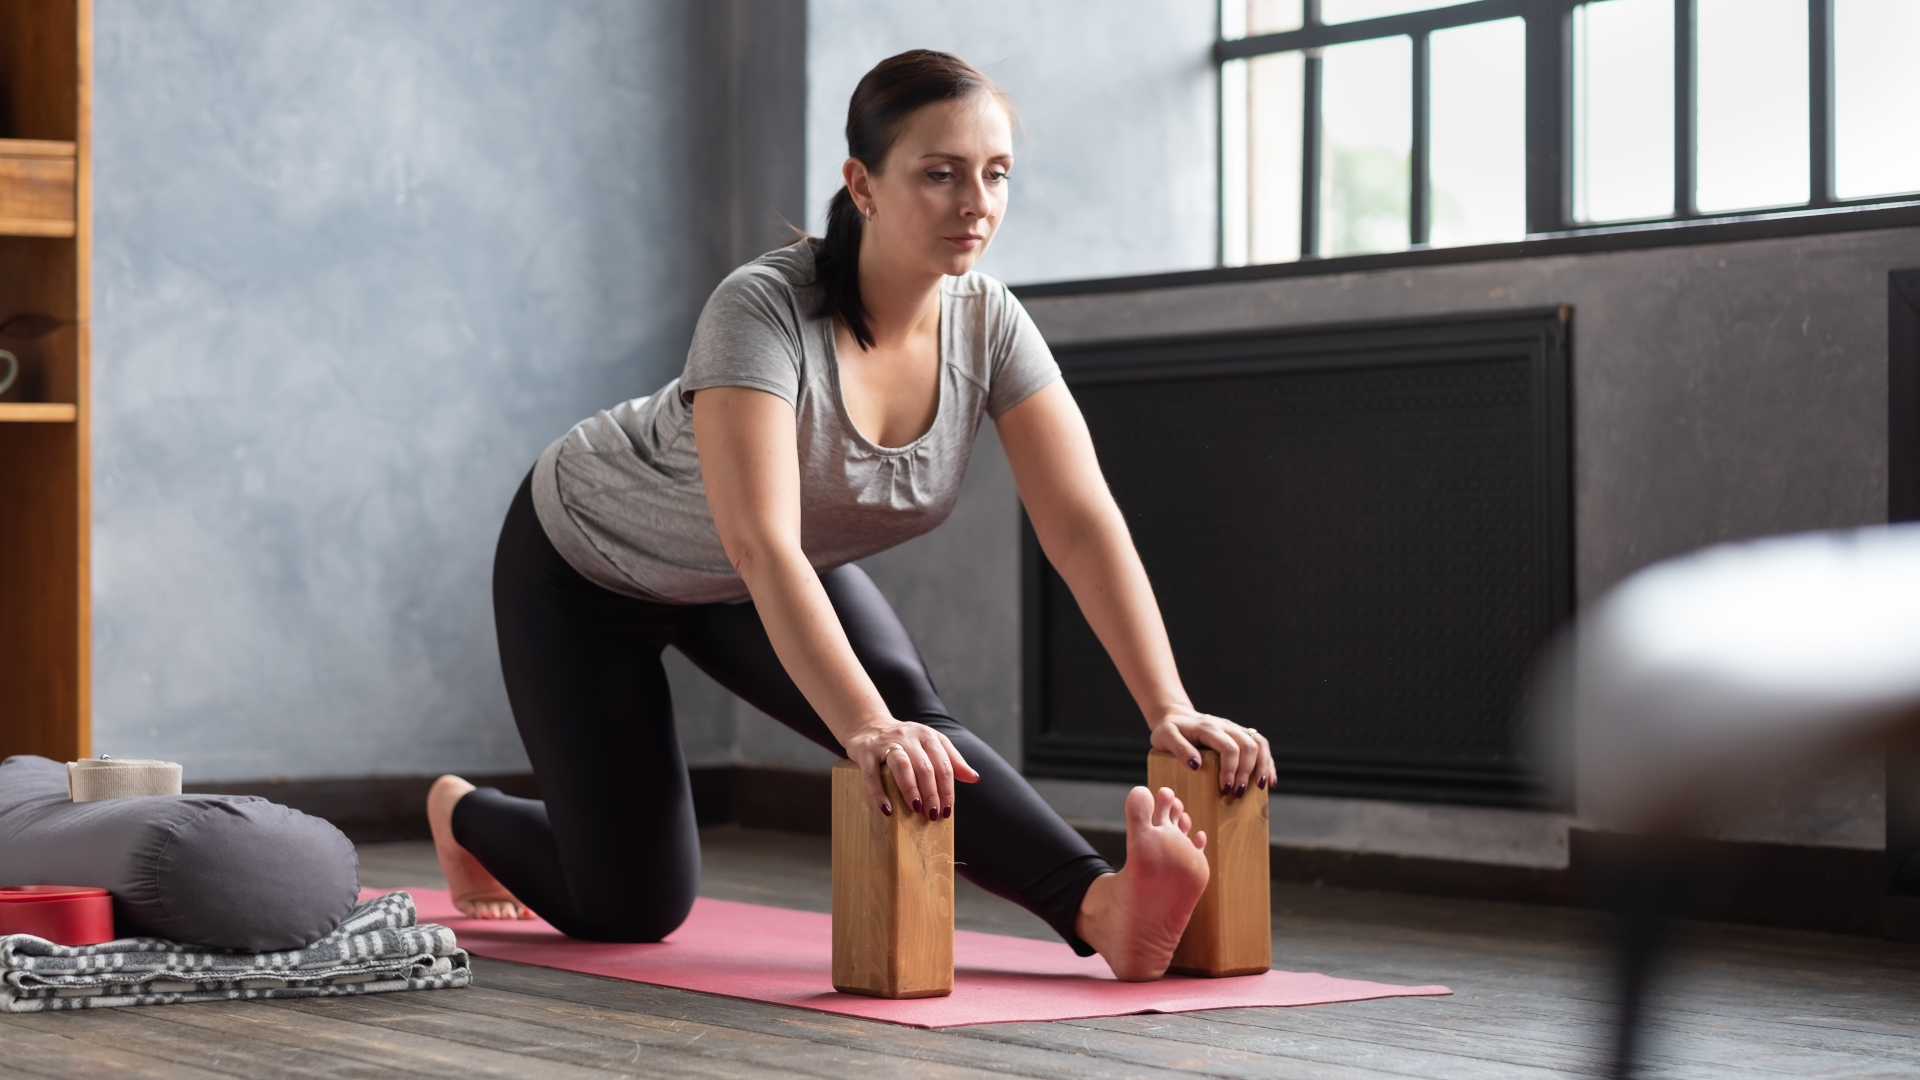
To get a break from your quads and hip flexors, and get a little deeper into your hamstrings, bring your hands down onto your yoga blocks or books and slowly straighten your right leg (don’t worry if it doesn’t straighten all the way).
Your hips will move back over your left knee and you may have to slide your right heel an inch or two forward. Draw your sitting bones back and your chest forward, then rock your toes slowly from side to side.
For an added stretch in your hamstrings and calves, dorsiflex your ankle as if trying to point your toes back towards your face.
7. Quad stretch (1 minute)
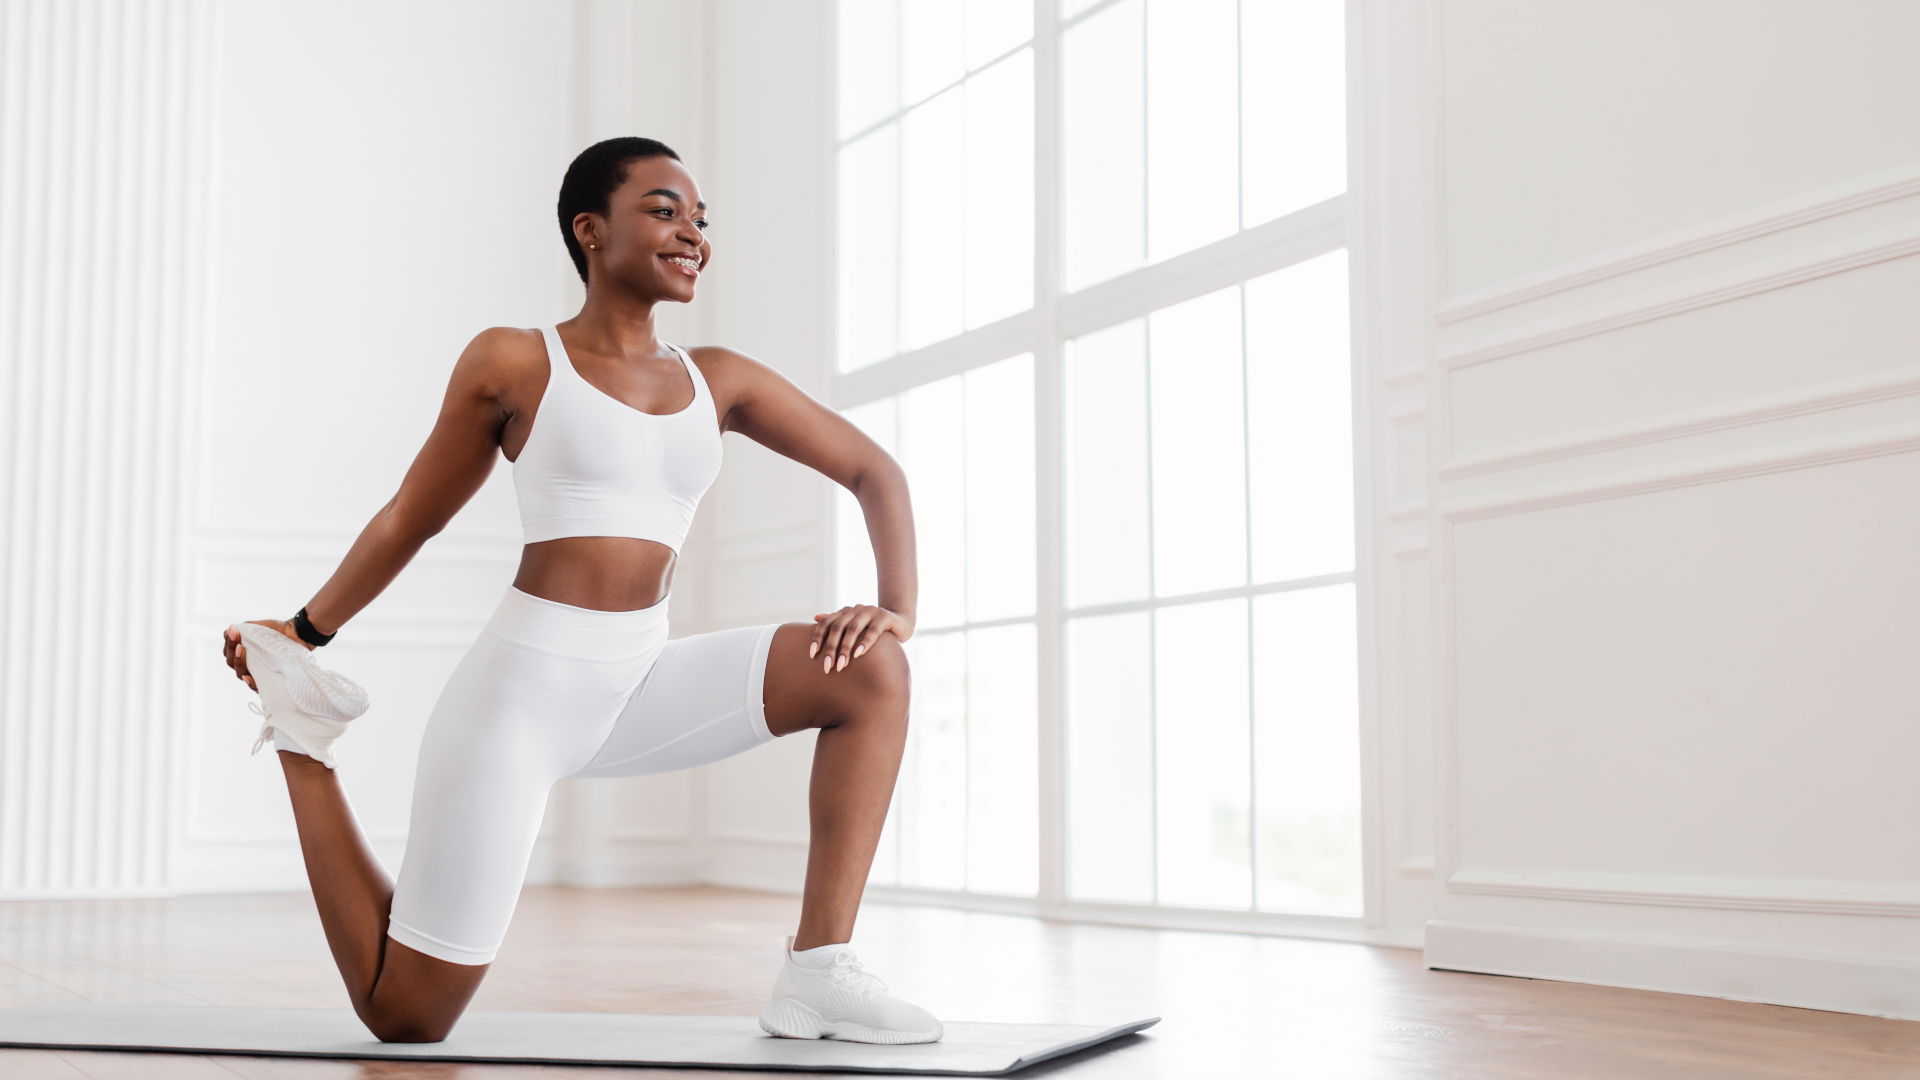
If this posture isn’t appropriate for your knees, simply skip it and move onto the next section.
If your quads need more of a stretch, bend your right knee back into lunge and place your hands on your right thigh again.
Bend your left knee and reach your left hand back to hold your foot or ankle. You can alternate between drawing your heel in close to your glutes, which stretches your quads more, and pressing your foot back into your hand and moving the sensation into your hip flexors.
When you’ve had enough, release your foot gently, step your left foot forward into a forward bend, then step your right foot back and repeat Low lunge, Half splits and Quad stretch on the other side.
8. Child’s pose (2 minutes)
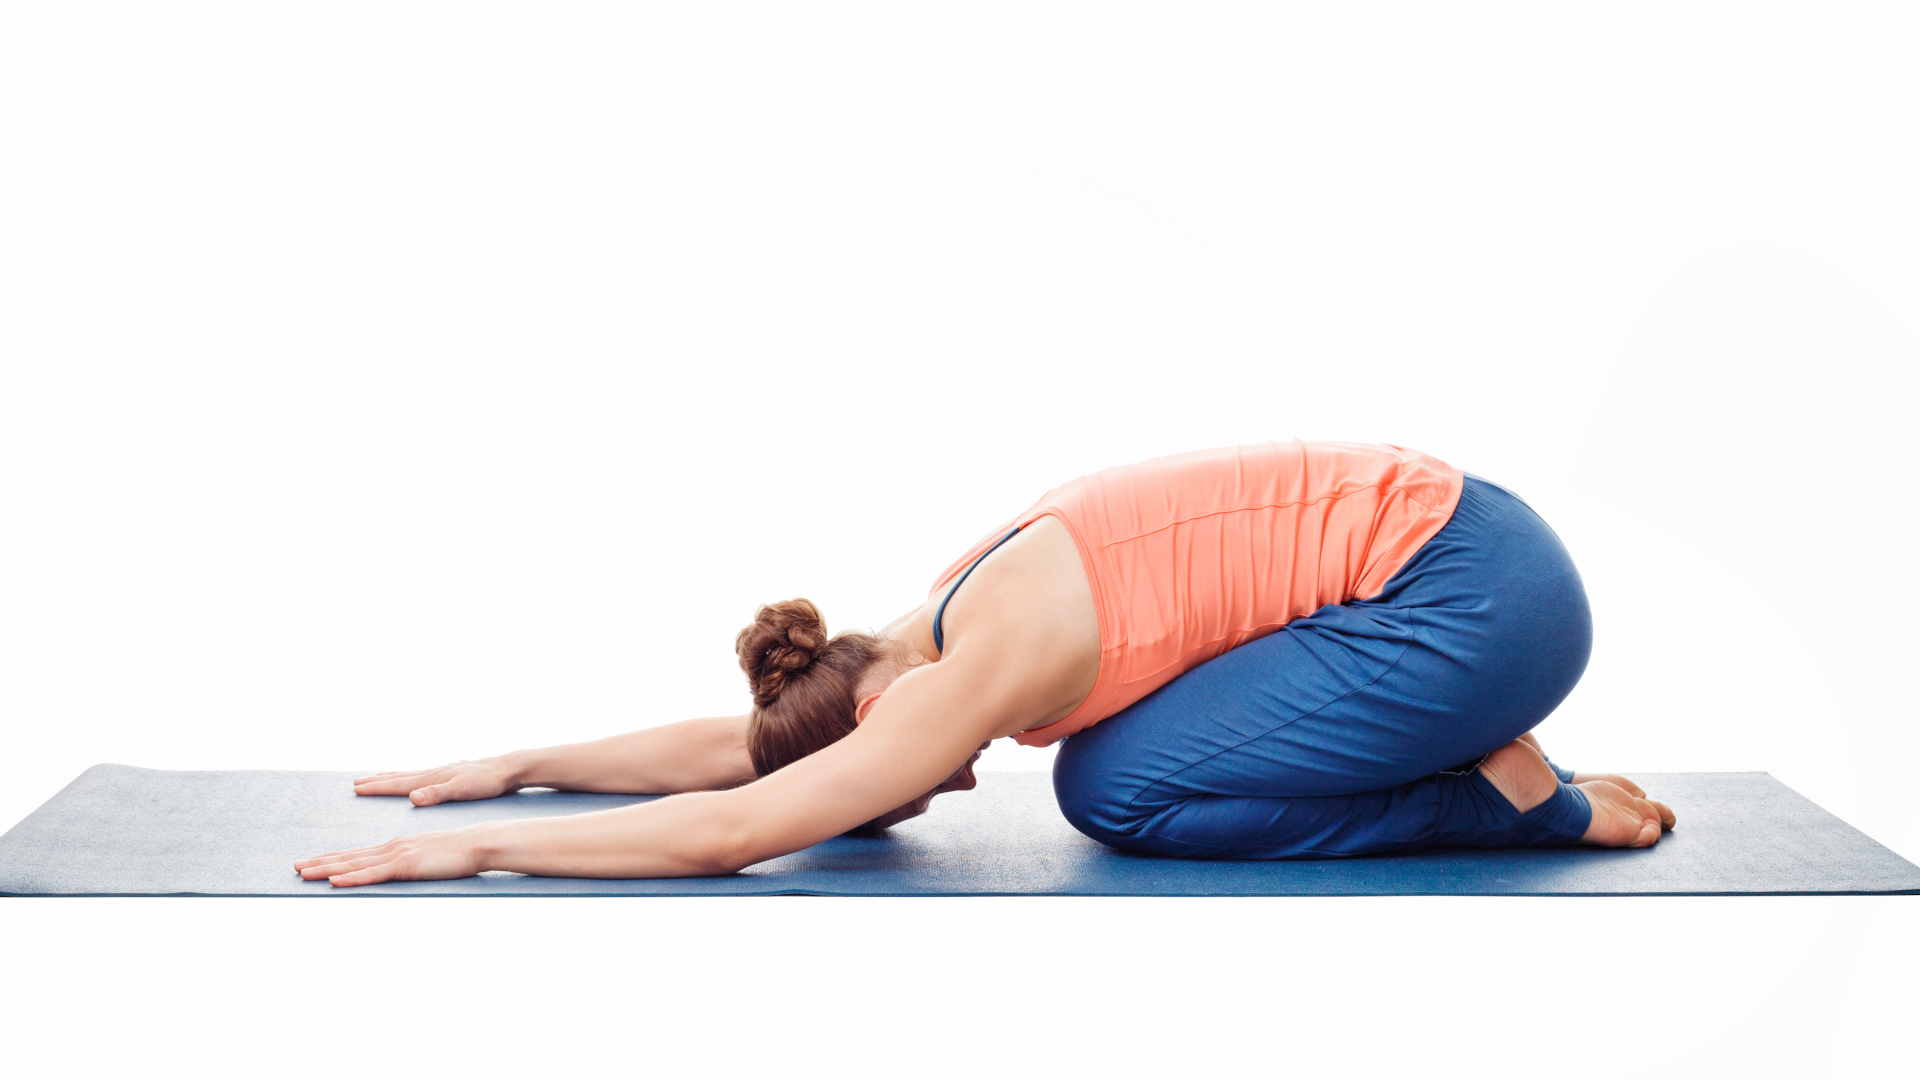
It’s time for one more stretch of your quads and you might want a rest after the previous postures. From your second Quad stretch, just slide your left leg back so you’re on hands and knees, untuck your toes and sit back on your heels. Bow forward to bring your chest to your thighs and either place your forehead on the floor or make a pillow with your forearms.
Feel free to close your eyes and deepen your breath again, enjoying a gentle stretch of your quads, glutes and back muscles.
9. Reclining pigeon (2 minutes each side)
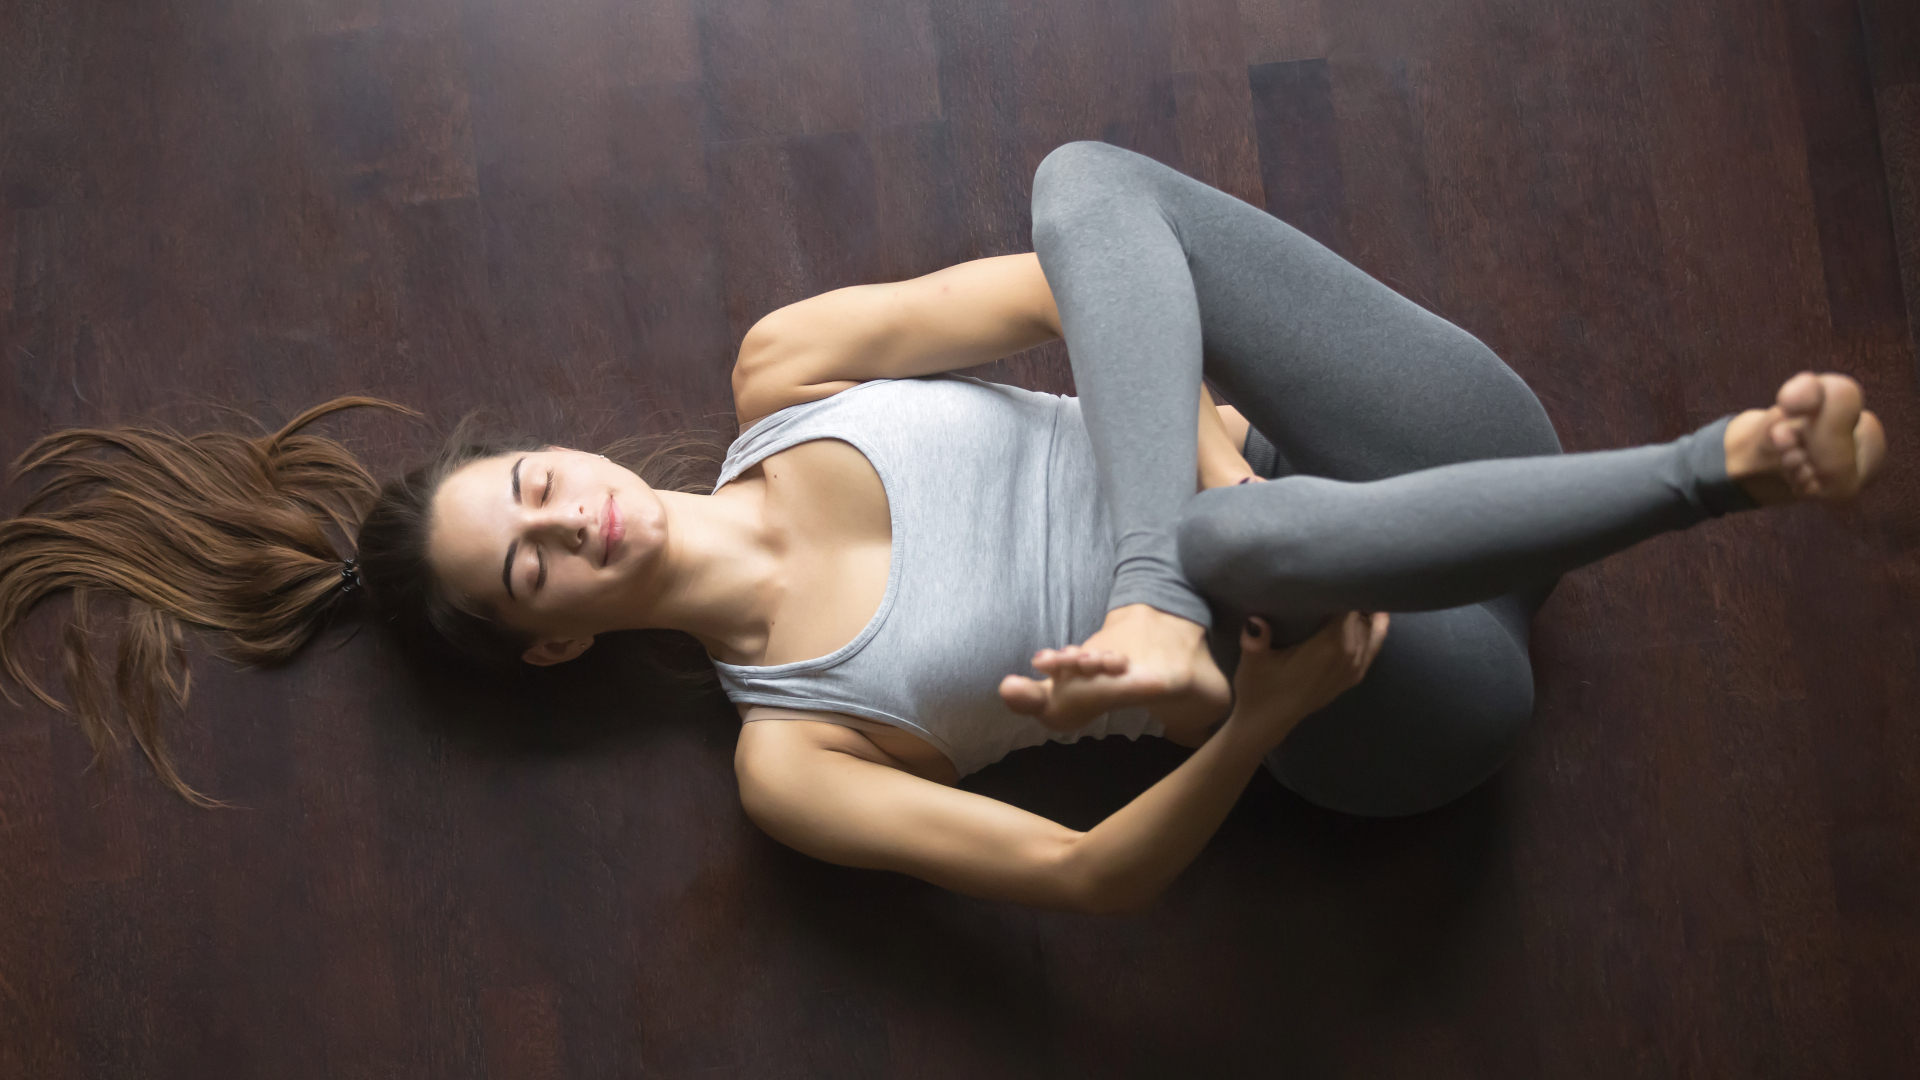
In all types of skiing, your hips stay in a fairly neutral position and move mostly in flexion and, in cross country skiing, extension. If you’re doing a lot of skiing, it can feel like you’re becoming quite stiff in your hips, so these final poses are designed to restore some hip mobility, particularly in external rotation.
From Child’s pose, come down to lying on your back. Bend your knees and cross your right ankle over your left knee. Draw your legs towards you and hold the back of your left thigh. Rock your legs slowly and gently from side to side and feel a good stretch on your outer glutes – these muscles work especially hard in skate skiing.
When you’re ready, release and change sides.
10. Reclining butterfly (2-5 minutes)
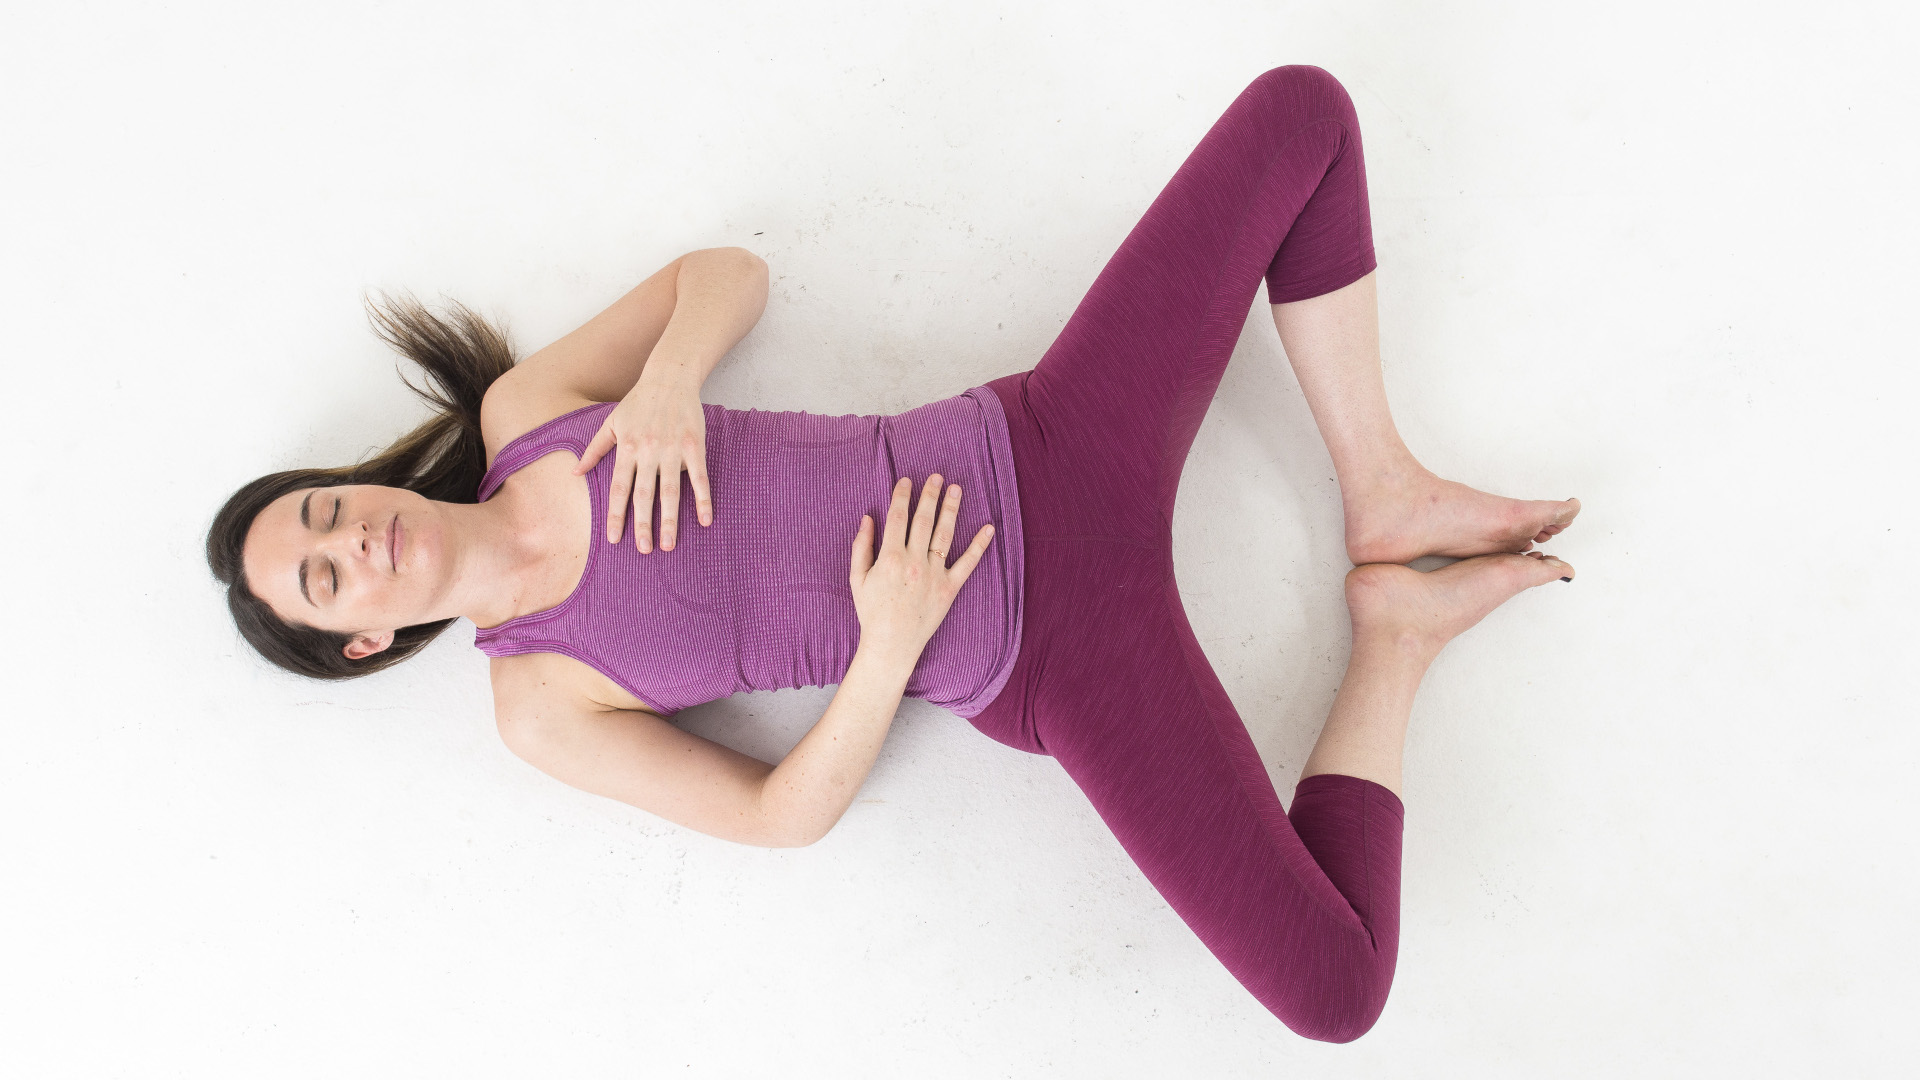
Your inner thigh muscles, called your adductors, are working all the time in skiing to keep your legs close to each other. These muscles might feel tight after skiing, or you might just be looking for the relief of external rotation in your hips.
Either way, finishing your practice with a Reclining butterfly is a great way to stretch your adductors and move your hips in a different direction. After Reclining pigeon, bend your knees, place the soles of your feet together and let your knees open wide. If you feel any pain or tension in your knees or hip joints, place your yoga blocks or some pillows under your thighs for support. Feel free to close your eyes here and relax as much as possible.
Julia Clarke is a staff writer for Advnture.com and the author of the book Restorative Yoga for Beginners. She loves to explore mountains on foot, bike, skis and belay and then recover on the the yoga mat. Julia graduated with a degree in journalism in 2004 and spent eight years working as a radio presenter in Kansas City, Vermont, Boston and New York City before discovering the joys of the Rocky Mountains. She then detoured west to Colorado and enjoyed 11 years teaching yoga in Vail before returning to her hometown of Glasgow, Scotland in 2020 to focus on family and writing.
