The 12 best yoga poses for hip opening
The 12 best yoga poses for hip opening help to ease stiffness, reduce pain and restore mobility for hikers, runners, skiers and climbers
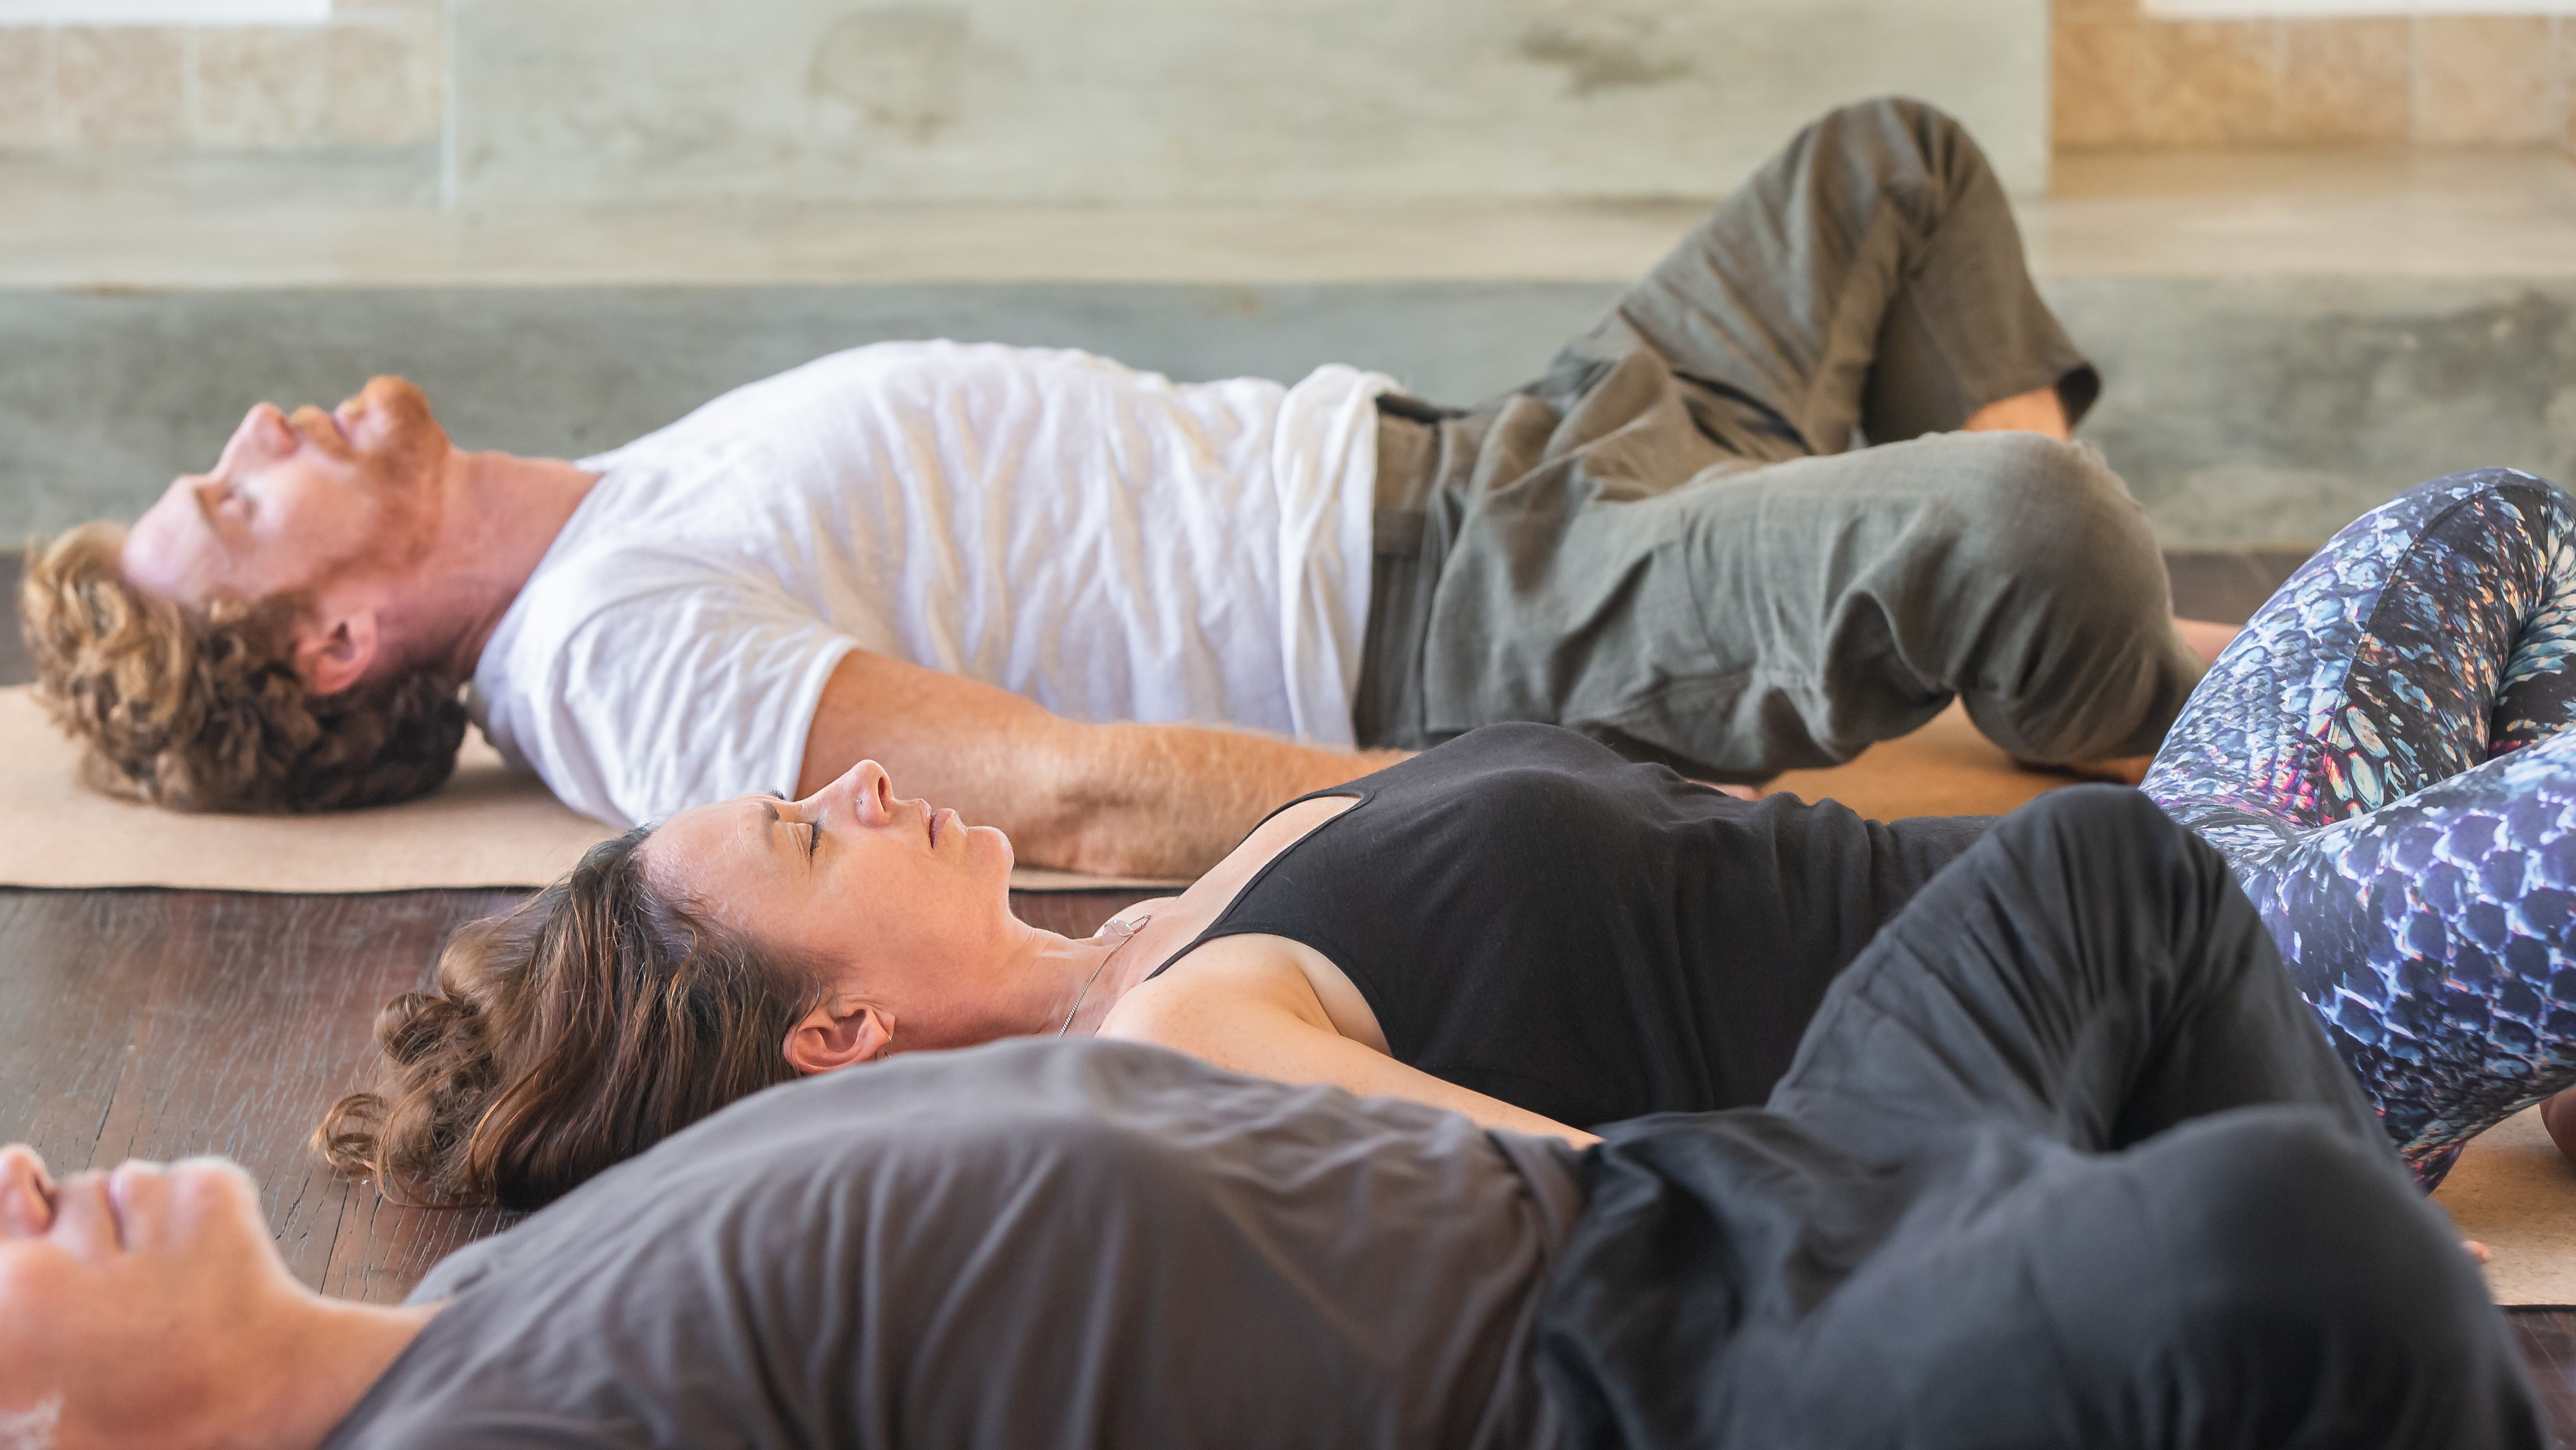
One of the great things about staying active is continually improving your strength and mobility, but sometimes, the movements of your chosen activity can lead to tightness and restriction in certain areas of your body. Perhaps nowhere is this more true than your hips, which do a lot of work to power you along the trails whether you're in hiking boots, trail running shoes or on skis. The repetitive movements of these sports can lead to restricted range of motion in your hips, and stiffness in your hips can affect your overall mobility, your performance and lead to low back and knee pain. That’s why it can be really beneficial to practice yoga poses for hip opening to stretch stiff muscles, lubricate your hip joint and retrain your nervous system to explore more range of motion.
Your hip muscles constitute a lot of different muscles that get heavy use out in the mountains, specifically your hip flexors, glutes, adductors and hamstrings, all groups of muscles that work together to move your hips in different directions. Usually, some of these muscles are overworked and tight (think: hip flexors) while others, such as your glutes, might be underused and weak. To strengthen these muscles, check out our articles on pilates for running and yoga for leg strength. This article focuses on restoring ease and mobility in your hips which will come in handy whether you’re scrambling up a steep slope or sending a figure 4 move at the crag.
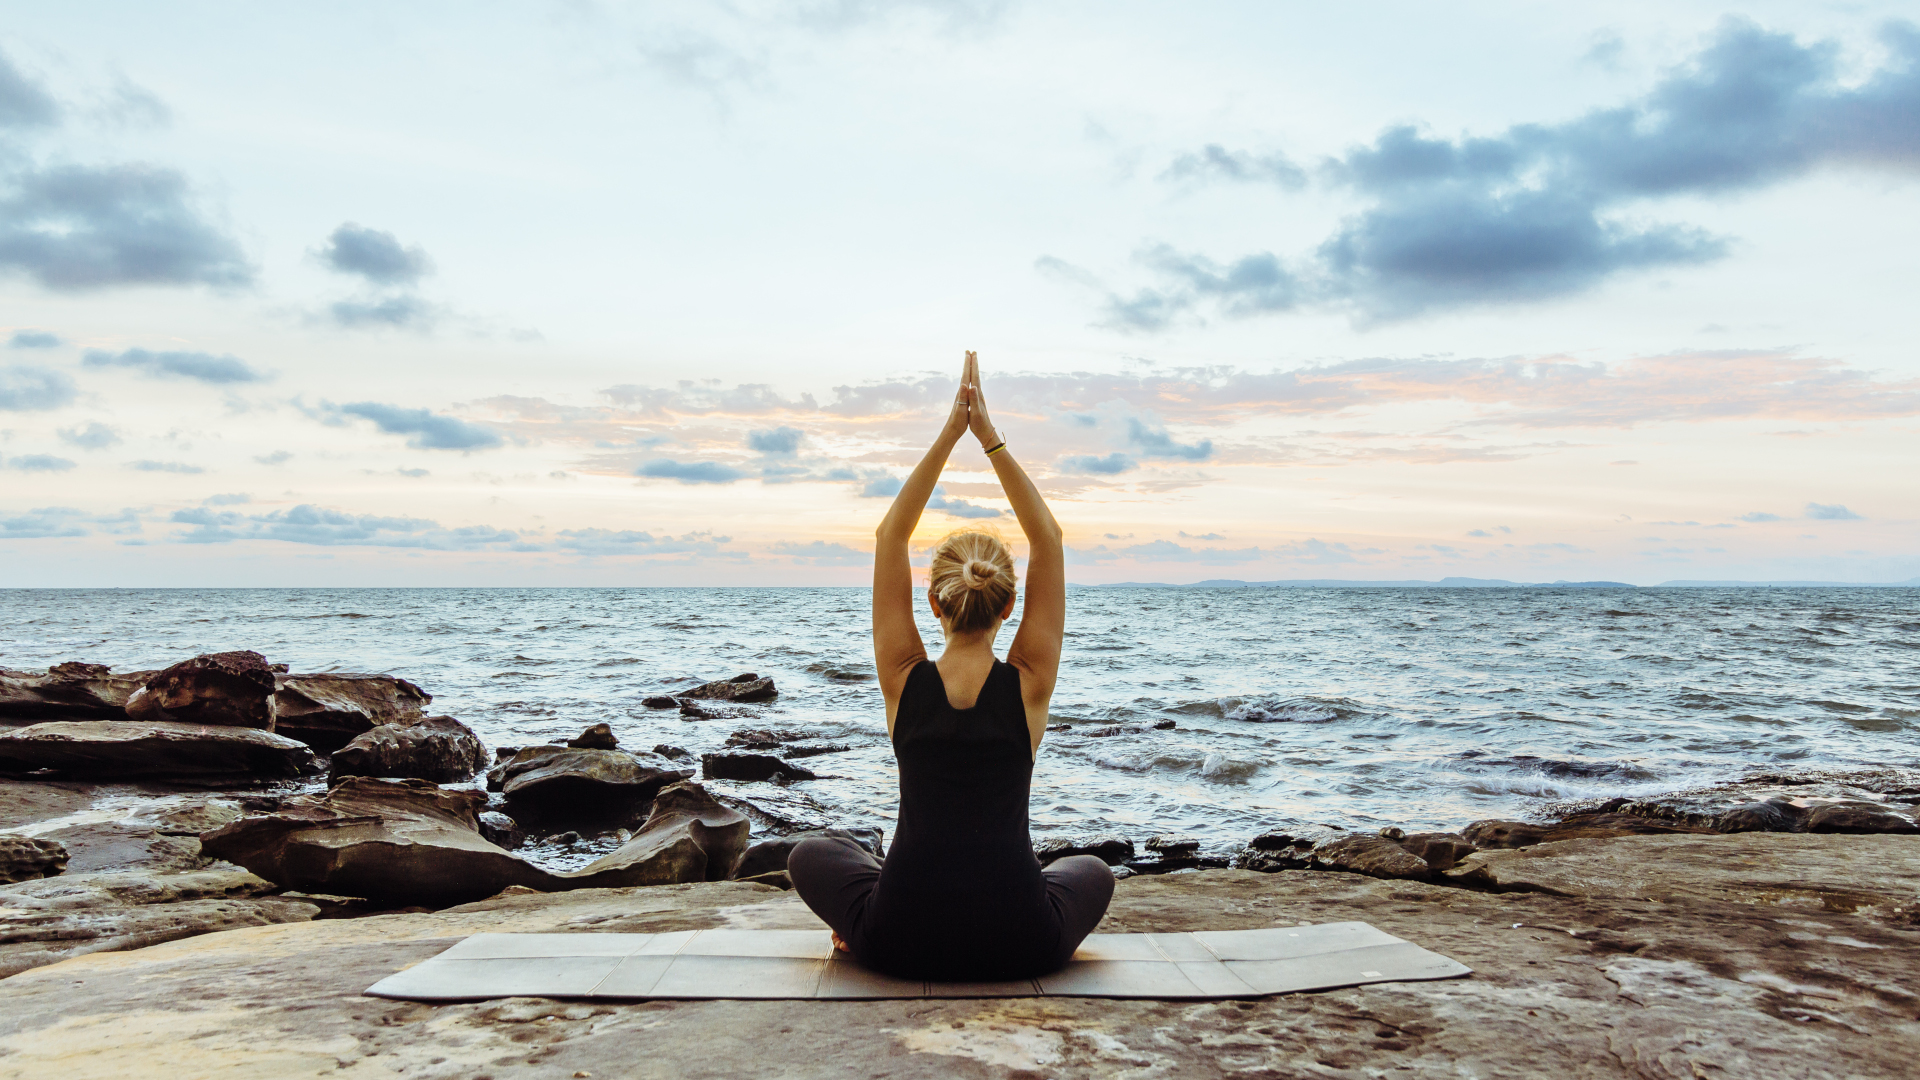
You can practice these postures as a sequence, or pick and choose a few different ones to focus on each day. They can be especially beneficial on a rest day and as recovery after a long hike or run or when you’ve spent the whole day on the slopes or at the climbing wall. You might choose to practice yoga outside in nature if the weather is fine, and pair these postures with meditation for stress relief. Props aren’t required, but it’s always helpful to have a yoga strap or belt and two yoga blocks or large books, like dictionaries or Harry Potter novels. All times are suggested and approximate.
1. Reclining butterfly (2 - 5 minutes)
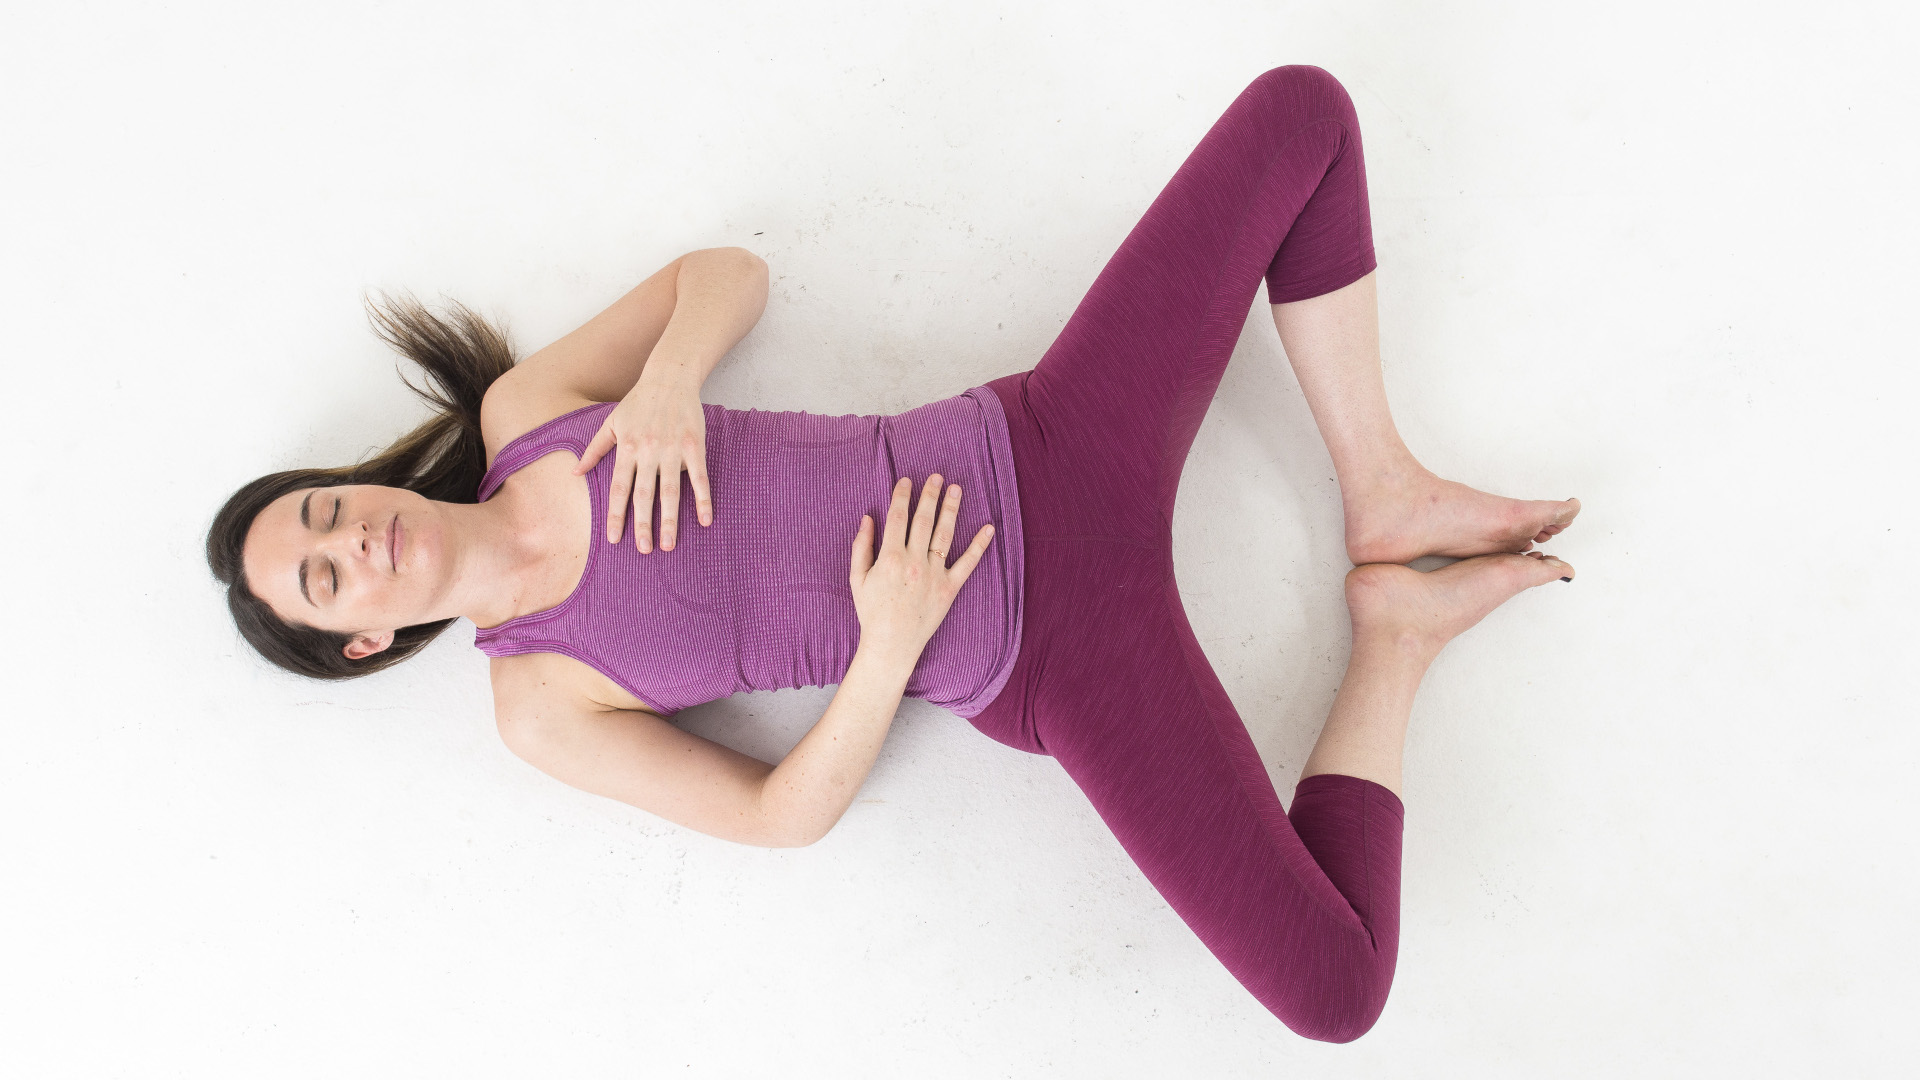
This pose is a great way to begin your practice. It gently stretches your adductors and move your hips into external rotation, which they generally aren’t either in everyday life or when you’re active.
Lie on your back, bend your knees, place the soles of your feet together and let your knees open wide. If you feel any pain or tension in your knees or hip joints, place your yoga blocks or some pillows under your thighs for support. Feel free to close your eyes here and relax as much as possible while you start to deepen your breath.
2. Supported bridge (2 - 4 minutes)
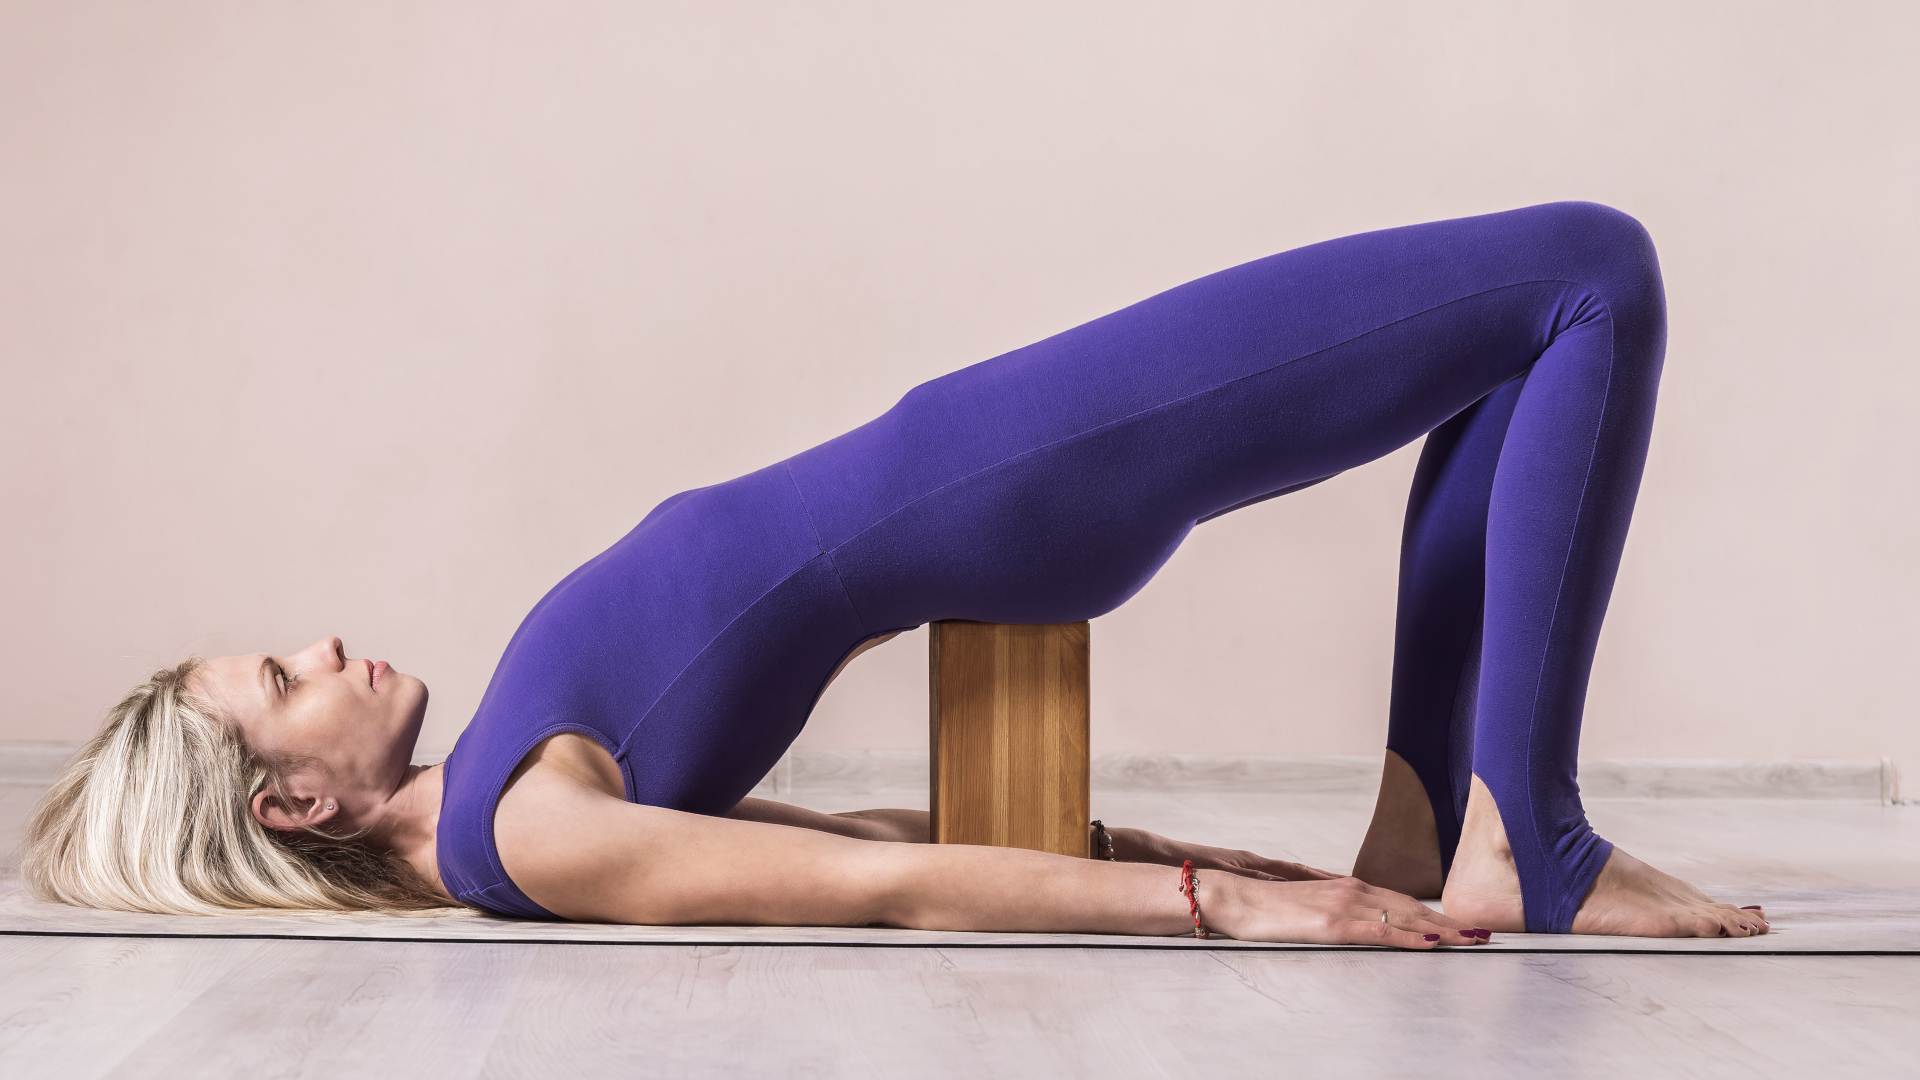
Your hip flexors are a set of five primary muscles (and one auxiliary muscle) on the front of each hip that perform the action of drawing your thigh up toward your torso. They often feel tight due to the repetitive movement of hiking, running and biking.
To stretch out your hip flexors, lie down on your back and bend your knees, placing your feet on the floor. Lift your hips and slide a yoga block (or a large book like a thesaurus) underneath your hips. If you’re using a block, it can be on any height, so perhaps play around with the different options and find one where you feel a stretch on the front of your hips but you don’t feel any strain, tension or pain in your lower back. After a minute, straighten one leg and rest your heel on the floor to increase the stretch on your hips flexors. Stay there for a minute, then switch sides. Finally, if it feels ok on your low back, straighten both legs for one more minute. To come out, bend your knees again, lift your hips and set the block aside, lowering your hips to the floor.
Advnture Newsletter
All the latest inspiration, tips and guides to help you plan your next Advnture!
3. Happy baby (1 minute)
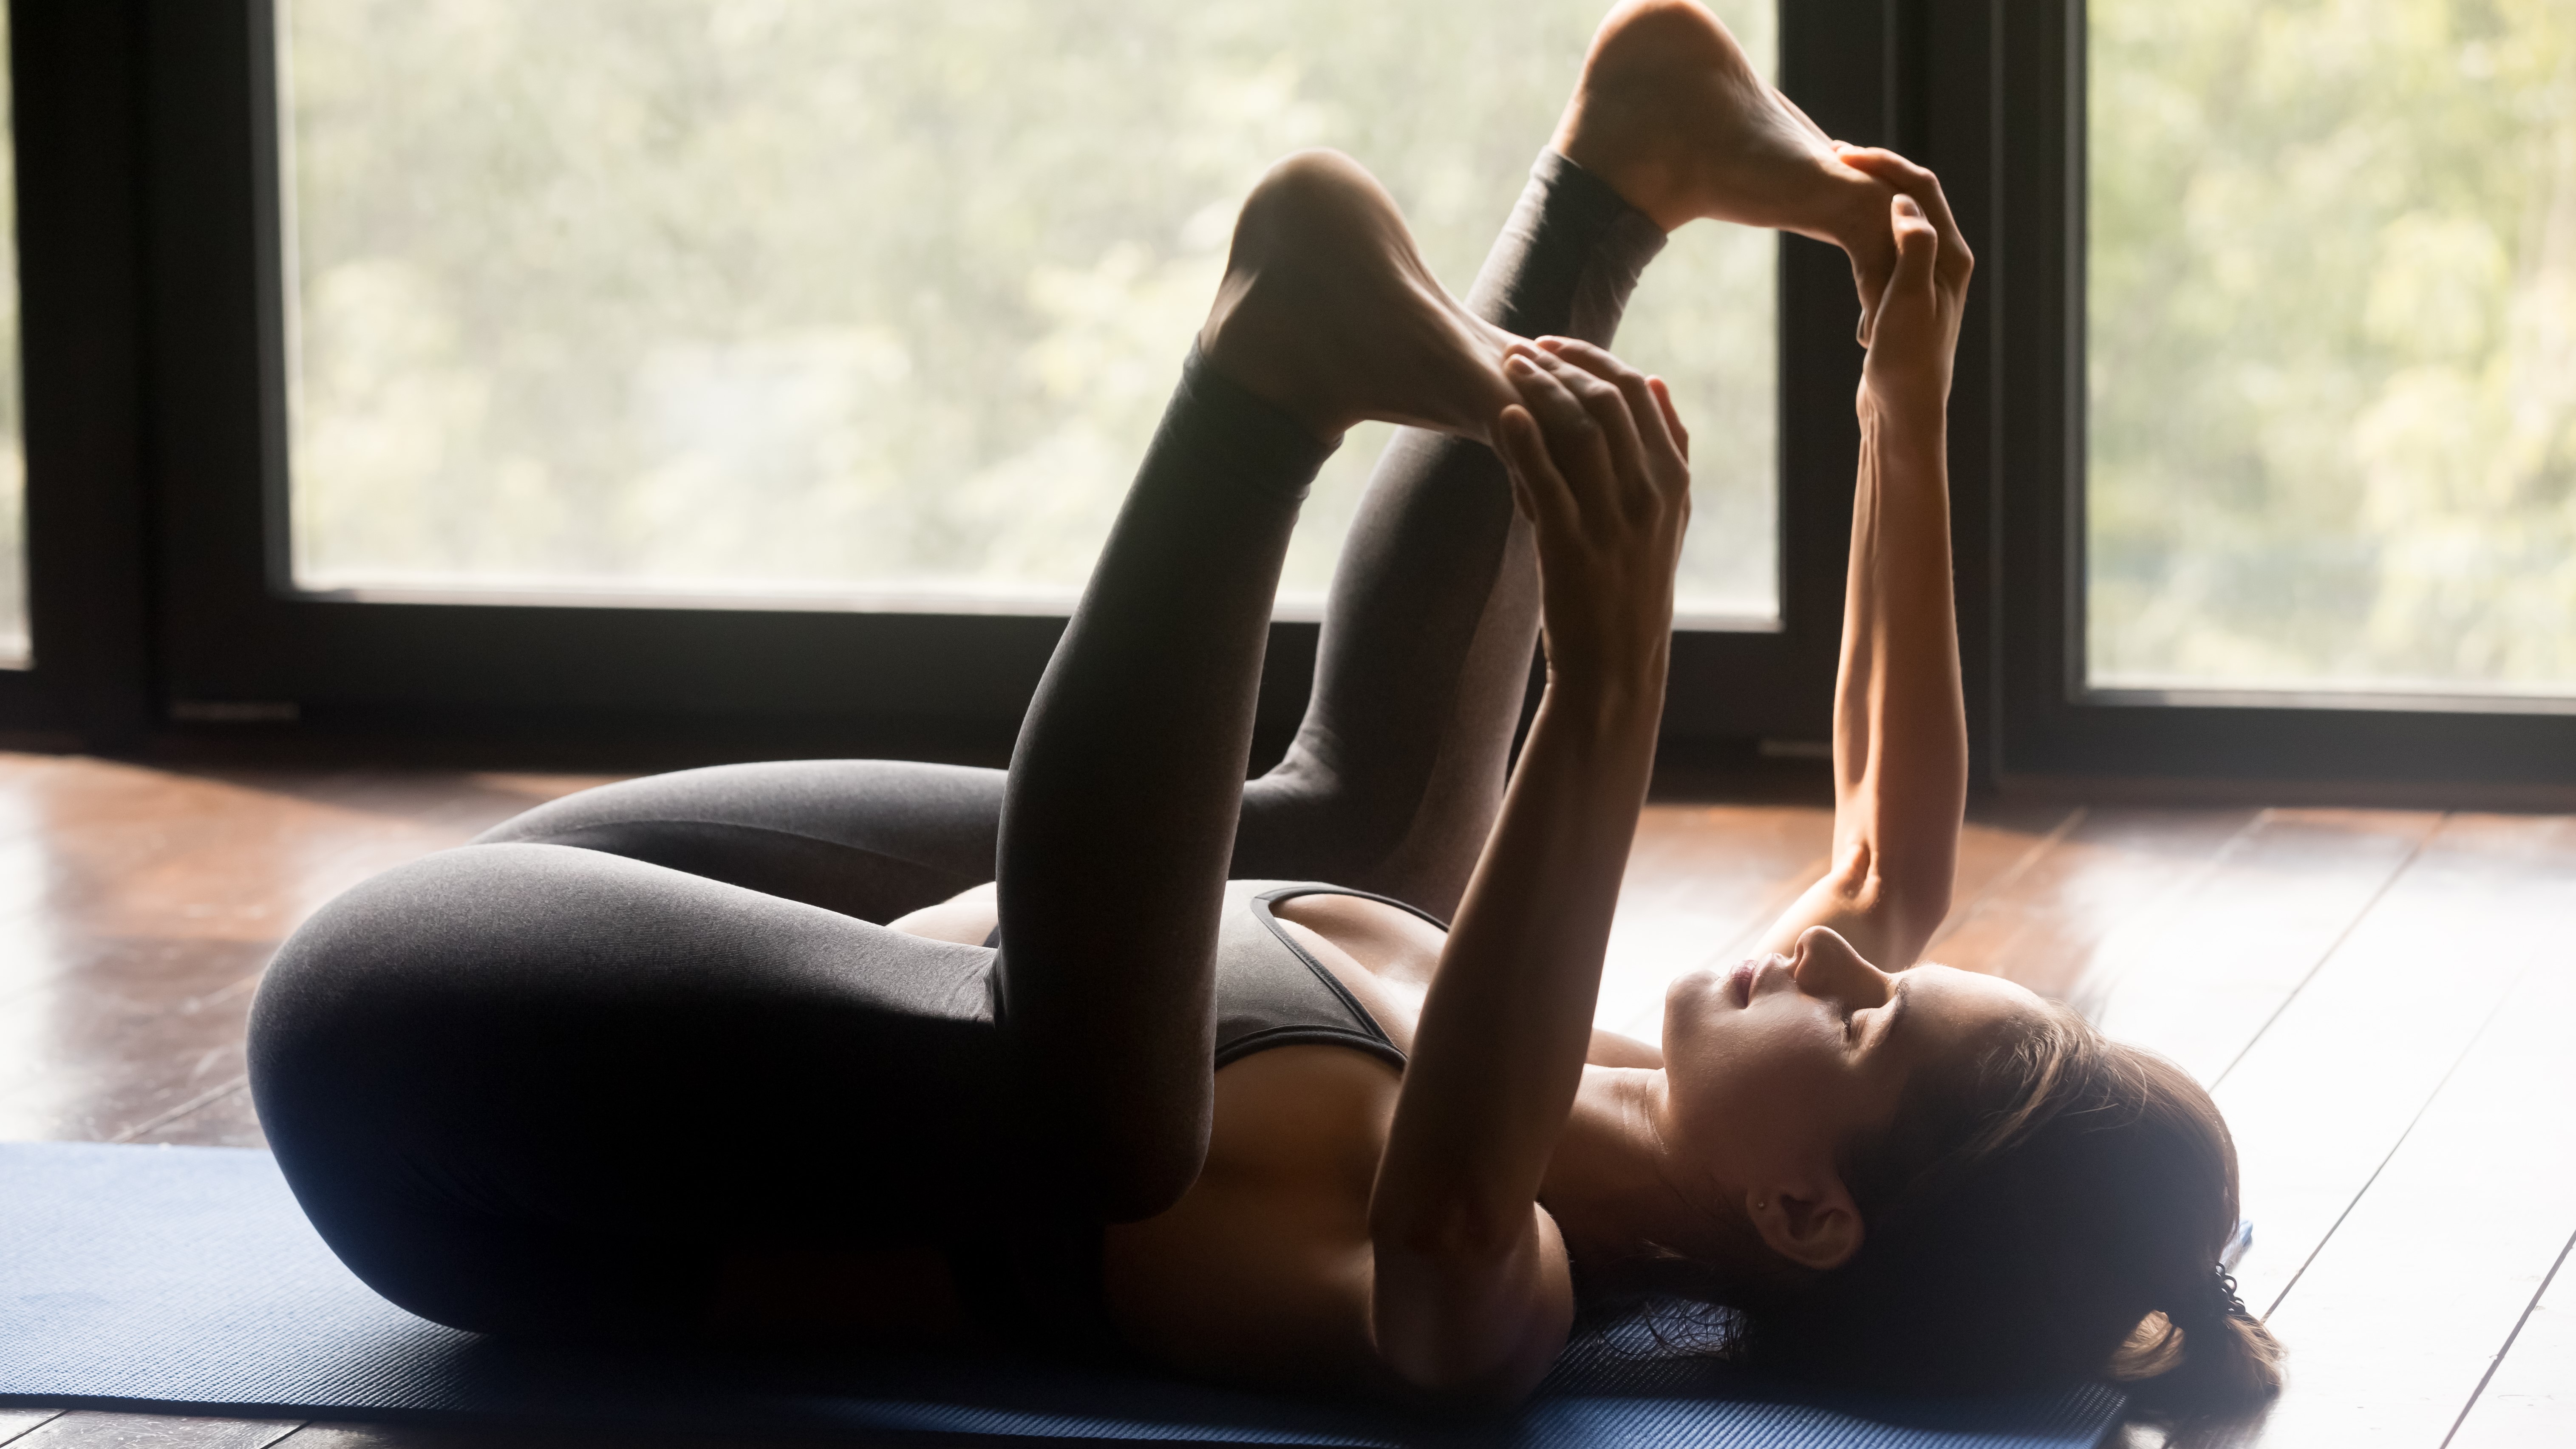
Happy baby provides a great stretch for your hard-working glutes and low back without placing any strain on your knees.
Lying on your back, hug your knees into your chest, pulling your knees towards your armpits. This might feel like enough, or you can lift your head and shoulders to take hold of your feet by either the outer (pinkie toe) or inner (big toe) edges – whichever is easiest to reach. Keep holding your feet and turn the soles up towards the ceiling, so your knees are bent to around 90 degrees and your knees are still moving towards your armpits. Lower your head back down (use a pillow if it won’t touch the floor) and gently pull down on your feet, rocking from side to side a little.
4. Reclining hamstring stretch (1 - 2 minutes per side)
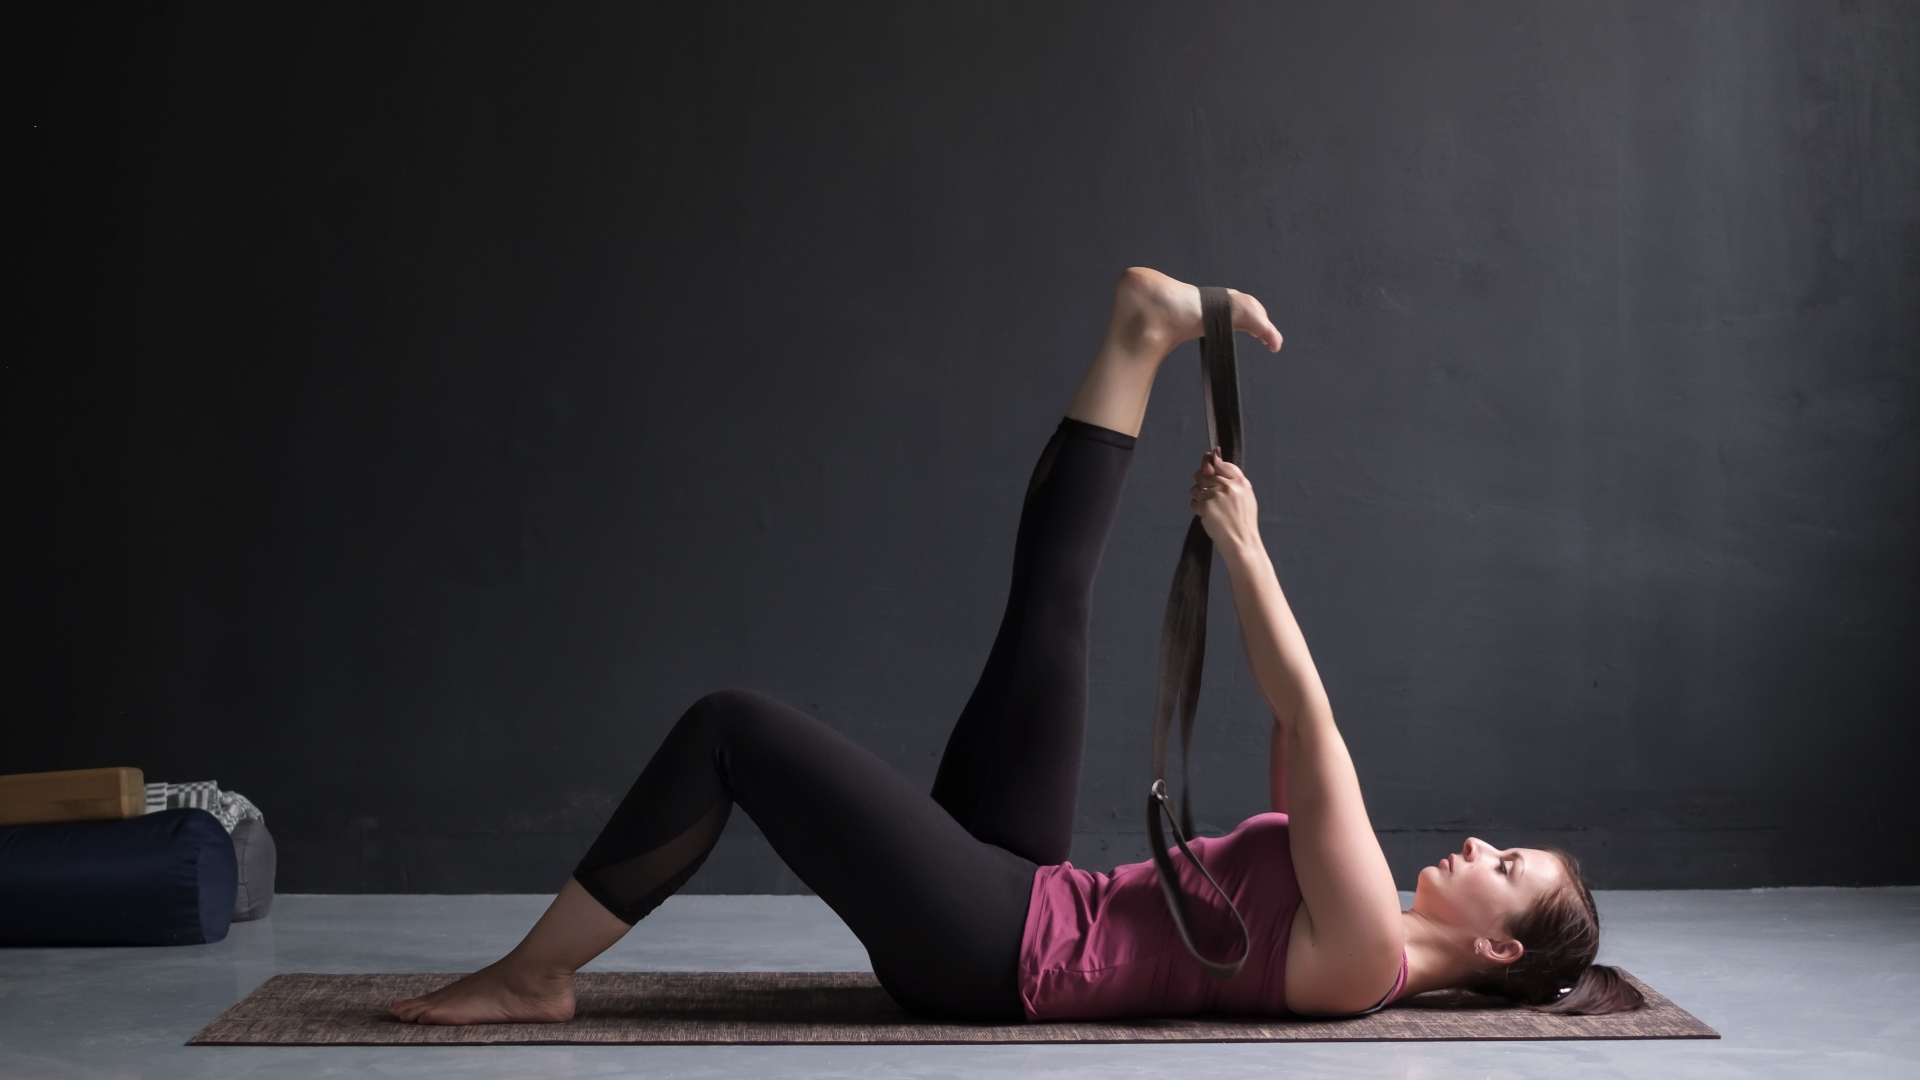
The hamstrings are one of the trickiest areas of the body for most active people. Lots of the repetitive movements we do in hiking, running and cycling strengthen them within a short range of motion, which can lead to them feeling stiff. This can result in restricted mobility in your pelvis which can even be the source of low back pain.
Stretching your hamstrings in a seated pose or from standing can be near impossible if you hike or run a lot, and if you’re very stiff you might even hurt your back trying, but this reclining version is safe for most bodies (speak to a physical therapist before stretching your hamstrings if you suffer from sciatica).
Lying on your back, hug your right knee into your chest and place your left foot down on the floor. Wrap your yoga strap, belt or scarf around the sole of your right foot and then straighten your right leg, sending the sole of your foot up towards the ceiling. Give yourself enough slack that you can straighten your leg completely, then gently pull down on the strap with your hands and press your foot back into the strap. If you point your toes down a little towards your face, you’ll also target your calves and foot muscles here. Stay here and breathe deeply until you feel the stretch in your hamstrings subside, then do it all again on your left side.
5. Reclining pigeon (2 - 3 minutes per side)
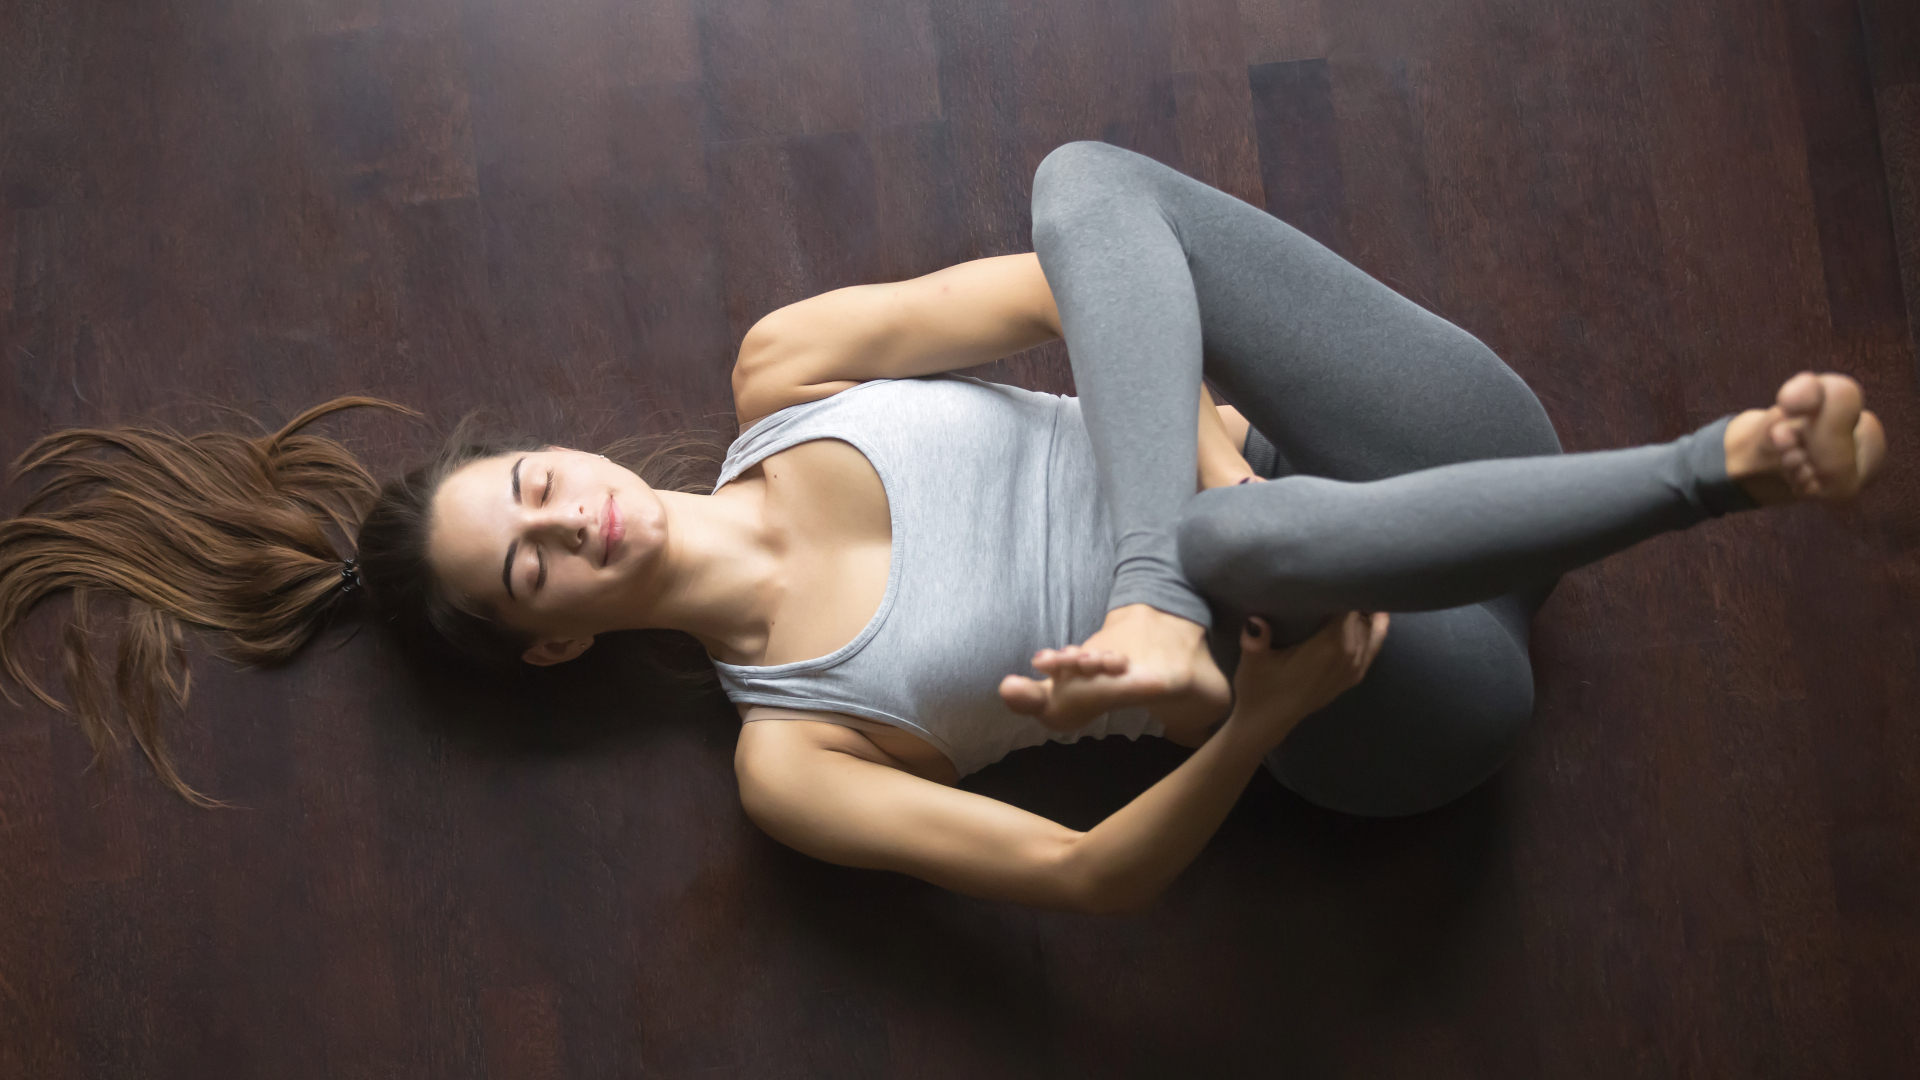
This simple pose offers a juicy stretch of the glute muscles on your outer hips without placing pressure on your knees.
Come onto your back and bend both knees. Cross your right ankle over your left knee then draw your legs in towards you a bit, reaching your hands through to clasp the back of your left thigh. Use your hands and your left leg to draw your right shin a bit closer to your chest, then gently rock your right shin side to side to spread the sensation in your right hip out across a wider area.
6. Yogic squat (1 minute)
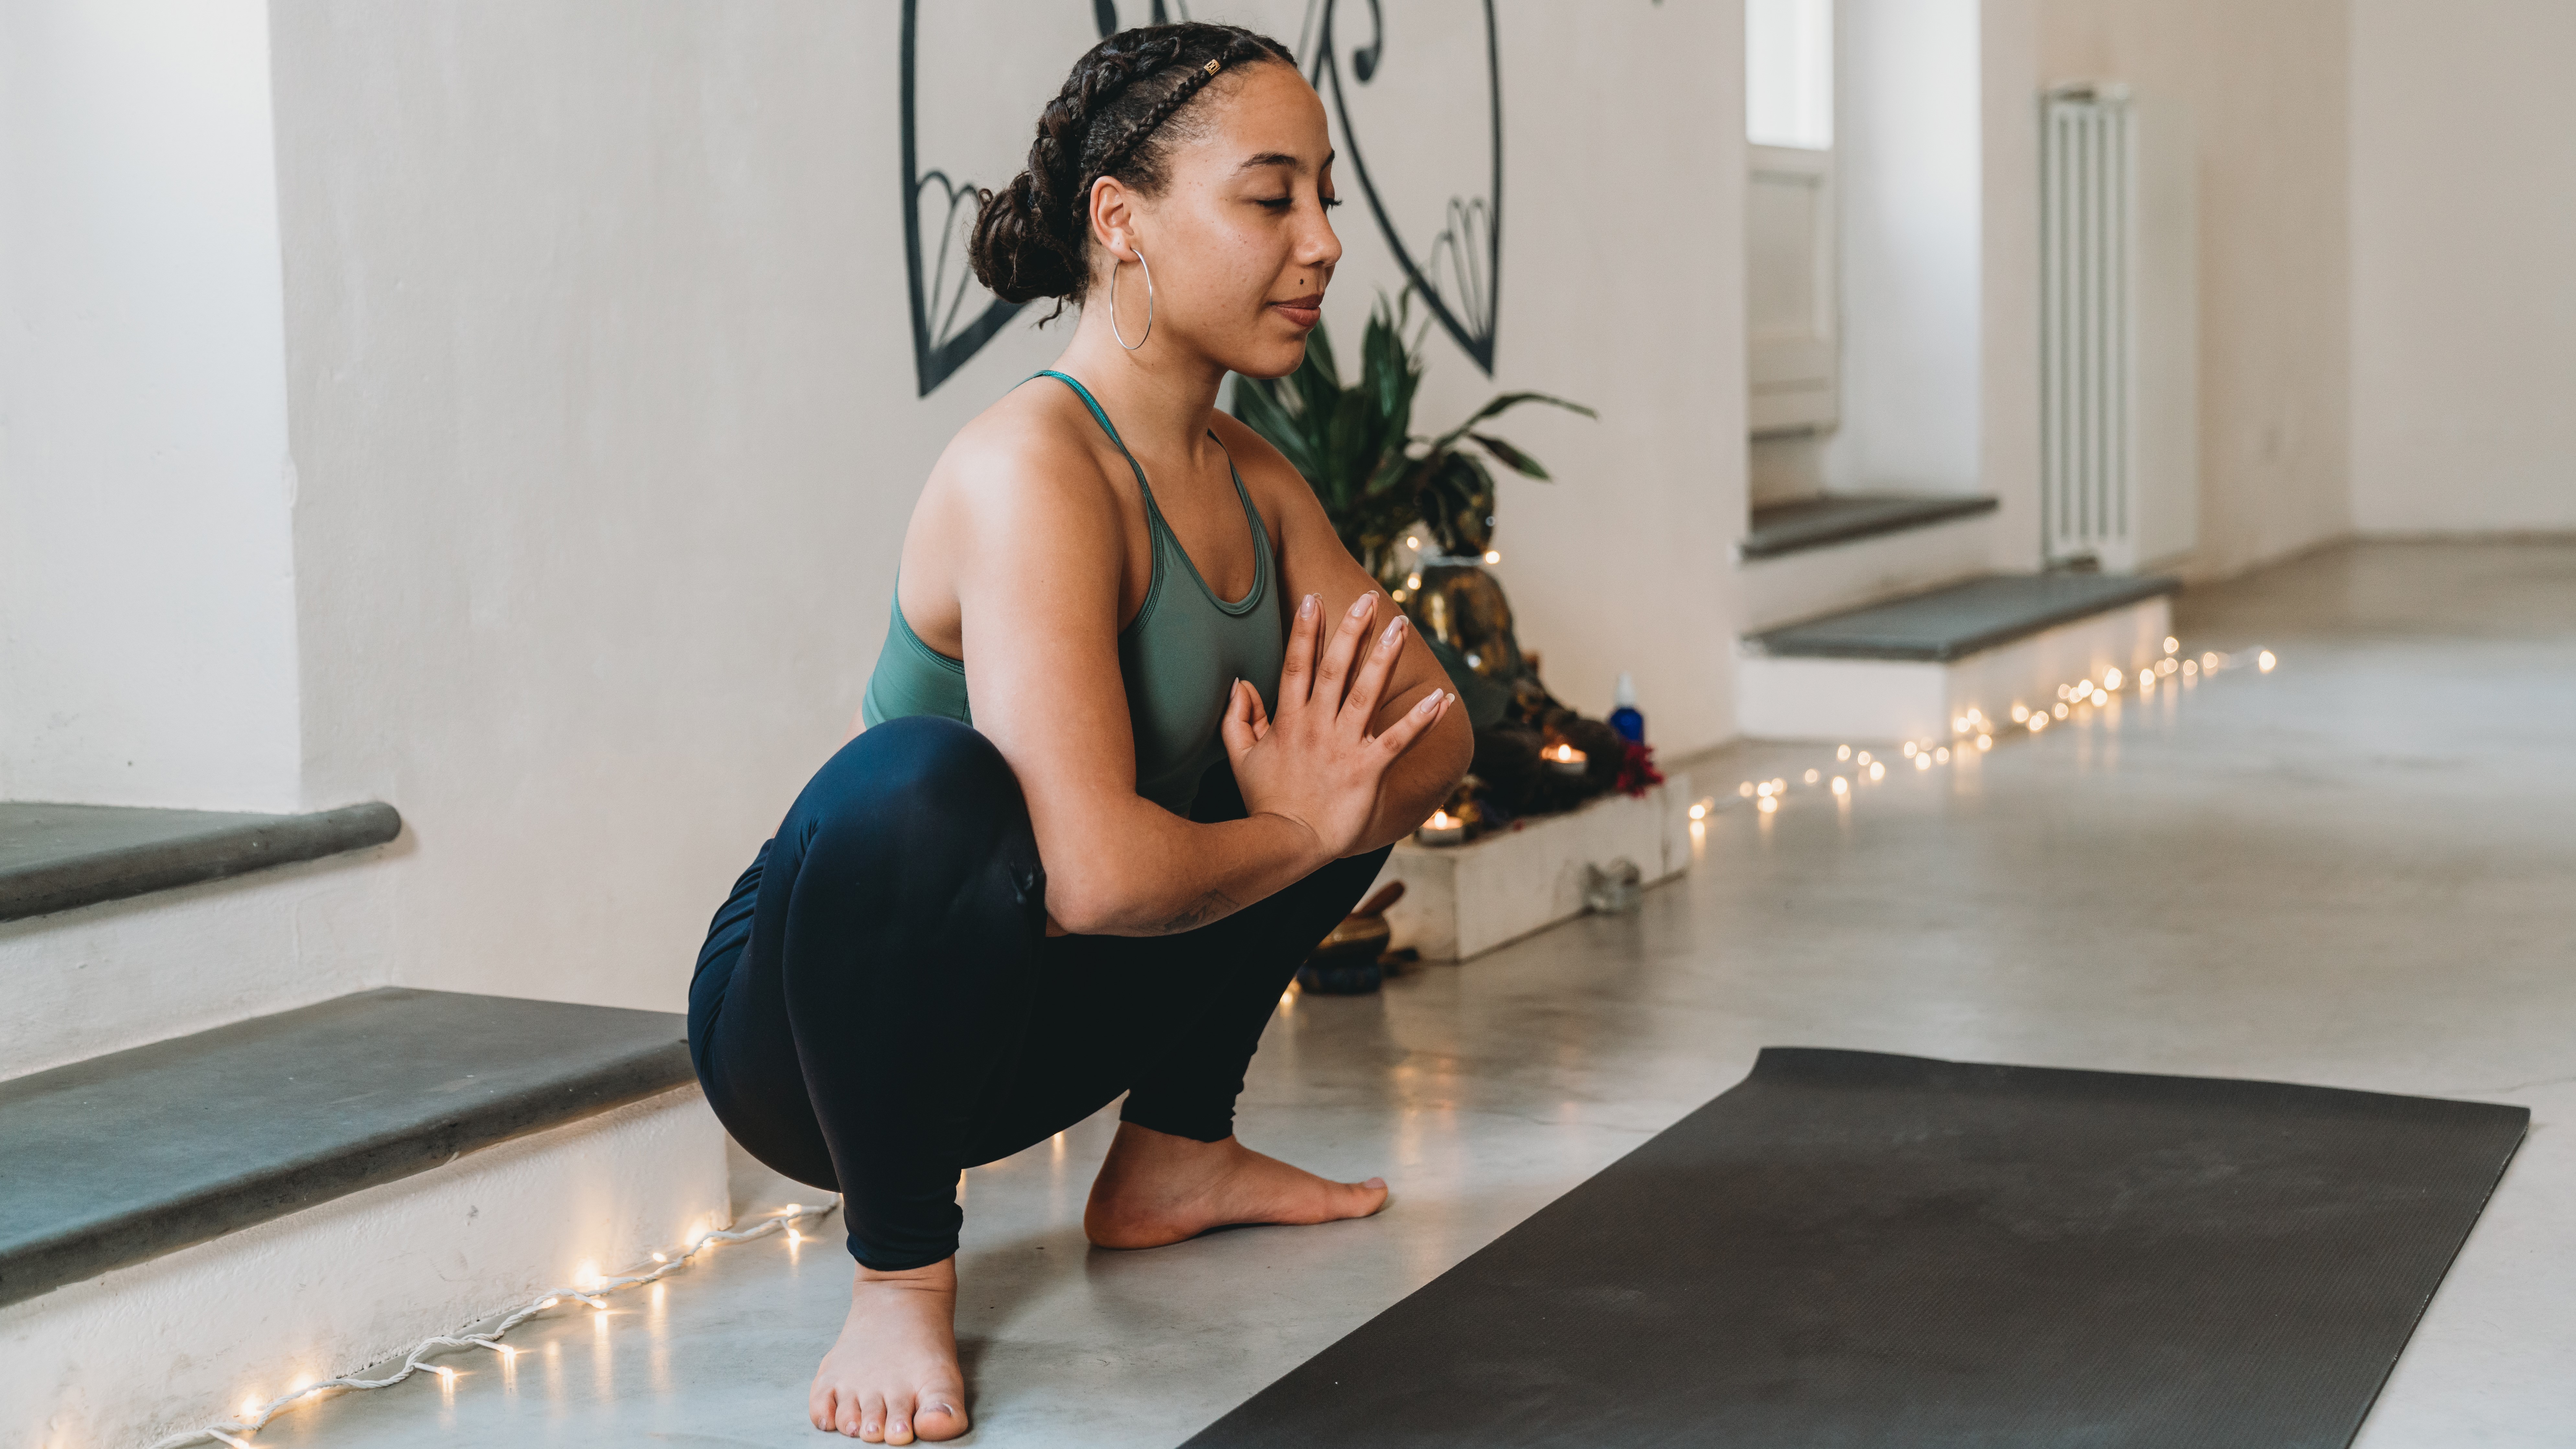
This posture isn’t suitable for all knees, but when it is, it’s a great way to stretch your low back, glutes and inner thighs while maintaining mobility for getting down low (think, going to the bathroom in the woods!).
Come to a standing forward bend and bring your feet out a bit wider than hip-width. Turn your toes out to about a 45 degree angle (or 10 and two if you were standing on a big clock) and slowly start to bend your knees to sink your hips down, keeping your hands on the floor for now. If you think your knees need a bit of support, you can slide a yoga block under your bum and sit on it. Keep your hands down, or bring them together in a prayer position in front of your heart. In either position, press your triceps into your inner thighs to keep tracking your knees in the same direction as your toes, and if your palms are pressing together, lift your heart up towards your thumbs and draw your sitting bones back.
To come out, place your hands down on the floor and slowly lift your hips to straighten your legs and turn your toes forward.
7. Low lunge (1 minute per side)
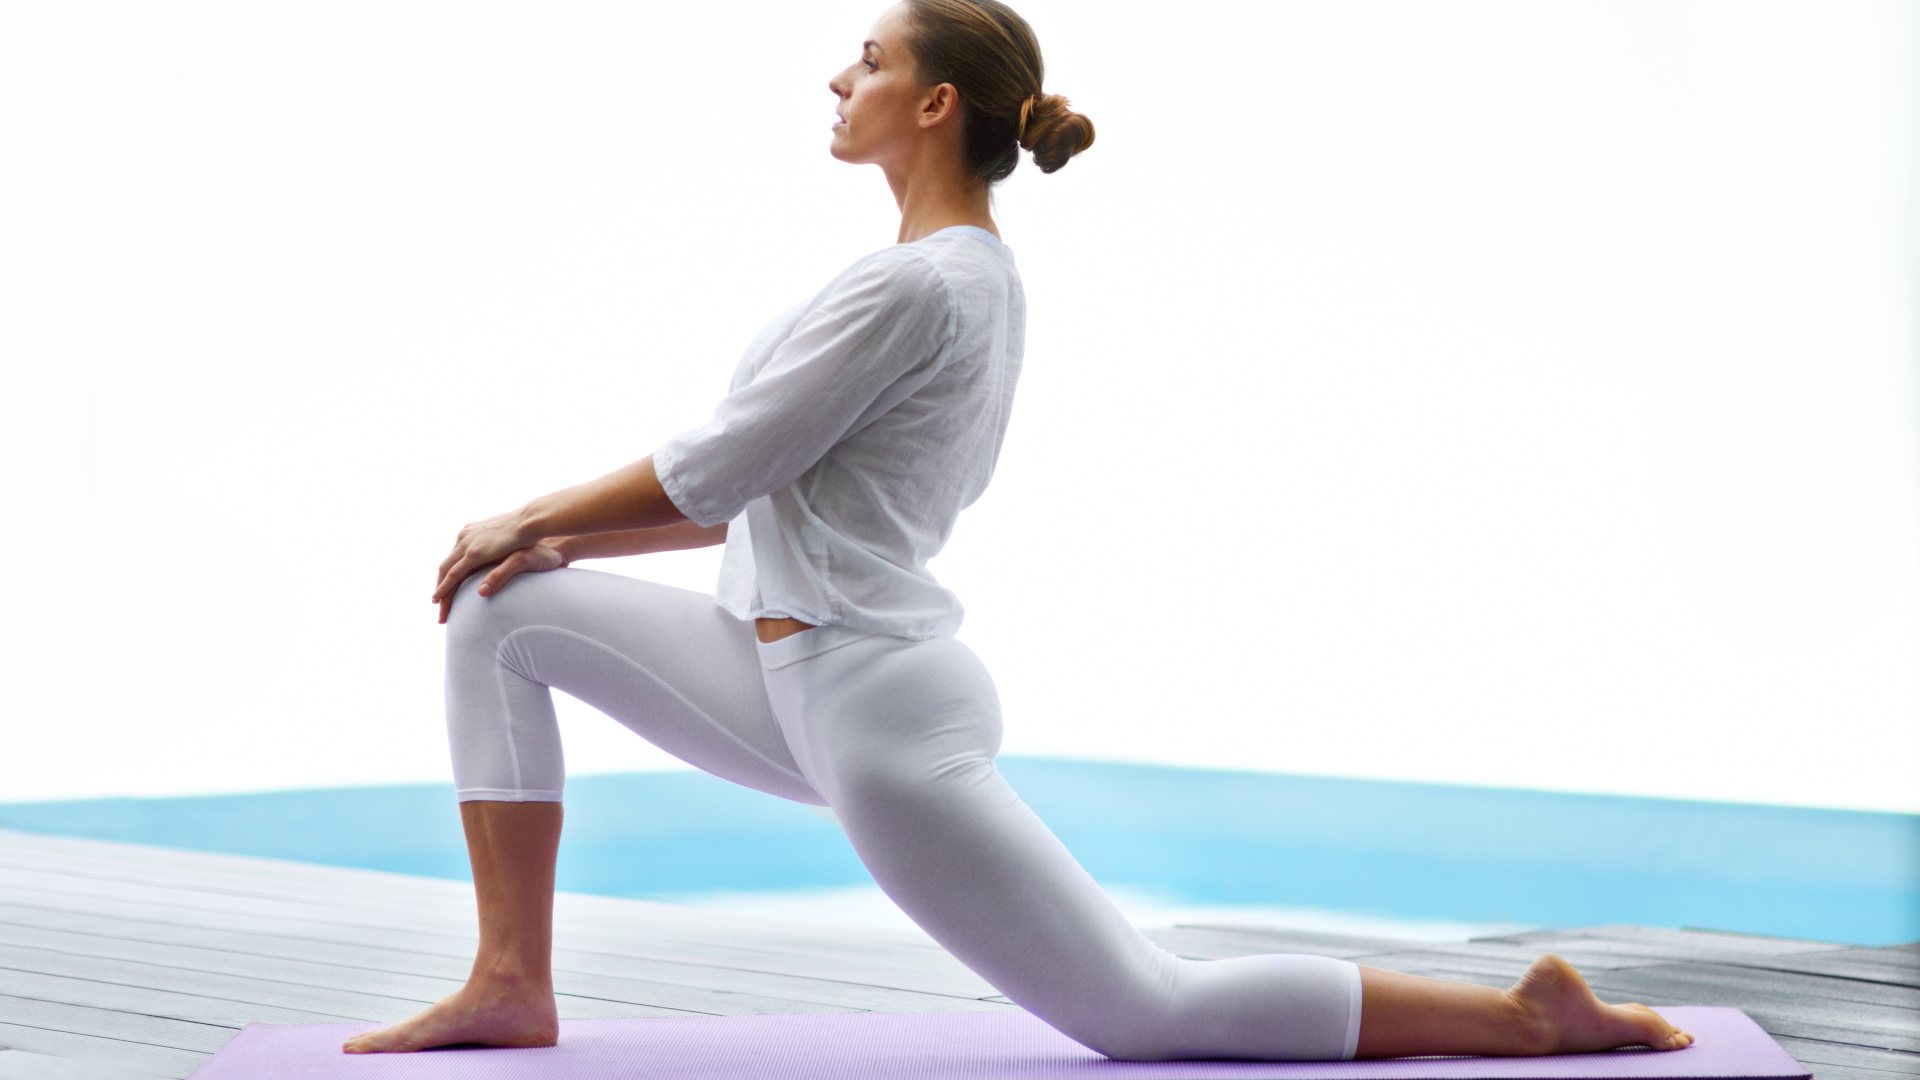
This is another great pose for your hip flexor muscles which are working hard every step of your hike, run or uphill skin to lift your knees up. Getting home and collapsing into a chair might sound like a good idea, but it doesn’t provide the therapeutic extension that this lunge will.
From a forward bend, step your left foot back to a lunge and bring your left knee down. Slide your left knee back so you have room for your hips to sink forward and down and little and you start to feel a stretch on the front of your left hip and thigh. You can keep your fingertips down on the ground or bring your palms up to your right thigh to aid the stretch.
8. Quad stretch (30 - 60 seconds per side)
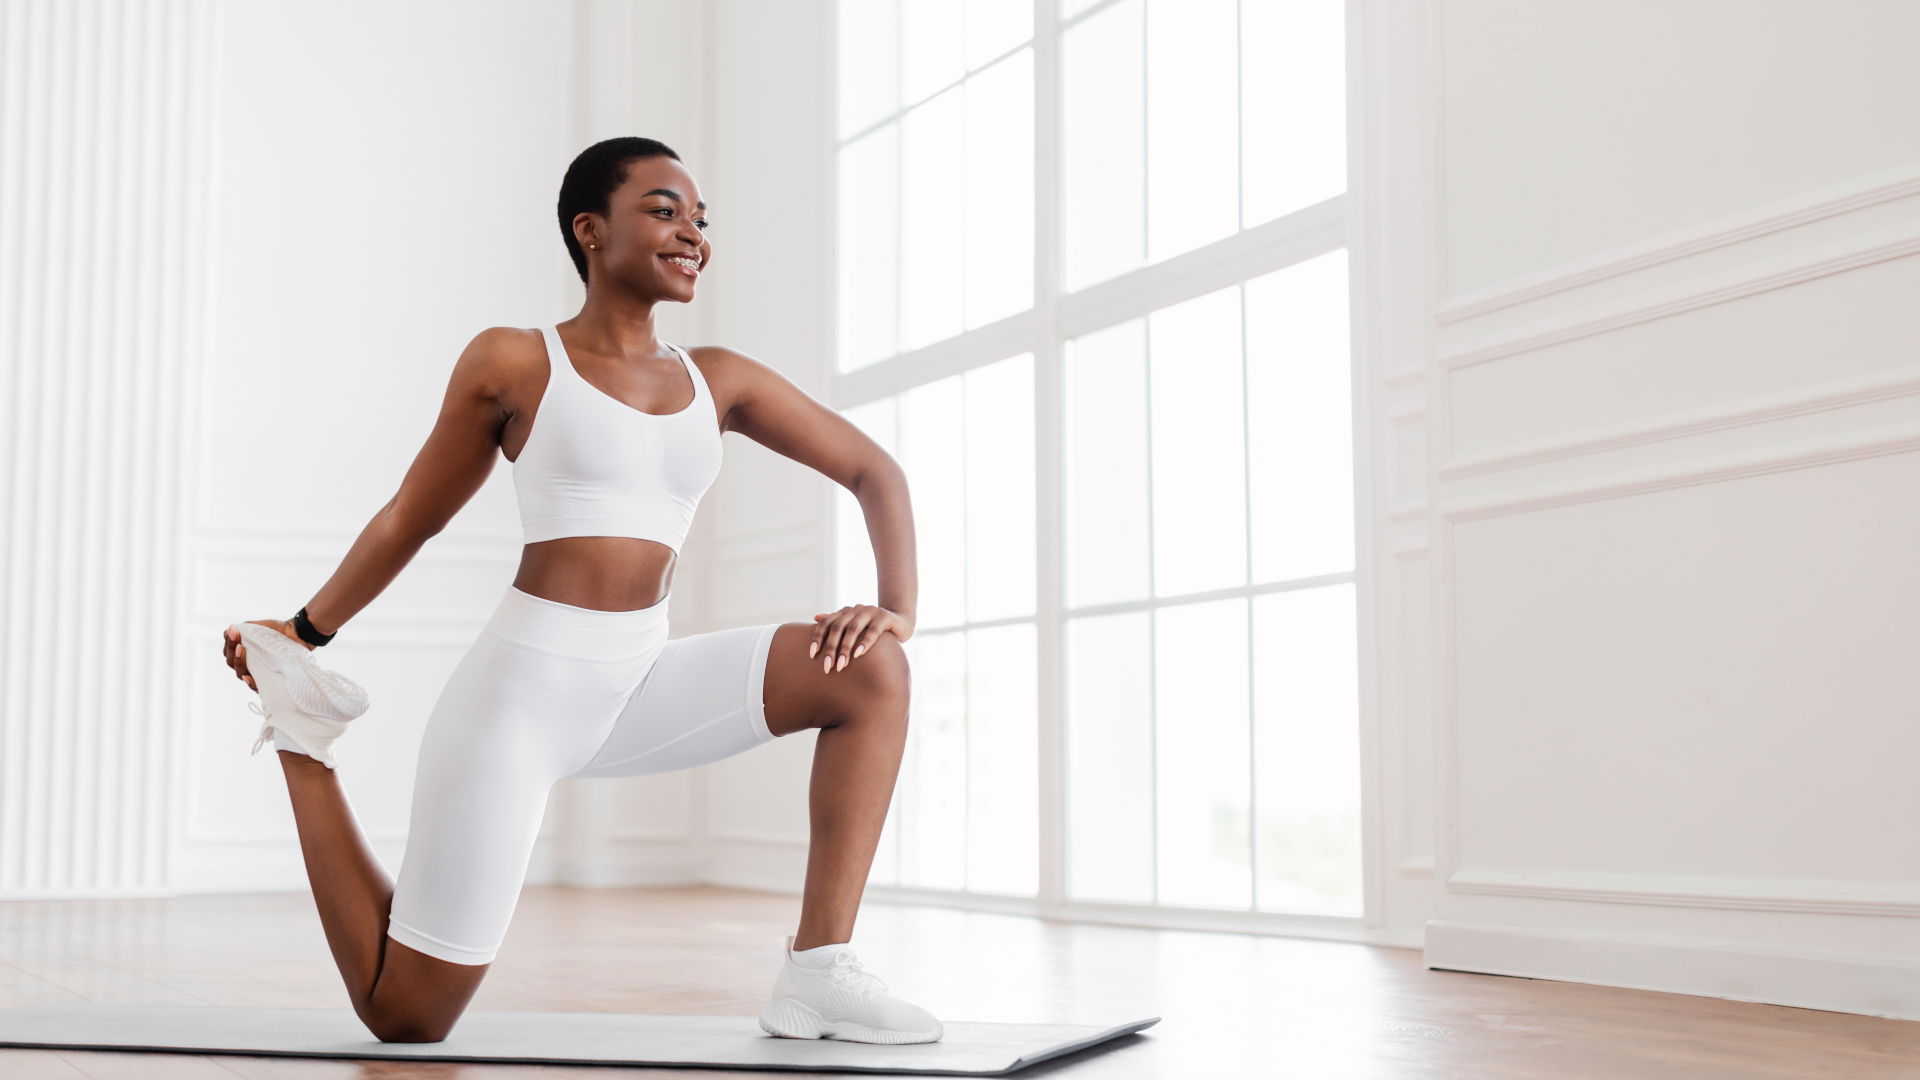
We tend to think of our quads as just performing the role of straightening your knee, but one of them – the rectus femoris – also crosses your hip joint and helps to flex your hip. Stretching your quads while your hip is in extension helps to target this muscle in its entirety, from hip to knee, however it may not be suitable if you have a knee injury.
From low lunge, climb your hands up onto your right thigh and lift your chest toward your chin a little. If your left knee is willing, bend it and reach your left hand back for your foot or ankle. Gently pull your heel closer to your glutes to deepen the stretch in your quads.
9. Half splits (30 - 60 seconds per side)
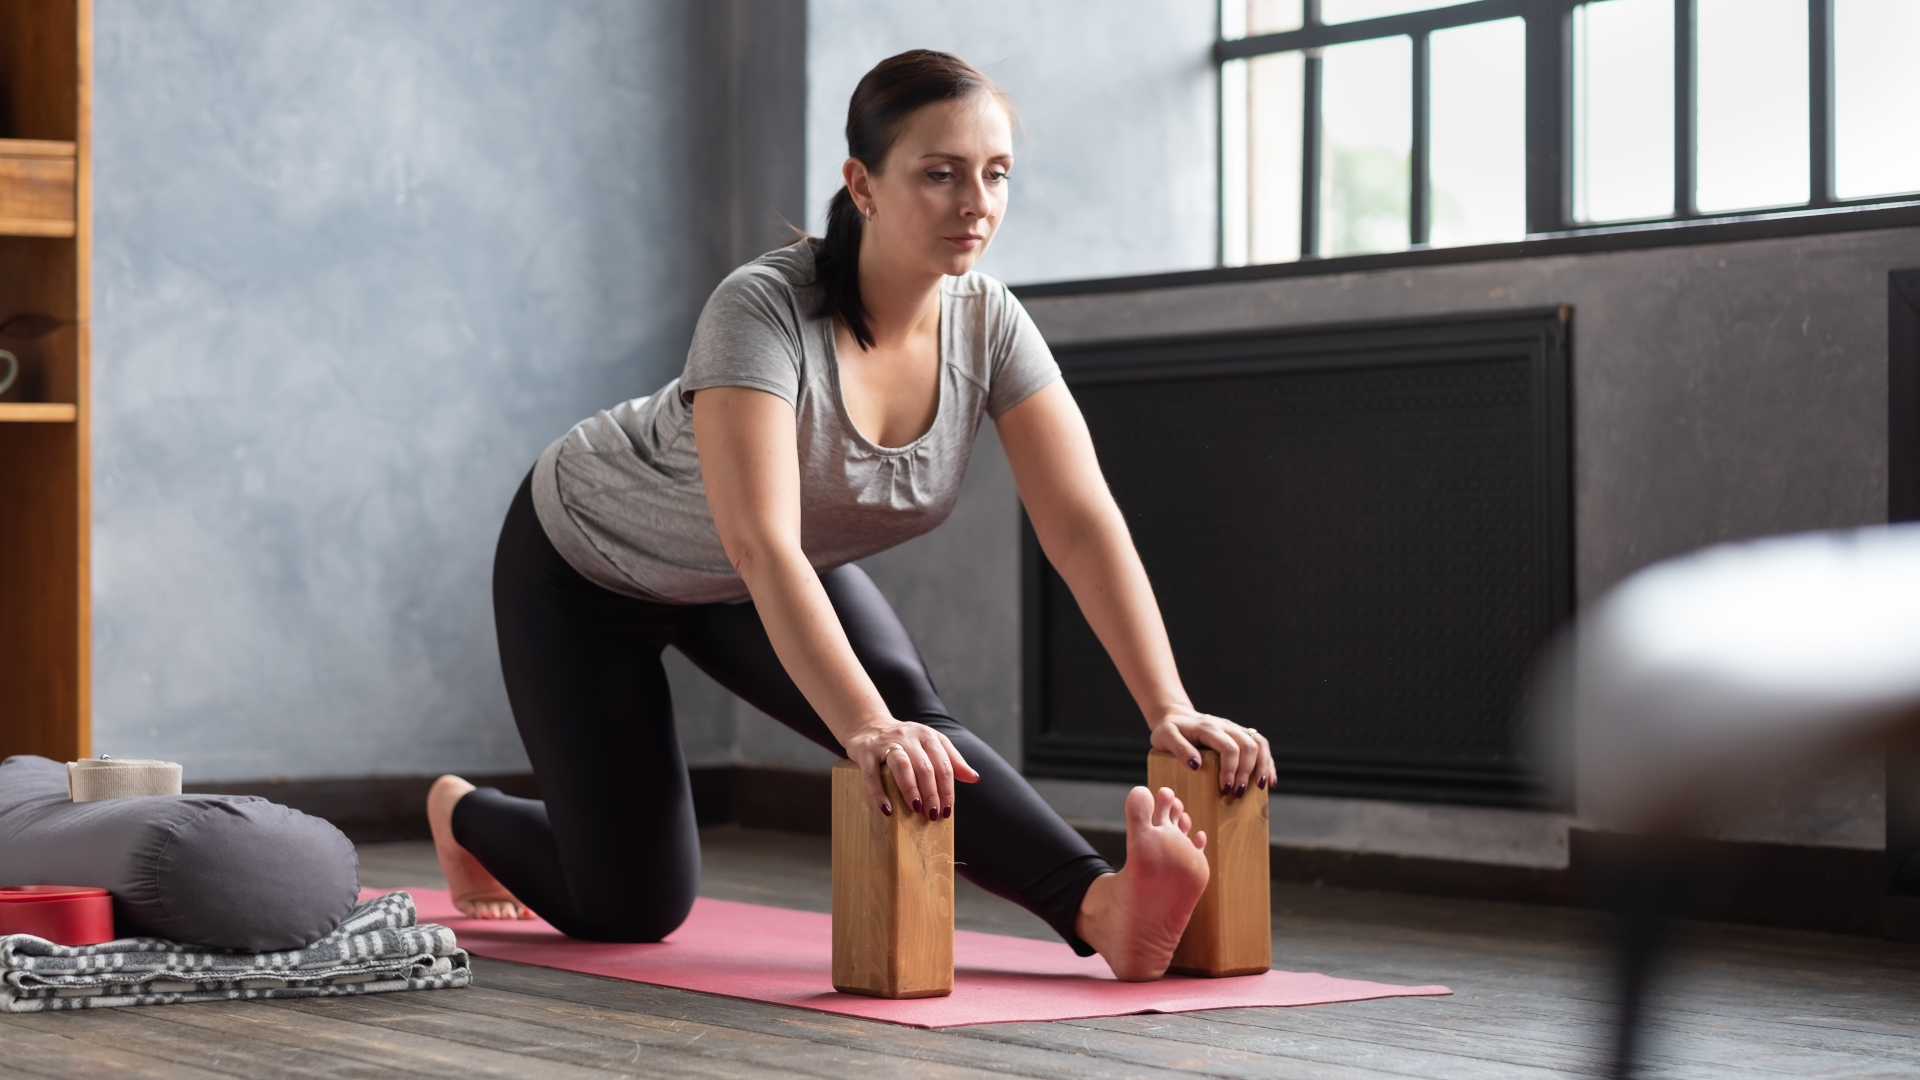
Once you’ve warmed up your hamstrings with the reclining stretch, you might want to give them a little more love with this pose.
From a lunge, bring your hands down onto your yoga blocks or books and slowly straighten your right leg (don’t worry if it doesn’t straighten all the way). Your hips will move back over your left knee and you may have to slide your heel an inch or two forward. Draw your sitting bones back and your chest forward, then rock your toes slowly from side to side. For an added stretch in your hamstrings and calves, dorsiflex your ankle as if trying to point your toes back towards your face.
10. Lizard (1 - 2 minutes per side)
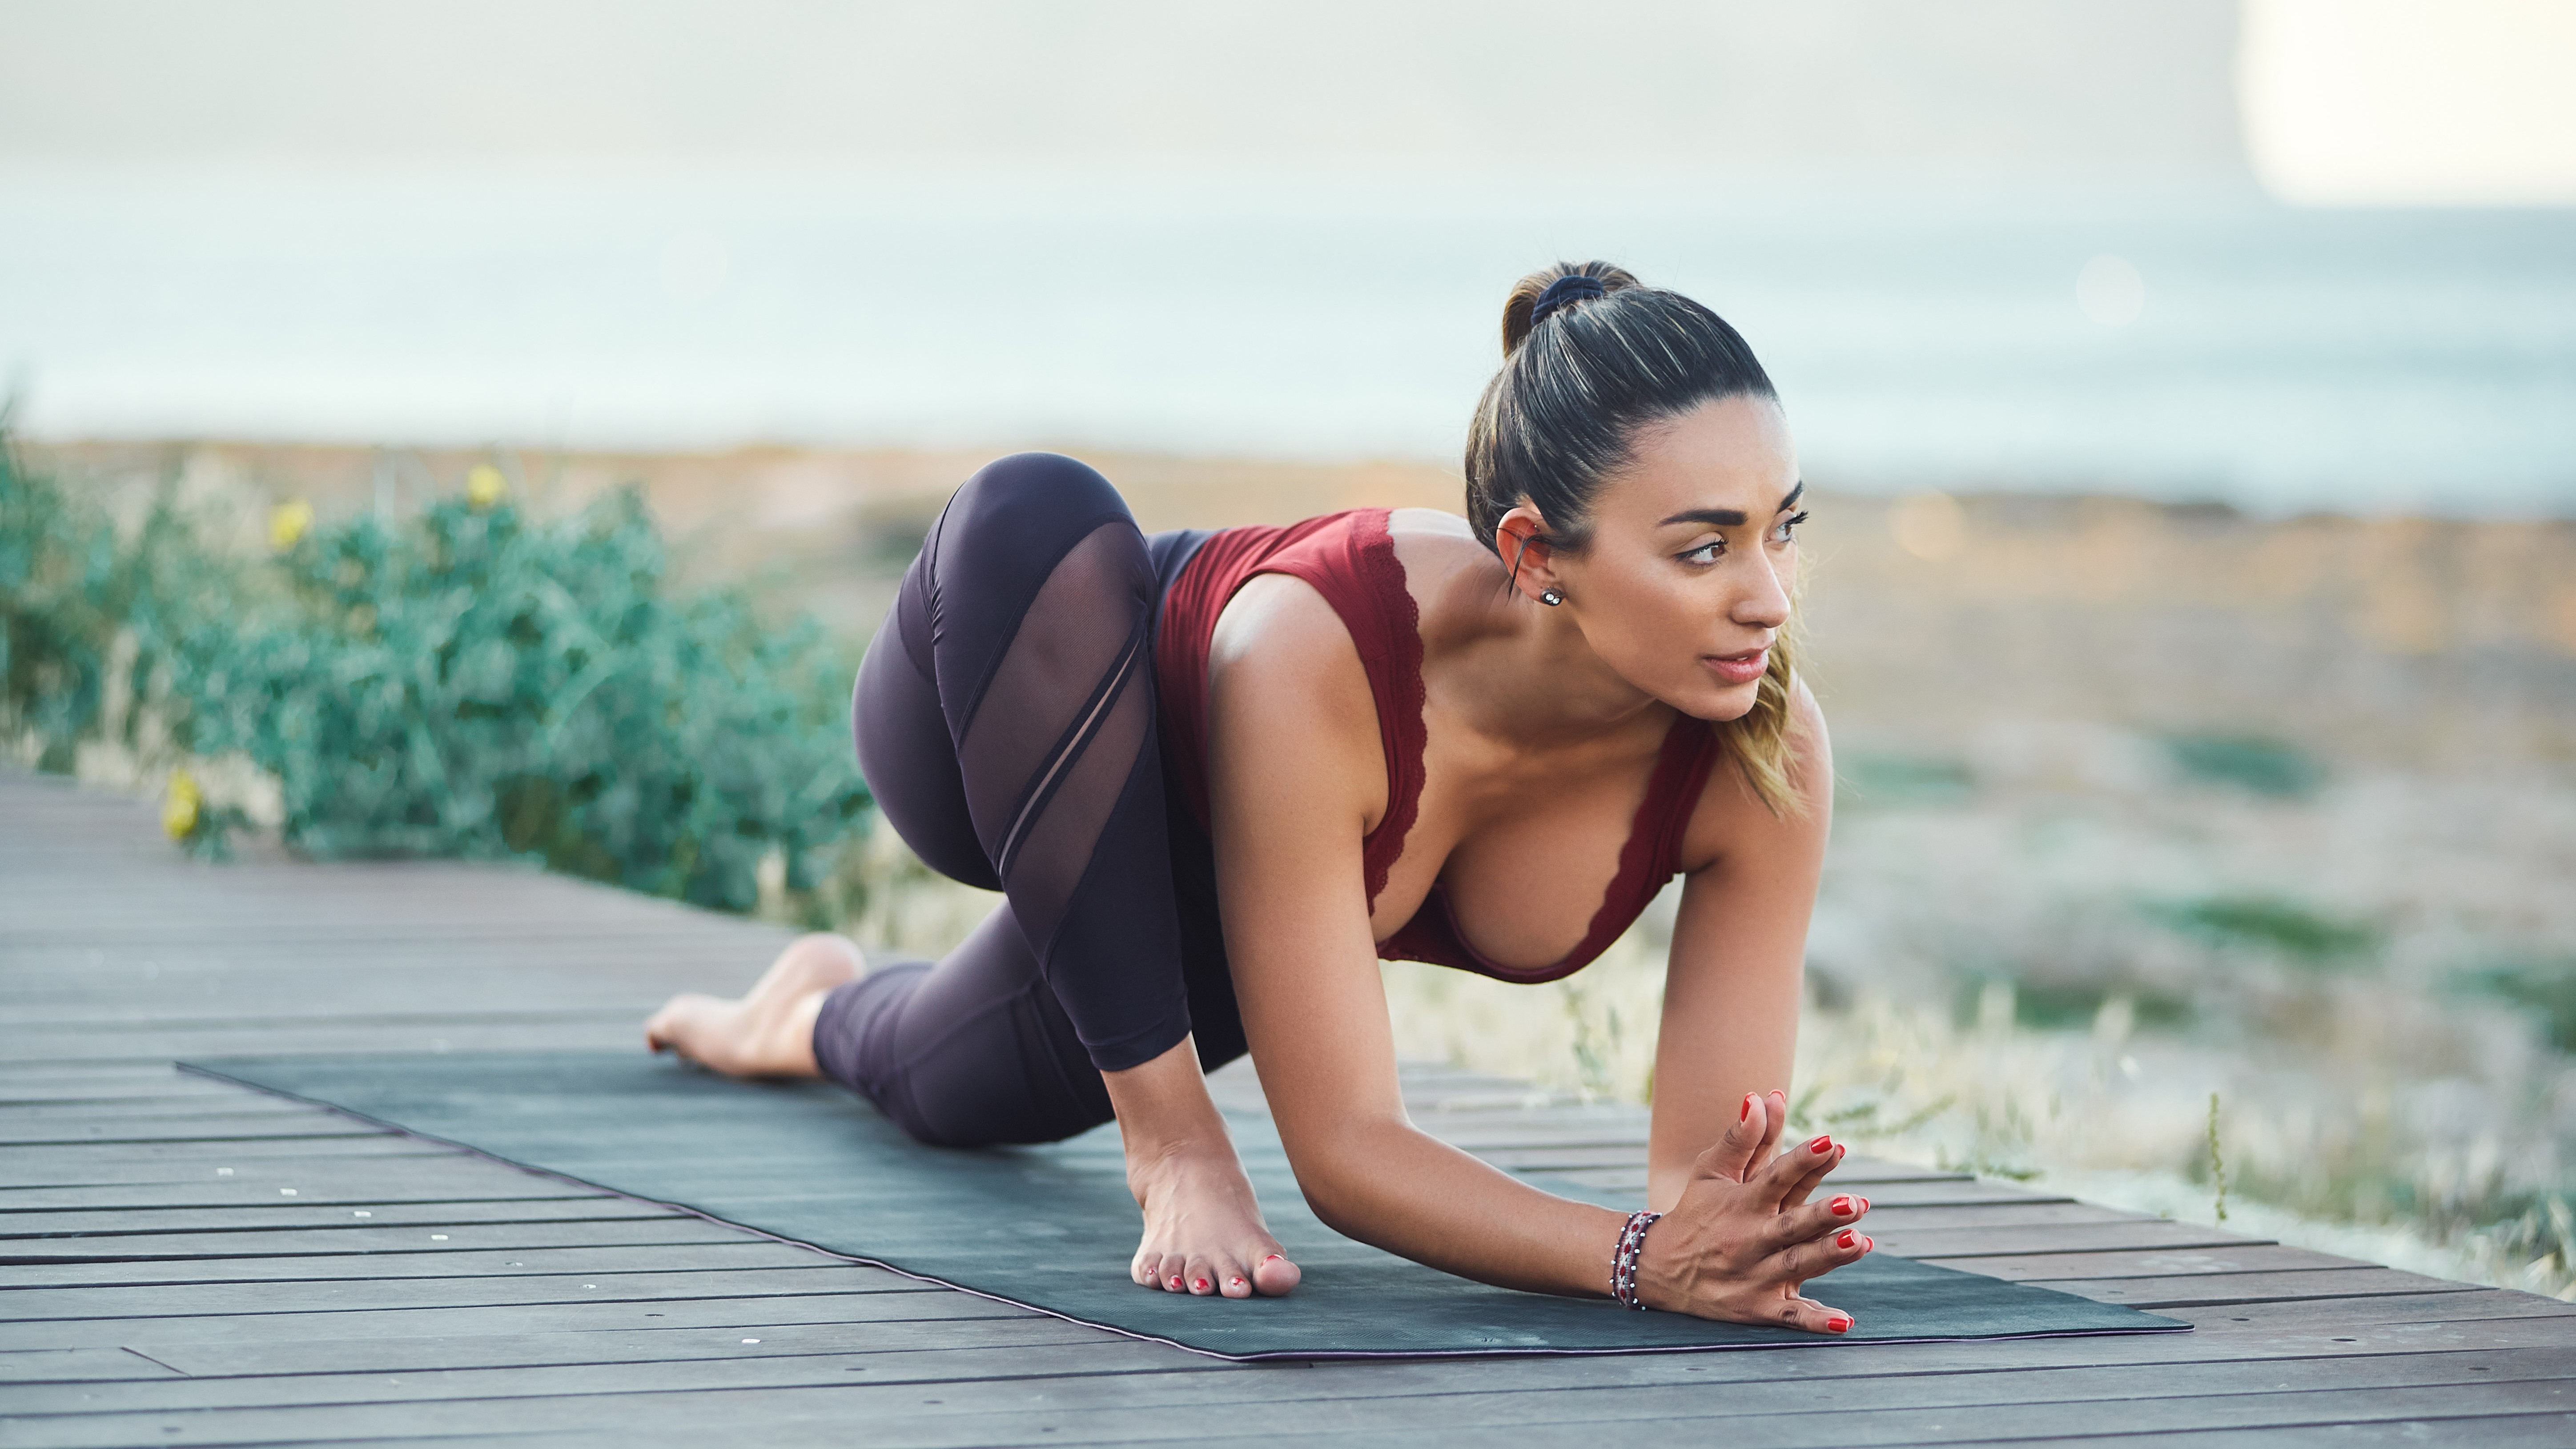
Lizard pose capitalizes on the hip flexion that you introduced in Happy Baby pose, and is great to stretch your glutes and improve hip mobility. There are several ways to approach this pose that make it more accessible.
From a lunge, move your right foot to the right a few inches so that you can place both hands on the inside of your foot. Move your knee to the side so there’s room for your hips to sink forward. You can stay up on your hands, place your elbows on yoga blocks or books, or even on the floor. Your back knee can stay down or curl your toes under and lift it up.
11. Pigeon (1 - 3 minutes per side)
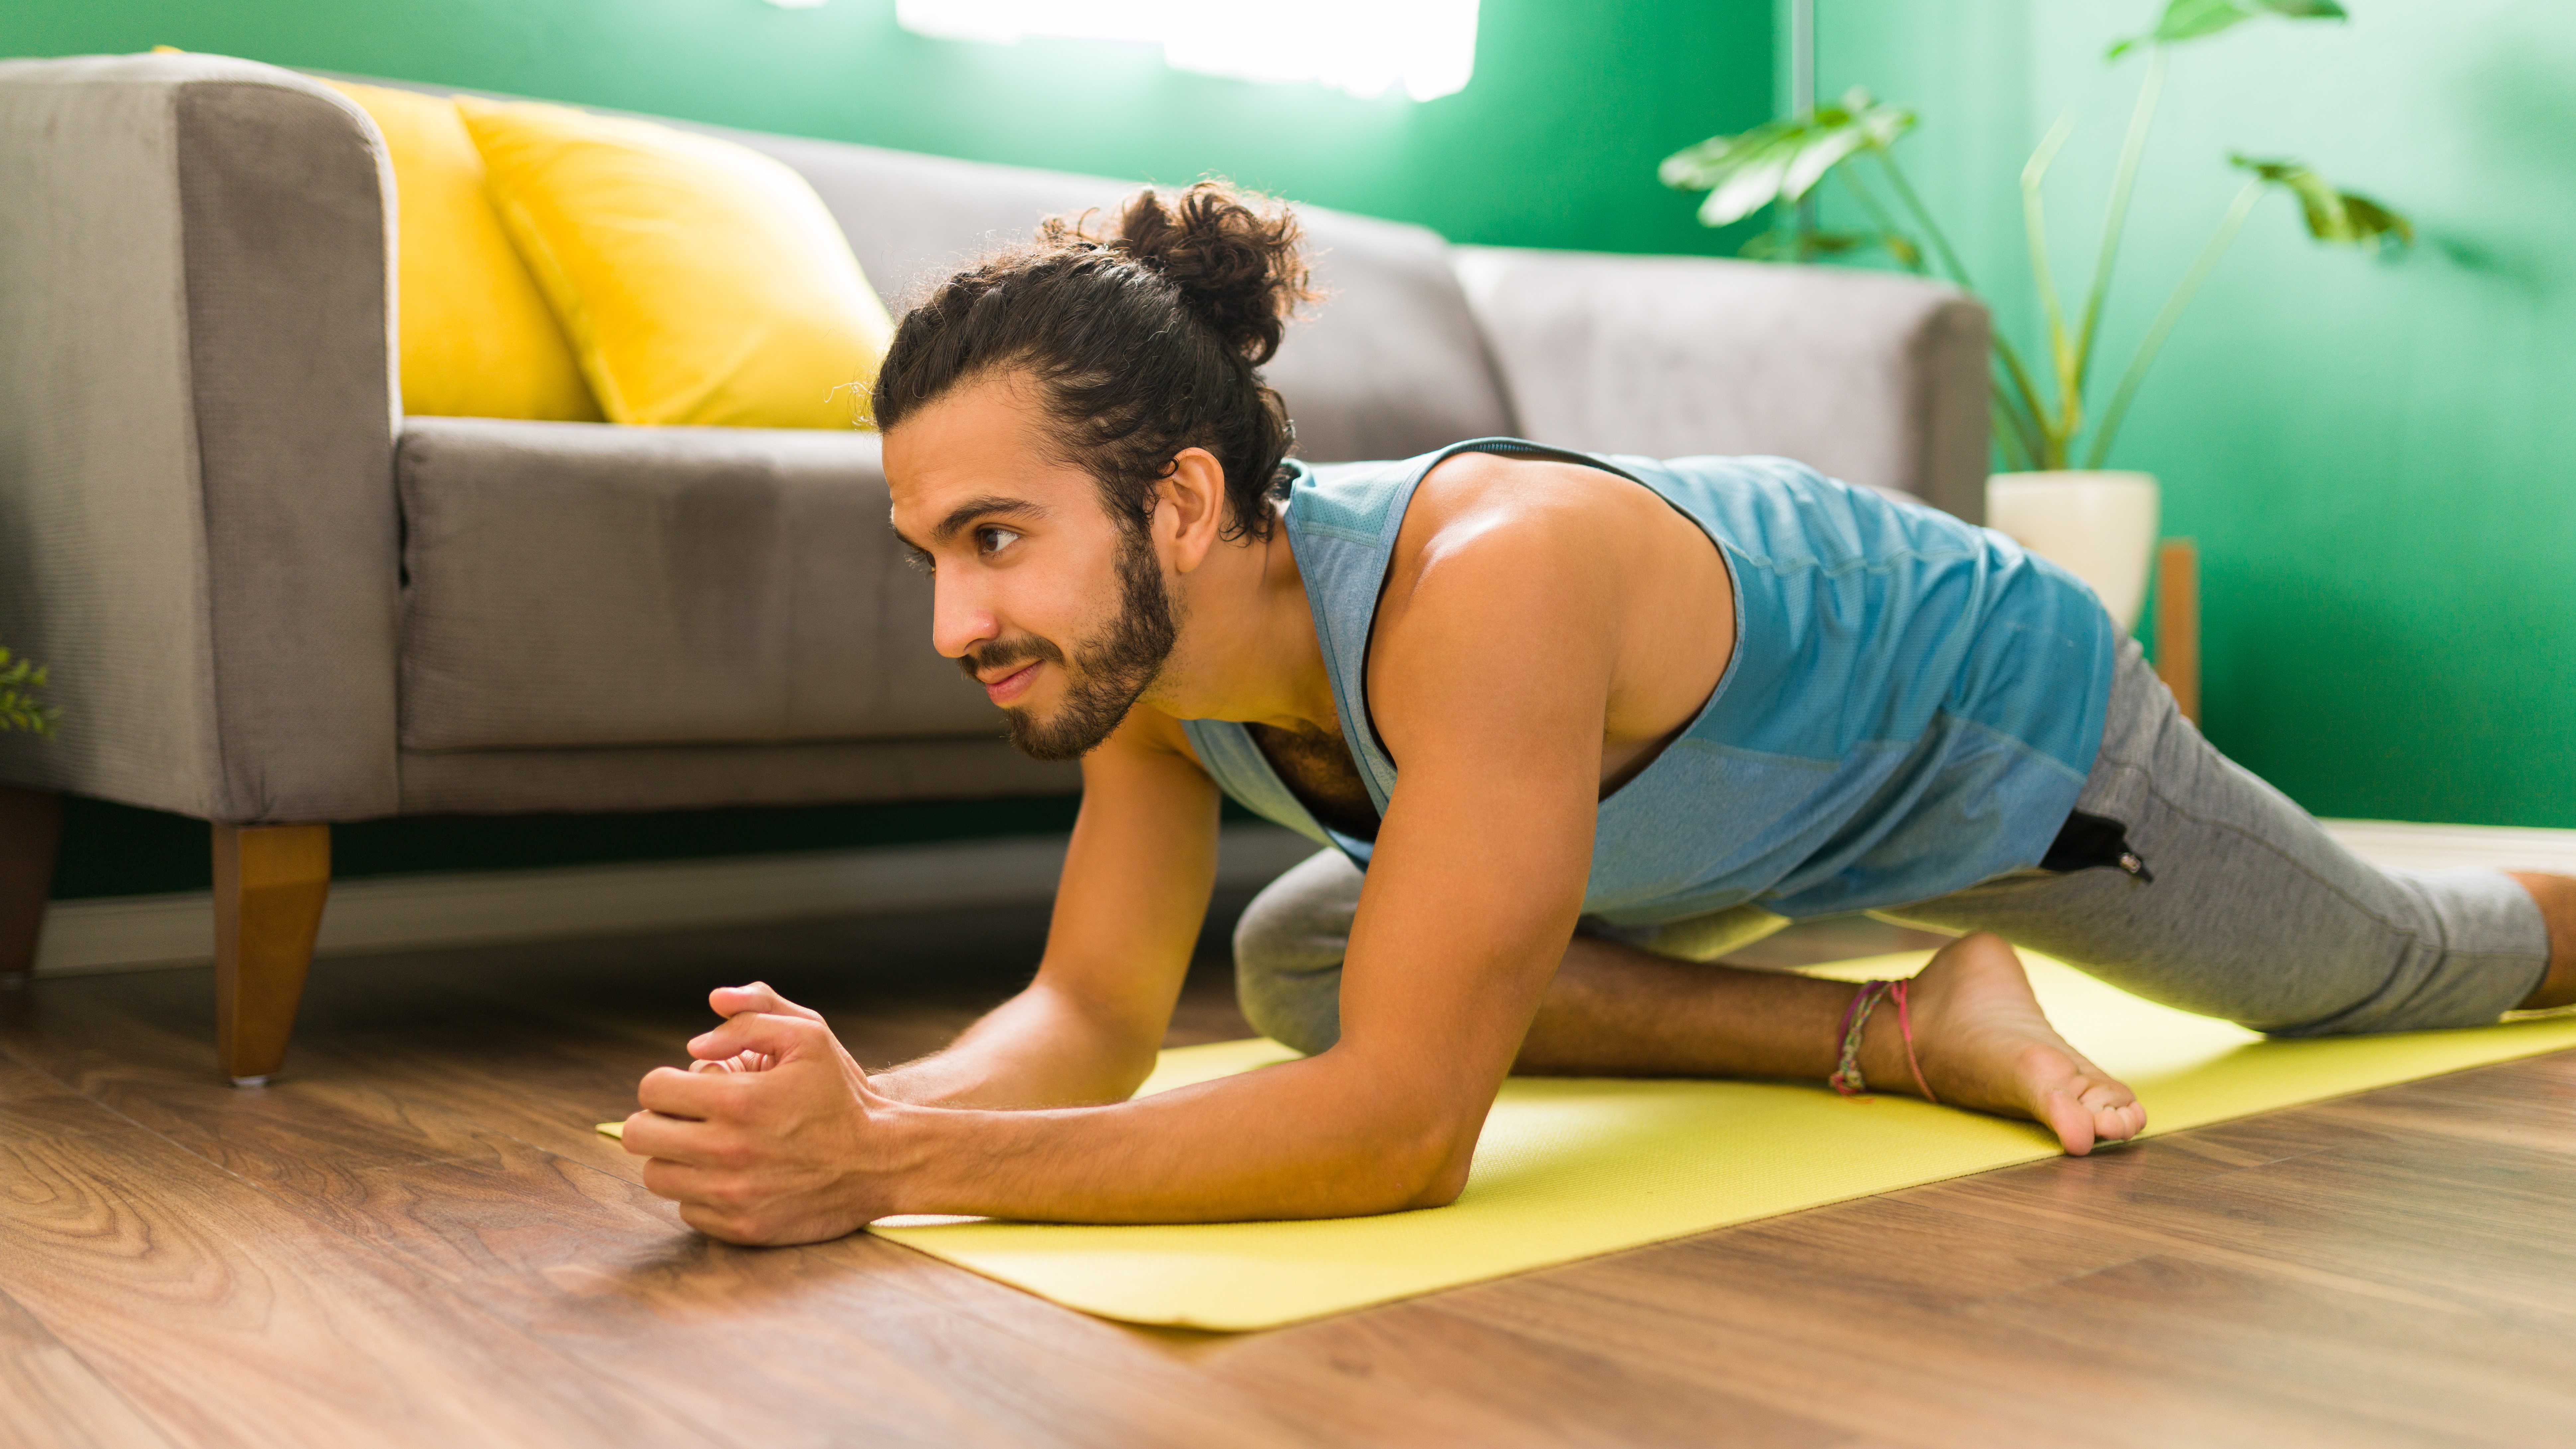
Like Reclining Pigeon, this pose targets your outer hips and glutes. It can place undue pressure on your knee, so if it feels painful, stick with the supine version.
The easiest way to approach this pose is from your hands and knees. Slide your right knee up towards your right hand so your shin is at an angle and your right big toe is touching your left inner knee. Next, slide your left knee back until your pubic bone comes toward your right foot (they may not touch). You may be able to move your right knee wider here, but if you’re feeling a good stretch, there’s no reason to. You can stay on your hands or lower down onto your elbows. Experiment with leaning your weight more onto one hip or the other and see where you can find the best stretch on your outer right hip. To come out, lift back up onto your hands and return to your hands and knees.
12. Frog pose (1 - 3 minutes)
Frog pose is one of the most intense, but effective, stretches to target your inner thighs and groin. Few people love it, so you might need to rely on the focus you use to get yourself up a mountain in a gale to become friends with this position. Remember to breathe.
To make sure both knees stay padded, turn sideways on your yoga mat or do this on a carpeted floor. From hands and knees, start to slide your knees as wide as they’ll go, keeping your feet in line with your knees so your toes point out to the sides and the inner edges (big toe side) of your feet are touching the floor. Stay on your hands, bring your elbows to yoga blocks down onto the floor. It will feel easier if you move your hips forward, so do the opposite – gently press your hips back so that from the aerial view, your lower body would be making a large “M” shape. To come out of this pose, slide forward onto your belly and lie there for a few moments with your knees bent, letting your shins drift from side to side.
- Yoga for hikers: sequences that will help improve strength, balance, and agility
Julia Clarke is a staff writer for Advnture.com and the author of the book Restorative Yoga for Beginners. She loves to explore mountains on foot, bike, skis and belay and then recover on the the yoga mat. Julia graduated with a degree in journalism in 2004 and spent eight years working as a radio presenter in Kansas City, Vermont, Boston and New York City before discovering the joys of the Rocky Mountains. She then detoured west to Colorado and enjoyed 11 years teaching yoga in Vail before returning to her hometown of Glasgow, Scotland in 2020 to focus on family and writing.
