Yoga for hiking: a yoga sequence to help you stay loose on the trail
Our yoga for hiking sequence aims to help you recover faster and improve your mobility so you feel your best on the trail
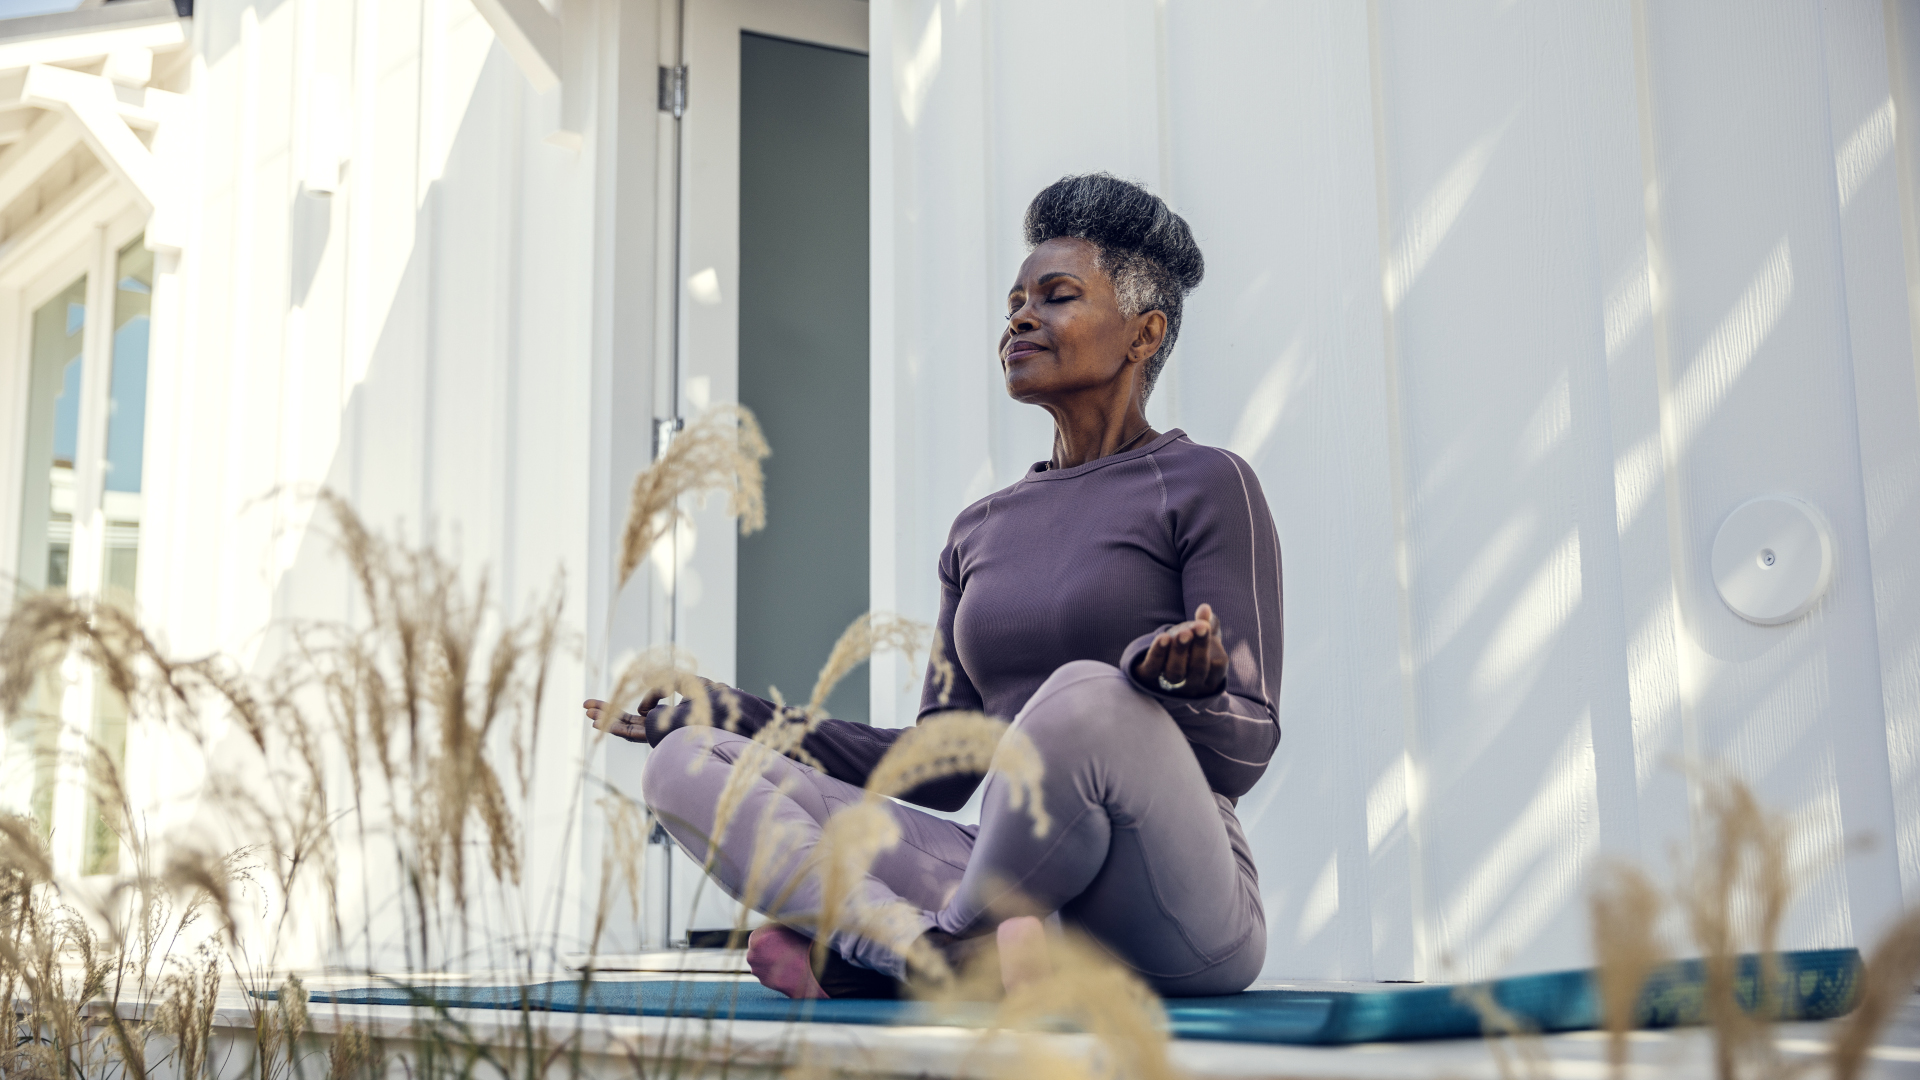
There's no doubt that hiking is great for your health. It’s low impact, offers a great aerobic workout if you keep the pace or incline up, strengthens your lower body and gets you out in nature which has phenomenal mental health benefits. But like any form of exercise, if you’re doing a lot of it, it might cause you some imbalances as well. So, we took a look at yoga for hiking to find out how it can help.
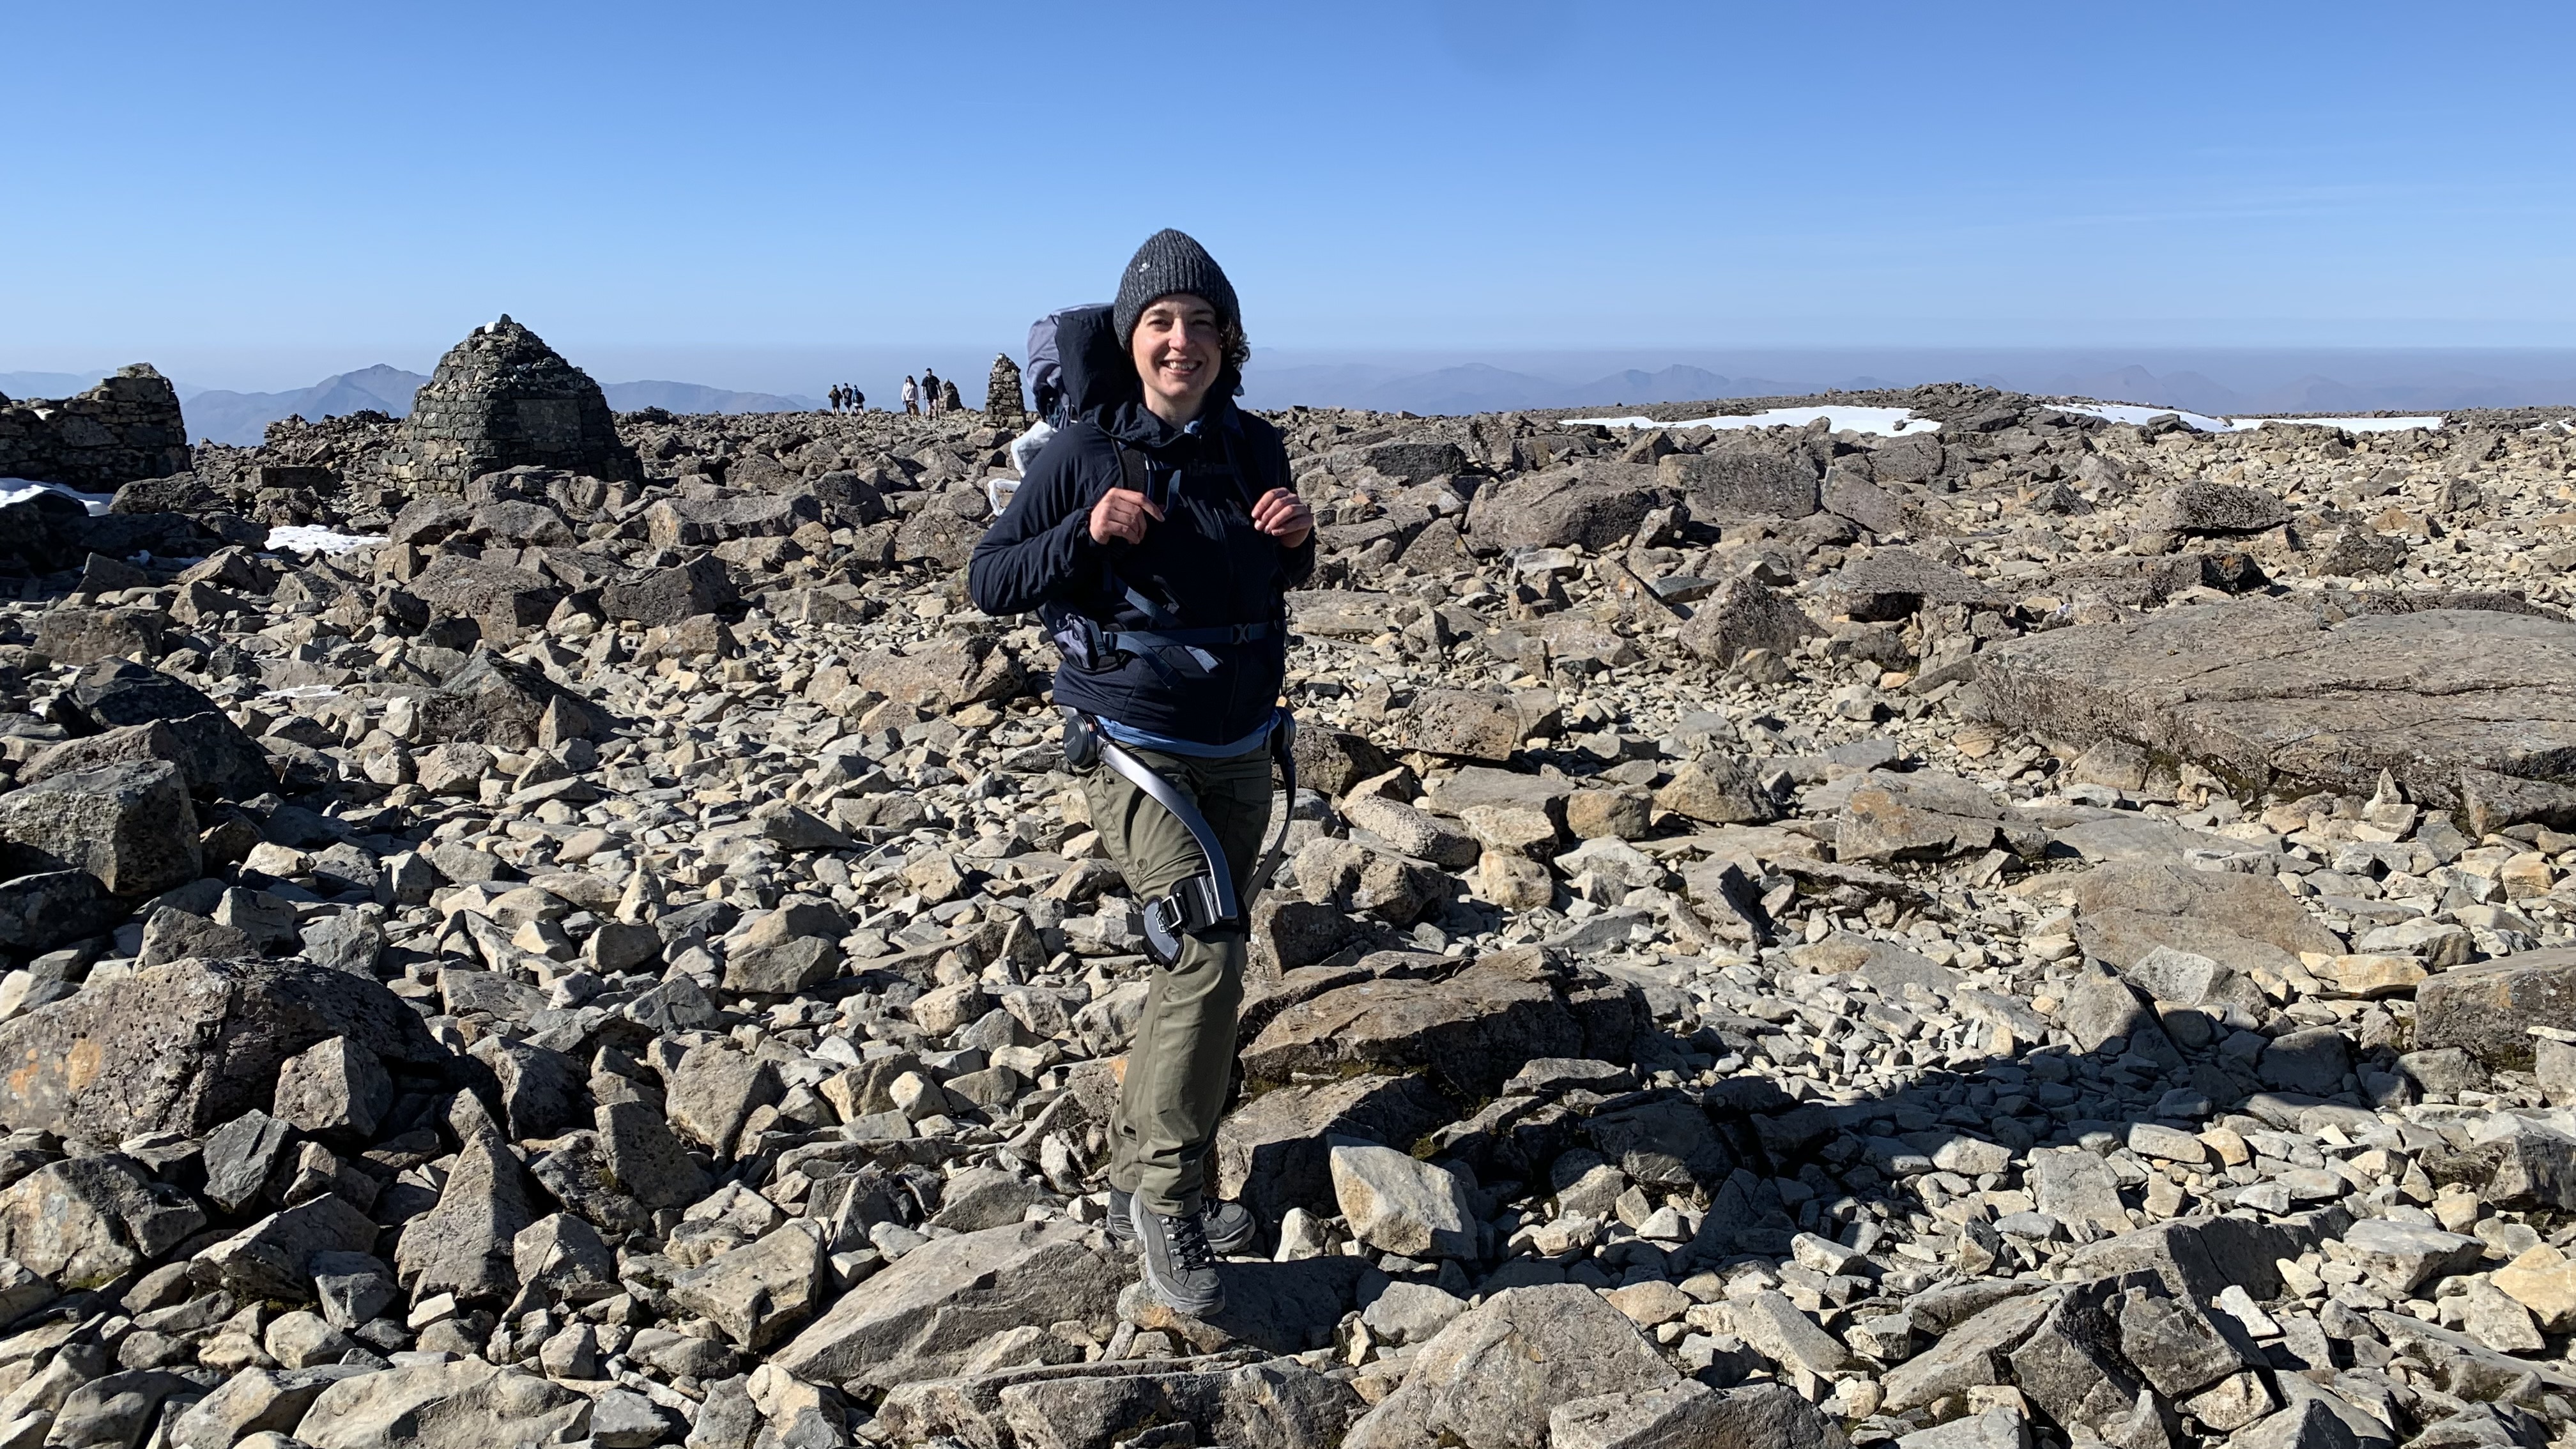
The main complaint from people who hike a lot is stiffness in the lower body and shoulders. Getting all those miles underfoot in your hiking boots means your calves, hamstrings, quads and glutes are probably nice and strong, but without proper rest and recovery, they might often feel rather stiff and sore. Add to that the hunch of carrying a backpack and you might also be experiencing tight shoulders while the impact of hiking downhill can result in low back discomfort. Over time you might find that you’re losing mobility, or even experiencing pain, both of which can diminish your quality of life as the years go on.
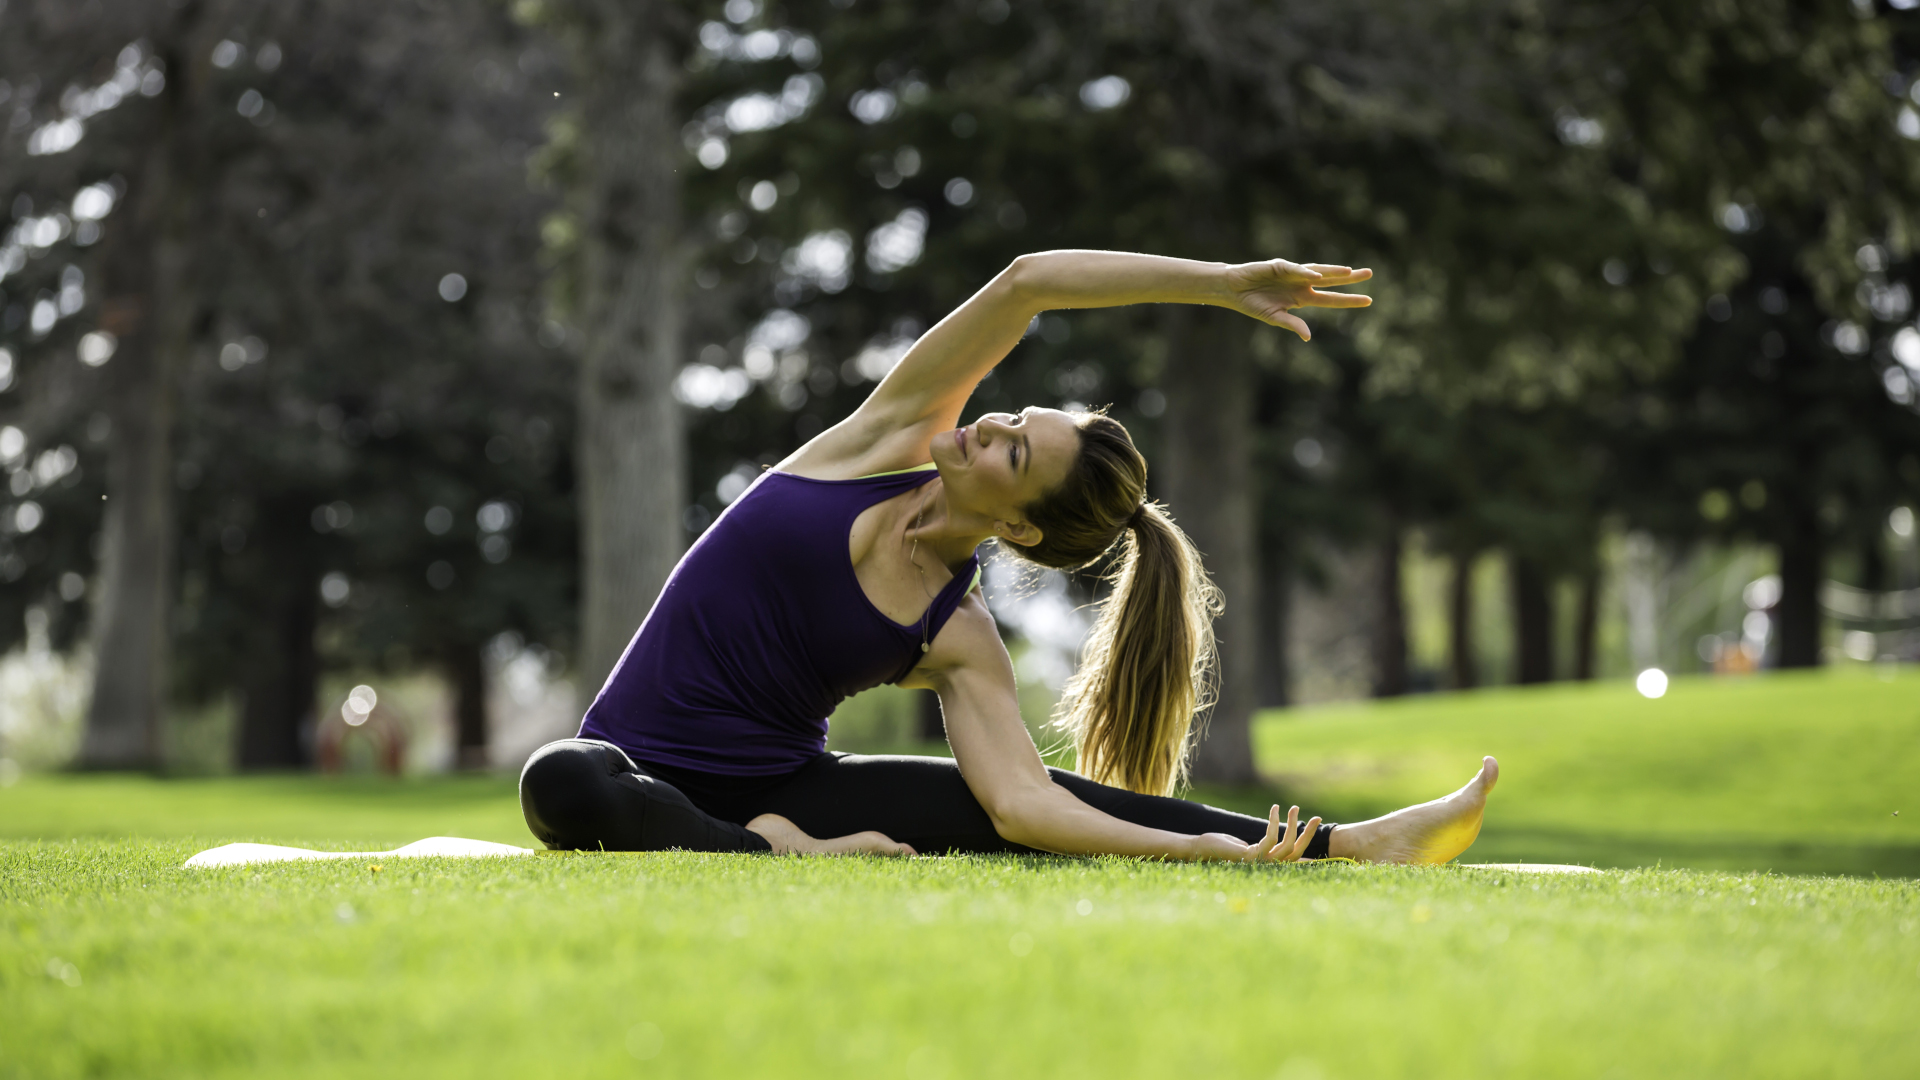
The good news is that you don’t have to give up hiking. What you can do is find complementary activities that give your muscles a rest, restore balance to your body and help you recover and get back on the trail sooner. Yoga might be just what you’re looking for.
Some argue that yoga can help hikers because it strengthens your legs and is a good way to practise balance, which comes in handy for uneven ground. Though there’s some truth to this, you’re likely getting all the leg strengthening and balance practice you need on the trail. Where we find yoga helpful is for its emphasis on stretching. Lots of hiking fatigues your leg muscles, which in turn makes it harder for them to move your joints like your hips and knees properly. Over time this can lead to restricted movement which can cause pain, or injury if you then try to do a new, more dynamic movement. Stretching keeps your nervous system adapted to broader ranges of motion so overall you remain more limber and supple on and off the trail. A 2018 study showed that regular stretching improves blood flow to your muscles, which may aid in recovery too.
Though you don’t necessarily need to stretch before you hike – starting out your hike at a moderate pace with a loose gait should be all you need to warm up – where yoga can really come in handy is after your hike when your muscles have stiffened up. If you’re already tired and sore from hiking, the last thing you want to do is end up in a vigorous power yoga class, so we’ve put together this simple, accessible and effective sequence that you can enjoy at home after a day on the trail.
If you're also a runner, check out our yoga for runners sequence and if like to adventure on belay too, you'll also want to check out our yoga sequence for rock climbers.
For this sequence, it will be good to have two pillows or cushions, a blanket or towel, and a yoga strap, scarf or belt nearby.
Advnture Newsletter
All the latest inspiration, tips and guides to help you plan your next Advnture!
1. Reclining butterfly (2 - 5 minutes)
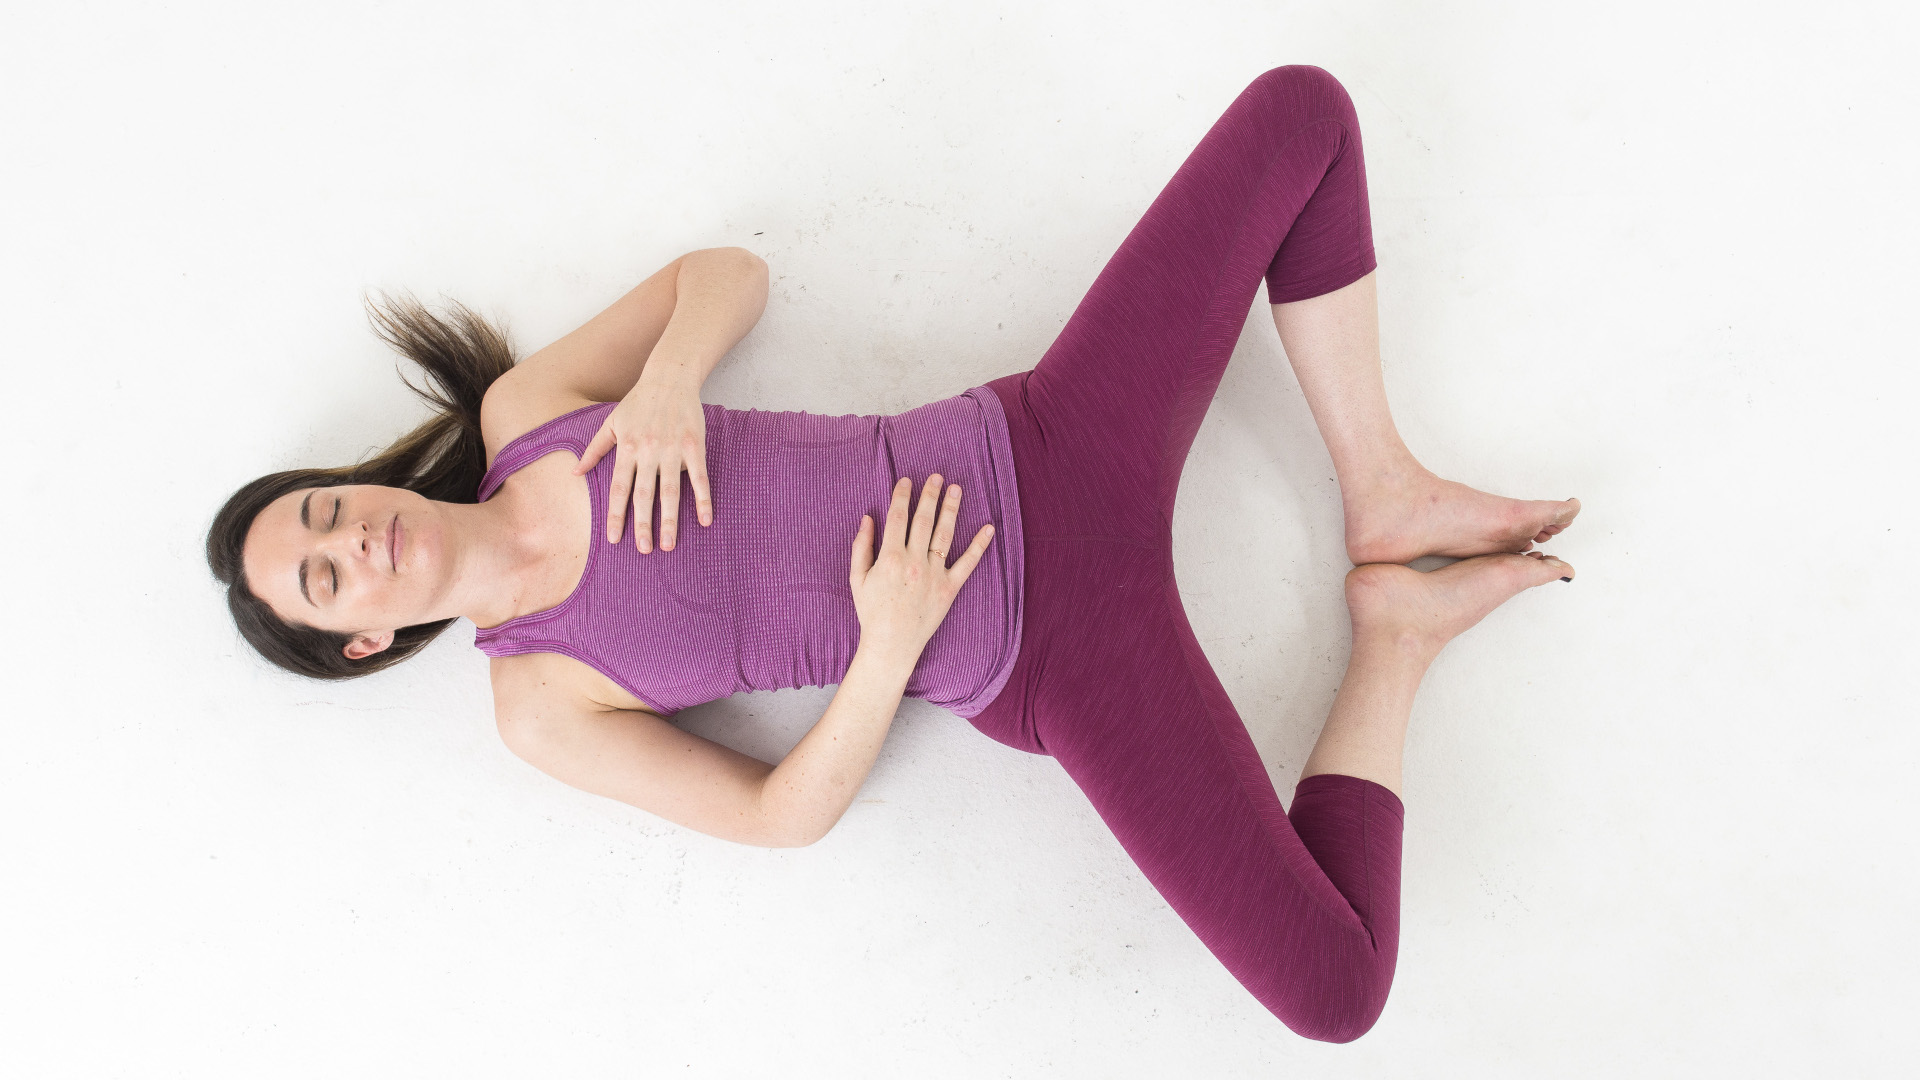
All that hiking has strengthened your hips in a simple flexion/extension pattern so the external rotation of this position will be a nice change.
When you get home from your hike, lie down on your back and bend your knees. Place the soles of your feet together and let your knees open wide, so your legs make a diamond shape. Experiment with how far or close you want your heels to be to your pelvis as this will change the sensation. If this feels very intense, place a couple of pillows under your legs for support. Relax here and breathe deeply. You will probably feel the stretch in your inner thighs. After a few minutes, hug your knees into your chest.
2. Reclining hamstring stretch (1 - 2 minutes each side)
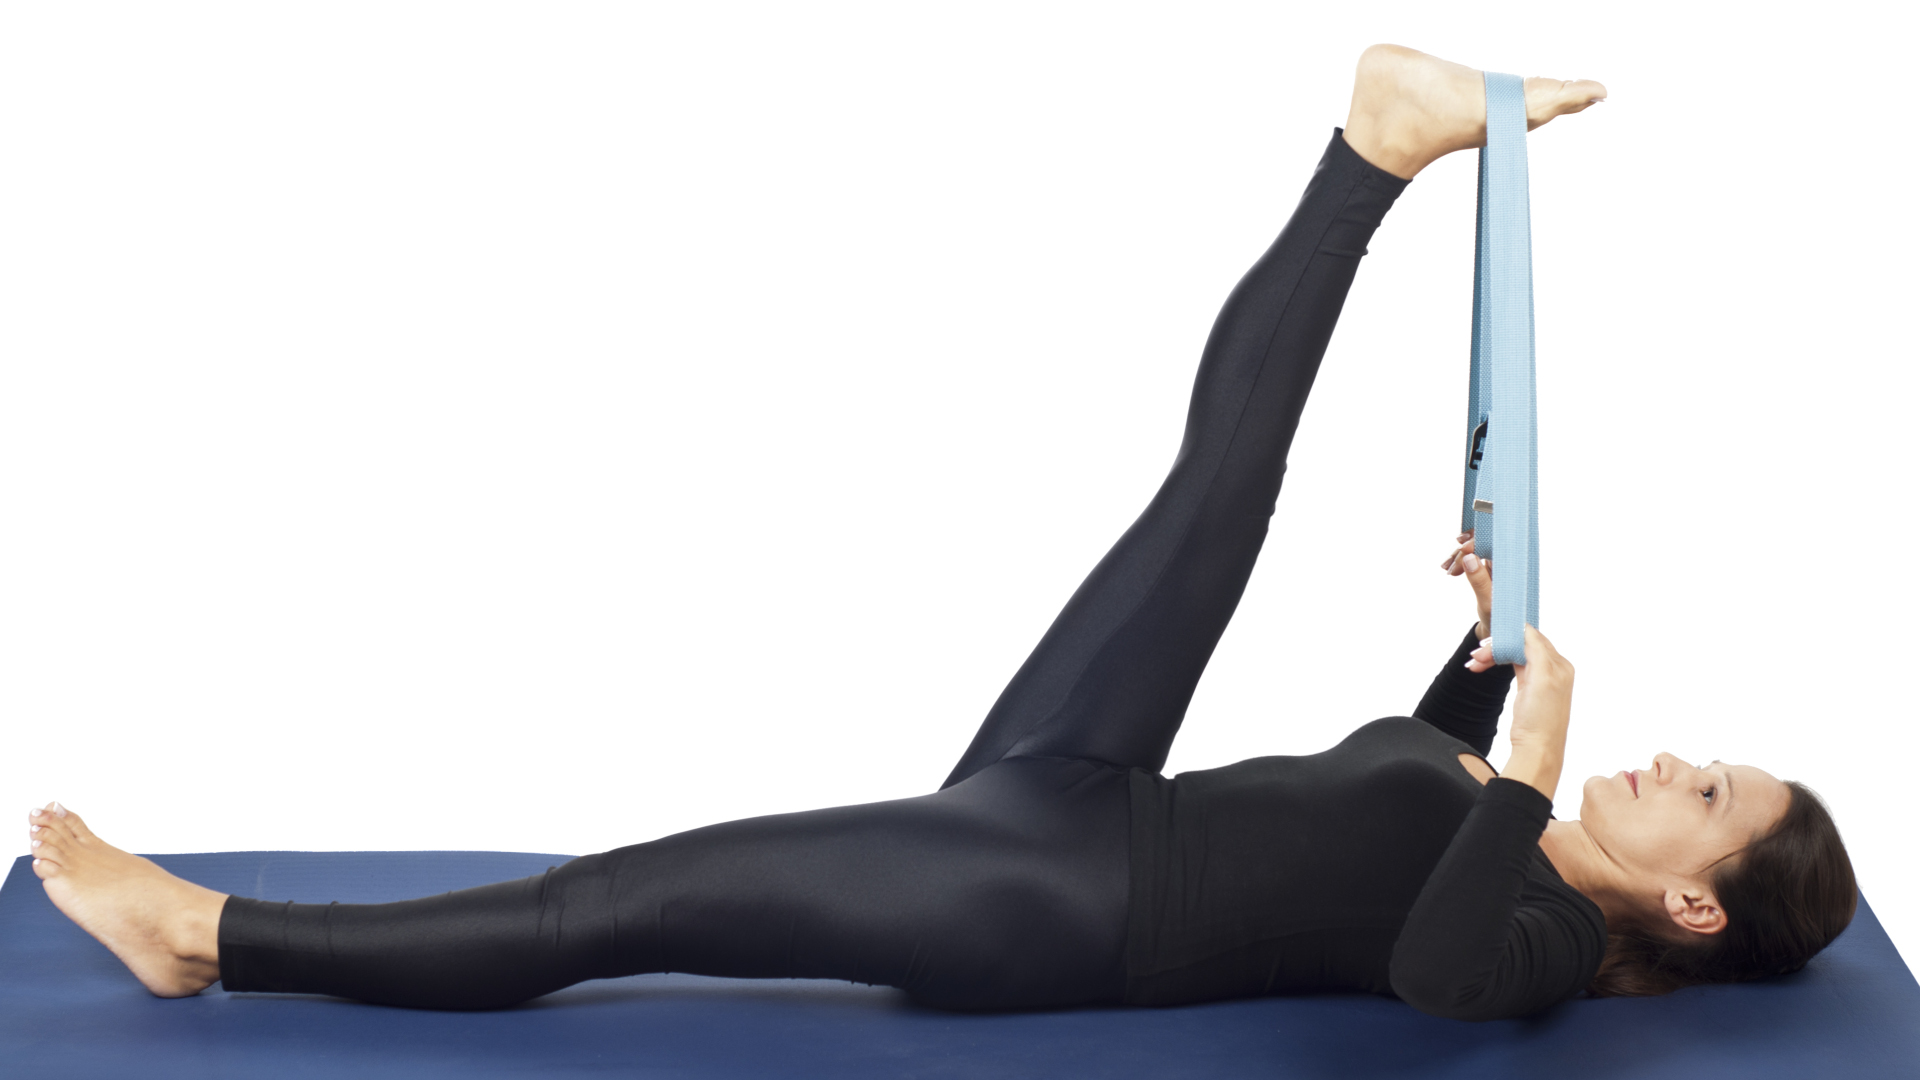
Hiking is great for strengthening your hamstrings, which work to bend your knees and help pull you uphill. When they are overworked, it can result in restricted mobility in your pelvis which can even be the source of low back pain.
Stretching your hamstrings in a seated pose or from standing can be near impossible if you hike a lot, and if you’re very stiff you might even hurt your back trying, so we prefer this reclining version.
Keep your right knee into your chest and place your left foot down on the floor. Wrap your yoga strap, belt or scarf around the sole of your right foot and then straighten your right leg, sending the sole of your foot up towards the ceiling. Give yourself enough slack that you can straighten your leg completely, then gently pull down on the strap with your hands and press your foot back into the strap. If you point your toes down a little towards your face, you’ll also target your calves and foot muscles here. Stay here and breathe deeply until you feel the stretch in your hamstrings subside, then do it all again on your left side.
3. Spinal twist (1 - 2 minutes each side)
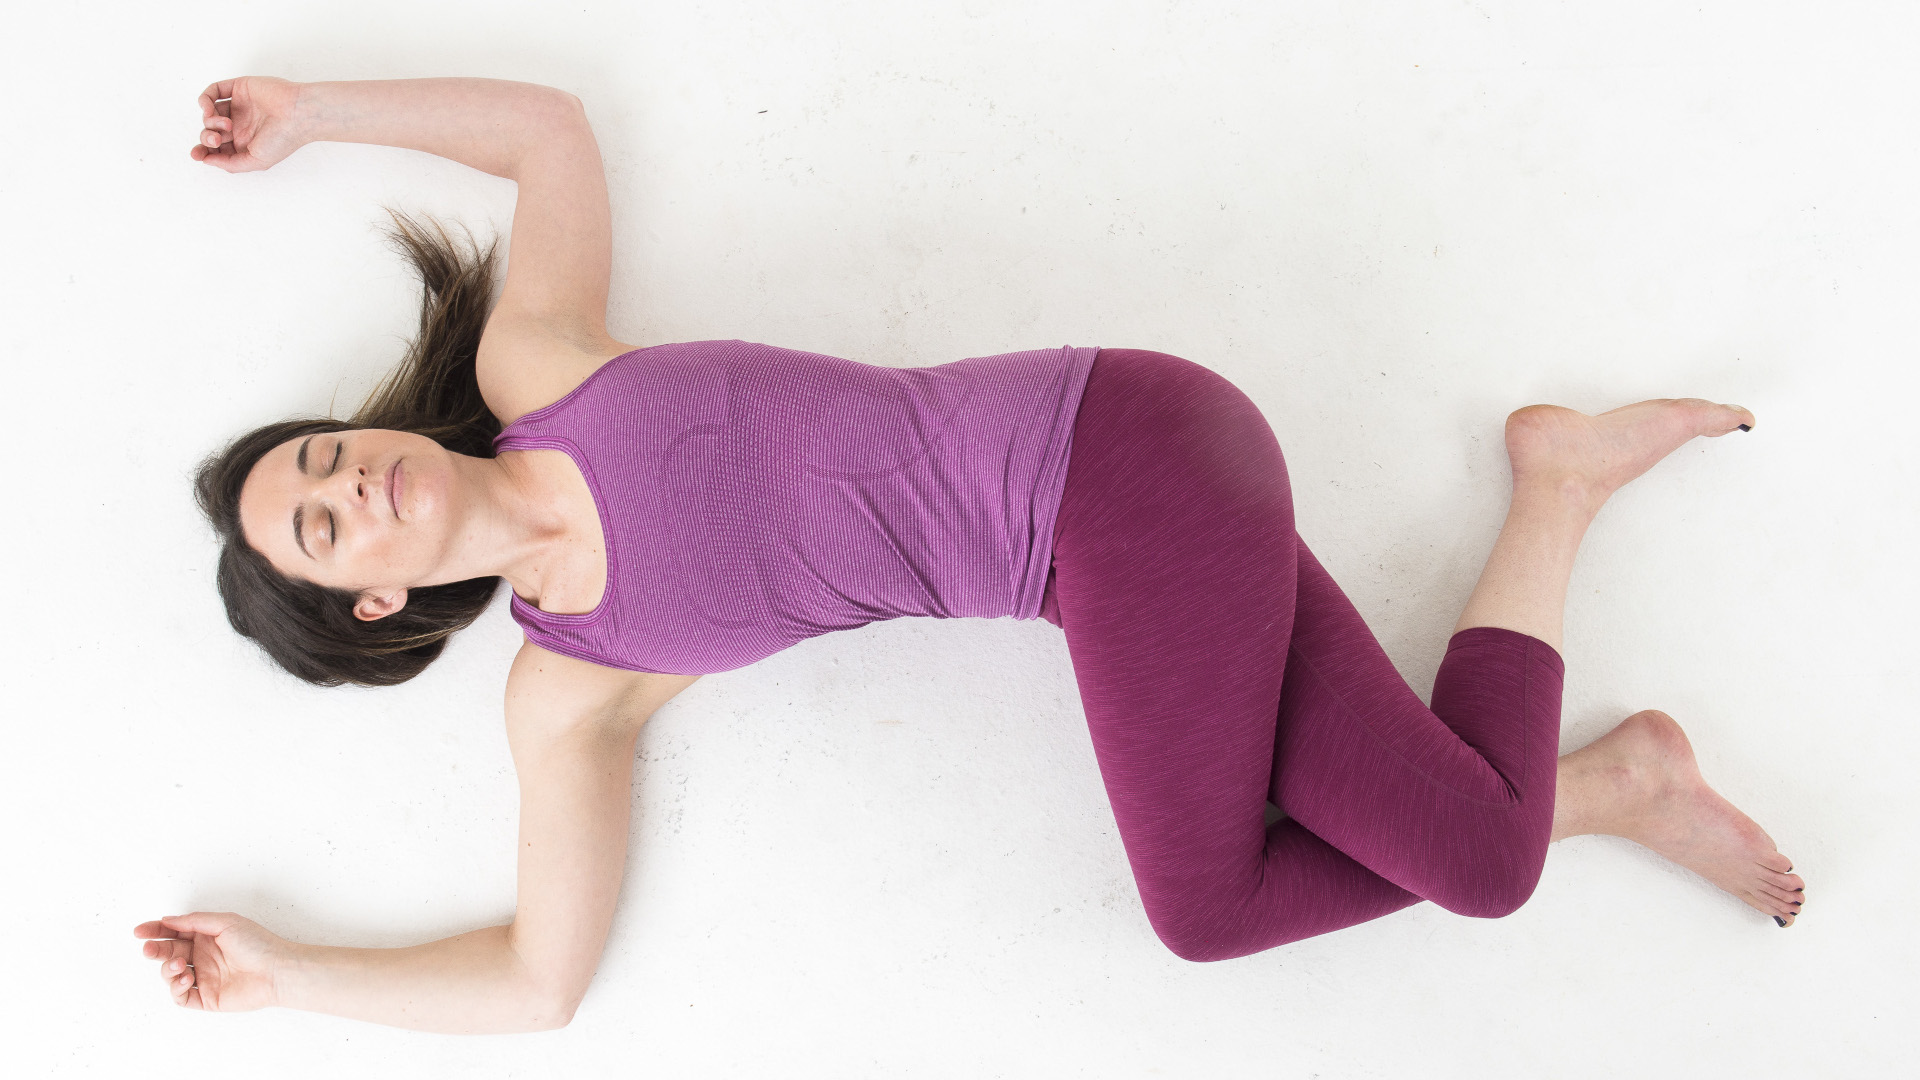
Hiking downhill can really do a number on your lower back. The weight of gravity combined with the impact of each foot step increases the natural compression that your spine already experiences in the day to day.
One of the best ways to decompress your spine is with a gentle twist, which does the same job as hanging from a bar but is less intense and requires no special apparatus. We like this twist because it also stretches your outer hip muscles like your glutes which can get tight on the trail.
Stay on your back and just cross your right thigh snugly over your left thigh like you’re sitting on a chair. Open your arms out wide, shift your hips a couple of inches to the right, and then bring your knees all the way over to the floor on your left. Don’t worry if your right shoulder lifts up off the floor a bit. If the floor feels too far away, you can place a pillow under your knees. Once you’re here, relax and let gravity do the work for a minute or two, then change sides.
4. Puppy stretch (1 - 2 minutes)
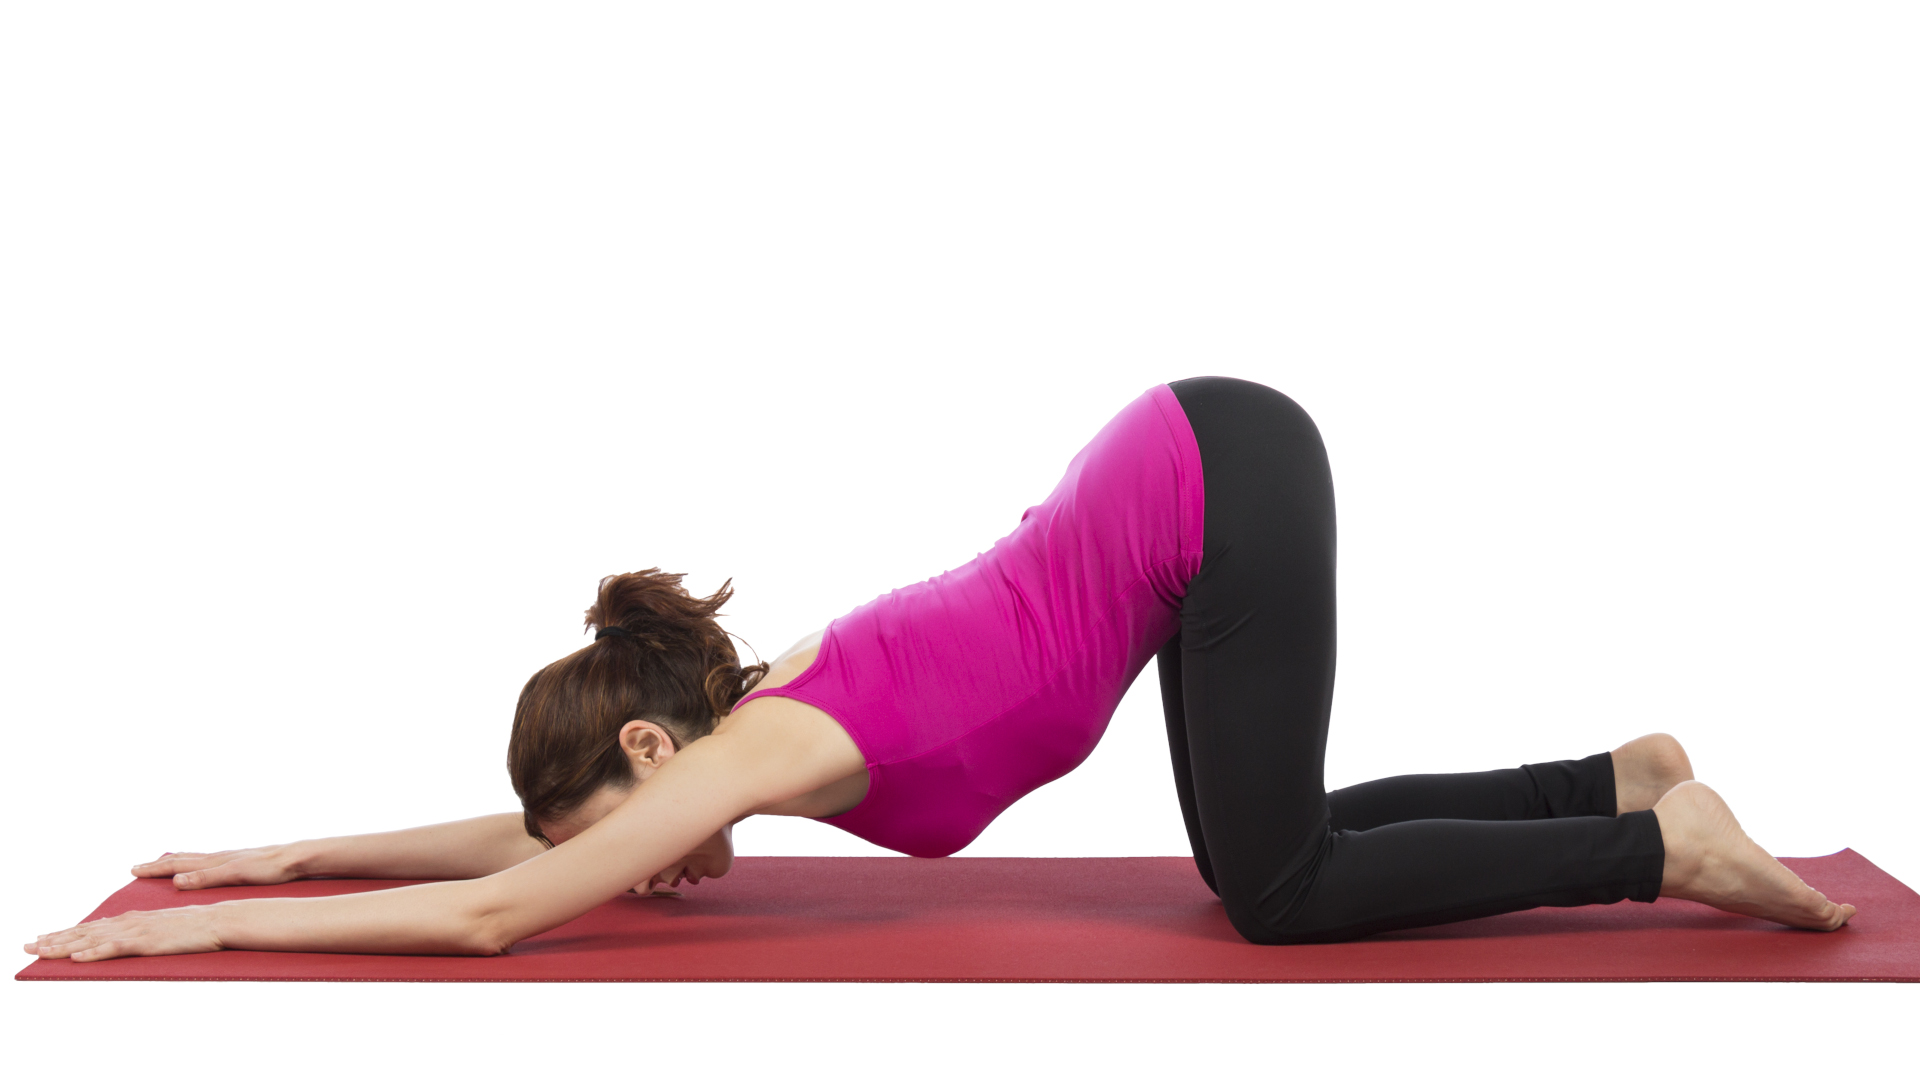
When dealing with throbbing feet and aching legs, we often forget about our shoulders. Carrying a pack can cause you to hunch over a bit, even if it’s not that heavy, which isn’t great for your shoulders or spine.
Puppy stretch is a great way to stretch out your shoulders, upper back and chest. Come up onto your hands and knees (if your knees don’t like being on a hard floor, place a blanket or towel under them). Stack your hips over your knees and keep them there as you start to walk your hands forward. Keep your arms straight and at a certain point you can’t go any further without shifting your hips forward. Here, start to sink your chest down towards the floor and rest your forehead or chin on the floor. Your spine will feel a bit like a hammock slung between two trees.
5. Starfish (1 - 2 minutes each side)
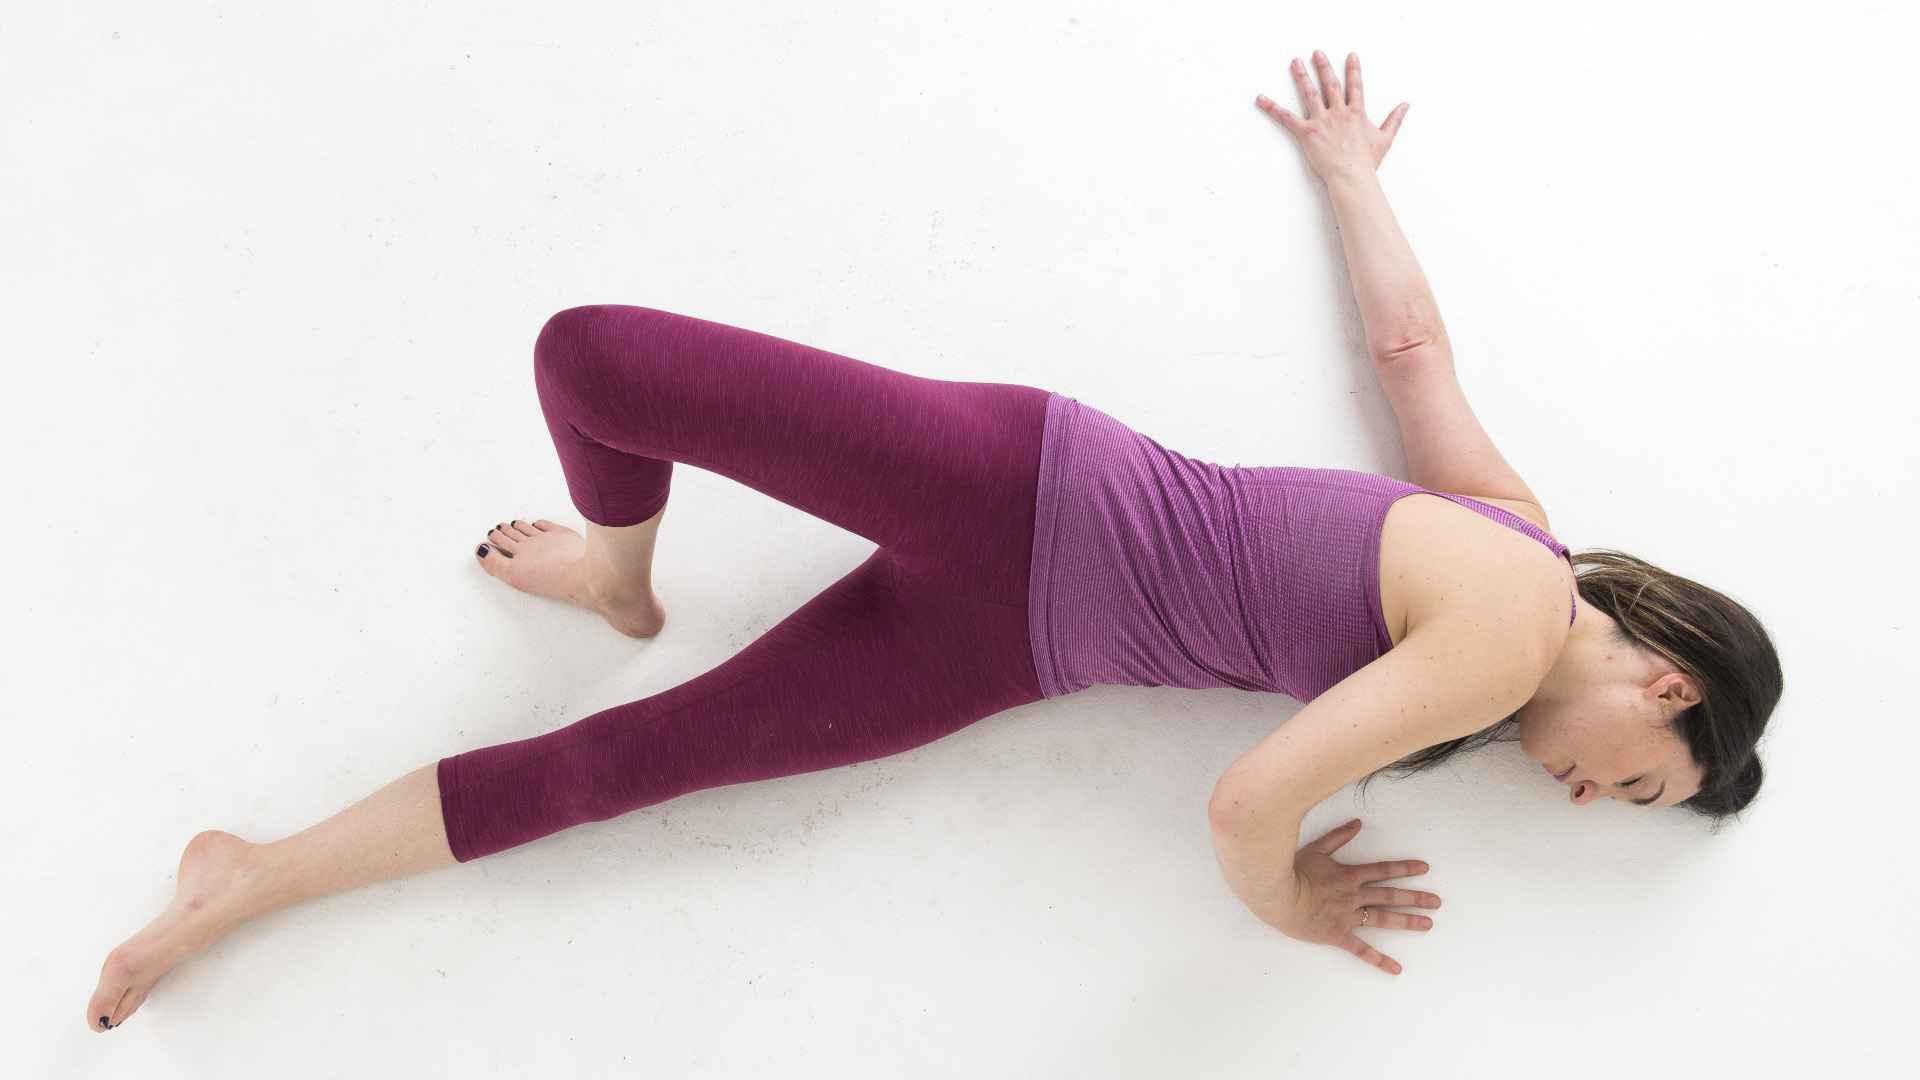
This pose also targets your shoulders by stretching out your pectoral muscles which connect your upper arm to your chest. These can get stiff if they’re in a permanently contracted position, like when you’re holding a backpack on.
From Puppy Stretch, slide forward onto your abdomen and take a few deep breaths. Next, stretch your right arm straight out to the side, palm facing down, so your hand is more or less in line with your shoulder. Keep your arm there, place your right cheek on the floor, then press into your left hand to roll gently onto your right side. Don't worry if you won’t get very far. Try to relax your jaw here and don’t hold your breath.
Rest on your abdomen again for a couple of breaths before changing sides.
6. Child’s pose (2 - 4 minutes)
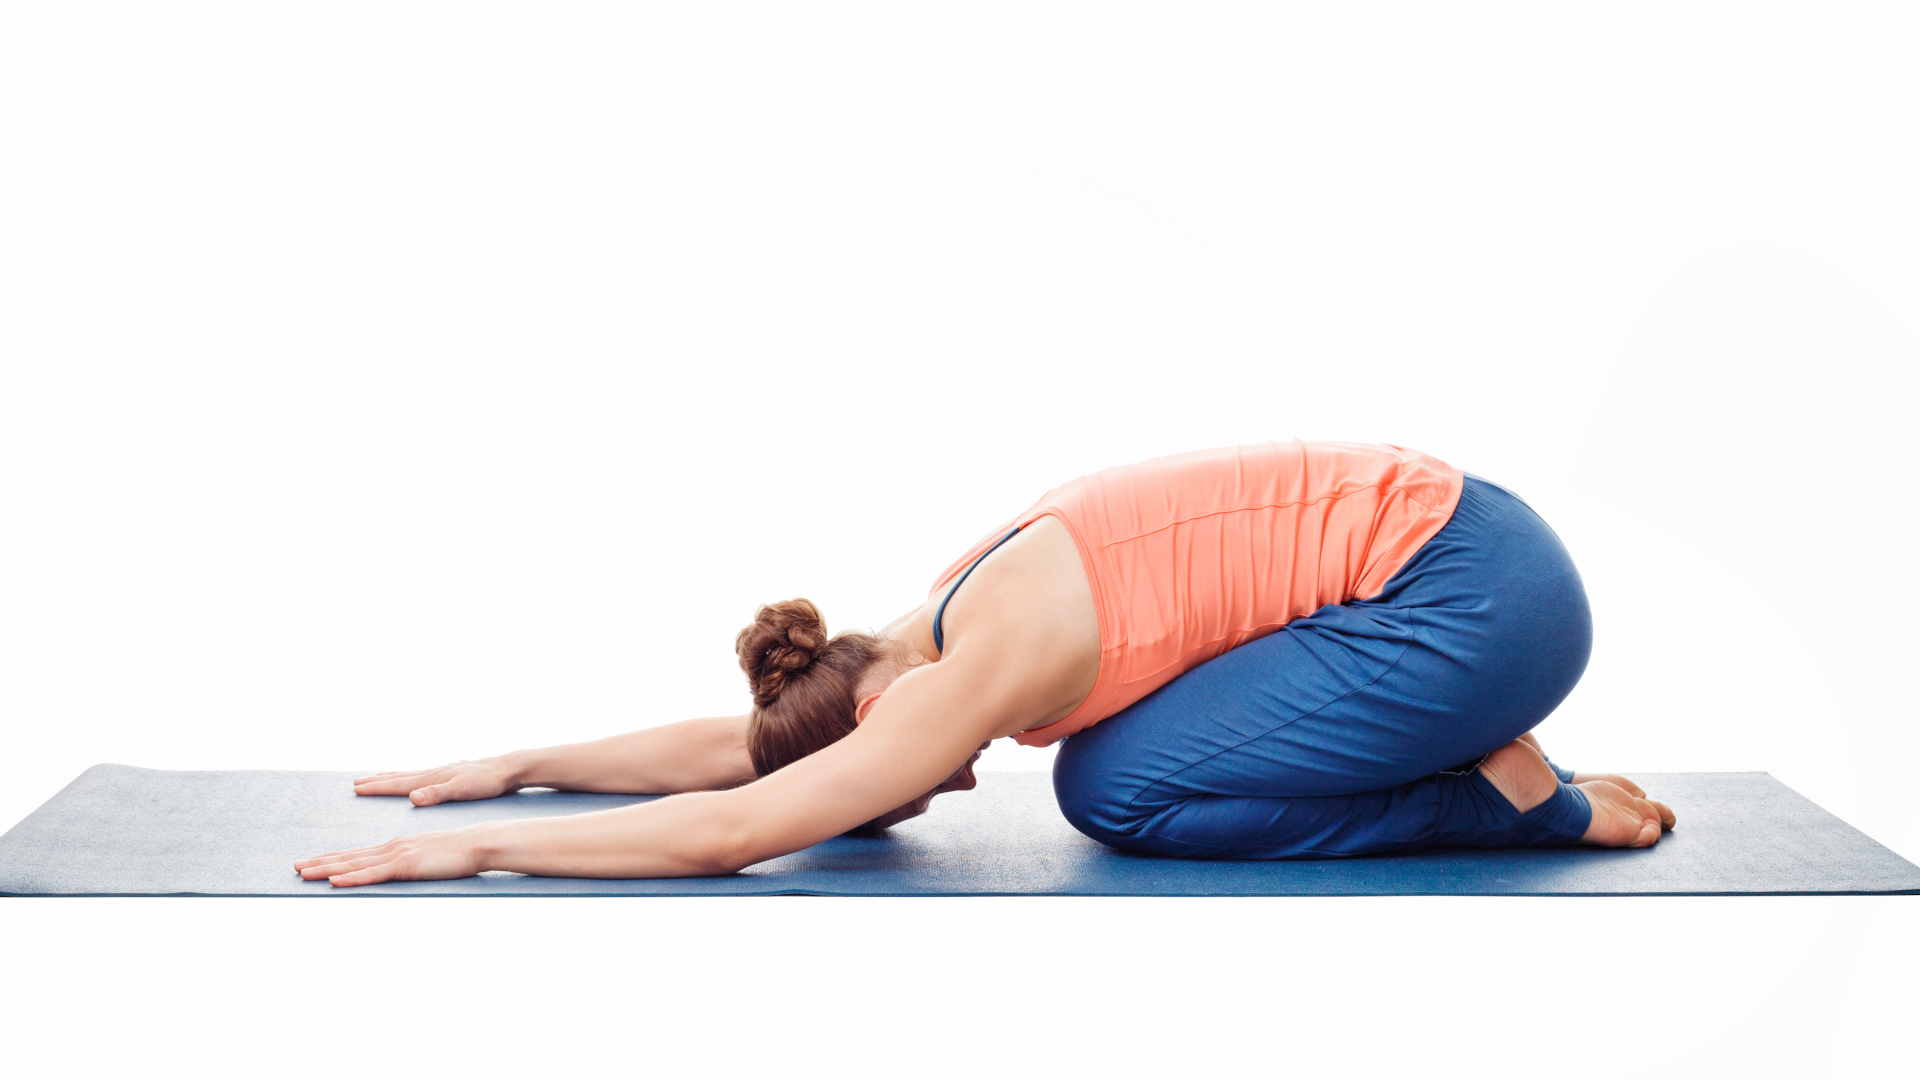
It’s no secret that your quads get a good workout on the hill. These muscles on the front of your thighs work to straighten your leg, so you use them every step, and they brace you in eccentric contraction on the downhill which is where they often get sore.
Though there are lots of more complex quad stretches, we like a simple, old fashioned Child’s Pose. It can be a little easier on the knees than some other poses, and has the added benefits of stretching your glutes, quads and low back. Just press back up to your hands and knees, untuck your toes and sit back towards your heels, placing your forehead on the floor or on your forearms. If your knees don’t love this stretch, place a folded blanket or towel into the backs of your knees to create a little space in the knee joints.
As a bonus, you can do this pose for a few breaths with your toes curled under and get a nice foot stretch too.
7. Legs up the wall (5 - 10 minutes)

Putting your feet up is the perfect recipe for recovery and humans have been doing it for years. Some of us are more prone to feet and leg swelling than others and there are different reasons for it, but essentially a big culprit is gravity. The downward pull of gravity means your circulatory system has to work slightly harder to bring blood back to your heart via veins and valves when you’re upright, and it can cause fluid to pool in your lower extremities.
Finish your practice with a few minutes in legs up the wall and you can aid natural circulation and help drain some of that excess fluid. Get yourself as close to the wall as possible then lean back and bring your legs up onto the wall one at a time. Lie back and if this pose makes your hamstring quiver, shimmy your body slightly away from the wall so your legs are at more of an angle. Feel free to close your eyes and relax here.
Julia Clarke is a staff writer for Advnture.com and the author of the book Restorative Yoga for Beginners. She loves to explore mountains on foot, bike, skis and belay and then recover on the the yoga mat. Julia graduated with a degree in journalism in 2004 and spent eight years working as a radio presenter in Kansas City, Vermont, Boston and New York City before discovering the joys of the Rocky Mountains. She then detoured west to Colorado and enjoyed 11 years teaching yoga in Vail before returning to her hometown of Glasgow, Scotland in 2020 to focus on family and writing.
