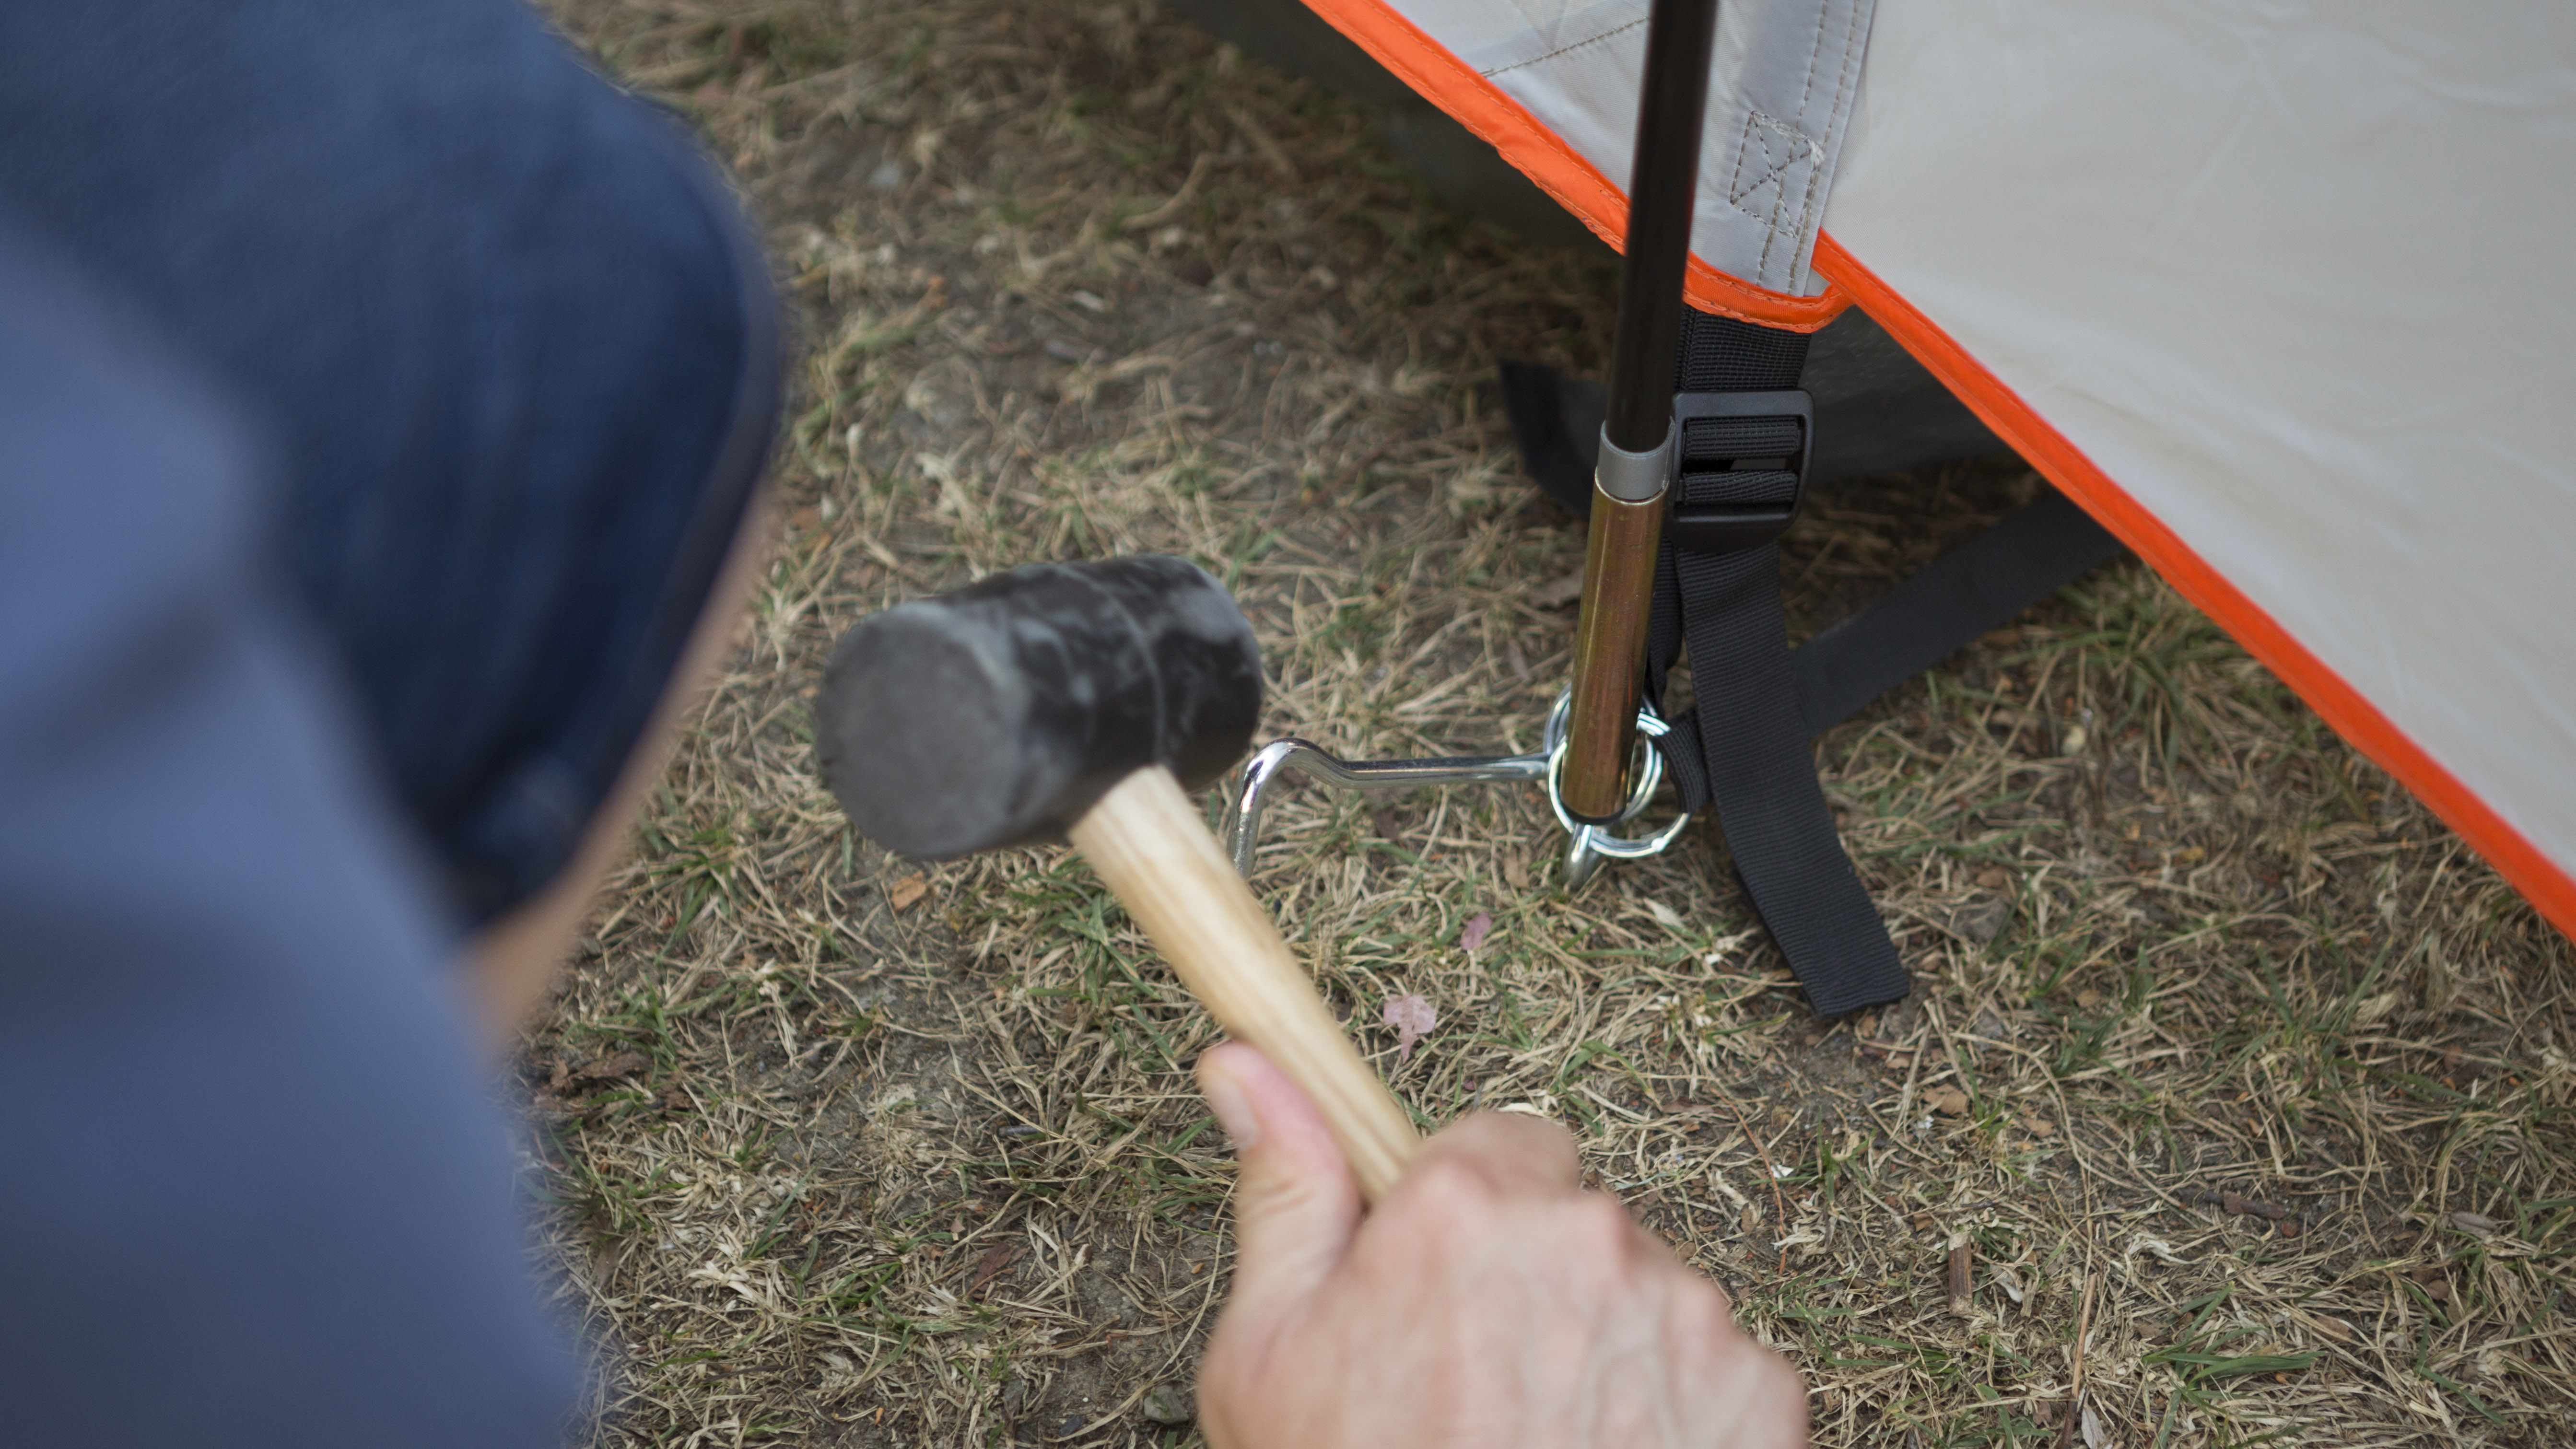
Tent repairs: how to fix your 'home away from home' so that you can carry on adventuring
Our guide to tent repairs: from broken poles, holes in your mesh and tears in your flysheets, groundsheets and seams, we’ve got you covered

Once you're equipped with the skills to carry out tent repairs, you’ll save yourself money, you’ll save the environment, and it will take (some of) the stress out of that blizzard that seems to be hell-bent on destroying your beloved shelter. With our simple guide, you’ll be clued-up on all manner tips and tricks to restore your battered shell to a castle of canvas once more.
Even the finest shelters need to a bit of TLC from time to time. A misplaced crampon, a particularly fierce gust, children; there are all kinds of terrors waiting to wreak havoc on your poles and fabric. By learning the basics of tent repairs, you can save yourself from having to fork out for a new shelter and learn to cherish the one you’ve already chosen.

Once you’ve got tent repairs down to a tee, think about the difference you’ll make to the environment. As we all seek to become that bit greener, gear manufacturers are in fierce competition to deliver more eco-friendly kit, from the best camping tent and the coziest sleeping bag, to more efficient camping stoves. However, remember – the most environmentally friendly gear is the gear that you already own.
So, don’t be that person who puts an entire family tent in the trash because of a torn flysheet. For tent fabrics, many camping brands make specialised tent repair kits with handy patches and tapes. What’s purchasing a little repair kit when weighed against buying a whole new tent?
Now, let’s consider how we go about tent repairs:
Tent repairs: how to repair a tent pole
Modern tent poles are made up of separate, thin tubes that clip together and have a cord of elastic running through them. The tubes are usually made from fiberglass, steel or aluminium. Fiberglass is common and desirable because of its lightweight and flexible qualities. However, it can break under strain, crack down its length or splinter into needle-like shards, leaving you with a useless pole.
Before we get into how to repair a broken tent pole, let’s bust some jargon…
All the latest inspiration, tips and guides to help you plan your next Advnture!
Jargon Buster
Pole section – one of the single fiberglass tubes that when clipped together with the other pole sections creates the complete pole. They usually have a metal sleeve (a ferrule) at one or both ends.
Complete pole – when all of the pole sections are clipped together you have a complete pole
Ferrule – the metal sleeve on the end (or both ends) of a pole section
Shockcord – the elastic cord that runs through the complete pole, holding the pole sections together
Pole diameter – the diameter of the fiberglass part of the pole (importantly, not the diameter of the ferrule). The sizes used on most tents are 7.9mm, 8.5mm, 9.5mm, 11.2mm and 12.7mm.
Spiggot – a fitting (usually metal) on the end pole sections that allow them to attach to an eyelet, as an alternative to the traditional ring and pin.

Okay, so you’ve just got back from a backpacking trip with your other half. One of your pole sections has cracked right down its length and, even worse, it’s right in the middle of your complete pole! Time to buy a new 2-person tent right? No! It's time to get on with some tent repairs.
If you are lucky, your tent will have come with spare pole sections. If this is the case, great! However, even if it didn’t you can still buy spare pole sections from outdoor retailers. The important thing is to get pole sections of the same diameter. To do this, measure the diameter of the fiberglass part (not the metal ferrule) of your current poles with measuring tape or, even better, a Vernier caliper.

If your tent already came with spare pole sections and they are the same length as the part that you are replacing, then you don’t need to worry about this next bit. If you’ve bought new pole sections, you’ll need to cut your new poles down to size. This is because generic pole sections generally come oversized so that they can be cut to match different tent sizes.
To cut your new pole sections down to size, you will need some electrical tape, a hacksaw, gloves and sandpaper. First, measure the new pole side-by-side against one of your existing pole sections – with both ferrules at the same end – and use the electrical tape to mark where you will cut. Before going at it with a hacksaw, it’s a good idea to put some gloves on to avoid getting a nasty fiberglass splinter.
Next, use your hacksaw to cut part way through the pole, turn the pole slightly and cut part way again and repeat this process until you’ve cut all the way through. Cutting towards the centre is advised to avoid splintering the edge. Finally, use the sandpaper to remove any sharp edges, which could potentially damage the shockcord.

Now you’re ready to start dismantling the complete pole to replace the offending pole section. Start at the end pole section that has only one ferrule, rather than the one with two, as this makes the reassembly much more straightforward. Use a screwdriver to remove any dirt from the end pole section. If your end sections have spiggots, they usually unscrew easily. Untie the end knot in the shockcord and start to remove the pole sections, one at a time, from the cord.
Continue down the complete pole until you have removed the broken pole section. To aid the rethreading process, before adding each pole section back to the complete pole, gather in any slack on the shockcord and tie it off with a check knot. This ensures you won’t run out by the time you get back to the end pole section. When you finally get back to the end pole section, gather in the slack again and use another check knot, before tying a firm, regular knot at the end. Release the check knots, clipping the pole sections back into place and - voila! - you have a fully repaired tent pole.
Tent repairs: how to repair tent mesh
When it comes to repairs for the various fabrics in your tent, the approach is broadly similar. Many brands sell high-quality tent repair kits comprising patches, tape and sealant for every tent surface. Some even sell specialised mesh repair kits...
For mesh repairs, you will need: scissors, alcohol wipes, mesh repair kit patches
Tent mesh is as fragile as it looks. All it takes is a cut from a stray multitool (see: the best multi tool) and you’ve got yourself a hole. Hot headlamps can even melt a hole in tent mesh, which something to watch out for if you’re too close for too long. But do not stress, there are ways out of even the worst mesh mess.

The first thing you need to do is cut around the hole with scissors to remove any stray, jagged edges. Now, use alcohol wipes on either side of the mesh. This is to make sure the mesh is as clean as possible to give the repair kit the best chance of sticking to it.
Next, ready your mesh patch, which is usually circular with normal mesh on one side and adhesive on the other. Peel off the adhesive side, centre the patch over the hole and stick the edges down. It is easiest to do this on a flat surface, where you can pull the mesh tight. So that there isn’t a sticky surface left over where the hole previously was, apply another patch on the opposite site. Ensure all the edges are flat and you’re good to go.
Tent repairs: how to repair a flysheet
You will need: scissors, alcohol wipes, repair tape / patches
No, your flysheet has not been slashed by Wolverine, your buddy has just been clumsy with their crampons and been too afraid to tell you. Fortunately, as tent repairs go, repairing a flysheet is a cinch. In fact, it’s just like putting a plaster on, but using repair tape. Various brands now make repair tape, and you can easily get hold of some in outdoor stores and online.
Size up the tear against your tape and cut the tape with a few centimetres to spare on either side. Like when repairing mesh, it’s advisable to make sure your fabric is on a flat surface and has been wiped clean. Once you’re ready, peel the tape so that the adhesive is revealed (most tapes peel off down the middle) and stick the tape down onto the fabric. Make sure the fabric is pulled tight and smooth the tape as you go to remove any lumps and bumps. Peel off the other side of the adhesive strip and smooth once more. You're now well on the way to becoming a tent repairs expert.

Tent repairs: how to repair a groundsheet
You will need: scissors, alcohol wipes, repair tape / patches
The approach to repairing a tear in a groundsheet is virtually the same as for a flysheet, using either repair tape or a repair patch. Once again, it is recommended that you clean around the tear or hole to give the adhesive the best chance of effectively sticking. It is worth applying the tape or patch on both sides of the groundsheet for maximum protection.

Tent repairs: how to repair tent seams
You will need: seam grip, paint brush (or similar)
Taped seams help to keep your tent fully waterproof, however through wear and tear they can often get nicked and require a bit of TLC. This is where seam grip comes in. It’s a clear gel that dries like rubber, sealing any tears and maintaining your tent’s waterproof qualities. Simply apply the seam grip to the tear using a little paint brush, covering the whole area lightly. Using the other end of the brush, hold it to the where the seam has come away, applying pressure for a few minutes and then leave to set. Tent repairs, sorted.
Alex is a freelance adventure writer and mountain leader with an insatiable passion for the mountains. A Cumbrian born and bred, his native English Lake District has a special place in his heart, though he is at least equally happy in North Wales, the Scottish Highlands or the European Alps. Through his hiking, mountaineering, climbing and trail running adventures, Alex aims to inspire others to get outdoors. He's the former President of the London Mountaineering Club, is training to become a winter mountain leader, looking to finally finish bagging all the Wainwright fells of the Lake District and is always keen to head to the 4,000-meter peaks of the Alps. www.alexfoxfield.com

