Sleeping pad repair guide for when you’re losing air
Our guide to sleeping pad repair helps you patch your pad in three easy steps whether you’re at home or out in the field
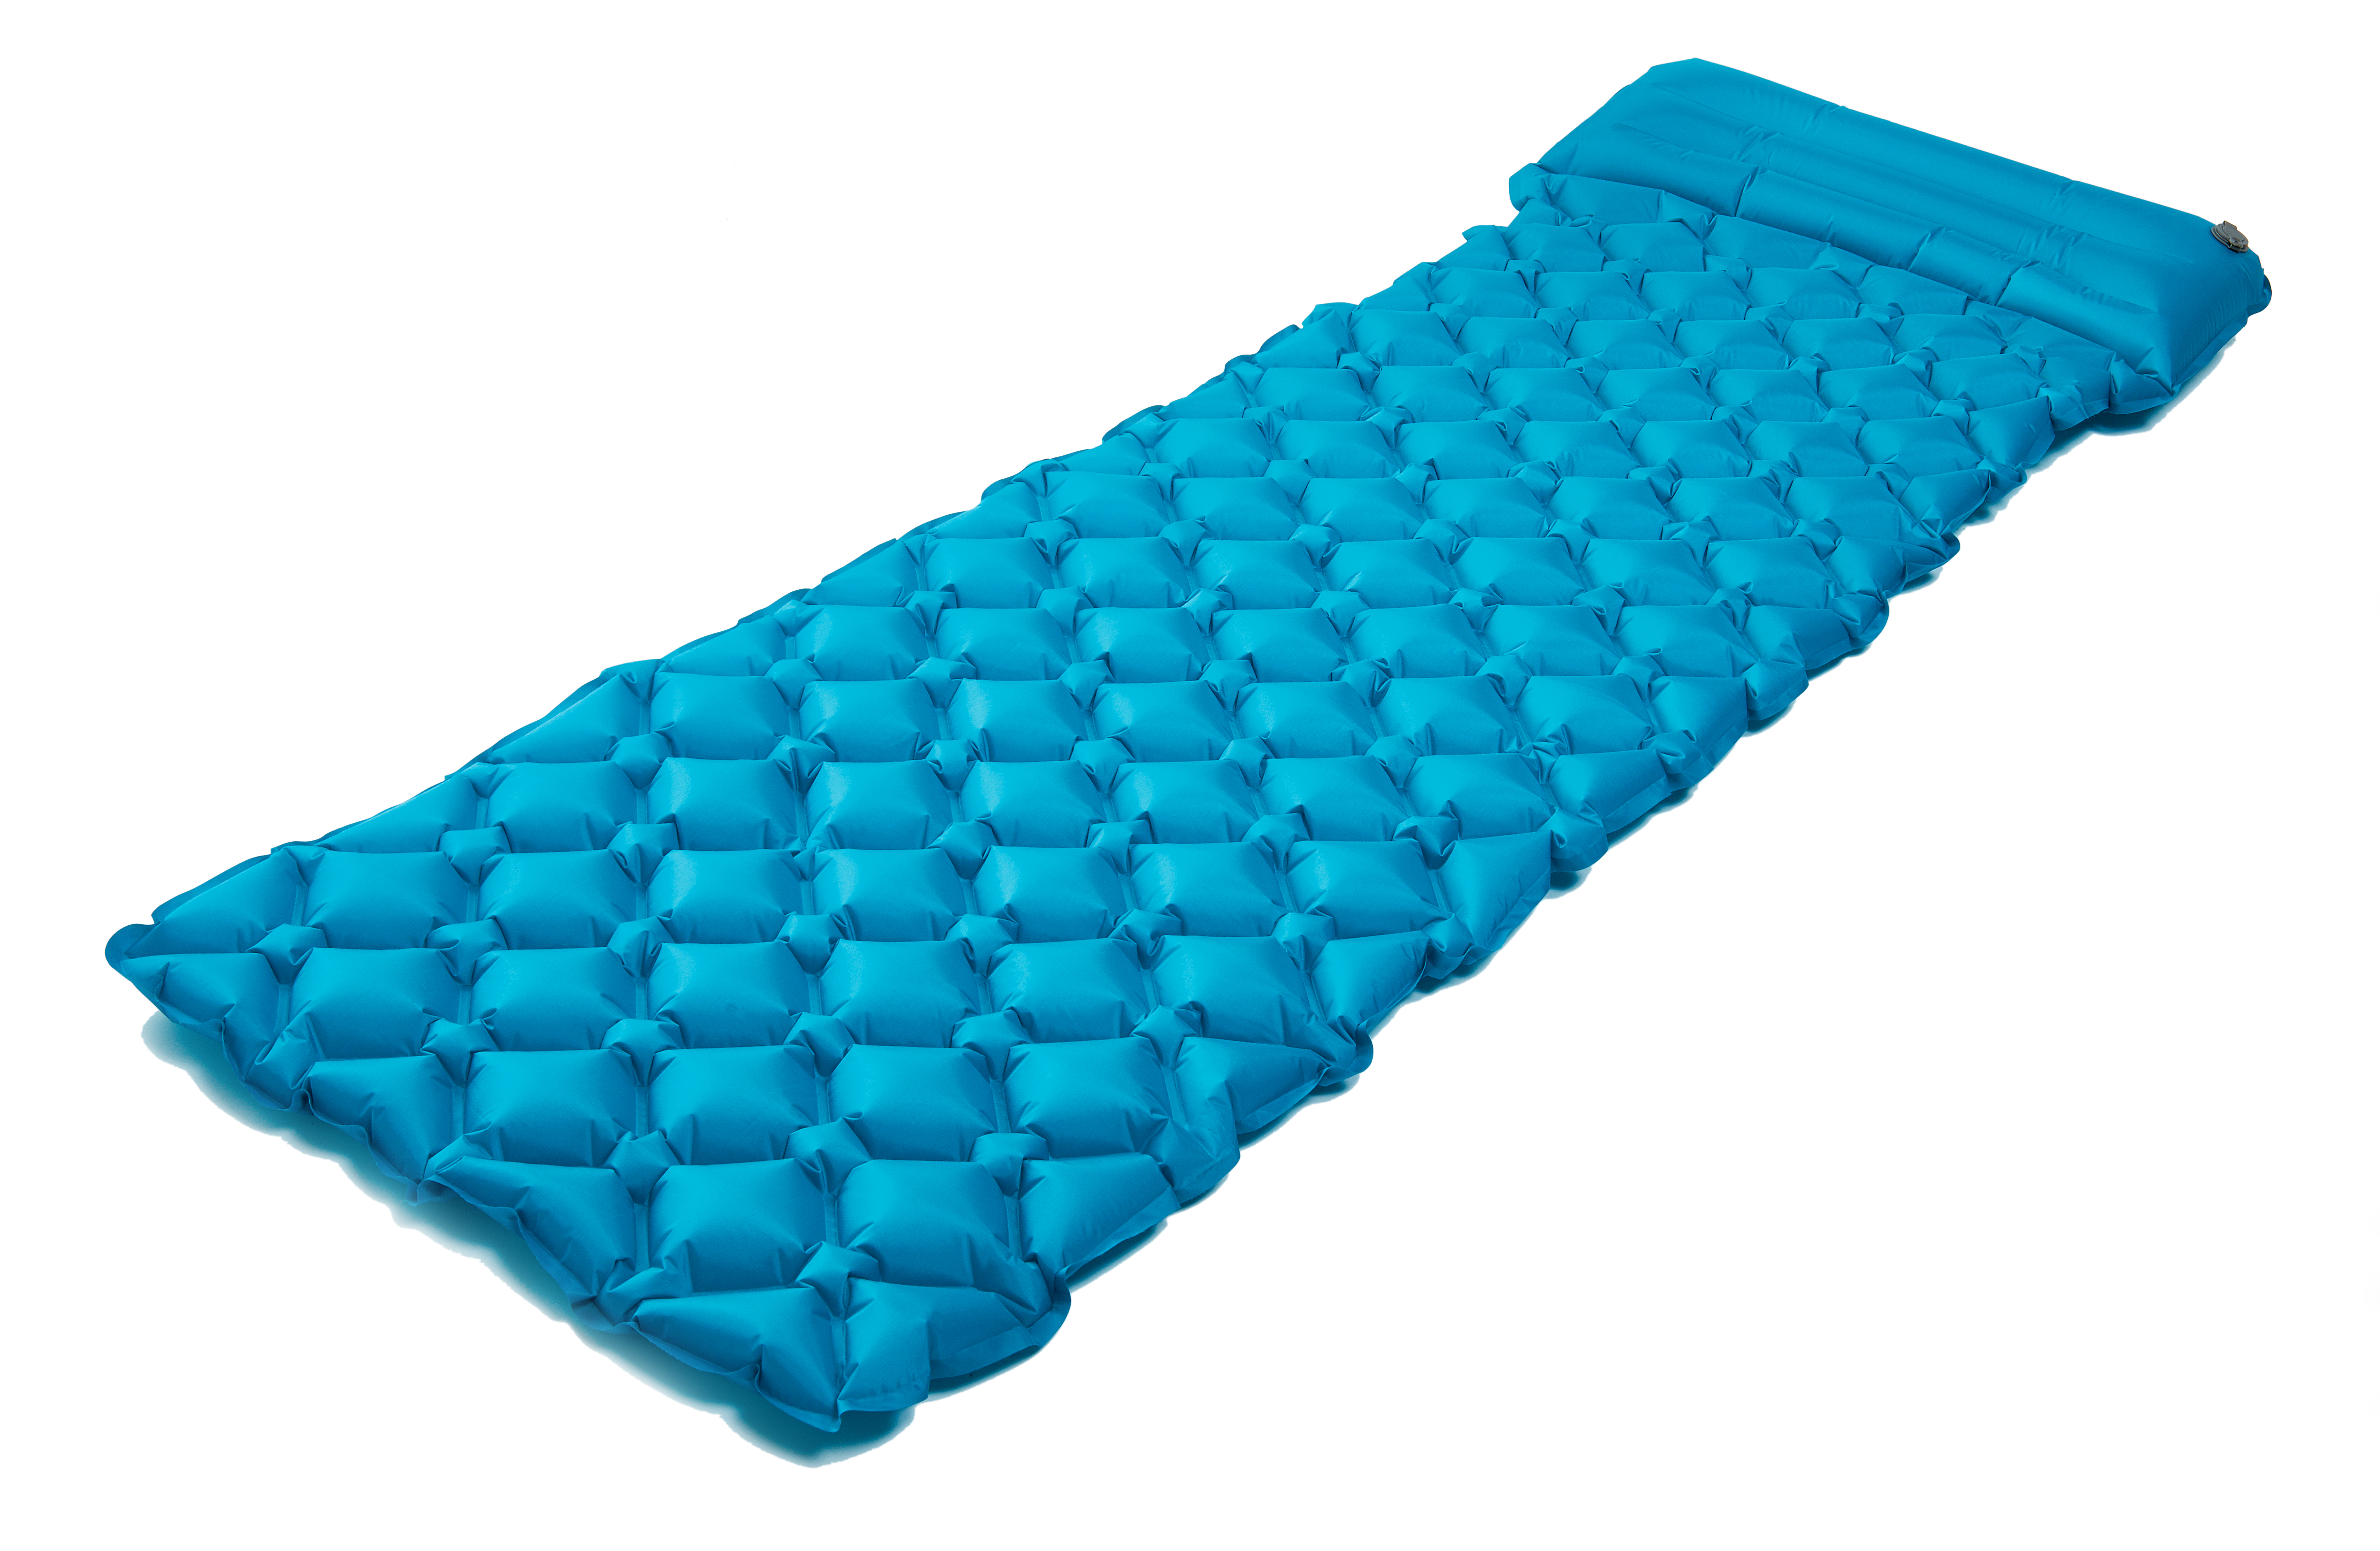
We can probably all agree that few things are worse than snuggling into your best sleeping bag on top of your cushy sleeping pad after a long day of backpacking only to wake up a few hours later feeling the cold, hard ground pressing against your tired body. Even the best inflatable sleeping pads can develop small holes and while it’s certainly extremely inconvenient, it doesn’t mean you have to banish your pad to the landfill. Our guide to sleeping pad repair outlines three simple steps you can take to repair your sleeping pad at home or when you’re out in the field so that you can get back to sleeping like a baby at camp.
Sleeping pad repair: what you’ll need
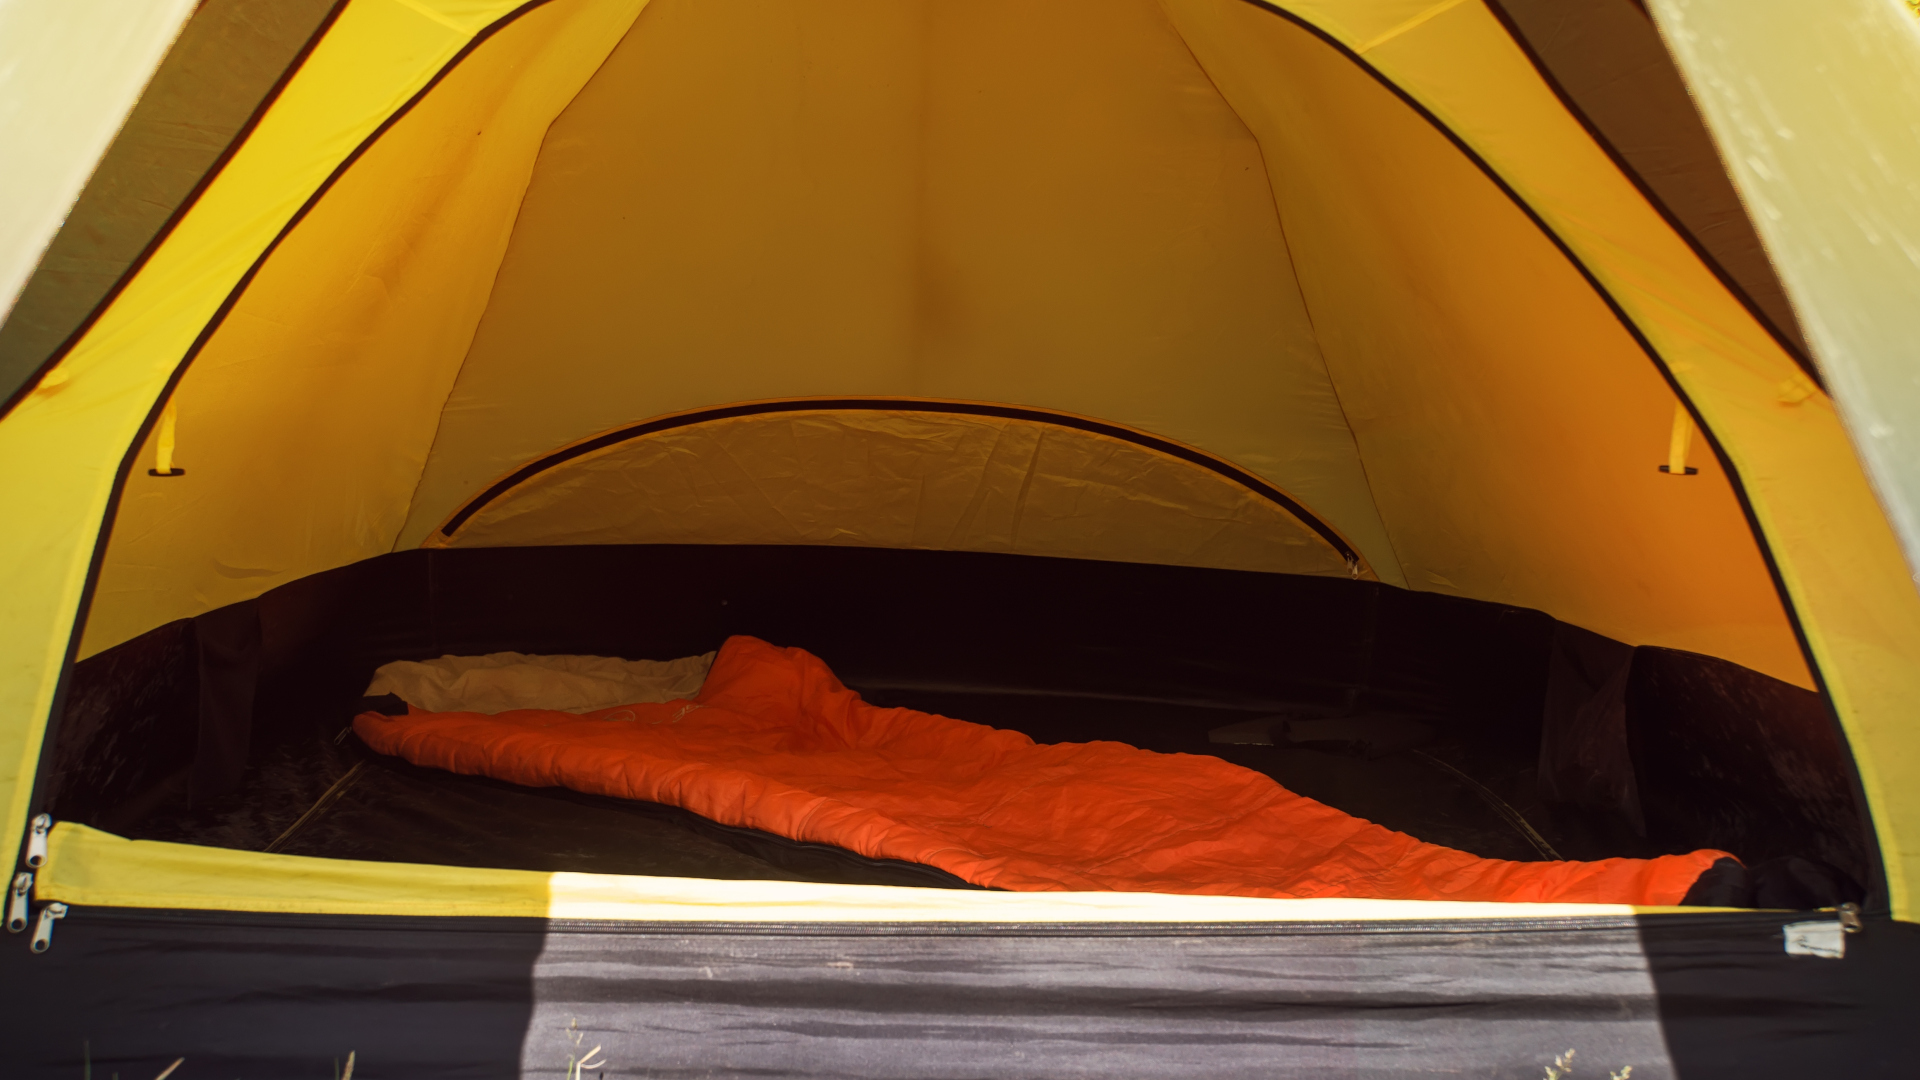
If your sleeping pad came with its own repair kit, use that, otherwise here’s what you’ll need to repair a hole in your sleeping pad:
- Dish soap
- Permanent marker
- Rubbing alcohol
- Sleeping pad patch and adhesive like Seam Grip (or duct tape if you’re in the field)
Sleeping pad repair at home
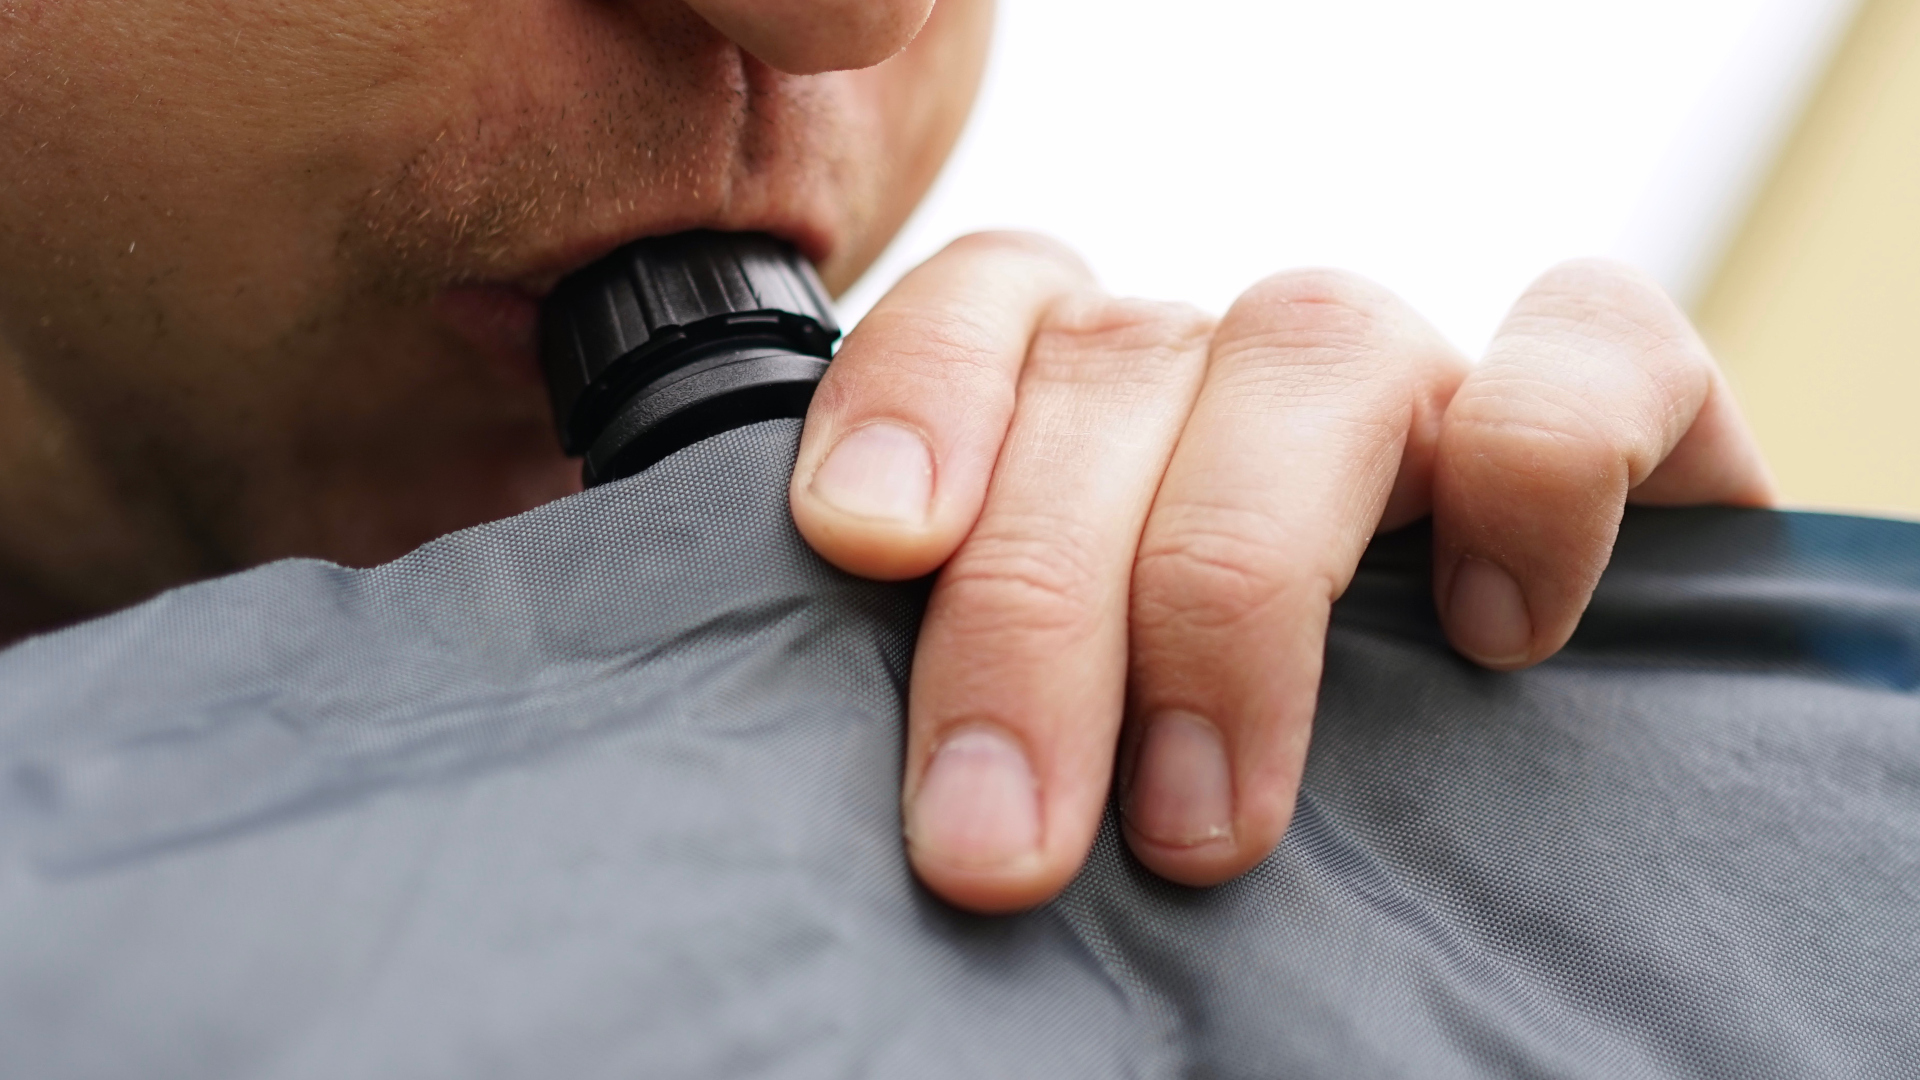
Repairing your gear at home is always the easiest and most preferable method and it involves three easy steps.
1. Locate the leak
Finding the source of the leak is the trickiest part of sleeping pad repair. As we’ve already discussed, the hole is unlikely to be large enough to make that tell tale hissing sound that identified a hold in your inflatable swimming toys when you were a kid.
Once you’re back home, you’ll want to prepare a bowl of soapy water and inflate your sleeping pad. Dip a sponge in the water and wipe it over the pad, looking for bubbles forming. Another method is to fill your bathtub with a few inches of soapy water and submerge the pad. Once you find the hole, draw a circle around it with a permanent marker so you can find it again, then rinse off the soap and dry your sleeping pad off with a towel.
2. Clean the surrounding area
The adhesive that you’re going to use to patch your sleeping pad won’t stick if your pad is dirty, or soapy, so you’ll need to clean the area using rubbing alcohol before proceeding. Apply a little rubbing alcohol from the bottle onto a clean cloth and gently wipe the sleeping pad.
3. Apply the patch
Spread an adhesive like Seam Grip around the hole then cut the patch so it’s big enough to cover the area of glue. Apply the patch and press down firmly. Leave your sleeping pad inflated overnight so the glue can dry and also to check that the leak is fixed and you're ready to go roll out your sleeping pad on your next adventure.
Advnture Newsletter
All the latest inspiration, tips and guides to help you plan your next Advnture!
Sleeping pad repair in the field
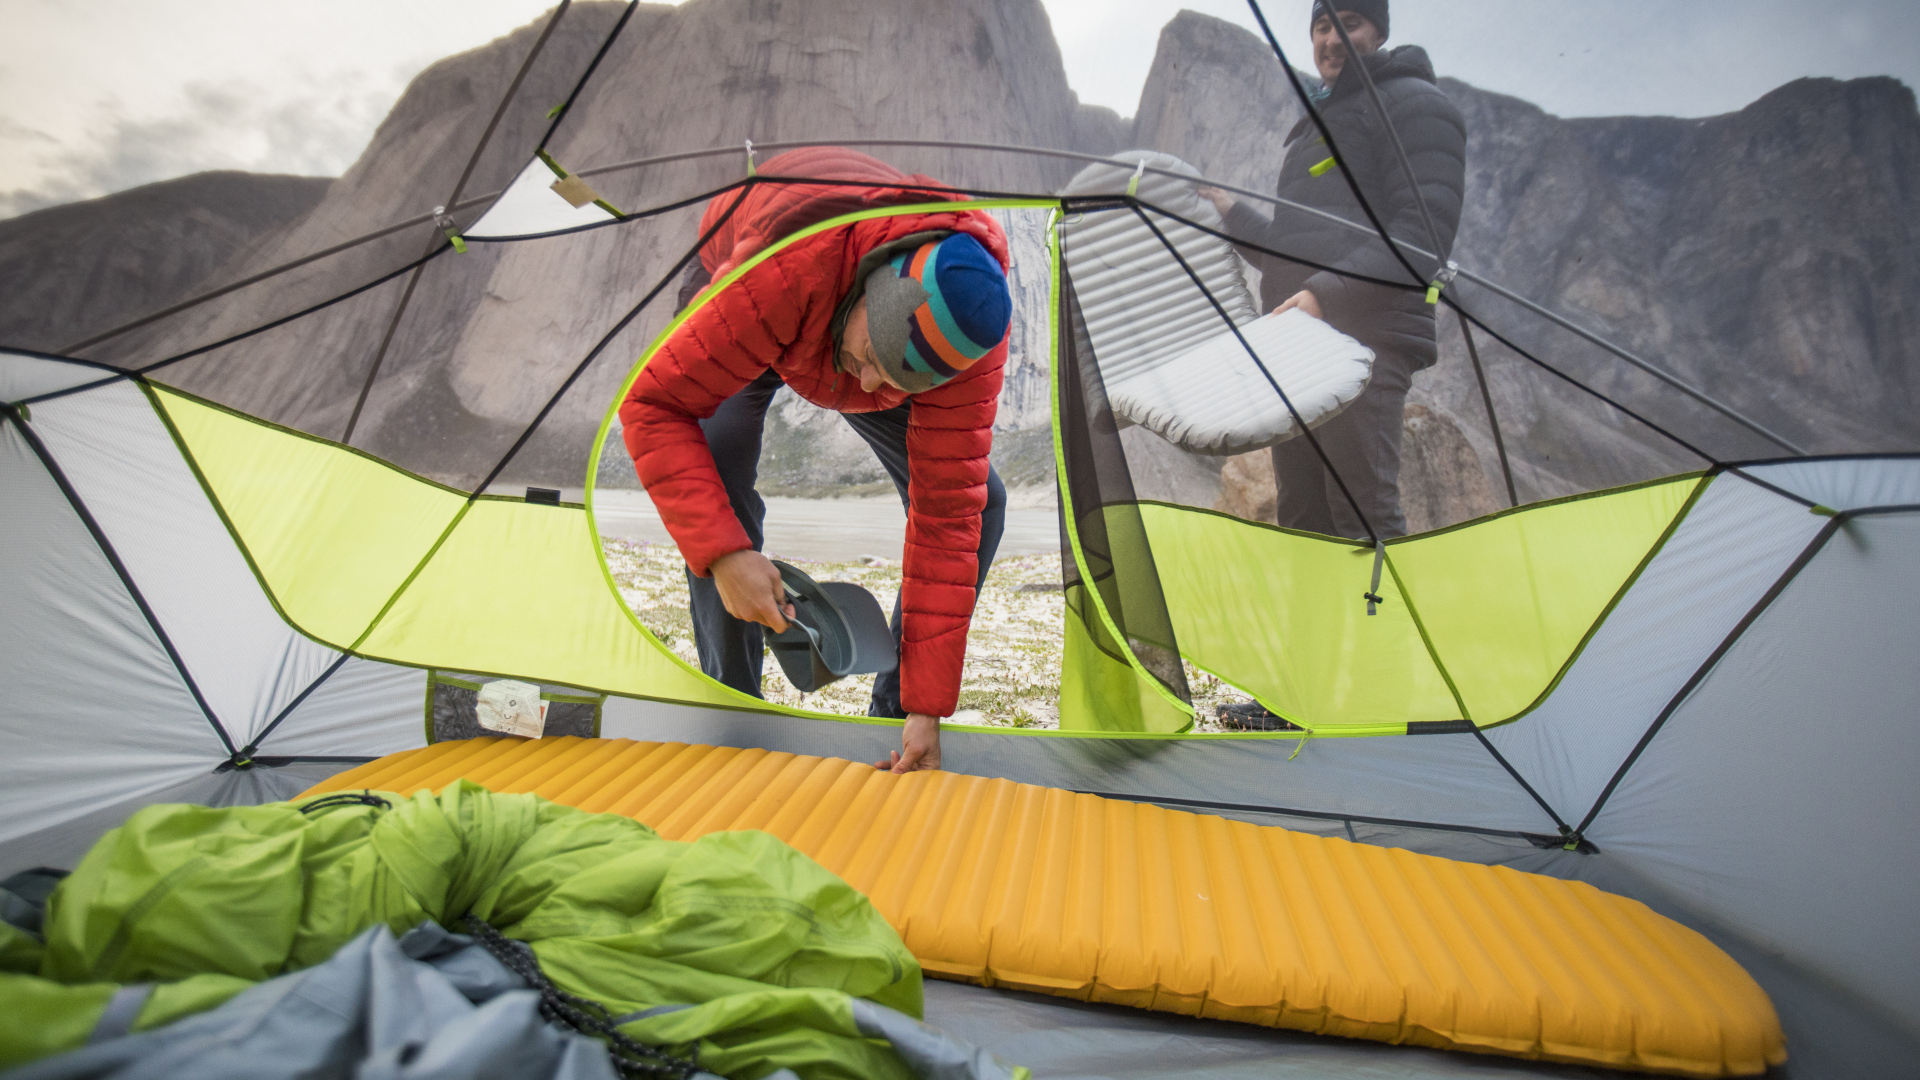
Realizing that your pad is losing air once you’re tucked in for the night is certainly a less appealing scenario, but unfortunately that’s usually where it happens. The good news is that your pad is likely losing air slowly, and not all at once like a balloon deflating, so you may be able to just deal with it for a couple of nights and periodically inflate your sleeping pad. This will serve as a good reminder that it’s worth carrying a repair kit with you at all times, even if you’re ultralight camping. If you want to perform a repair in the field, it’s a pretty similar process to doing it at home:
1. Locate the leak
The best way to locate the hole is to inflate your sleeping pad and submerge it in a body of still water, such as a lake. Look for little bubbles that will give away the source of the leak, then dry your pad off with a camping towel or let it dry out in the sun before you proceed.
2. Clean the affected area
Once your pad is dry, use an alcohol swab from your first aid kit to clean the area around the hole.
3. Apply the patch
If you brought your repair kit, you’ll simply apply the adhesive and patch like you would do if you were performing the repair at home. Another option is to use duct tape, which is an essential item for your camping kit anyway. This will hold up for a little while so you can get some shuteye, and you can always replace it with a proper patch once you get home.
Sleeping pad repair: when to seek help
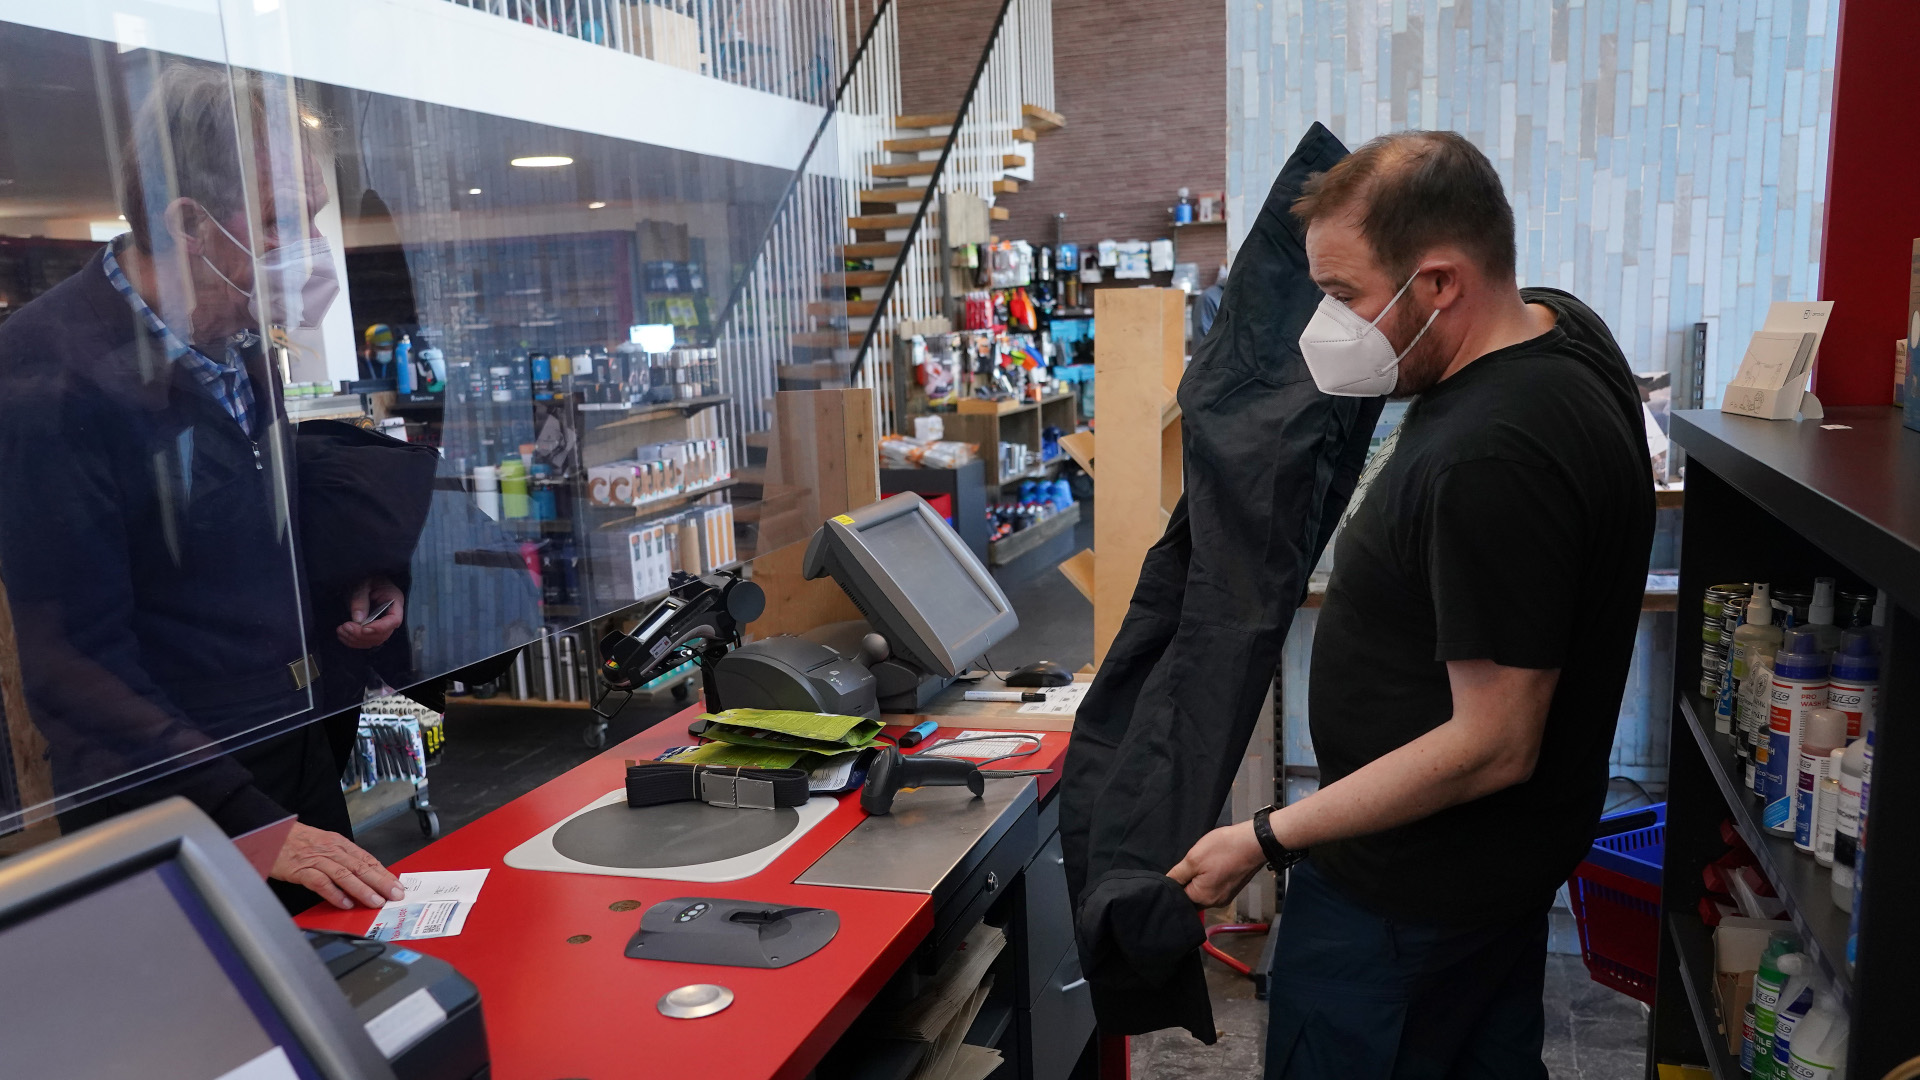
If all else fails and you can’t locate the leak, there are a few possibilities: it may be too small, there may be multiple holes or it may be in the valve. In any case, if you can’t fix it yourself, take your sleeping pad into your local gear shop so that they can assess the situation and perform your repair for you.
Julia Clarke is a staff writer for Advnture.com and the author of the book Restorative Yoga for Beginners. She loves to explore mountains on foot, bike, skis and belay and then recover on the the yoga mat. Julia graduated with a degree in journalism in 2004 and spent eight years working as a radio presenter in Kansas City, Vermont, Boston and New York City before discovering the joys of the Rocky Mountains. She then detoured west to Colorado and enjoyed 11 years teaching yoga in Vail before returning to her hometown of Glasgow, Scotland in 2020 to focus on family and writing.

