9 tips for using a hiking baby carrier
Our tips for using a hiking baby carrier cover setup, staying balanced, taking breaks and carrying your own gear for a successful hike with your growing family
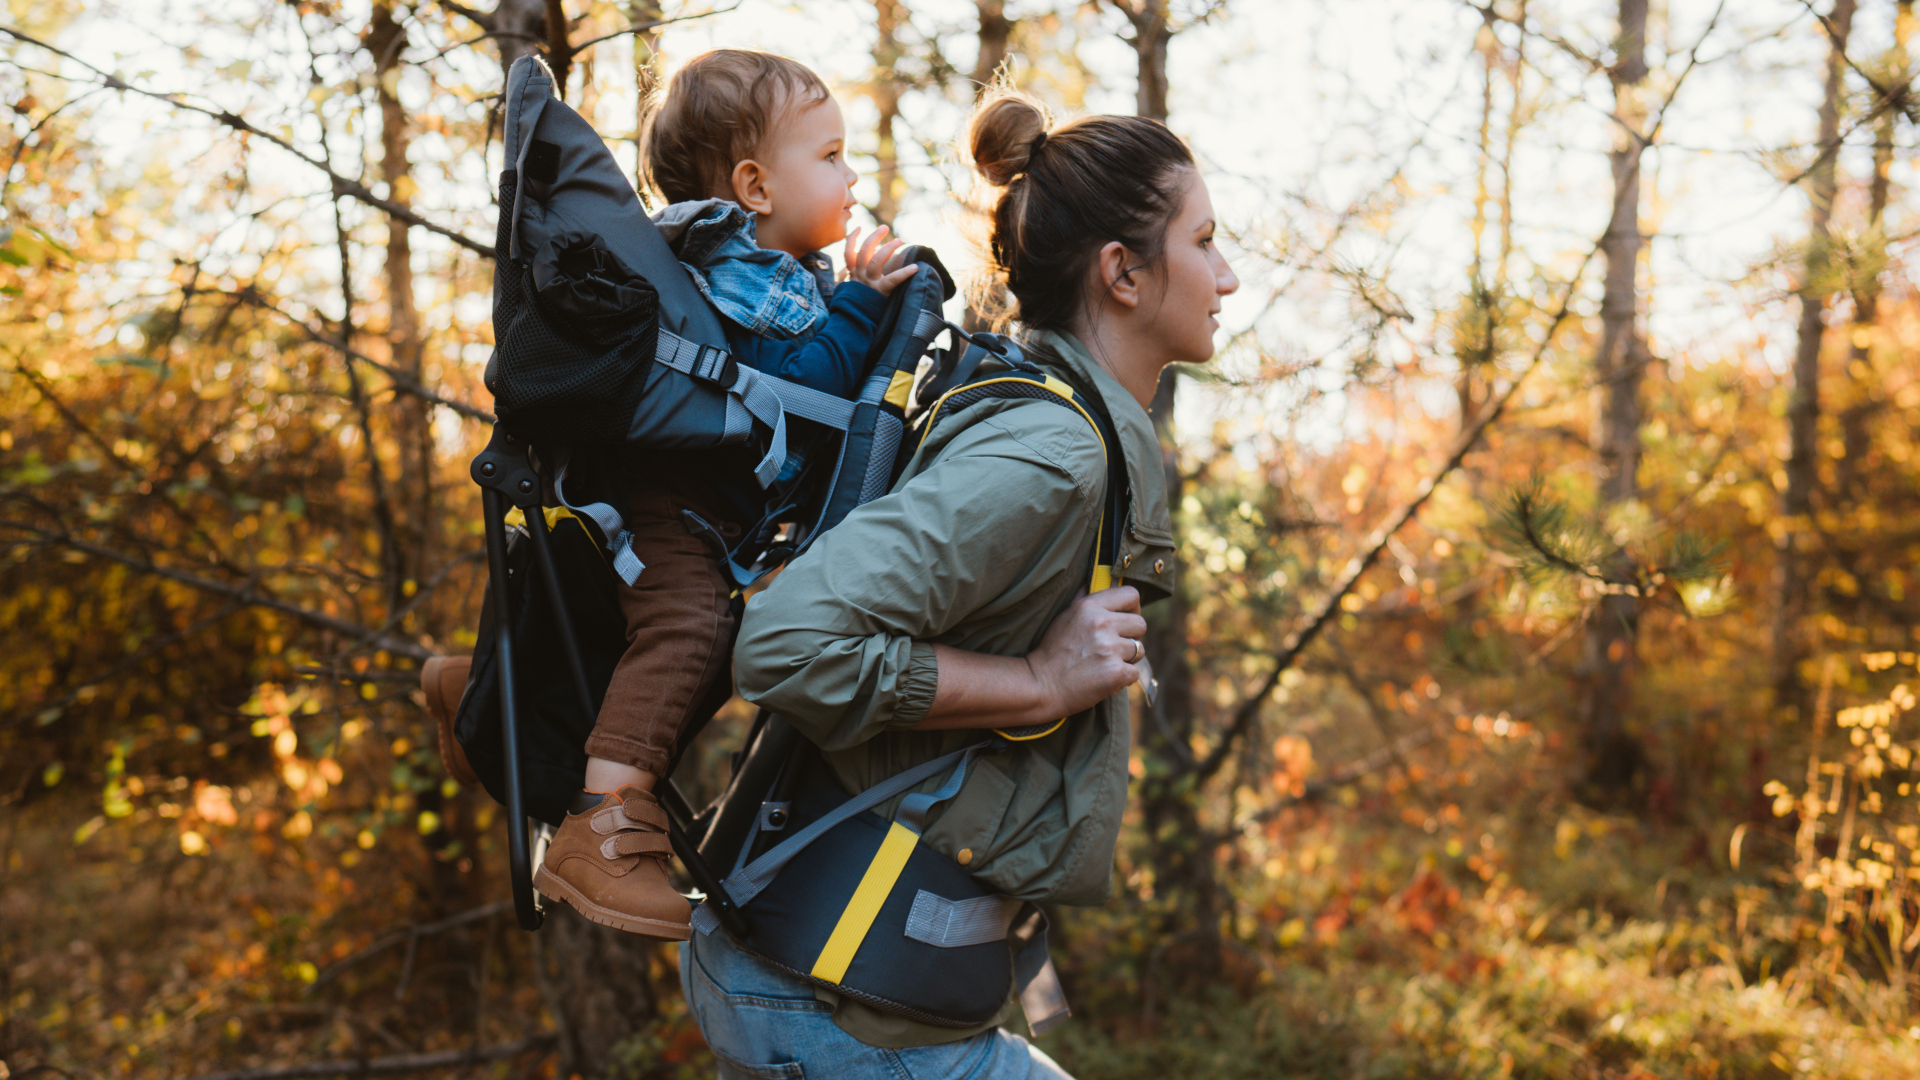
Using a baby carrier means you can continue to enjoy the world's most epic hiking spots, but how do you actually go about hiking with a baby on your back? Other wholesome families make hiking with kids look so easy, confidently striding up the trail all smiles, but there are so many straps to adjust and the mere thought of hoisting your child onboard and navigating steep trails can be pretty daunting. Our tips for using a hiking baby carrier cover setup, staying balanced, taking breaks and carrying your own gear for a successful hike with your growing family.
What age can you use a baby hiking carrier?
Most baby carriers specify that your child should be at least six months or weigh 16lbs old before using them. The most important thing is that your baby can hold its head up on its own, and the best course of action is to speak to your pediatrician first.
How to choose a hiking baby carrier
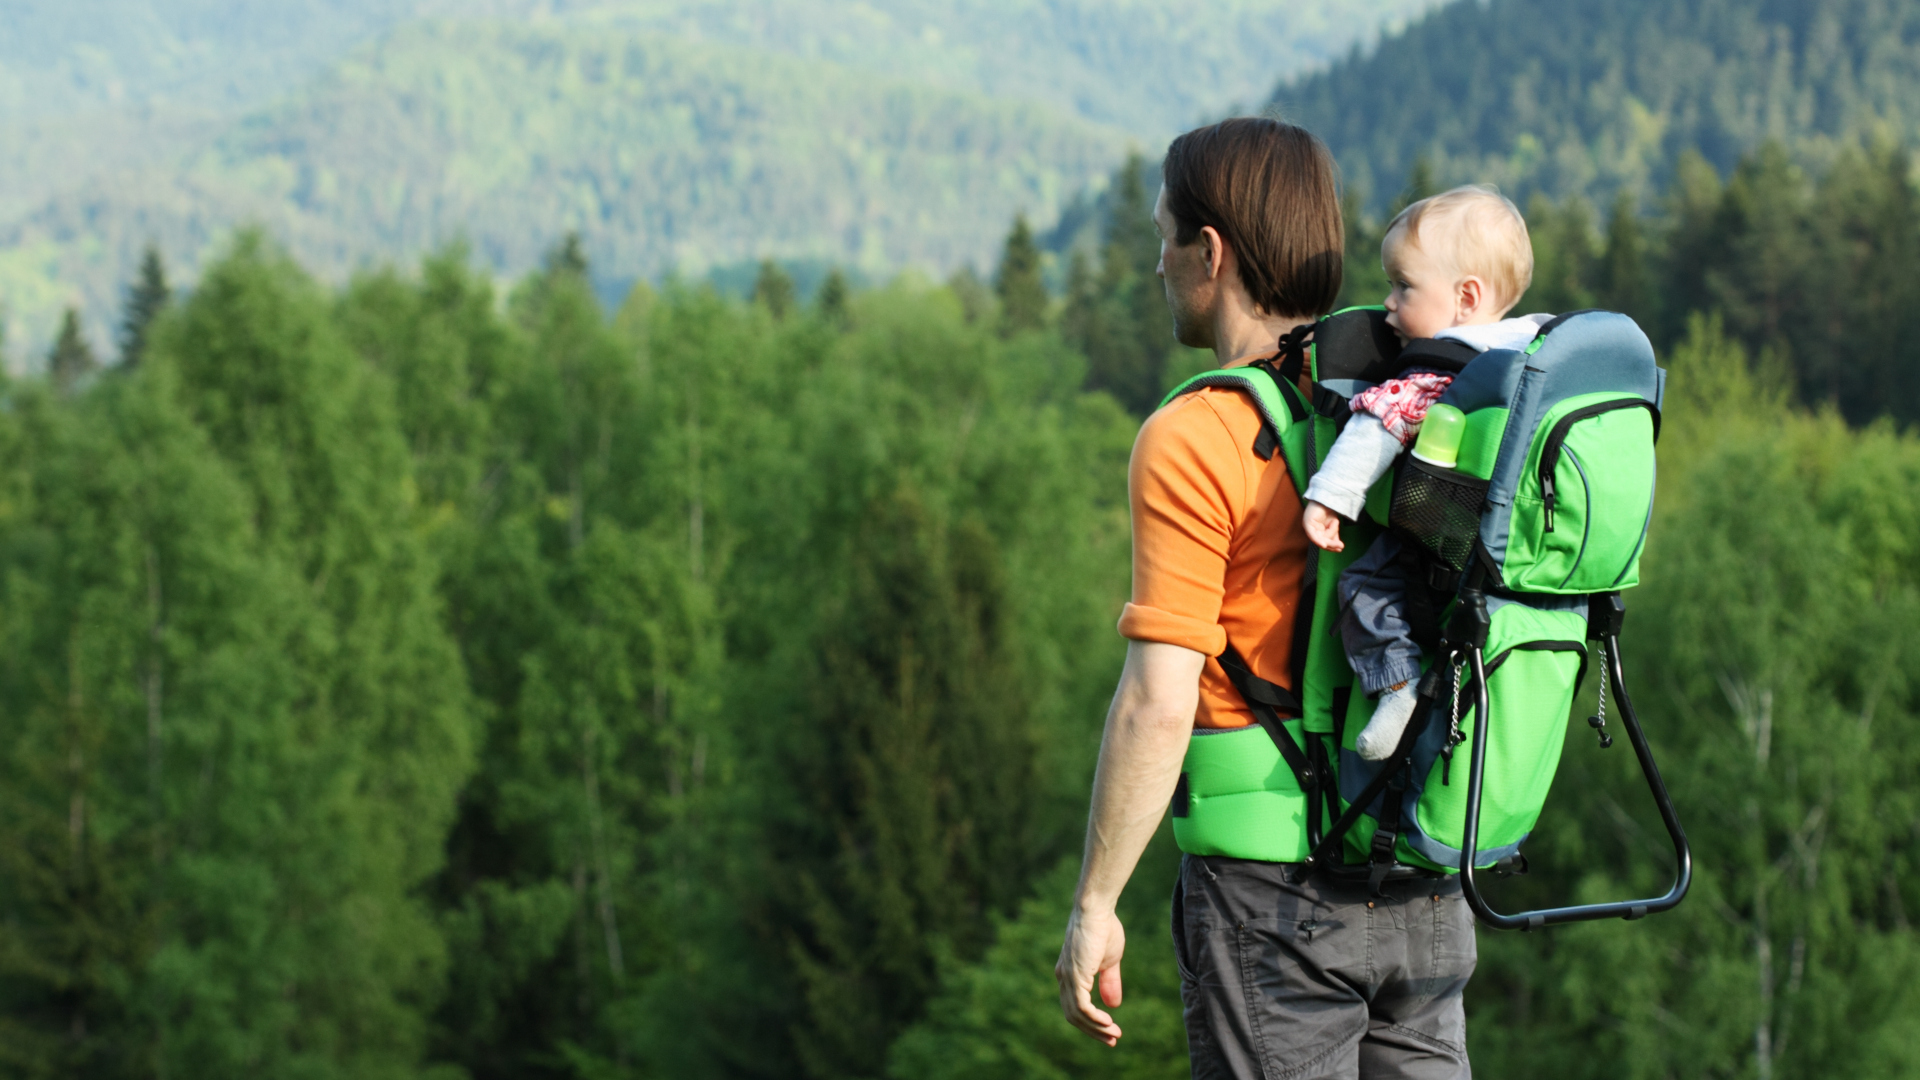
With so many models on the market, there’s lots to consider when it comes to choosing a hiking baby carrier. Of course, you want it to be comfortable for both of you, so make sure yours is very adjustable with padded straps and allows airflow across your back, while your child has stirrups for their feet. Protection from the sun and rain is important, as well as lots of storage since you don’t exactly want to also be wearing a daypack on your front to carry items like your waterproof jacket and drinking water. Speaking of water, some child carriers even come with hydration pack compatibility which makes it easy for you to take care of yourself too and stay hydrated. It’s a good idea to try a few on and find one you’re really happy with.
9 tips for using a hiking baby carrier
1. Read the instructions
If you’re eager to hit the ground walking, it’s tempting to just throw away all that annoying packaging, load up your baby and head out into nature’s healing embrace, but you definitely want to slow down and read through the instructions that come with your carrier before setting off. Every baby carrier is different, and not using yours properly could result in discomfort or even injury to your or your child. Rather than hastily try to figure it all out at the trailhead when your baby is grumbling to get out of the car, read through it all a few days before so you can avoid any undue stress.
2. Adjust it at home and practice
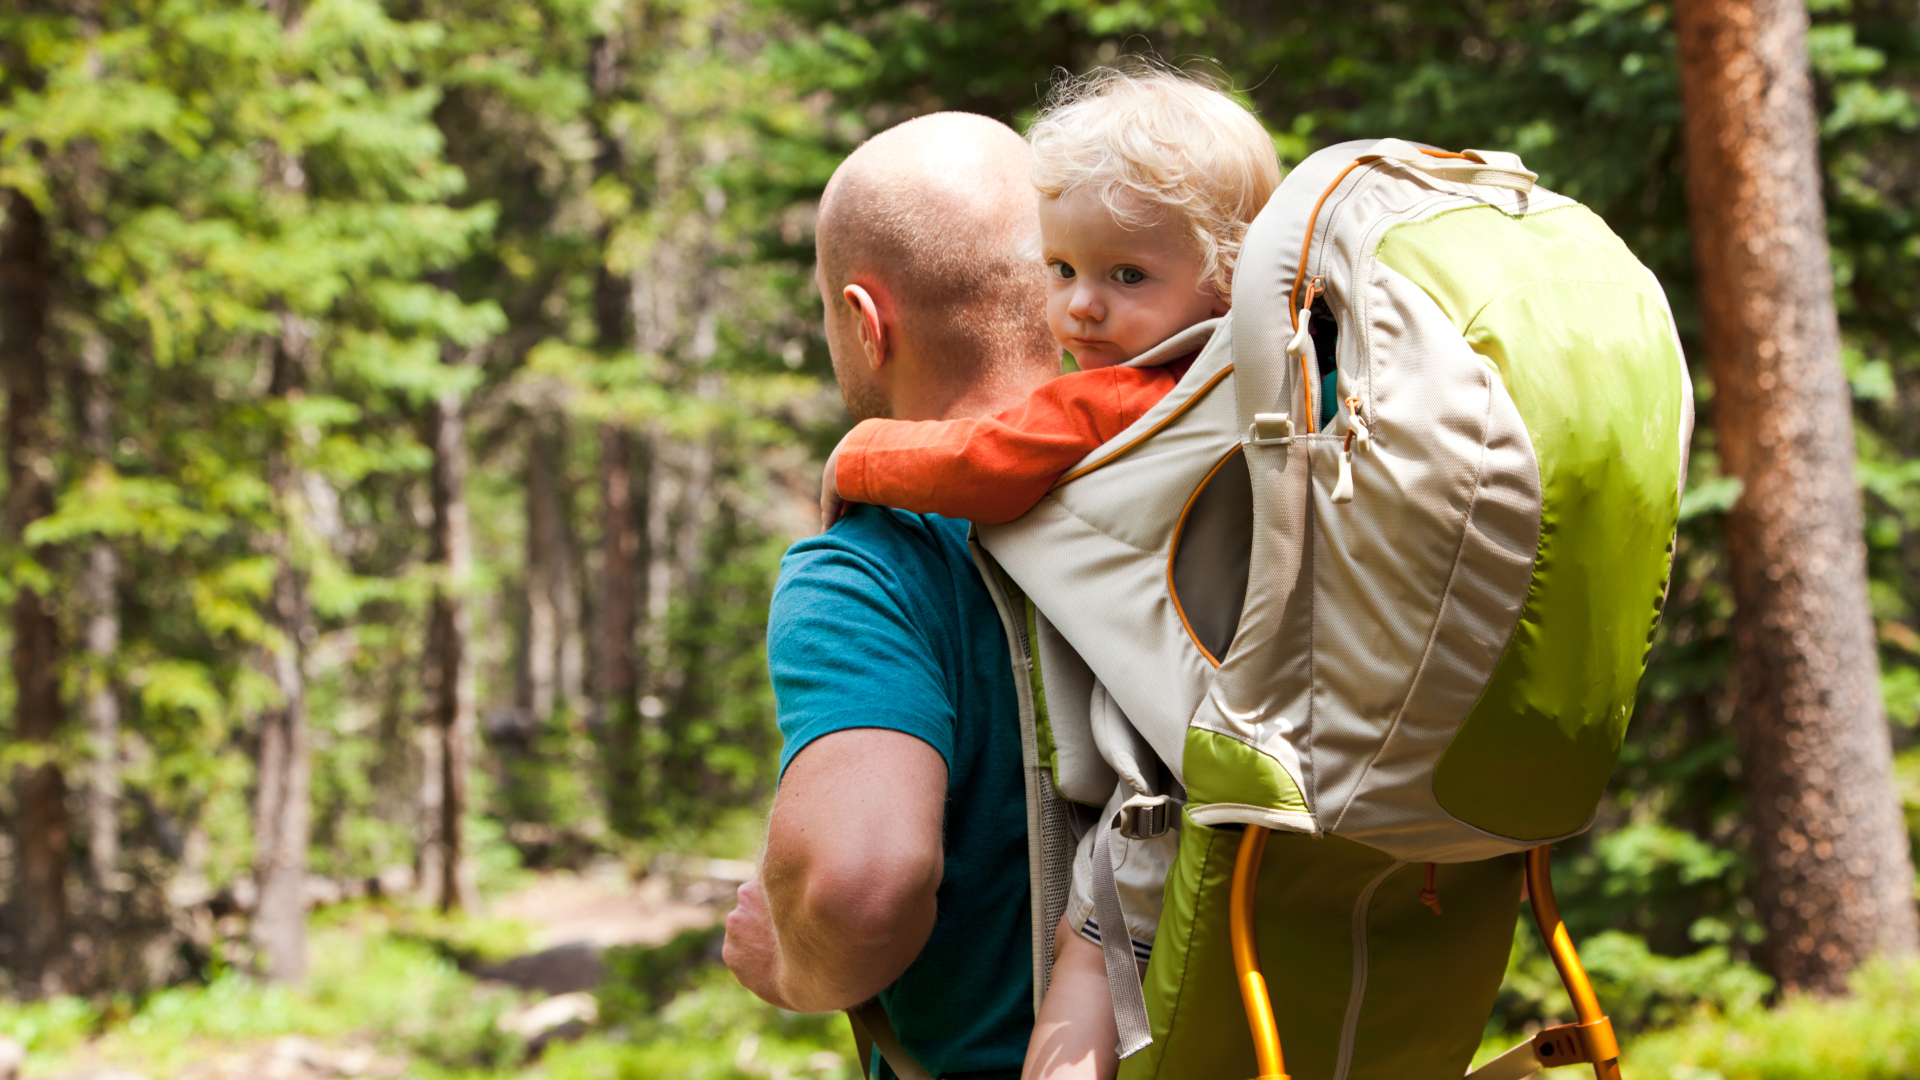
Adjusting your baby carrier is just like knowing how to adjust a backpack. For yourself, you’ll want to ensure that the hip belt is taking the majority of the weight, the shoulder straps are tight enough to provide stability for your child and adjust the load lifting straps to a 45-degree angle. Make sure to adjust the carrier to yourself first, then tend to your child.
Once in the carrier, your baby should be sitting so that their chin can rest on the chin pad, and the arm and leg straps are all snug but comfortable. A good rule of thumb is for them to sit as low as possible so that they’re stable, but also so that they can look around and aren’t just staring at your back for the entire hike. Again, you’ll want to rely on the instructions specific to your baby carrier to make sure you’re adjust it optimally.
3. Practice
Next, it’s a good idea to practice walking around with your baby in the carrier before you hit the trails so you can deal with any issues. Take the little one out for a spin around the block and make sure it’s comfortable for you both, and not bouncing around as you walk.
Advnture Newsletter
All the latest inspiration, tips and guides to help you plan your next Advnture!

4. Consider using a mirror
This isn’t required, but if you don't have a hiking partner, a mirror can be handy so that you can see your baby without having to take the carrier off. Some highly organized hikers attach one kind of like the wing mirror on your car, while you can also clip one on a cord to your carrier using a carabiner that you can just lift up when you want to monitor what’s going on in the back seat.
5. Keep essential gear close to hand
It’s important to make sure that items like your own water, snacks and sunglasses and your baby’s bottle are all packed where you can easily reach them without unloading the carrier each time. Use small pockets on the hip and chest straps or clip them to the sides of the carrier using carabiners so you can reach them without much fuss (you can also clip soft toys to the carrier so your baby can play without dropping them!).
6. Choose a well maintained trail
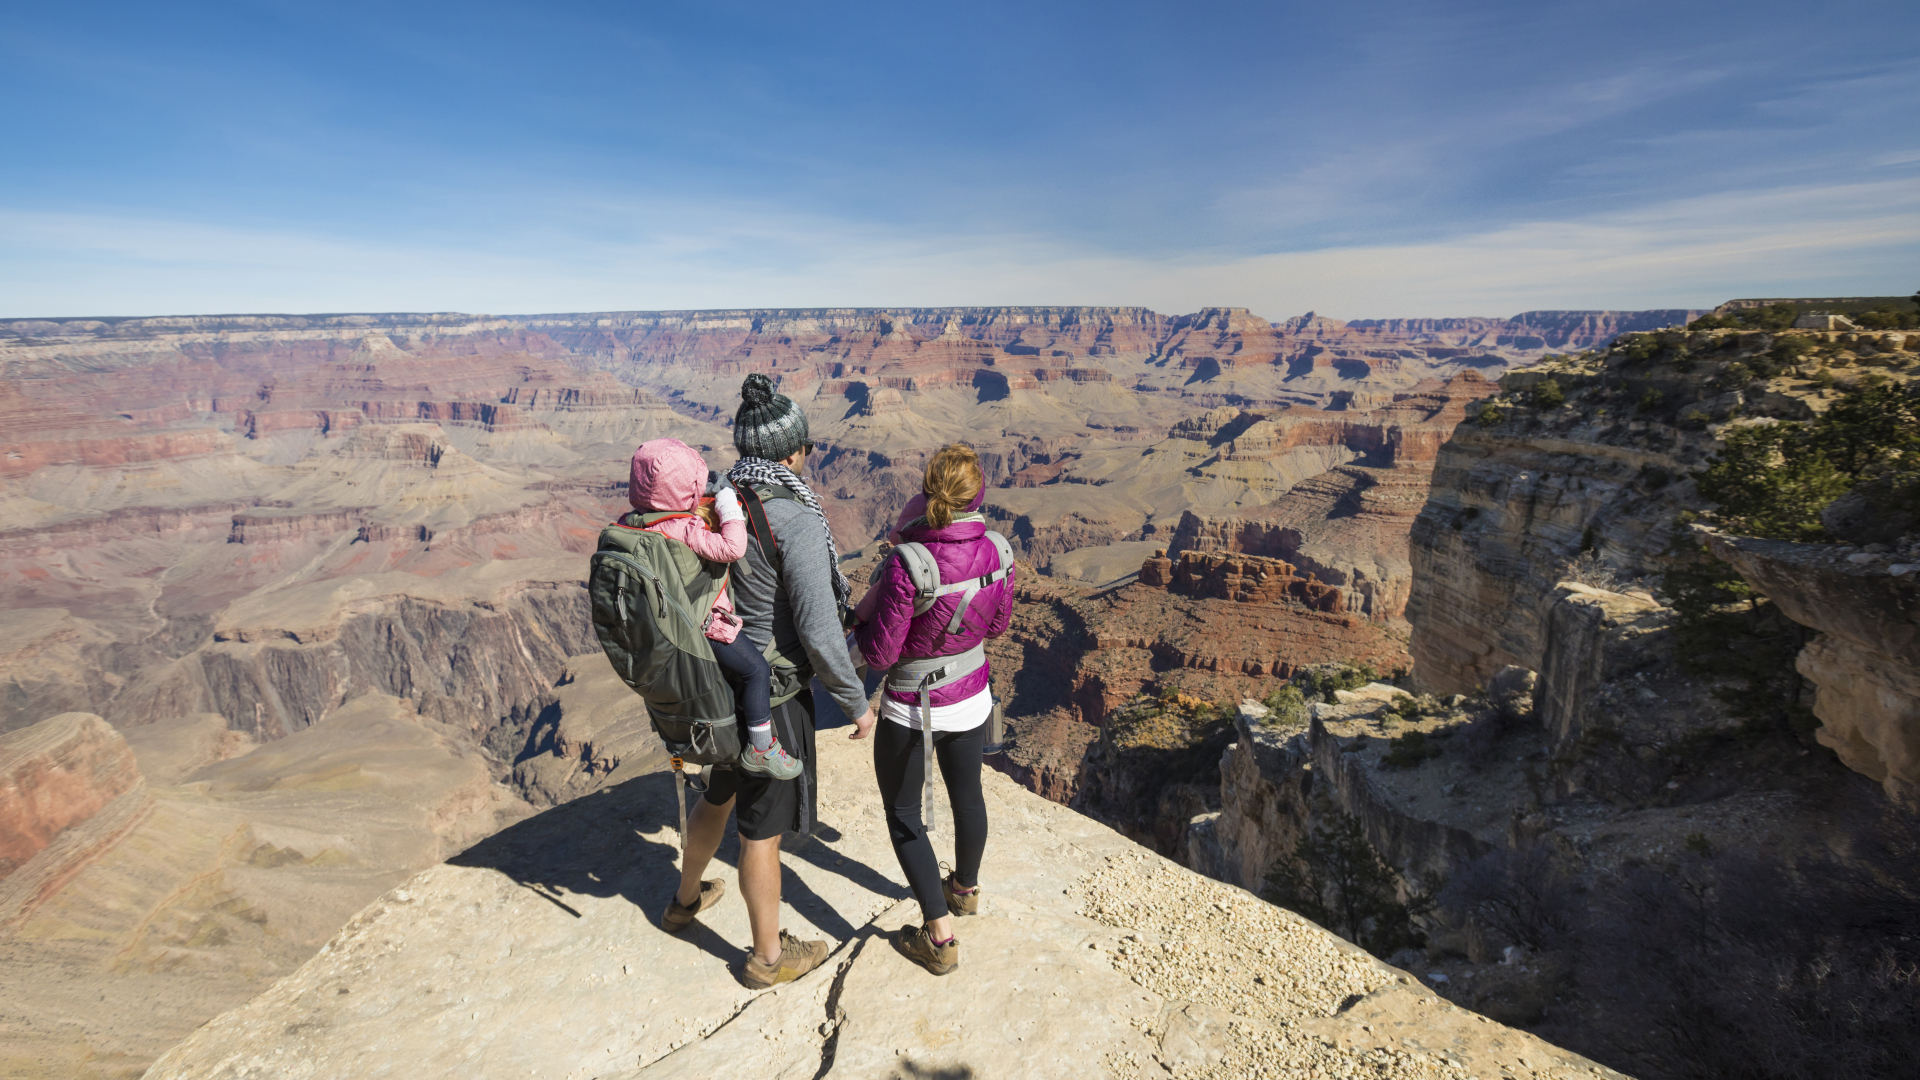
Now, you’re ready to get your hiking boots on and hit the trail, but where should you go? Even if you’re a seasoned hiker, it’s a good idea to pick trails that don’t have loose, crumbly rock or boulder fields, at least while you get used to walking with a baby carrier. Seek out well-maintained trails so you can reduce your risk of falling while hiking, which can be really scary when there’s a little one in two.
7. Lift the carrier by the top handles
When it’s time to load up your baby, it will be easy to move into autopilot mode and grab the carrier by the shoulder straps, the way you do with a backpack, but this can cause your child to fall out. Instead, always lift your carrier up by the top handles, and keep holding the top handle as you bring it up behind your head and thread one arm through the shoulder strap. Once the first shoulder strap is secure, thread your other arm through the second strap and fasten the hip and chest strap straight away.
Similarly, when you want to take the carrier off, remove one shoulder strap while holding the other to keep the carrier close to your back, then reach up with your free hand behind your head and hold the top handle as you carefully swing the carrier around in front of you to place it down.
8. Use trekking poles
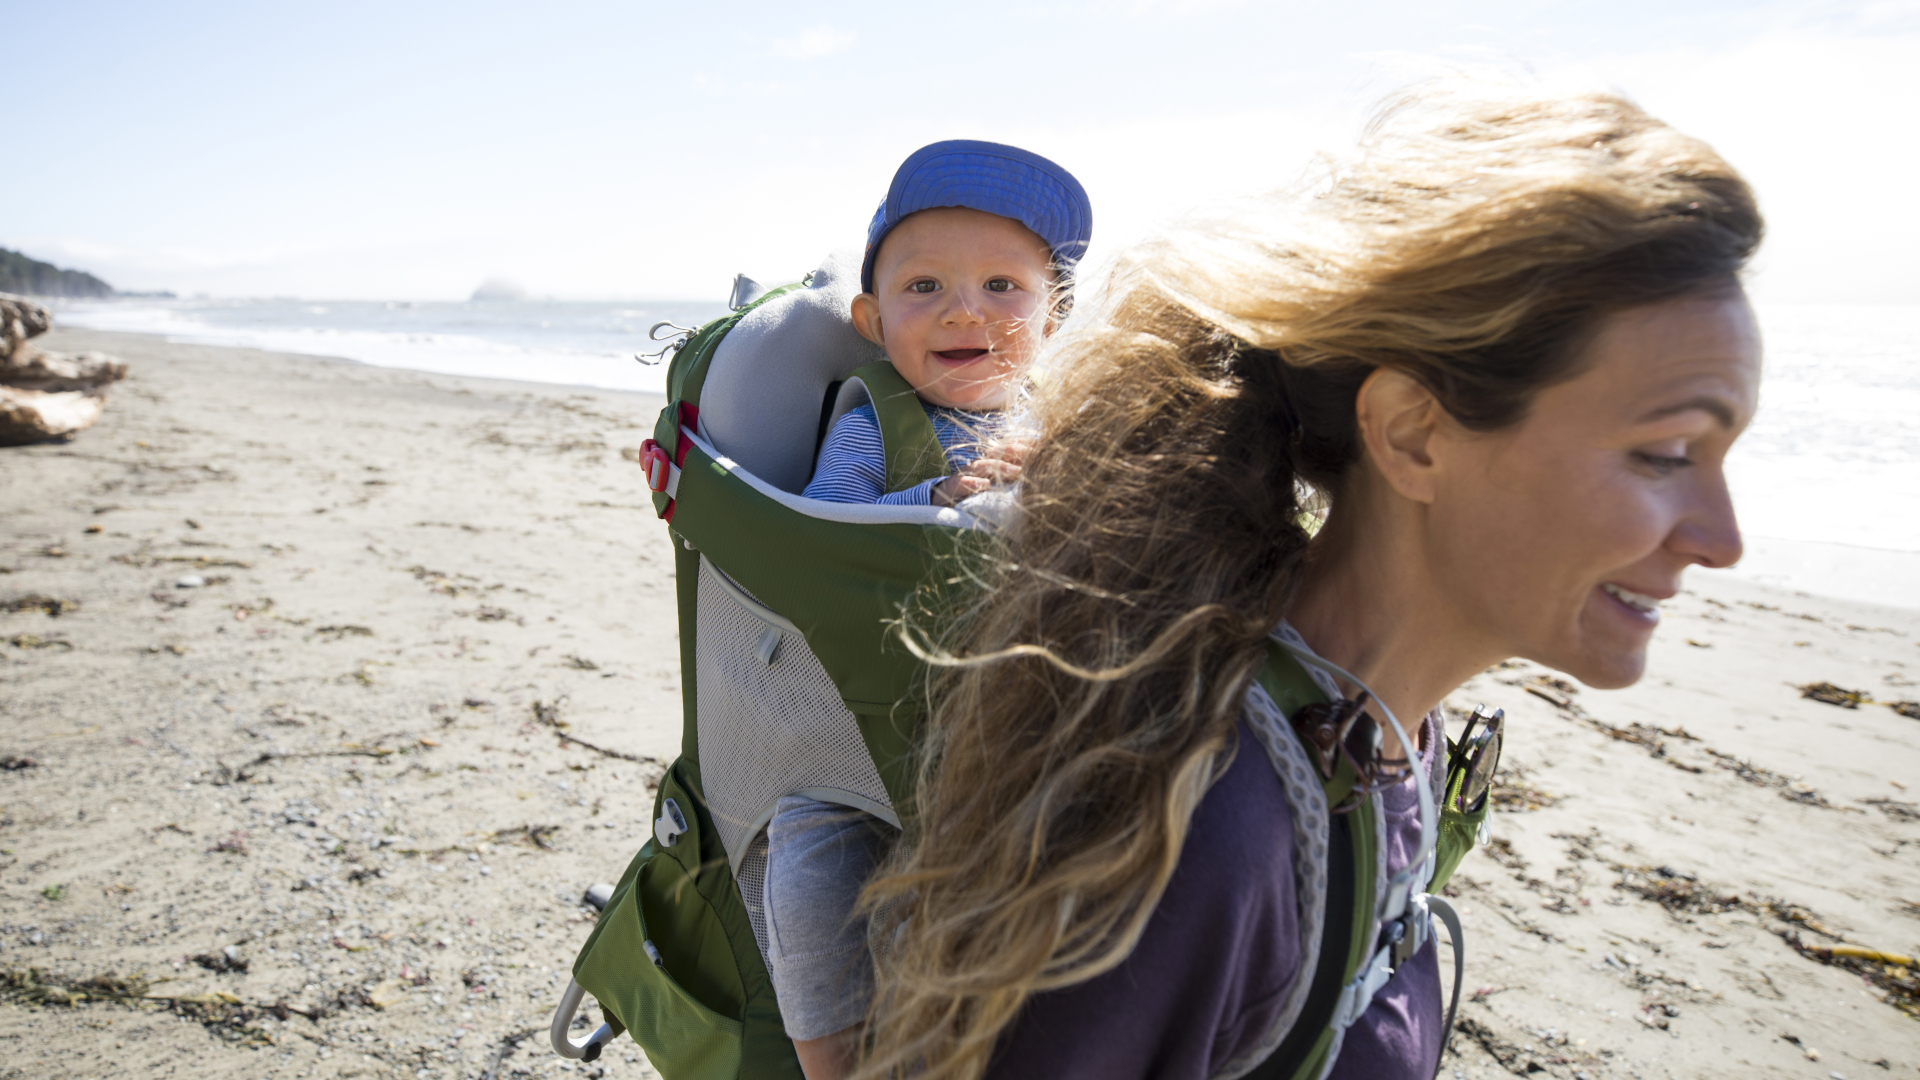
In addition to a well-maintained trail, another key piece of gear to help you remain balanced is a pair of trekking poles. These can help you navigate rough ground and keep your weight centered as you walk.
9. Put your baby on the ground during breaks
If there’s a rock or bench on the trail, it’s going to be tempting to place your baby carrier down on that when it’s time to take a break, because it’s easier than putting it all the way down on the ground and having to hoist it all the way back up again, however the carrier could fall off which can be dangerous for your baby. When you want to stop and take the carrier off, place it on even ground.
- Best hiking boots: foot wear for tackling technical terrain
Julia Clarke is a staff writer for Advnture.com and the author of the book Restorative Yoga for Beginners. She loves to explore mountains on foot, bike, skis and belay and then recover on the the yoga mat. Julia graduated with a degree in journalism in 2004 and spent eight years working as a radio presenter in Kansas City, Vermont, Boston and New York City before discovering the joys of the Rocky Mountains. She then detoured west to Colorado and enjoyed 11 years teaching yoga in Vail before returning to her hometown of Glasgow, Scotland in 2020 to focus on family and writing.
