Is it time to give your hiking first aid kit a safety check?
Legendary outdoor survival expert Lifesystems shares its top tips for giving your first aid equipment a little TLC
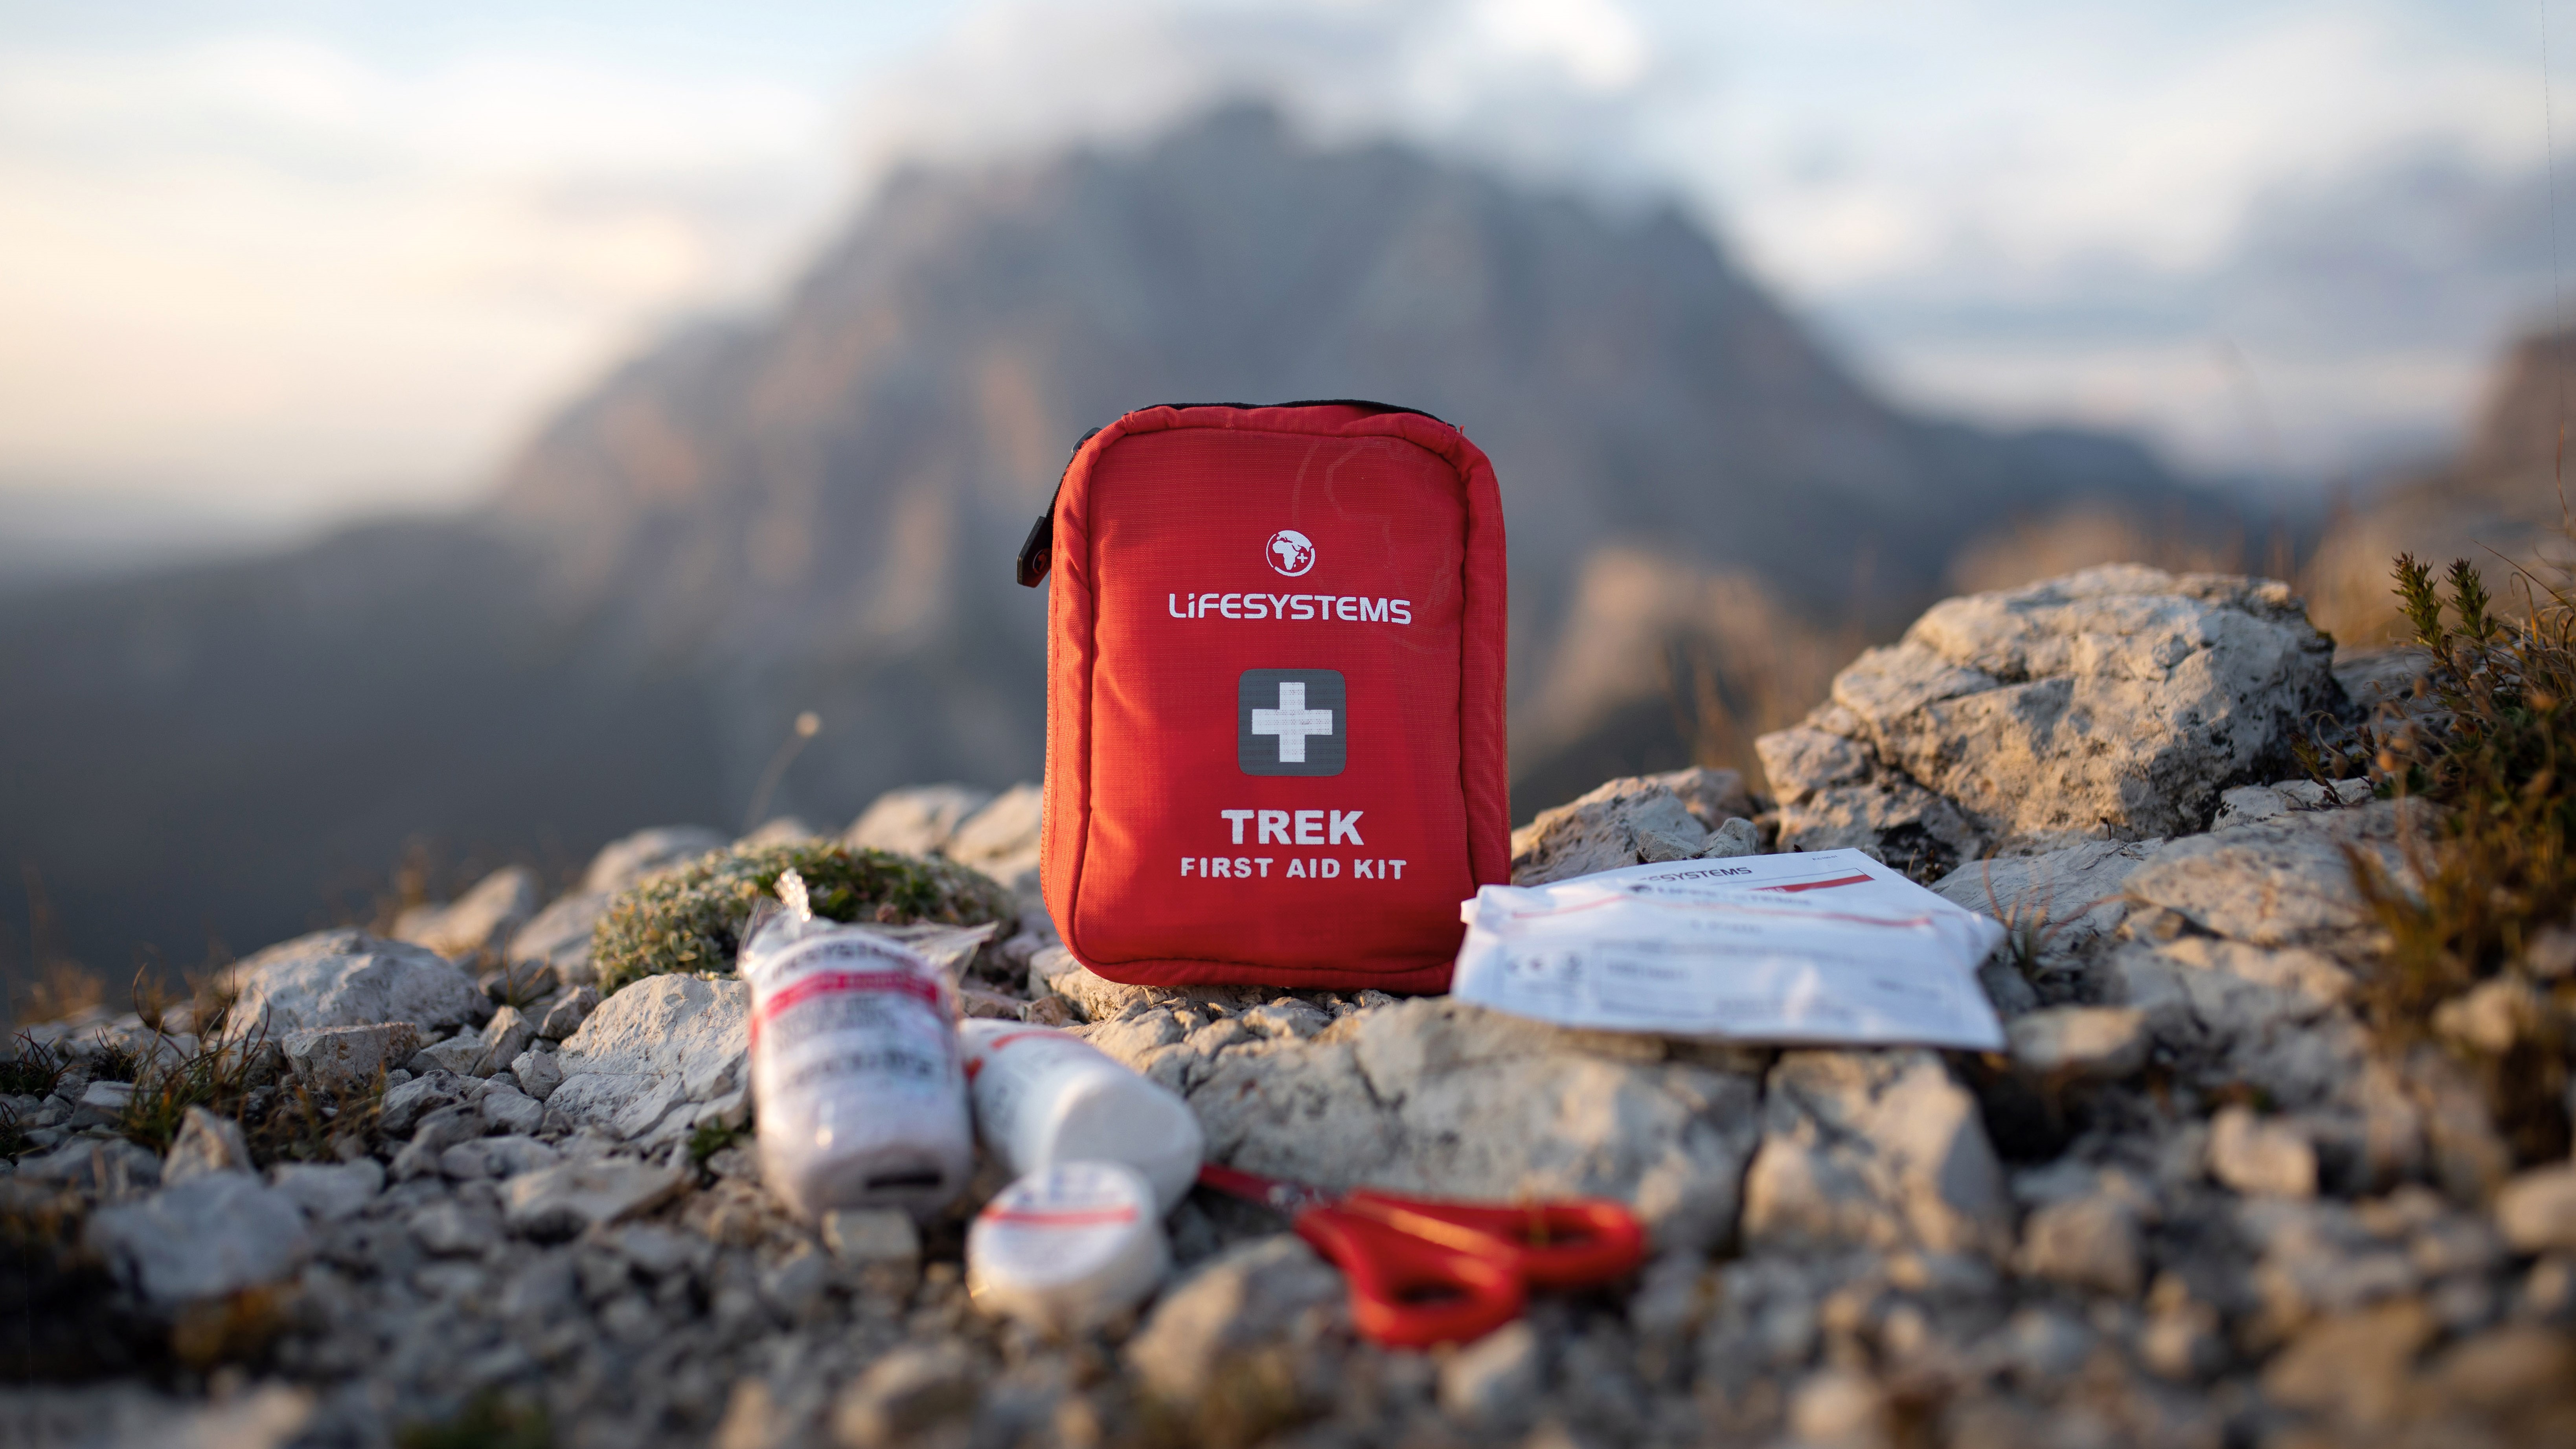
I’m going to be honest here, I technically “have” a hiking first aid kit that comes with me on all of my hikes but I haven’t seen it in years. It’s somewhere in the darkest recesses of my hiking backpack, and despite the fact that my hiking boots see a lot of miles on the trail, I rarely open it.
If I do get it wrong when I’m scrambling and end up with a big gash on my hand, or sprain my ankle, I’m pretty sure I’ve got the tools for a temporary fix, but like I said, I haven’t actually visually verified this assertion in quite some time.
Now the good news is that, besides the odd blister, I haven’t really needed my first aid kit ever. The bad news is that, if and when I do need it, it might not be up to scratch. I'm definitely not the only hiker out there whose first aid kit needs an inspection, and the folks at Lifesystems know that. They're responsible for several of the best first aid kits we’ve tested at Adventure and recently put together some handy advice giving your first aid kit a health check.
"Buying and packing a kit that is suitable for your chosen adventure is a great first step in prepping for any outing" says Lifesystems product director Richard White.
"However, it’s really important to make sure you also regularly check your kit for missing or expired items so that you aren’t caught short if an injury or accident occurs."
You don’t have to go through these steps before every hike, but once a season, it’s a good idea to run through this procedure and make sure your first aid kit is in good shape for your adventures.
1. Replace missing or damaged items
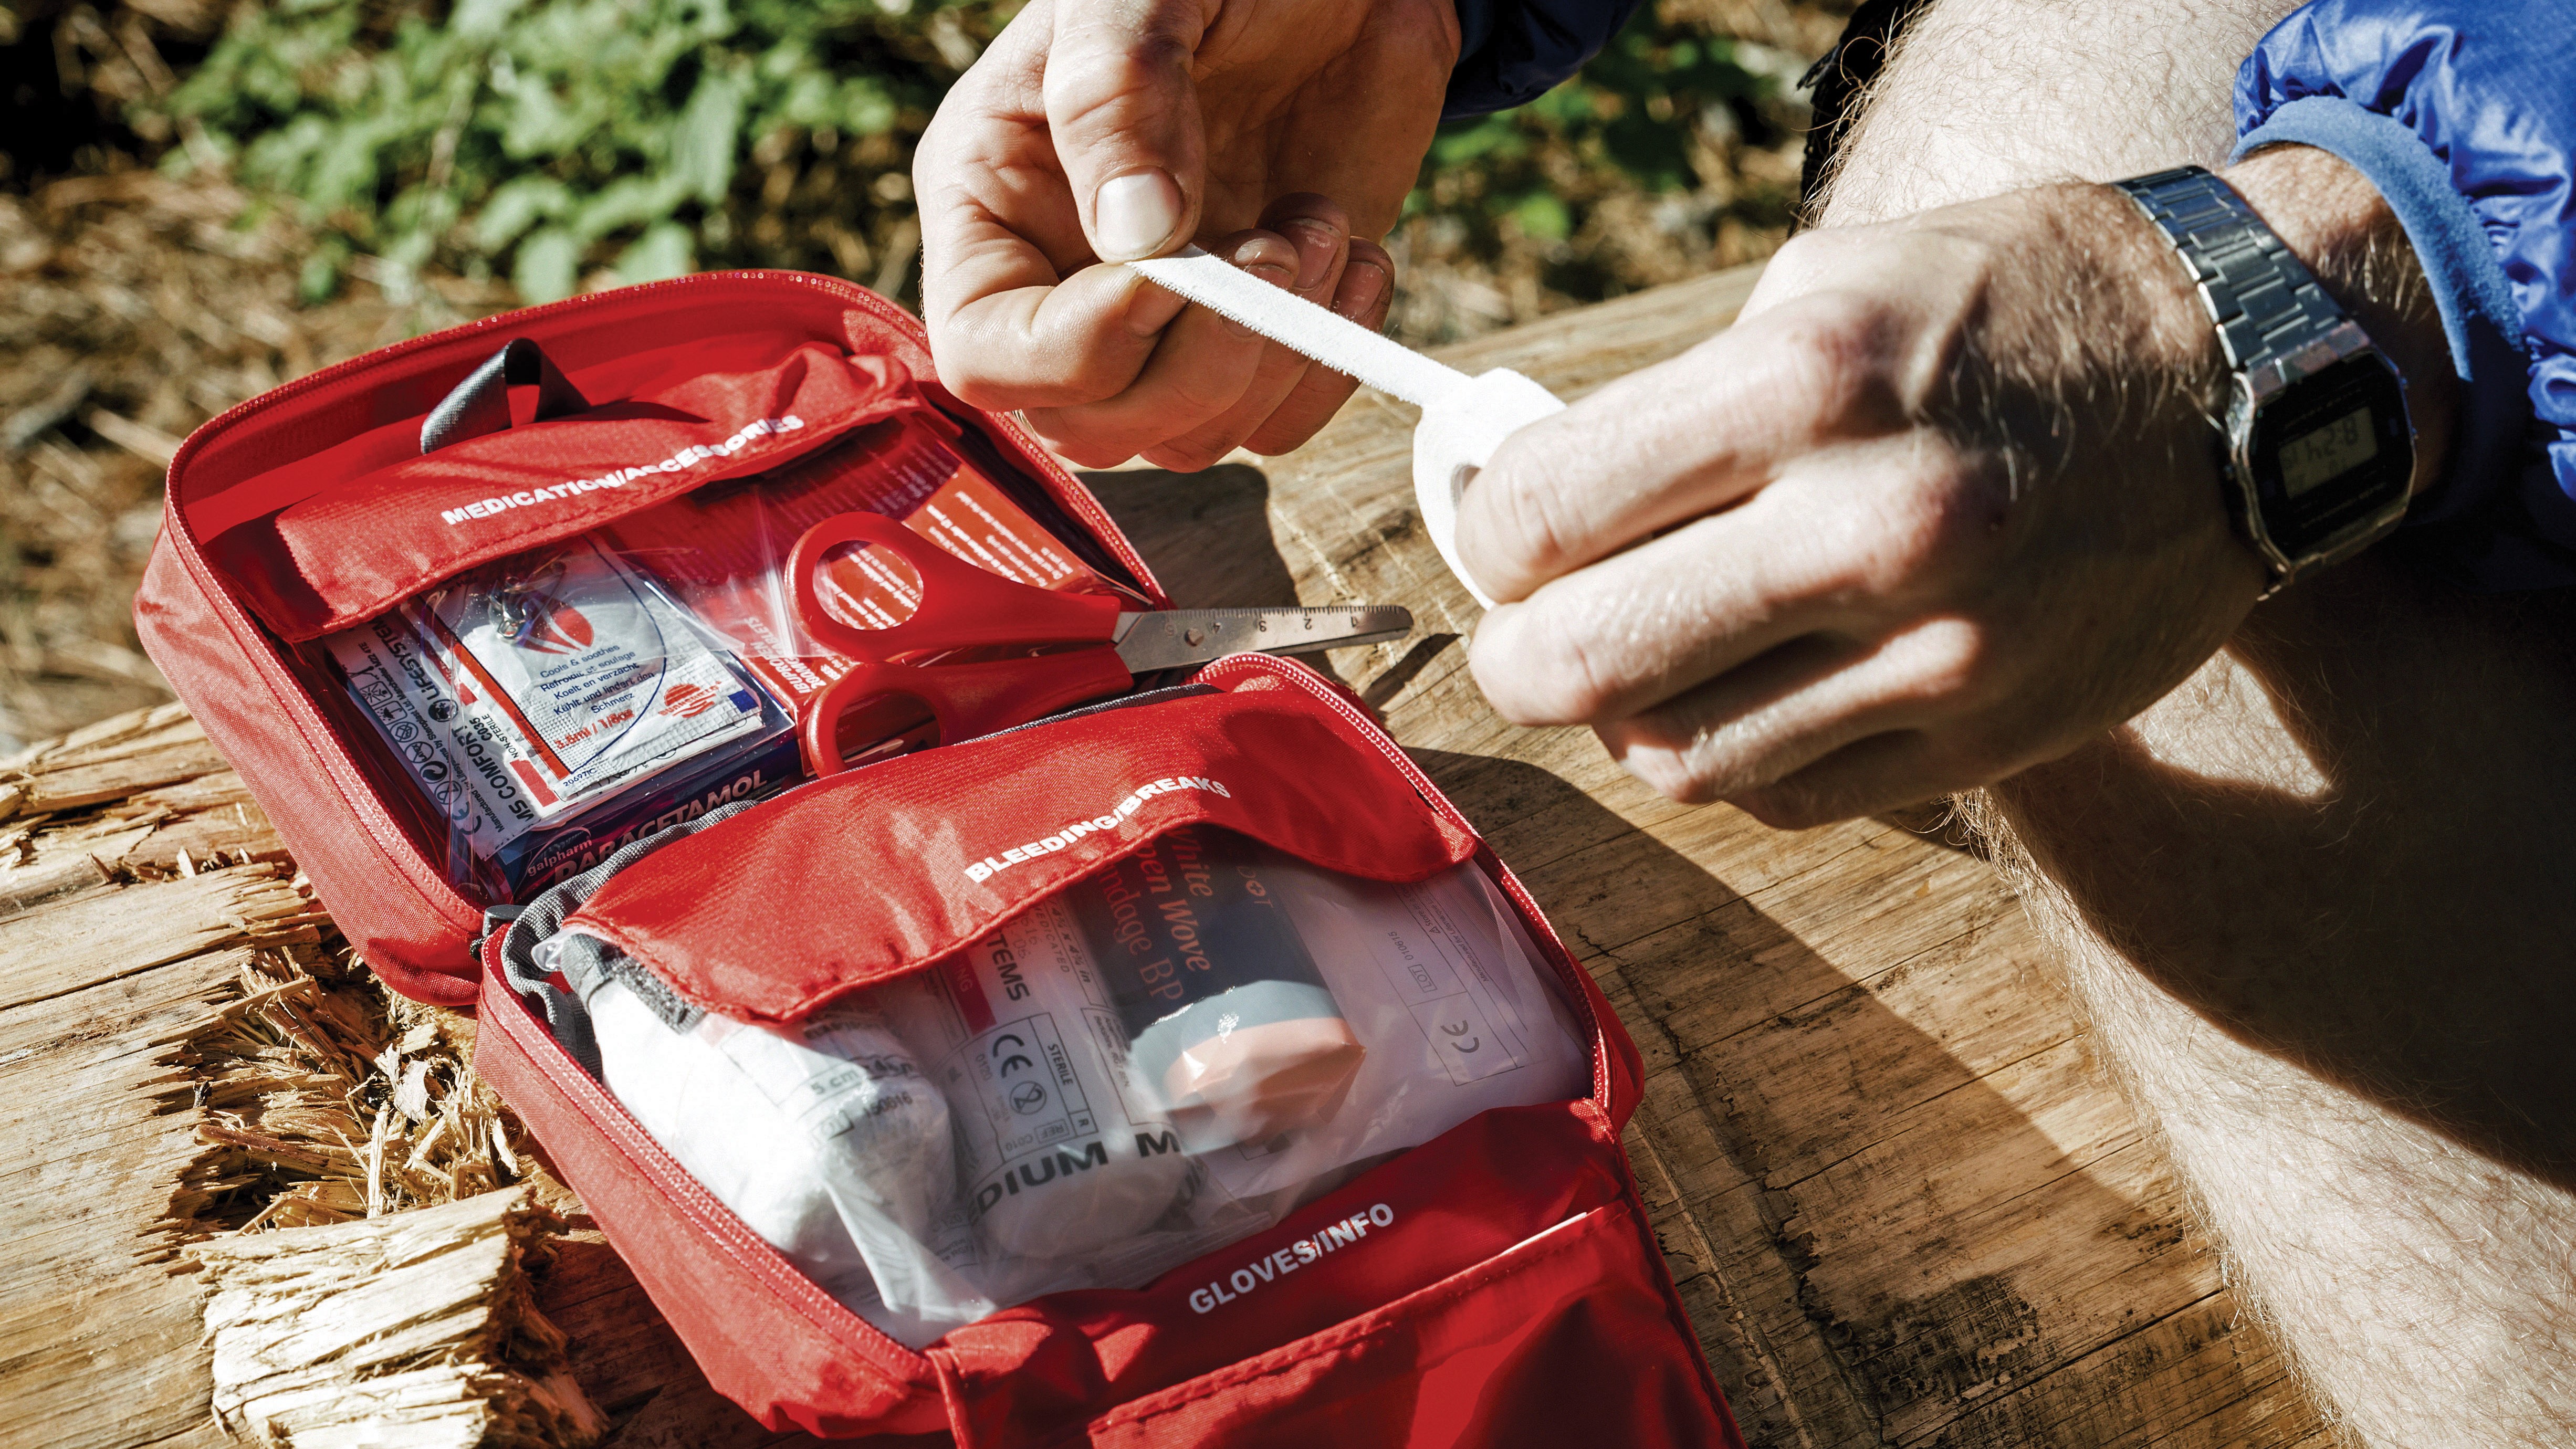
Though I haven’t used my first aid kit for any major incidents, I’ve definitely used the odd band aid or antiseptic wipe here and there, and over the years it can be surprisingly easy to not realise you’ve depleted your kit until you’re on the trail and don’t have what you need to pad that blister.
Advnture Newsletter
All the latest inspiration, tips and guides to help you plan your next Advnture!
"It takes just a couple of minutes to check and restock your first aid kit and means you can make the most of your trip with peace of mind that you’re prepared for the unexpected," advises White.
Before your next hike, empty your complete first aid kit onto a sterile surface and assess it to see what’s there. Check out our article for how to build your own hiking first aid kit and compare it against what you have to check what’s missing or damaged and needs to be replaced.
2. Check expiration dates
When you’re not talking about a jar of mayonnaise, it’s easy to think that expiration dates don’t really matter, and though it’s true that most goods don’t spontaneously combust on their use-by date, items that have been in your first aid kit for years will slowly degrade.
While you’re checking through your kit, pay attention to the individual components to make sure they haven’t exceeded their sell-by date and that doesn’t just apply to medications like aspirin – over time even bandages and dressings can expire and lose their efficiency.
3. Watch out for wear and tear
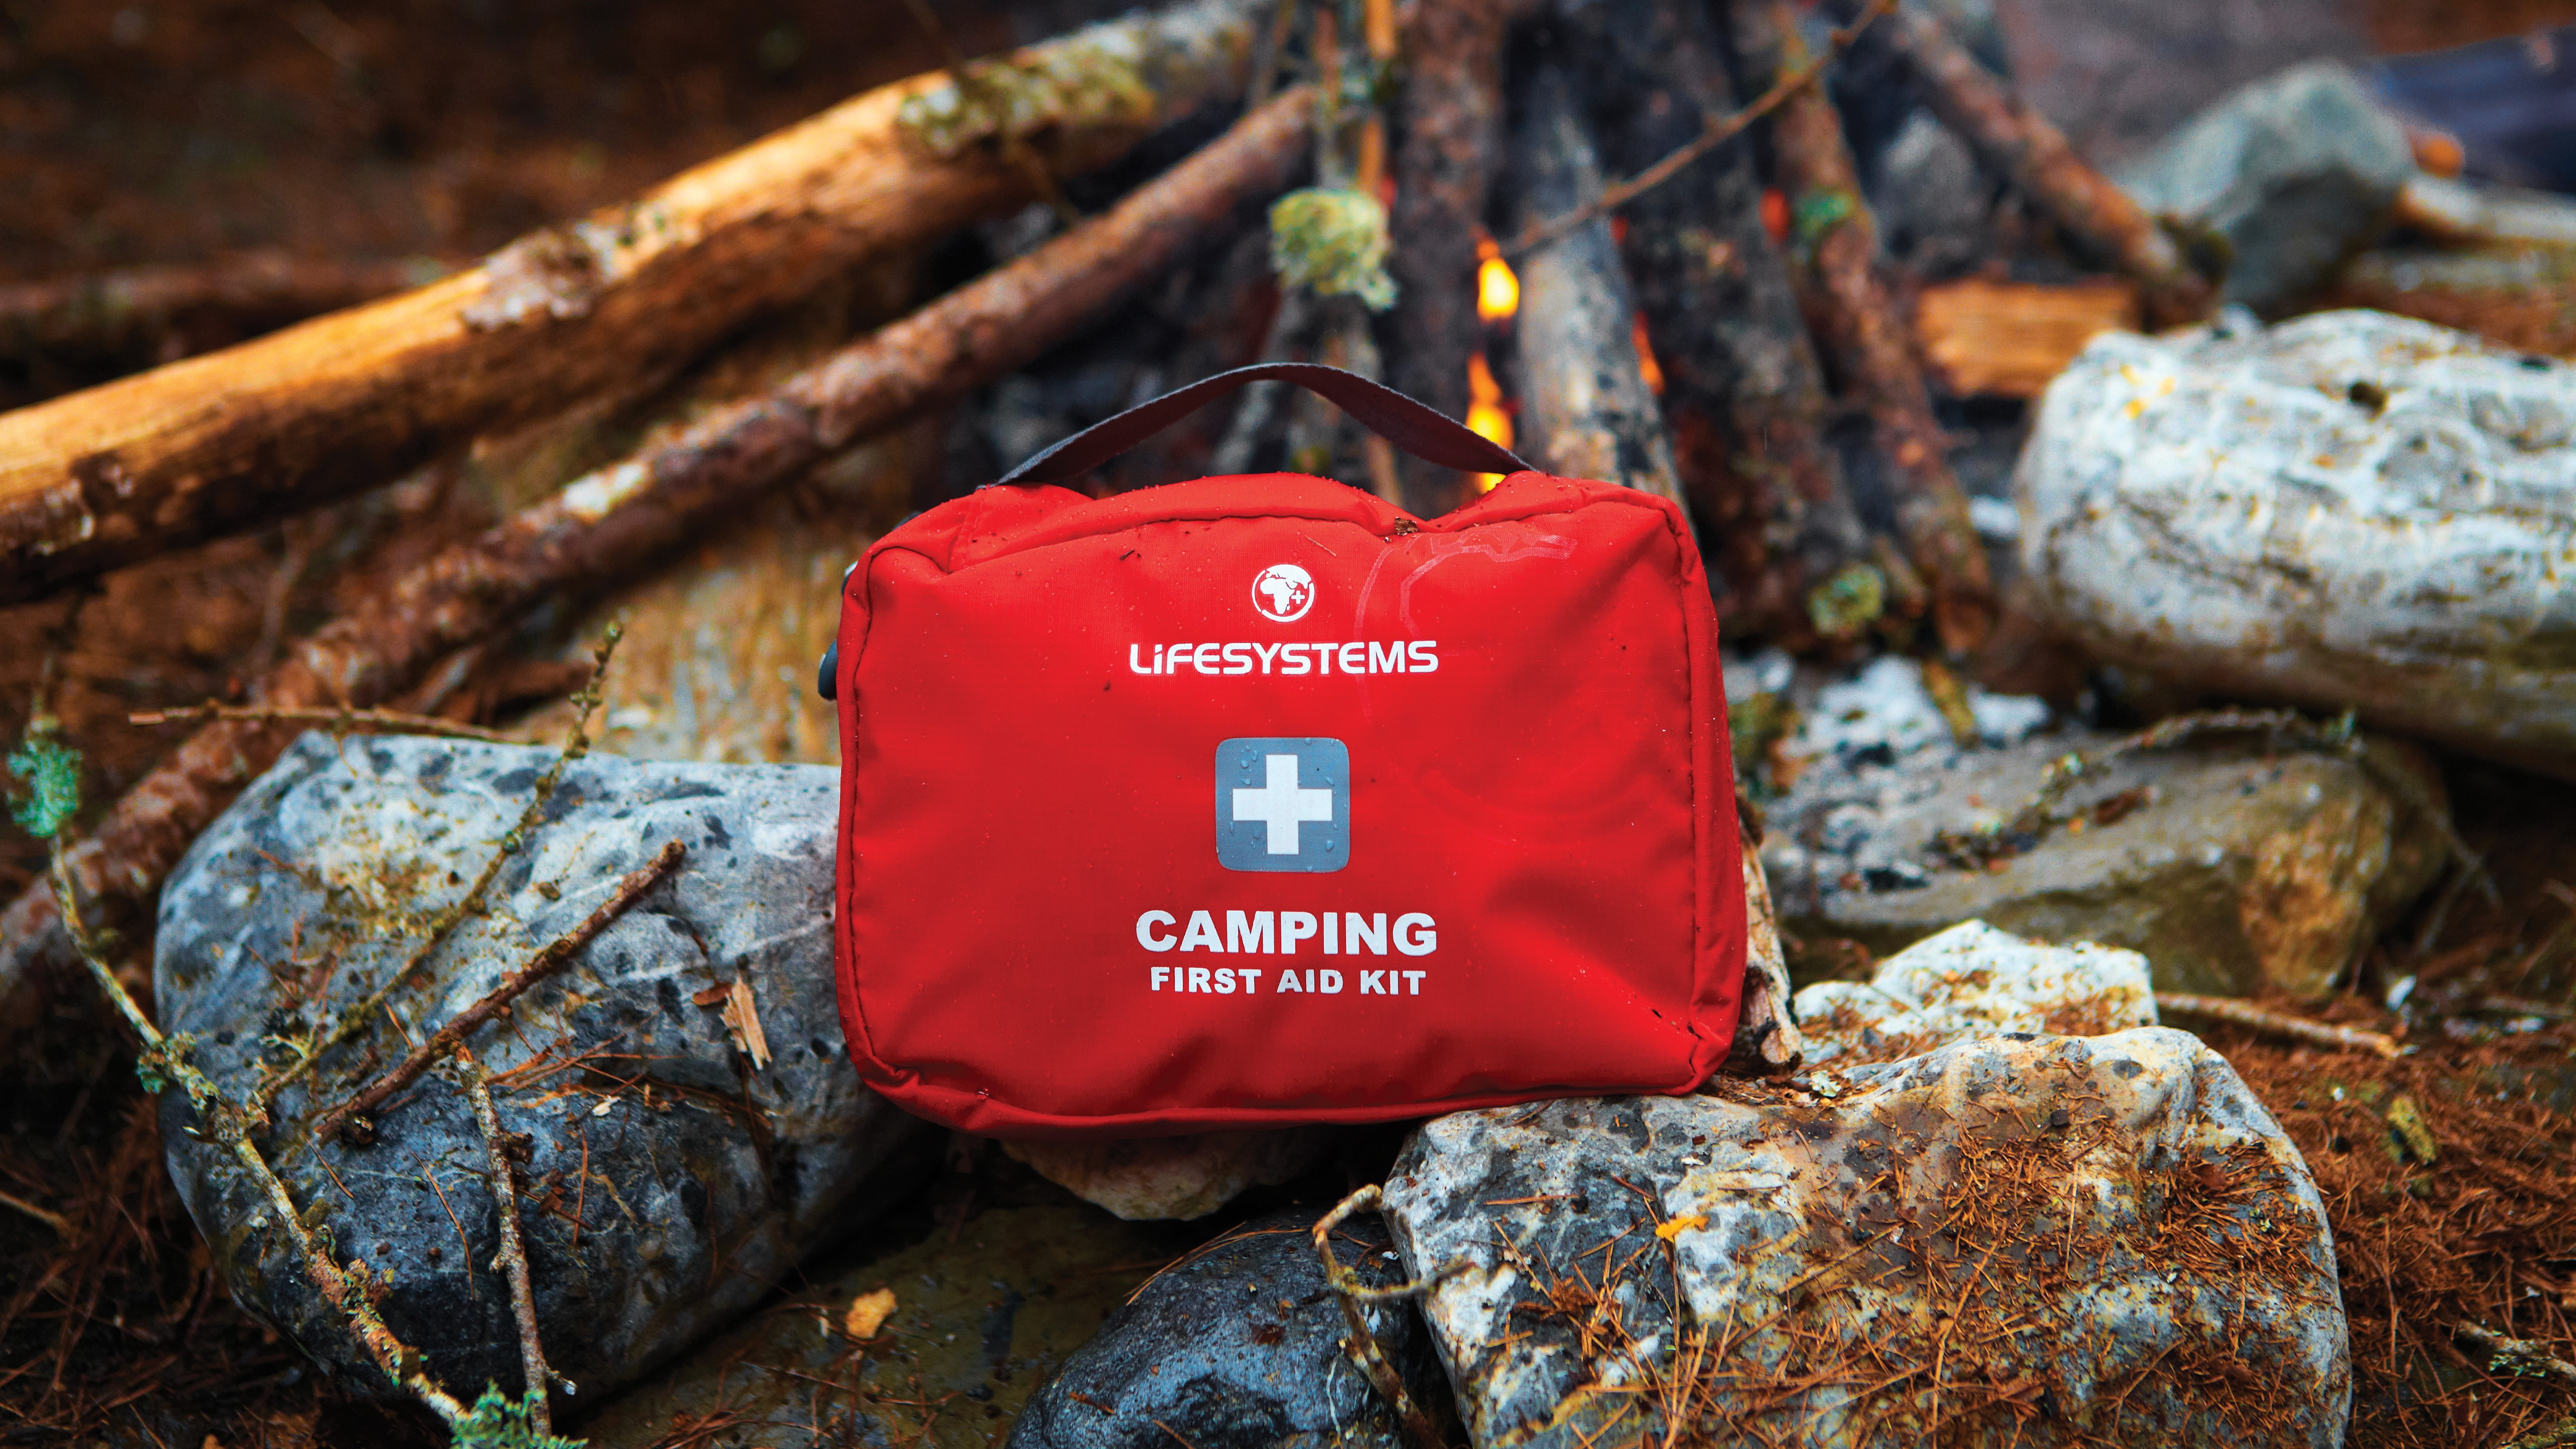
As well as examining the contents of your first aid kit, it’s helpful to give the carrying case it’s all packed into a good once-over. Lifesystems designs its first aid kits with durable and waterproof nylon fabric plus waterproof zips to ensure they stand up to the exertions of life outdoors. However, it’s still a good idea to give your kit’s outer case a look to guarantee it’s in good condition and able to protect the internal components from moisture or dirt.
4. Enhance your kit
You might have ordered a first aid kit online, never opened it and just trust that it has everything you need, but to make it harder for you, why not add some extras you might need on your adventures?
Obviously personal medications and inhalers are a good place to start, but these days it’s a good idea to carry a tick remover, while blister pads and running gels can be useful for longer treks. Your case might even have room to add a multitool, which will cut bandages to size and have better functionality than a pair of scissors.
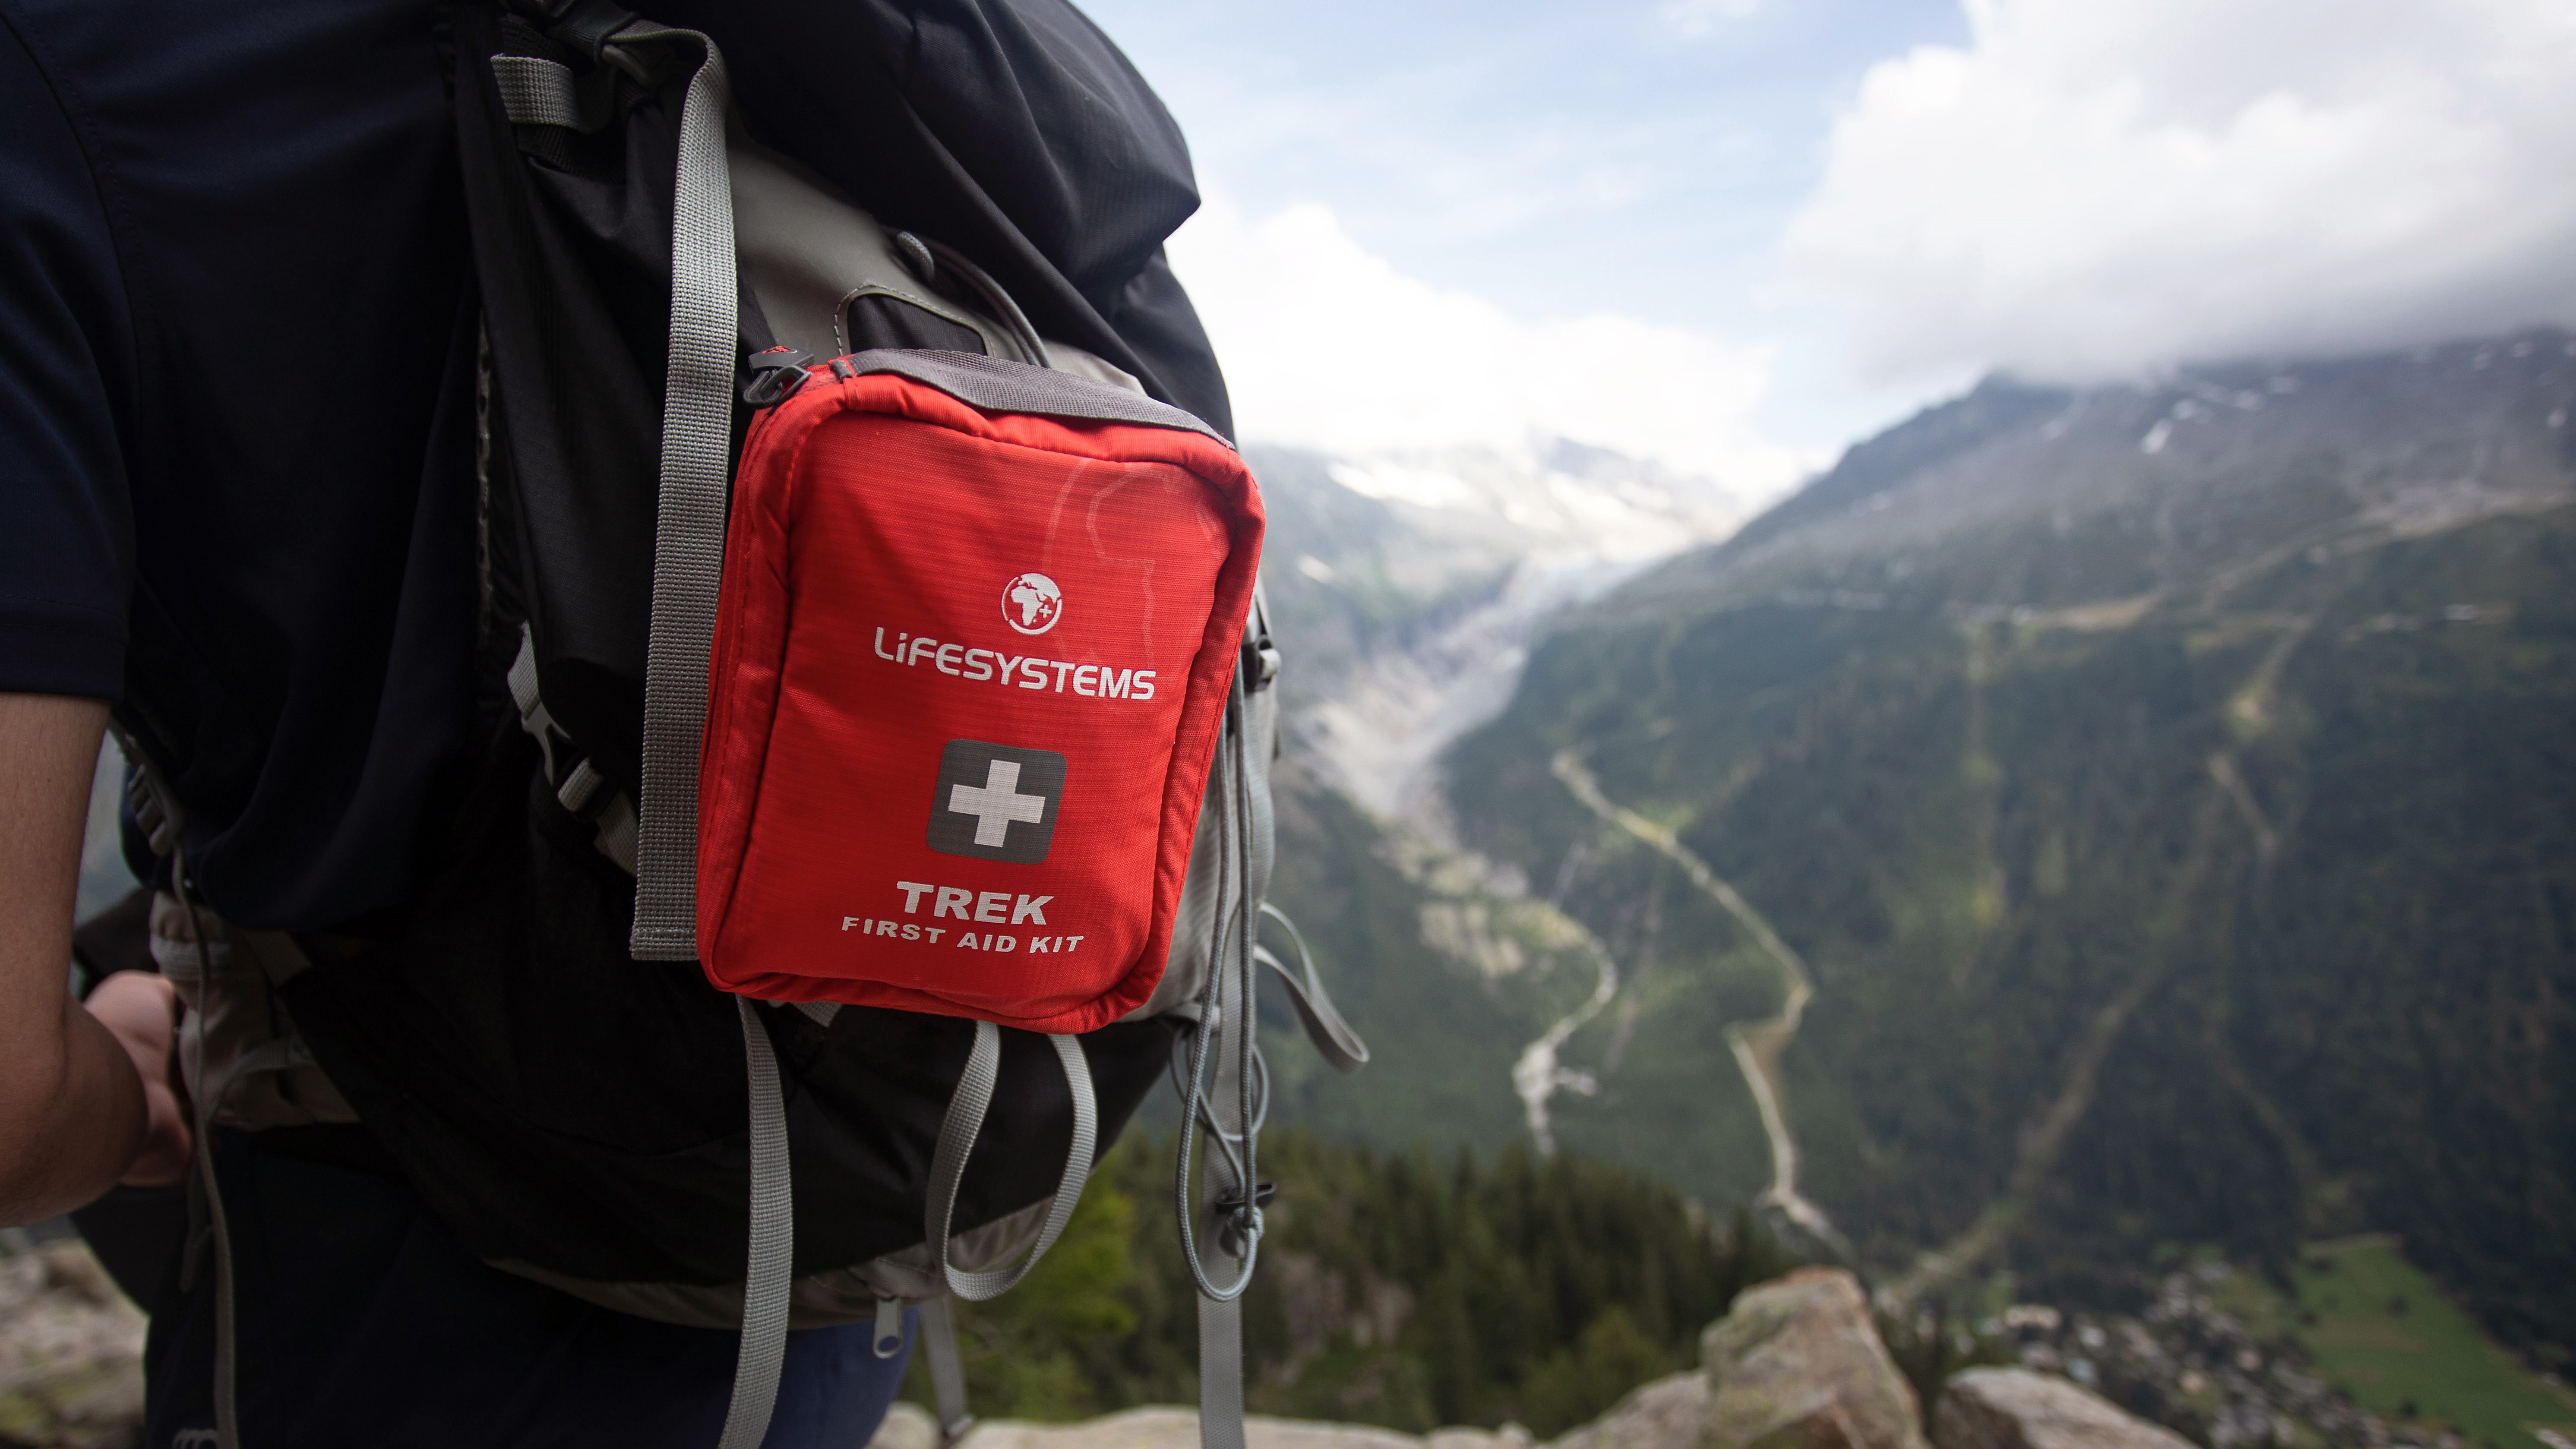
5. Pack your kit (intentionally)
If, like me, your first aid kit just rattles around at the bottom of your daypack, Lifesystems suggest you be a little more intentional about where you stash it, choosing somewhere that's easily accessible, but also protected from the elements. Whether it’s stored in a tent or a pack, it pays to keep your first aid kit in a secure place where you can quickly and easily find and access it should you need it in an emergency.
Julia Clarke is a staff writer for Advnture.com and the author of the book Restorative Yoga for Beginners. She loves to explore mountains on foot, bike, skis and belay and then recover on the the yoga mat. Julia graduated with a degree in journalism in 2004 and spent eight years working as a radio presenter in Kansas City, Vermont, Boston and New York City before discovering the joys of the Rocky Mountains. She then detoured west to Colorado and enjoyed 11 years teaching yoga in Vail before returning to her hometown of Glasgow, Scotland in 2020 to focus on family and writing.

