Hiking your first 14er this 4th of July weekend? Tick off the 9 items on this checklist before you go
Before you head off on your first 14er, make sure you’ve completed all the items on this checklist to ensure you have a memorable experience, for all the right reasons
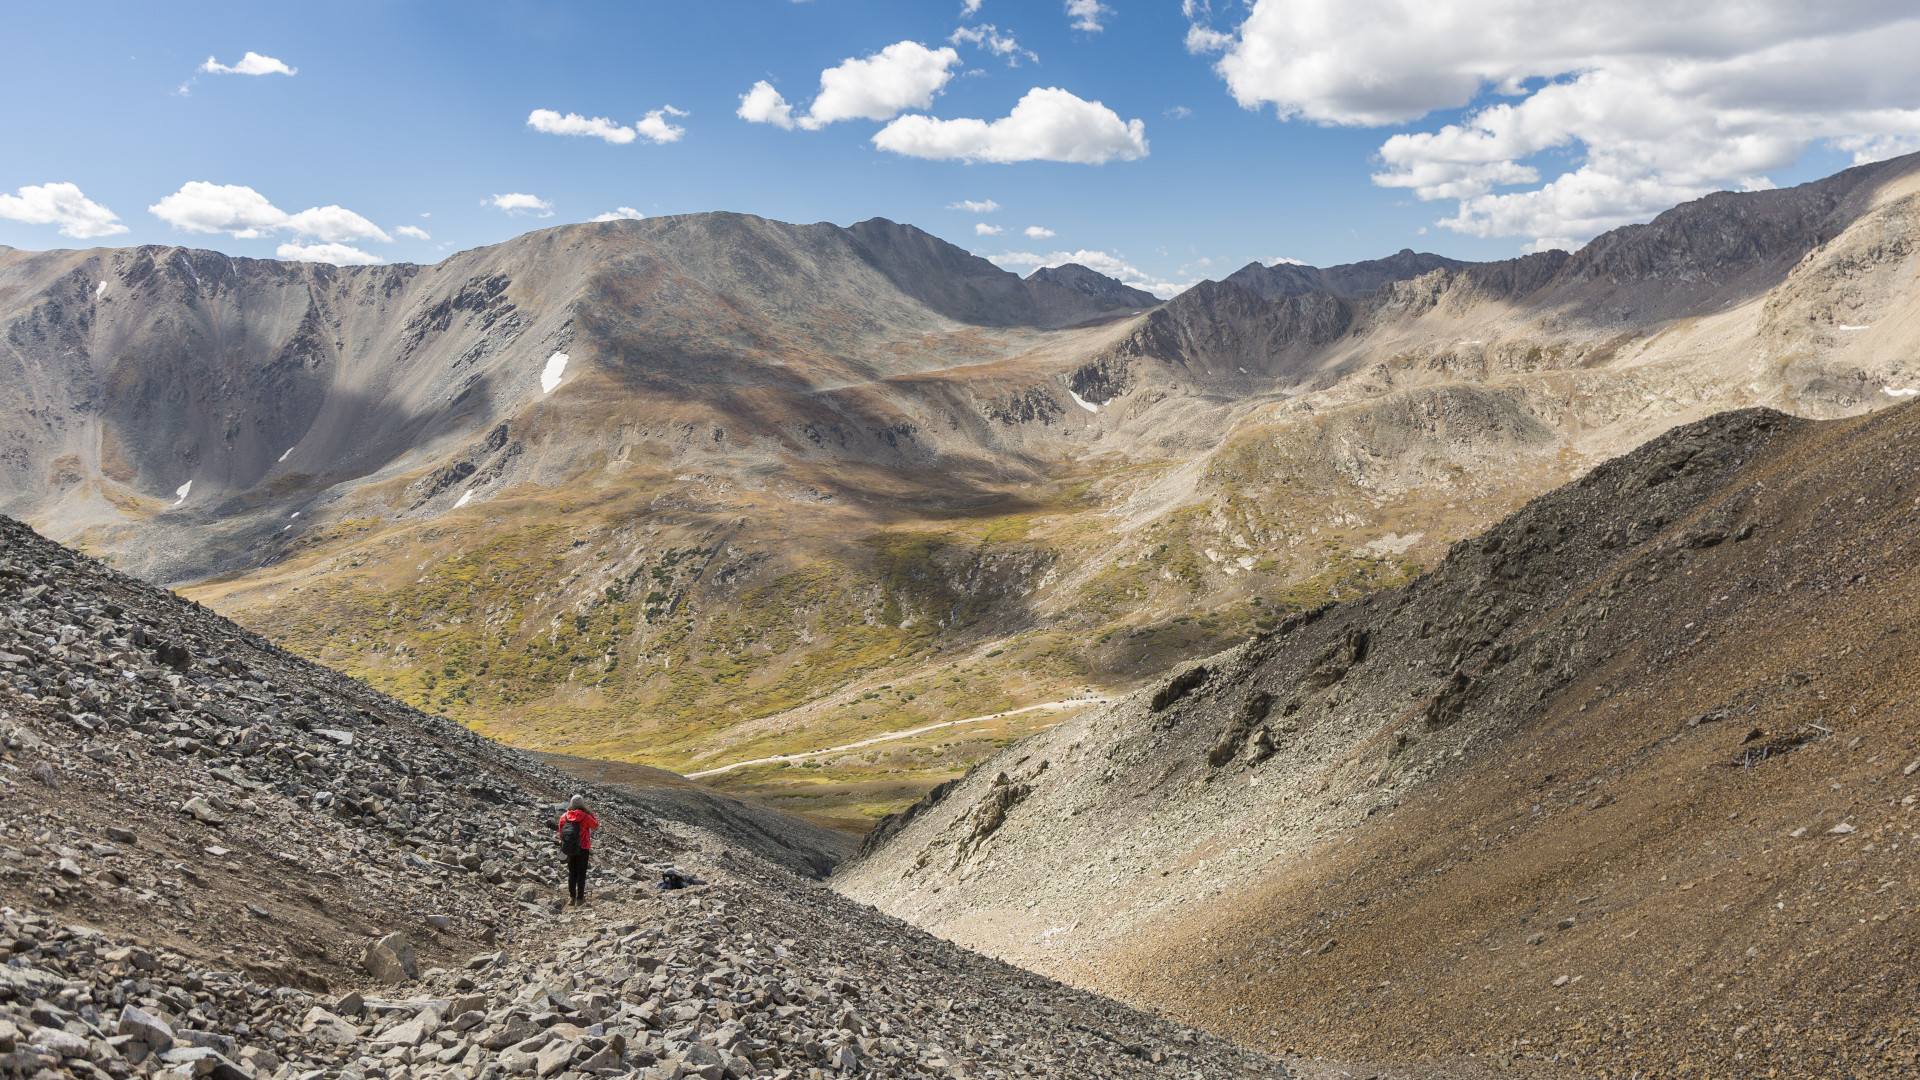
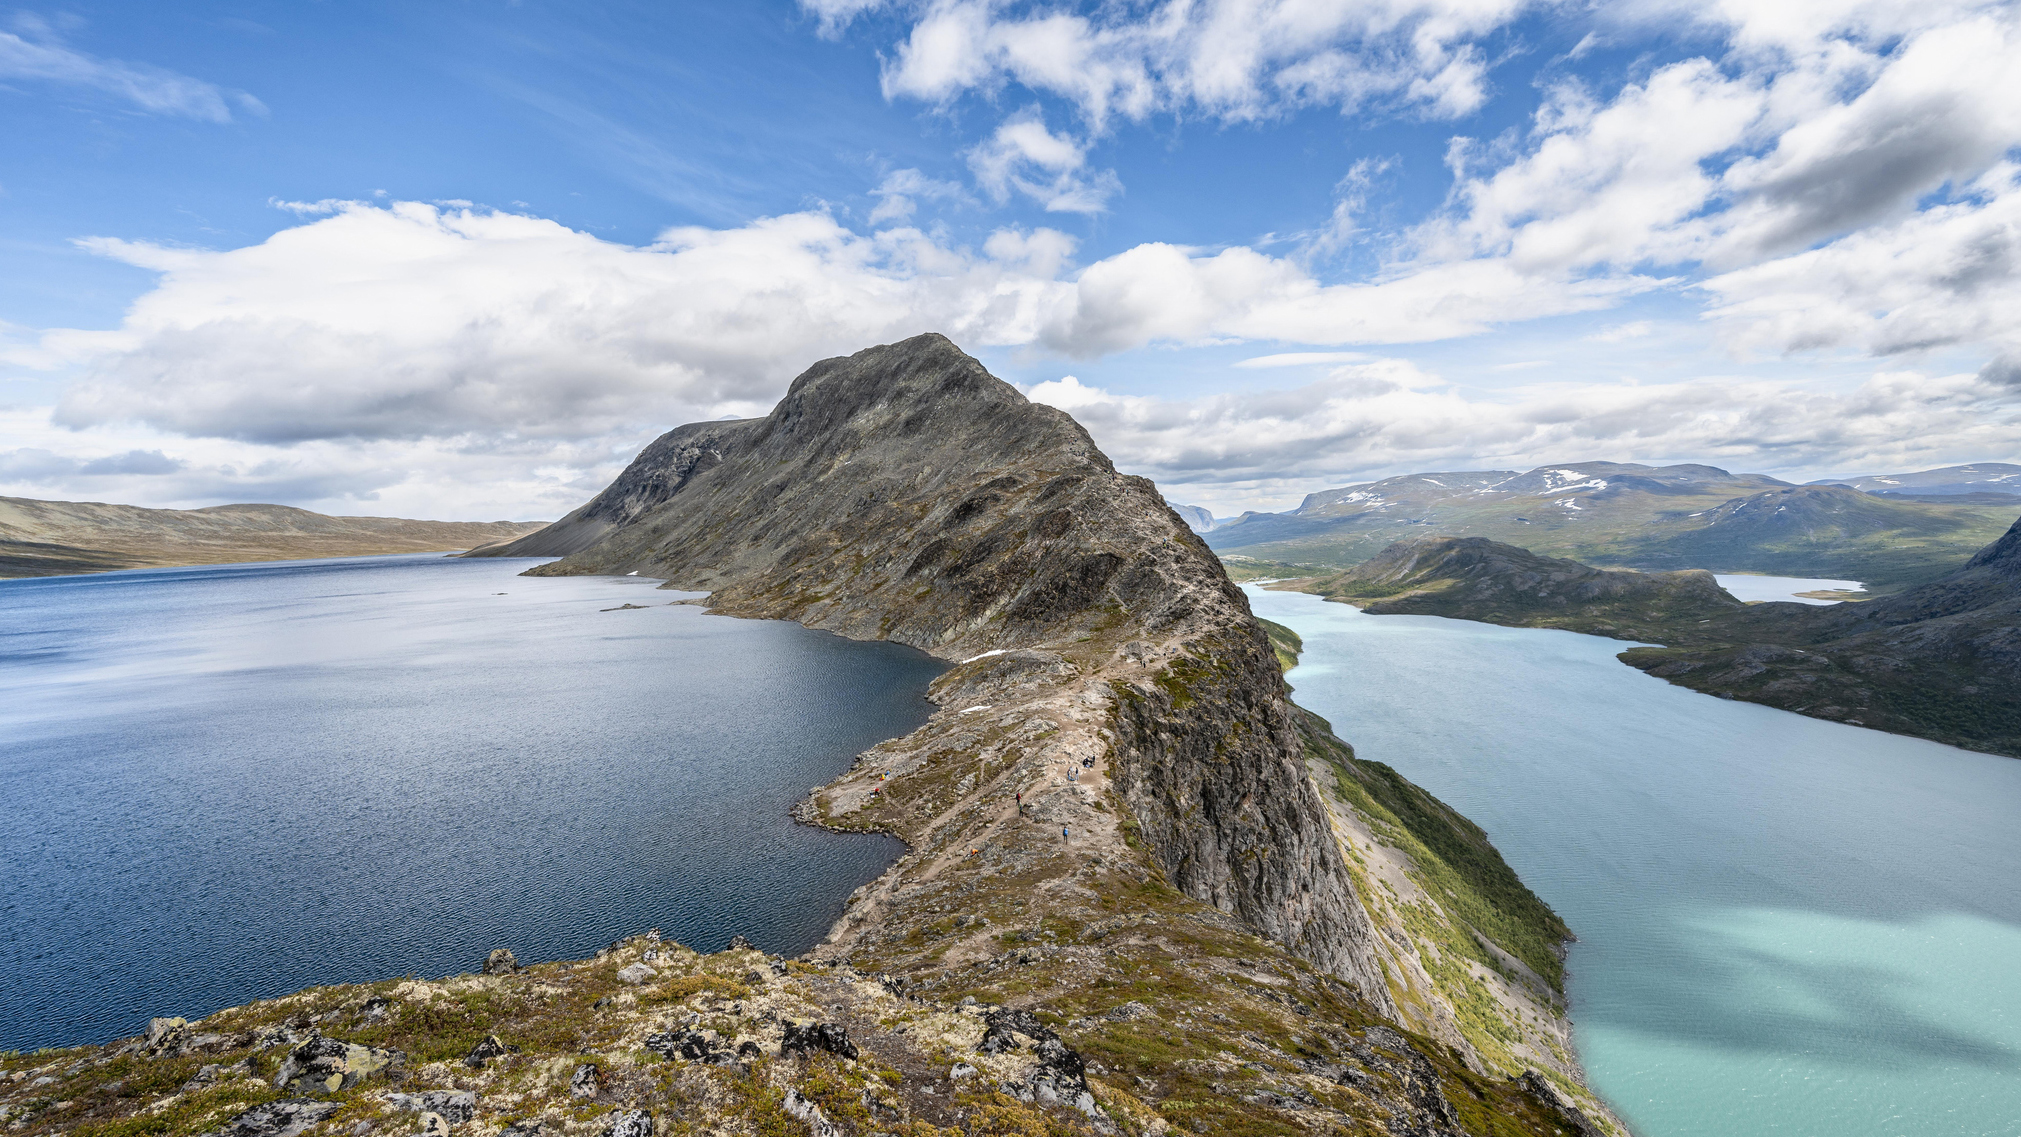
Hiking your first 14er is a special moment. For those of us who love hiking, these towering peaks can take up a lot of space in our imagination. You might have been thinking about hiking a 14er for a couple of years and now you’re finally ready – but there’s a lot to do before you go. Hiking a 14er means a lot of physical exertion, at high altitude, in remote areas, so you need to be extra vigilant about planning and preparation.
During my years living in Colorado, I hiked many of the state’s 14ers and absolutely loved every adventure, but that’s because I went into every hike well-prepared so each one was seamless and fun, if not exactly easy.
Before you head off on your first 14er, make sure you’ve completed all the items on our checklist to ensure you have a memorable experience, for all the right reasons.
1. Get in shape
It’s amazing how many times this needs to be said, but you don’t hike a 14er to get in shape, you get in shape to hike a 14er.
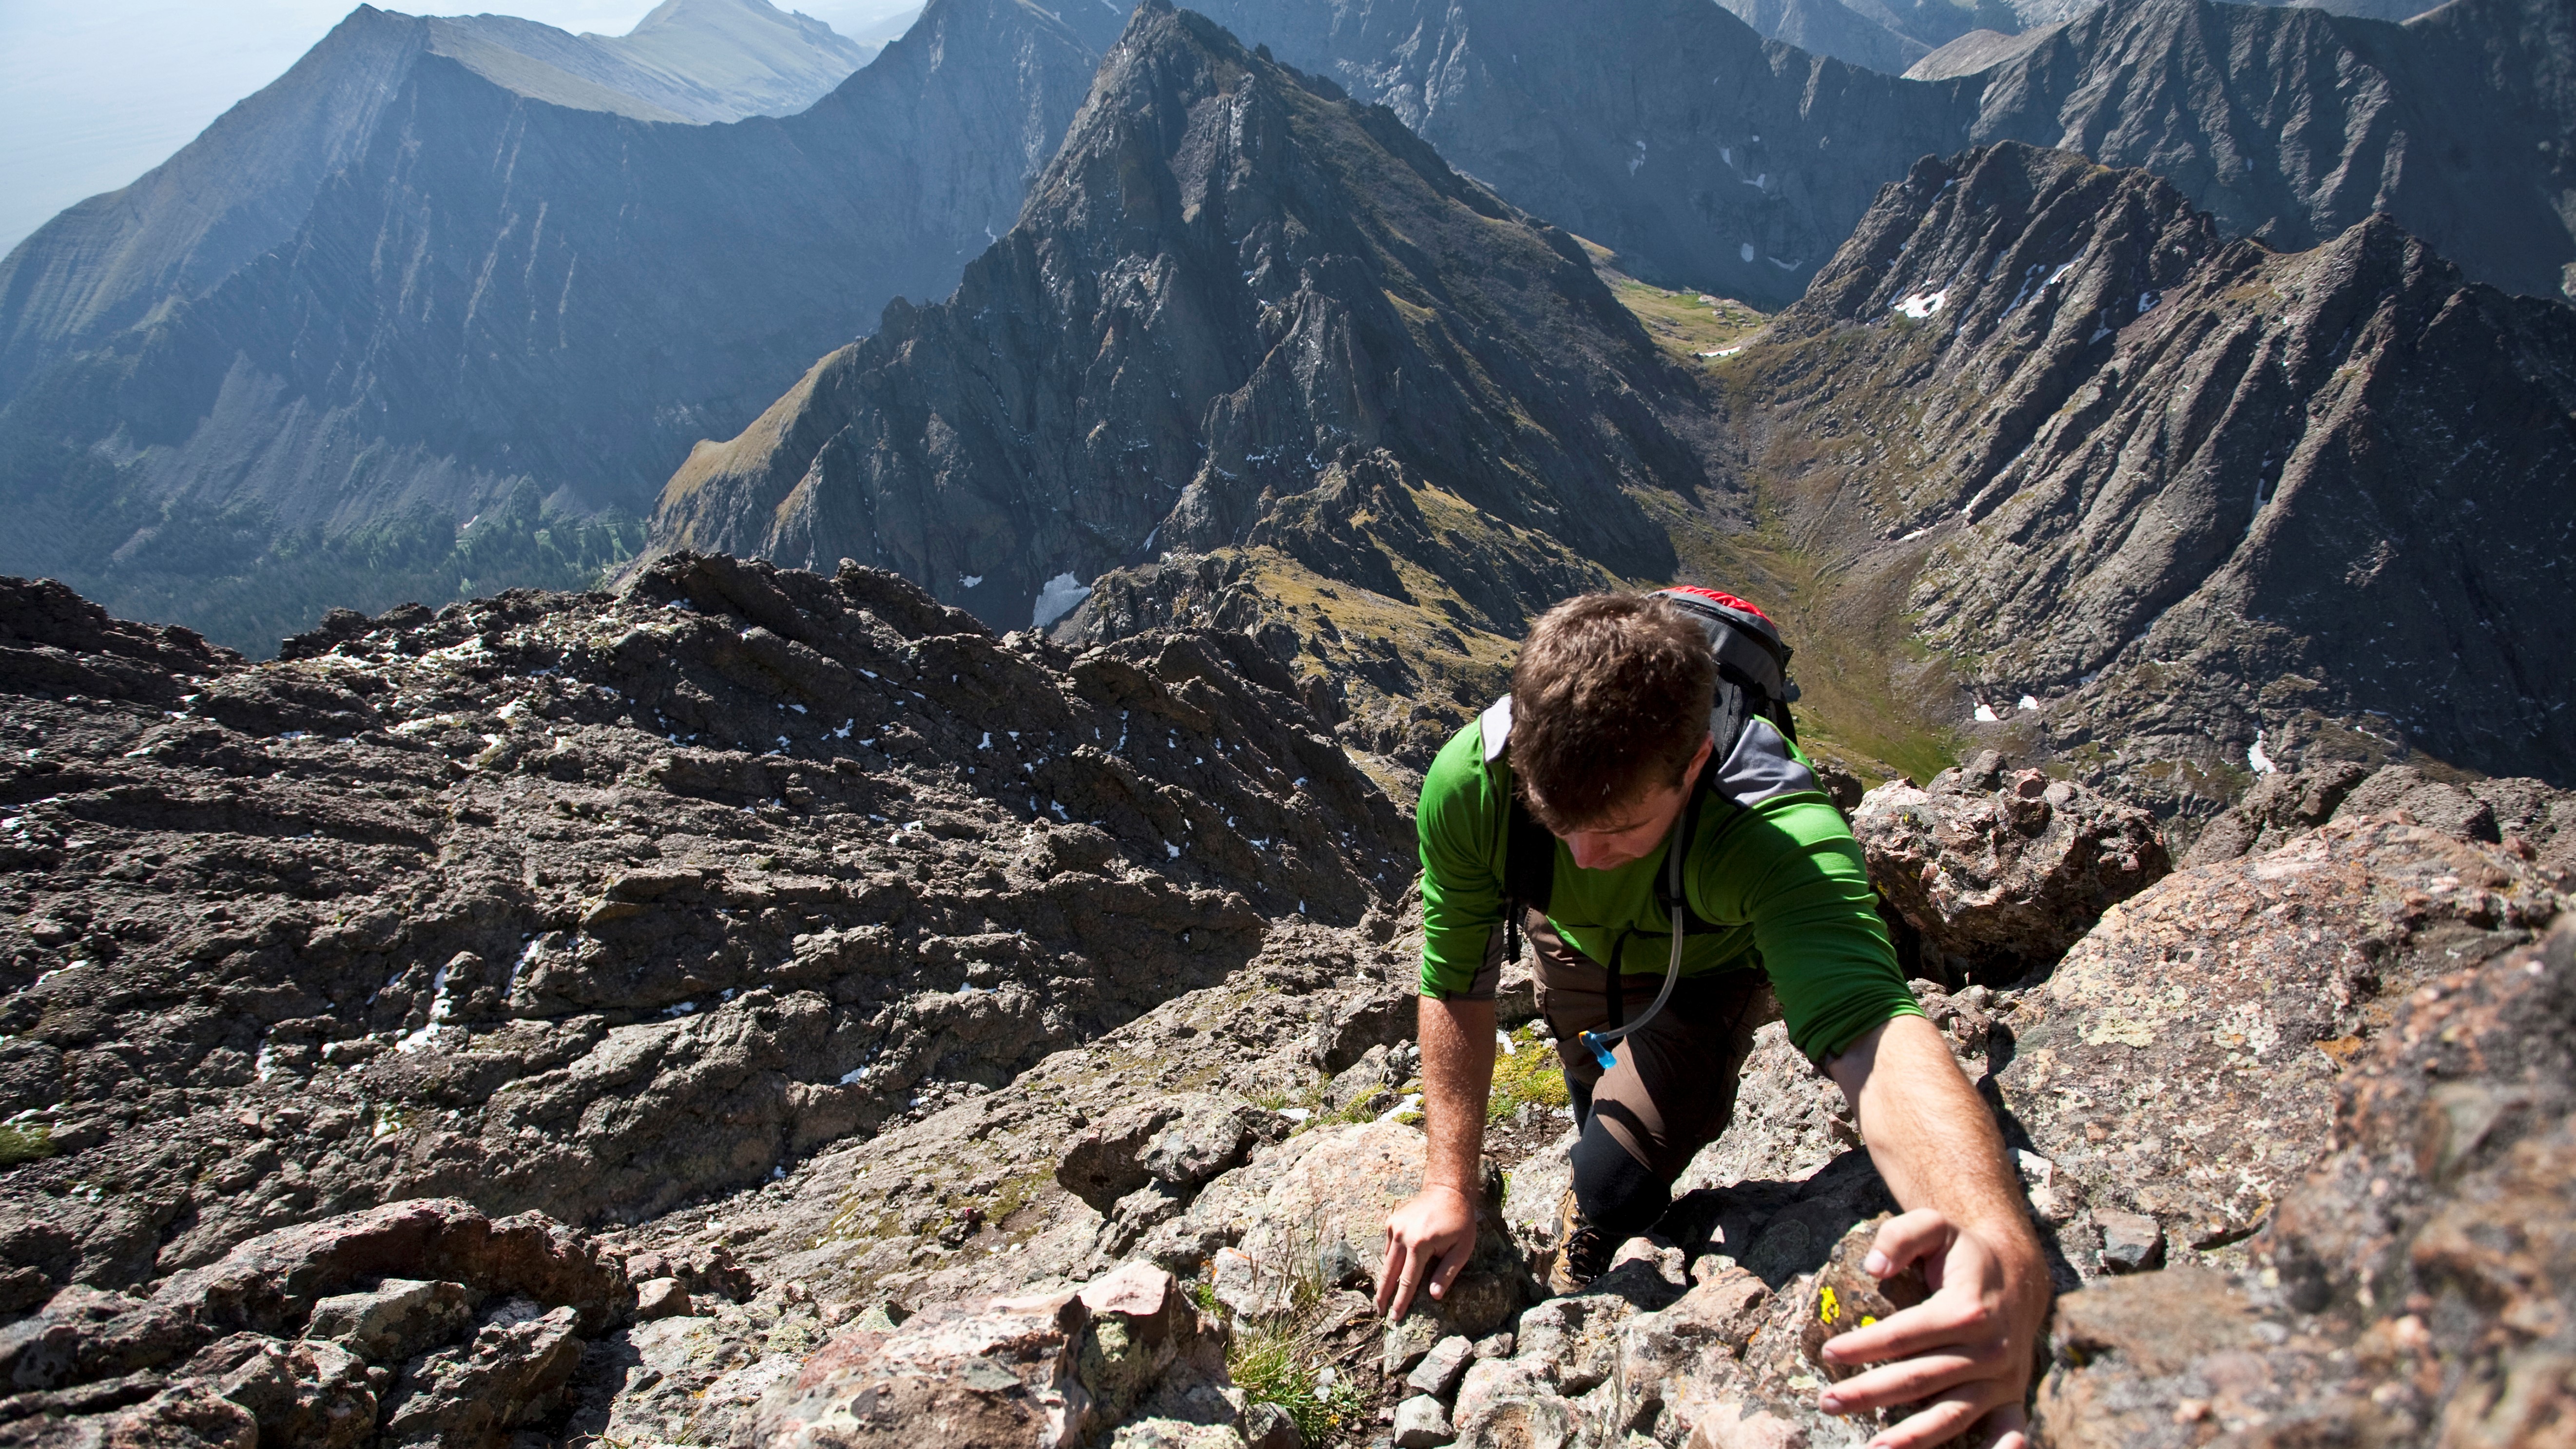
You’ll want to be reasonably fit for climbing a 14er. Even the so-called easy 14ers provide a worthy opponent for the fittest hikers and climbing mountains is a different kettle of fish to working out at the gym or even jogging.
Make sure you’ve spent a few months building up your aerobic fitness, working on leg strength and increasing your distances over land, whether that means hiking more or building in longer runs and lots of stairs if you’re a Flatlander.
2. Acclimate
If you’re hiking a 14er, you’re officially heading into high altitude zone, and if you don’t already know, altitude does some weird things to your body. Excessive flatulence might not seem like a big deal – in fact, it might power you up the hill – but lightheadedness and altitude sickness are a problem when you’re in the backcountry.
Advnture Newsletter
All the latest inspiration, tips and guides to help you plan your next Advnture!
If you just flew into Denver yesterday from Florida, don’t think about hiking a 14er tomorrow. At a minimum, you need a couple of days at altitude to let your body adapt, and remember that everyone responds differently, so even that may not be enough time.
3. Research your route
It’s really important to research the route you’ll be climbing. If you’re hiking a Colorado peak, head to 14ers.com for all the information on the mountain you’ll be climbing. Most peaks have multiple routes so you’ll want to pick the route that’s best for the season you’re hiking and is the most suitable to your ability.
Once you know what route you're hiking, read over the description, download the GPX map, screenshot any photos and make note of areas where you might have to navigate. Once you get above treeline and into boulder fields, 14er terrain can be disorienting and you want to make it back to the trailhead in one piece, without mountain rescue.
4. Check the weather – twice
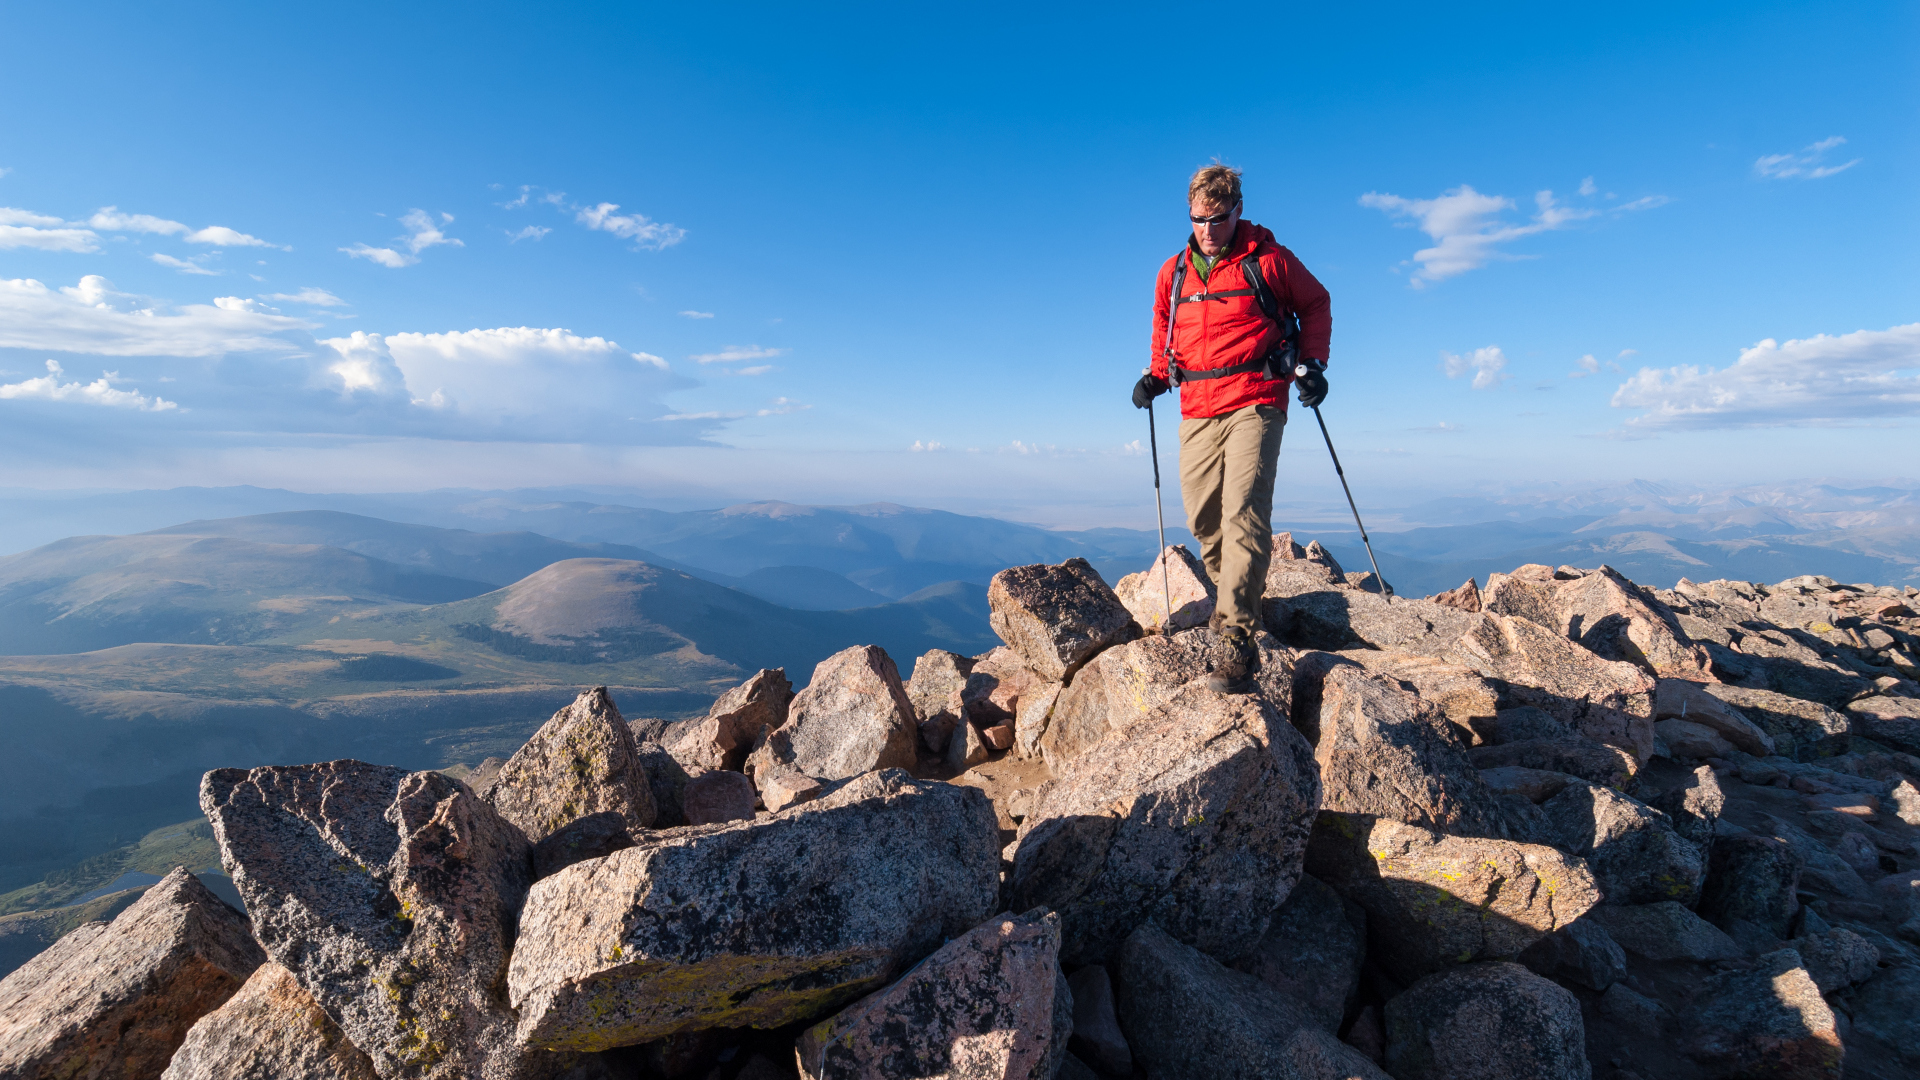
On low lying trails, you can usually handle most weather with a waterproof jacket and a pair of rain pants. Once you get up high, however, weather can change quickly and be much more severe. A good rule of thumb is to stay off 14er summits altogether if there’s anything but sunshine in the forecast. Clouds can mean afternoon thunderstorms, which can be deadly, and rain down low can easily be pelting hail and snow at the summit.
Check the mountain weather forecast the day before and if it all looks good, plan to hike. However, check it again in the morning before you leave because if there’s one thing we know about the weather, it's that it can change quickly.
5. Handle your hydration needs
Altitude is dehydrating, and dehydration is dangerous, so you’ll want to carry extra water on a 14er hike. That might mean two water bottles instead of one, or a three-liter hydration bladder. Whatever you decide, avoid dehydrating activities the day before you hike, like alcohol, saunas and too much caffeine, and bring along an extra water bottle that you can chug from when you get to the trailhead so you start off hydrated, then sip frequently along the way.
6. Pack for all possibilites
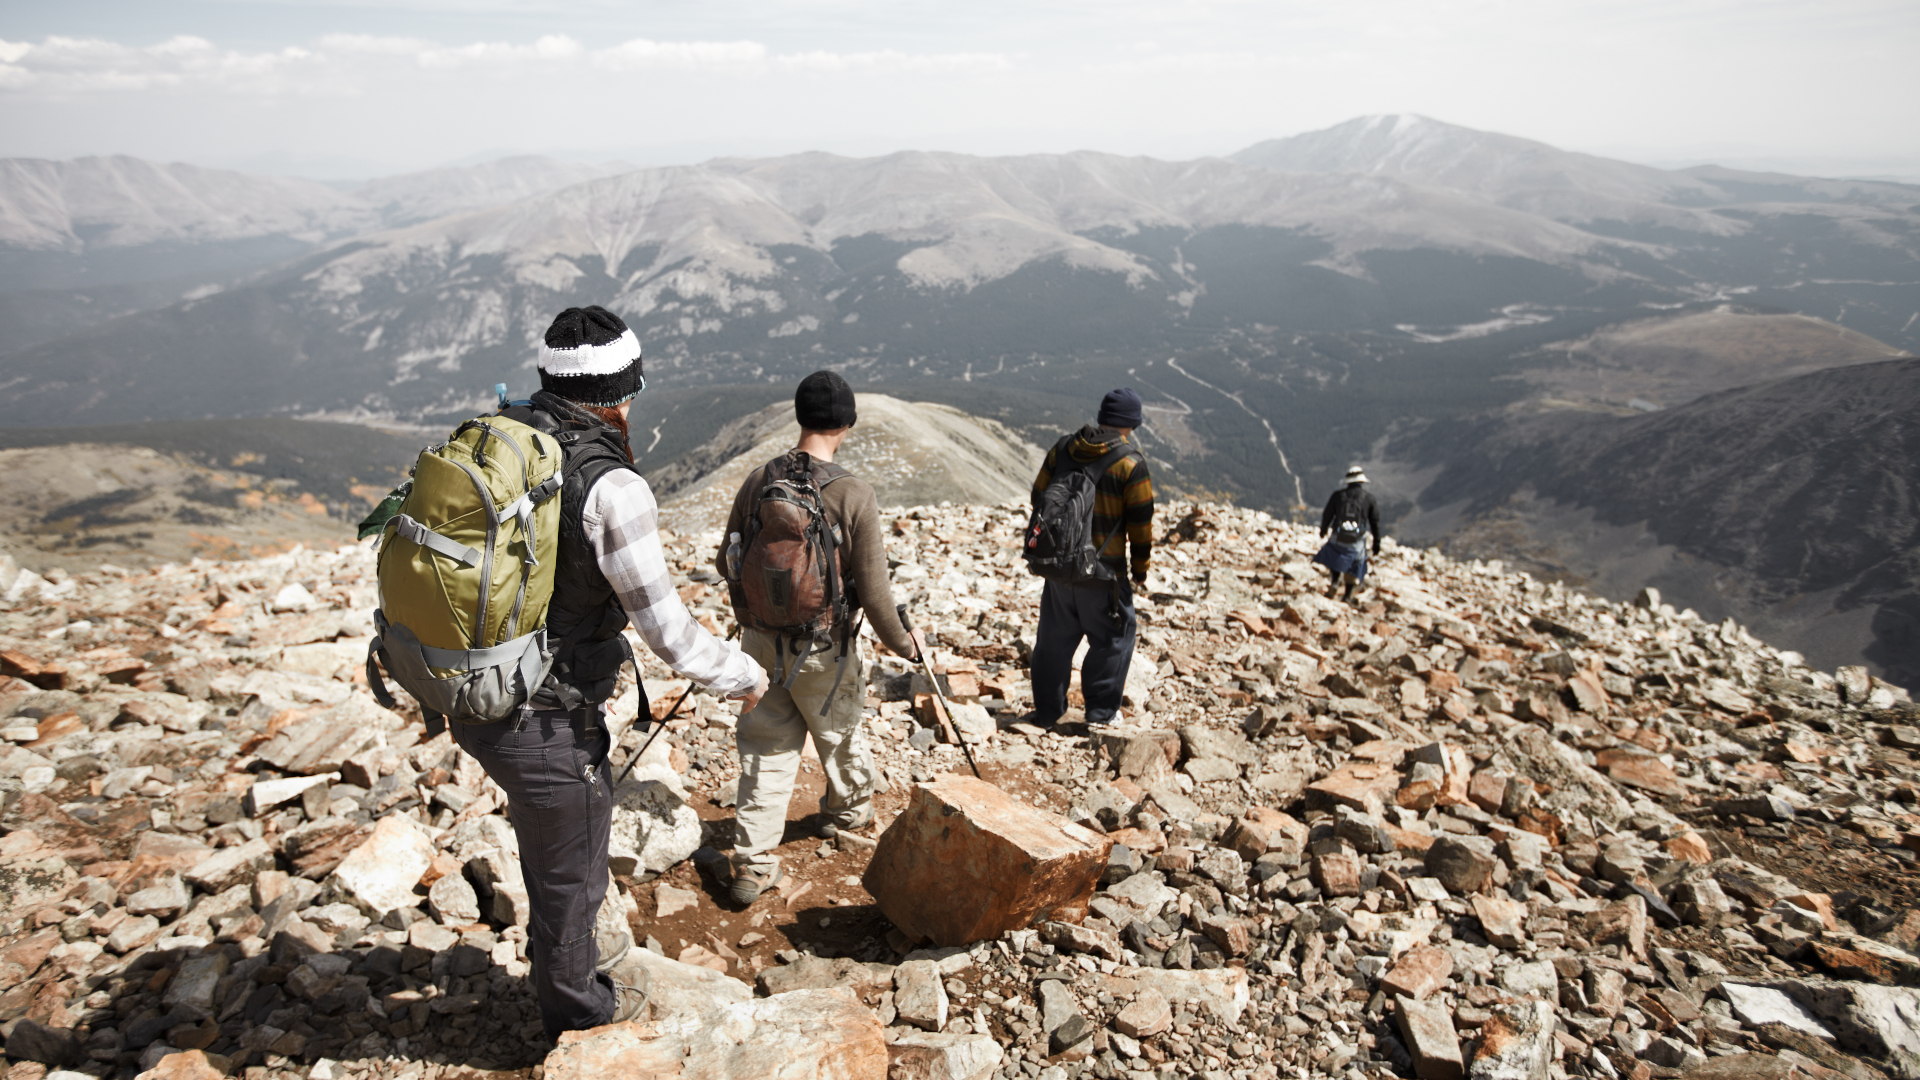
Hiking a 14er isn’t a case of tying your college hoodie around your waist and throwing a granola bar in your bag. You’ll want to pack your daypack the night and prepare as though you’re going to spend the night in the backcountry, just in case you do. No matter how long or hard you think the hike will be, always include the following:
- Extra insulating layers (like a fleece jacket)
- Waterproof jacket or windbreaker
- Sunscreen and sunglasses
- Water and snacks
- Hat and gloves (it can be cold at the top)
- Satellite communication device
- Portable phone charger
- Multi-tool
- Map and compass
- First aid kit with whistle and emergency blanket
- Trekking poles
7. Dress right
If you’re hiking a 14er in the summer, which is when you should be doing it, there’s a good chance the highs in town will be in the 70s or 80s during the day, but there’s almost no chance it will be warm at the summit. The key to dressing for success is wearing light, breathable layers. Think lightweight hiking pants and a sweat-wicking base layer that won’t make you too warm on the way up but will provide some protection at the top.
On your feet, wear hiking boots, hiking shoes or trail running shoes – in other words, something with good traction and not sneakers or flip flops.
8. Set your alarm
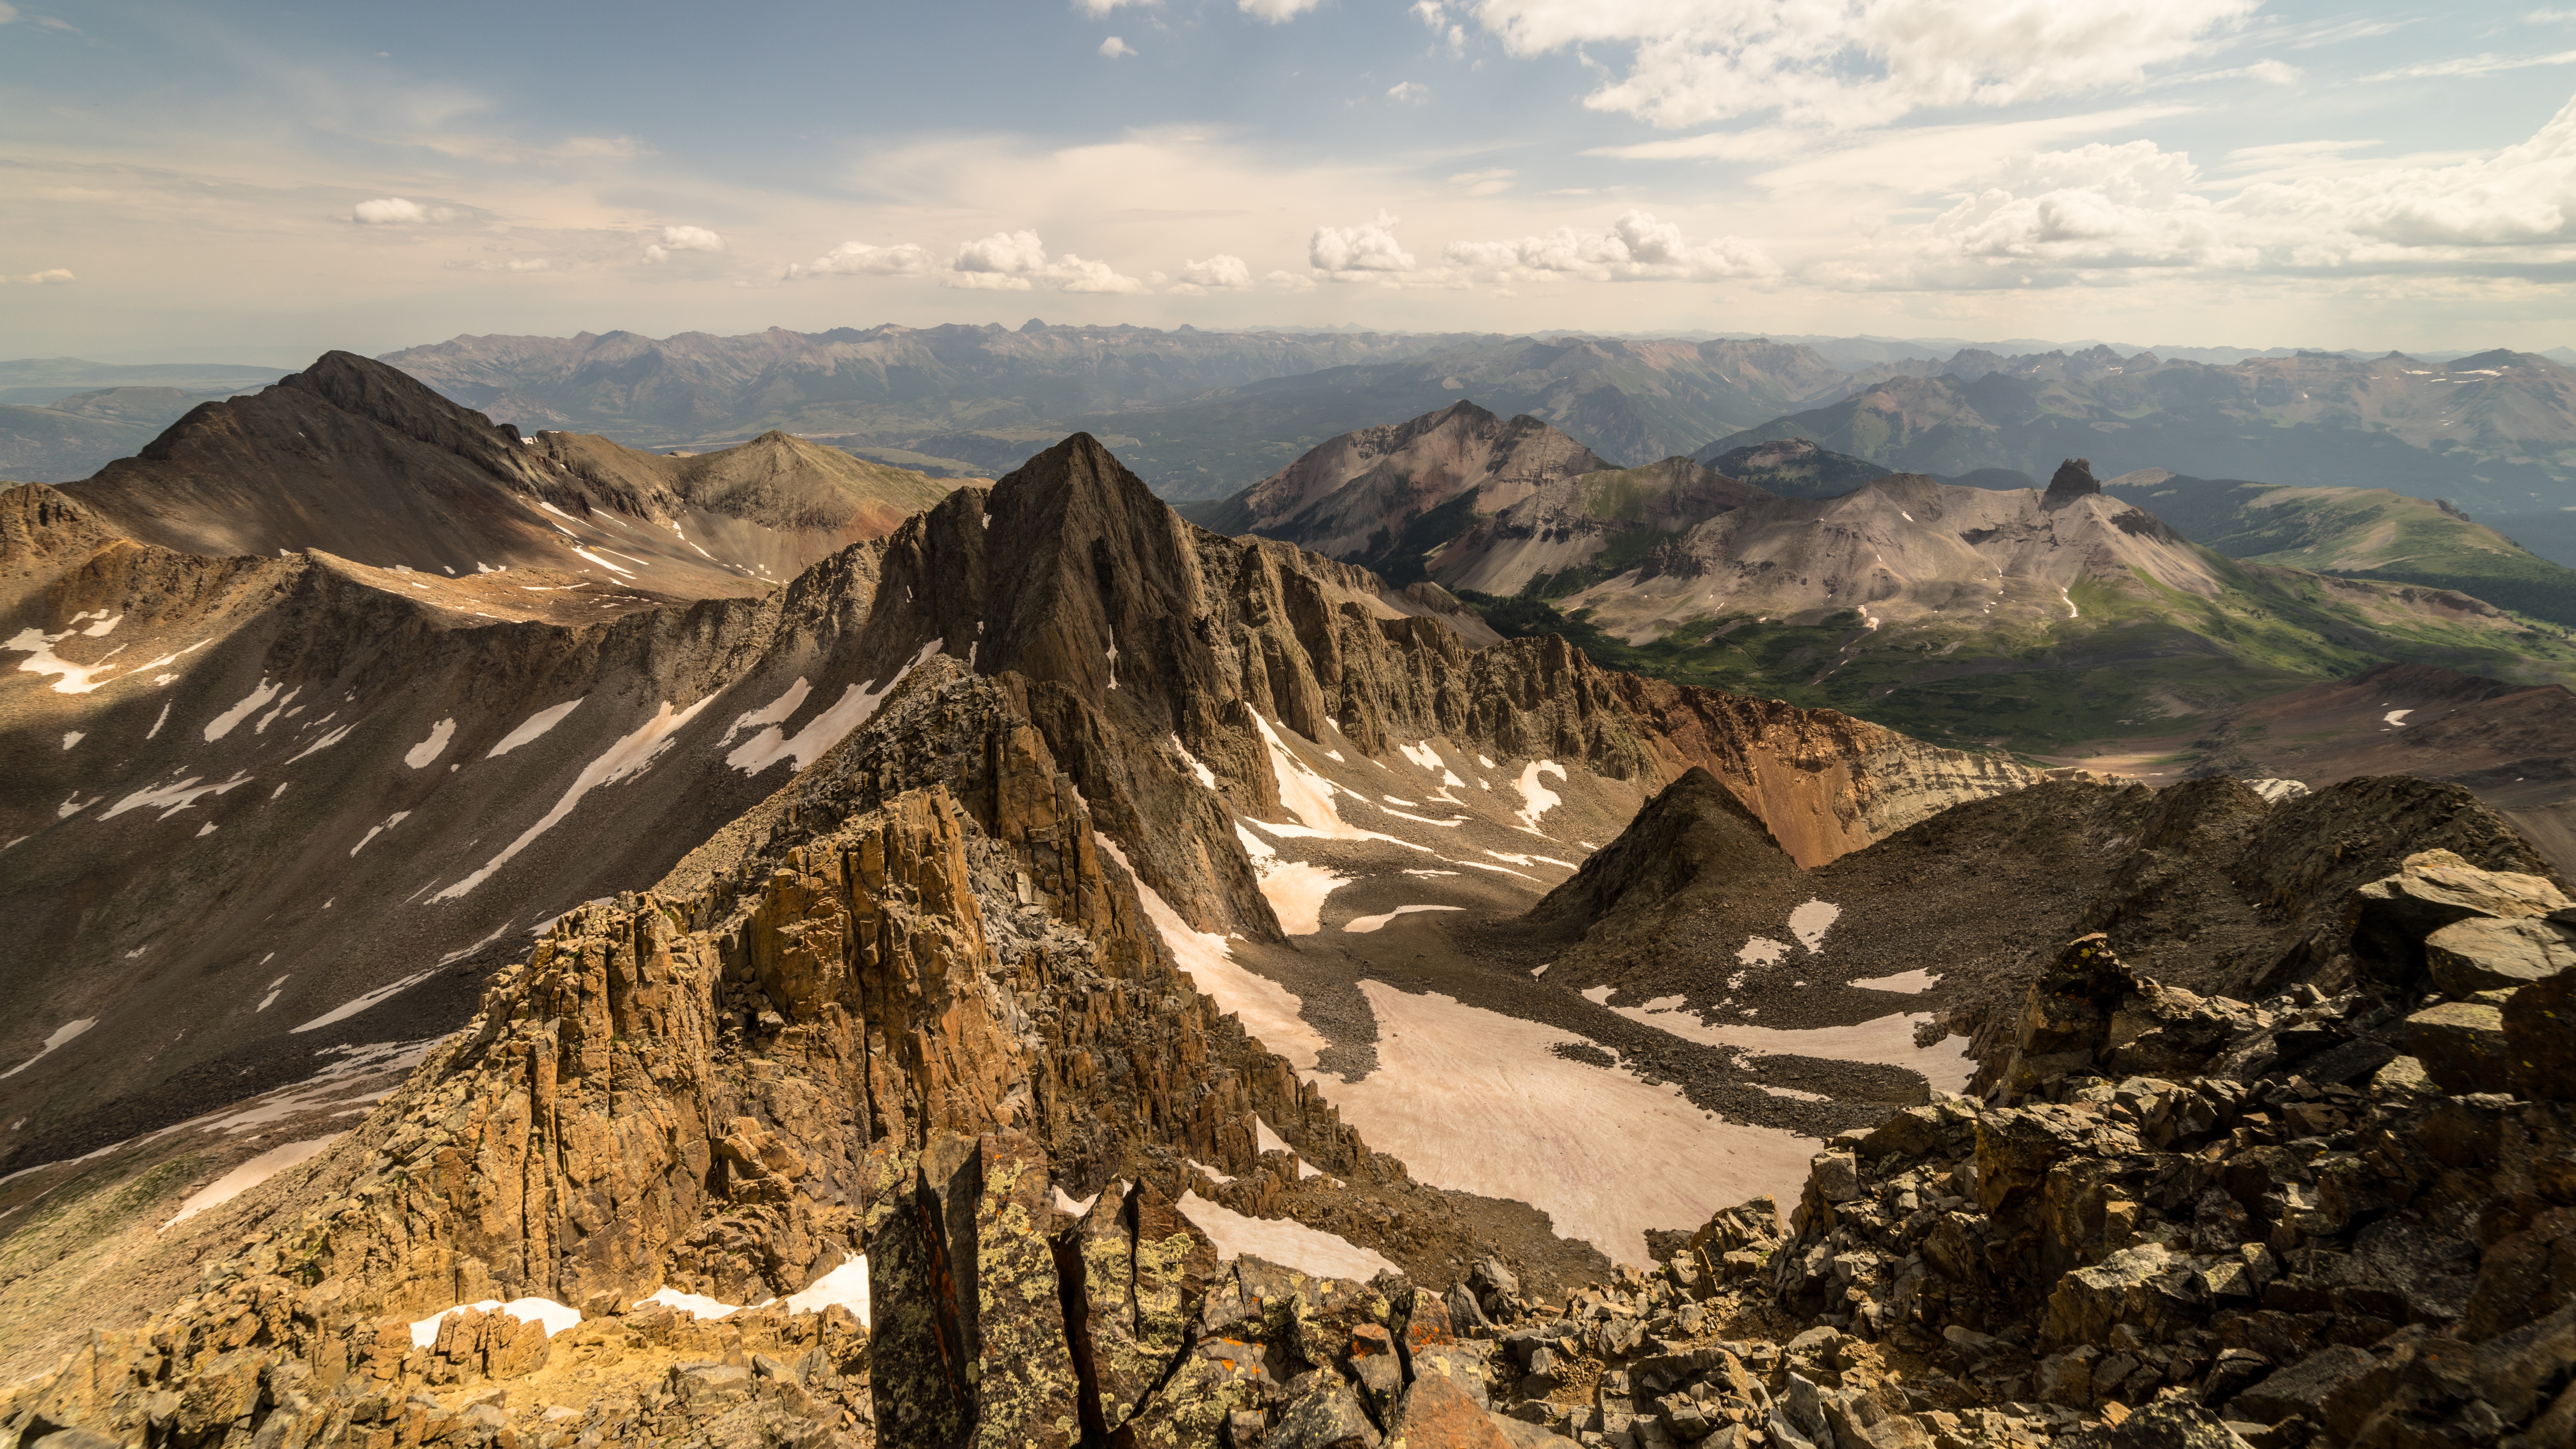
If no one has told you, hiking a 14er always means an alpine start. Even in good weather, afternoons thunderstorms can roll in so you should always plan to be off the summit by noon and heading below treeline where you’ll be safe from a lightning strike. Hiking a 14er can be slow going, so in general, it’s a good idea to set off from the trailhead around dawn, which could mean you’re getting up in the middle of the night. Best get to bed early.
9. Phone a friend
Whether you do this the night before or the morning of, telling someone where you are going is a simple act that could save your life. Tell someone responsible what route you’re taking, what time you’re setting off and when you plan to be back. That way if you don’t make it back, they can quickly raise the alarm.
Julia Clarke is a staff writer for Advnture.com and the author of the book Restorative Yoga for Beginners. She loves to explore mountains on foot, bike, skis and belay and then recover on the the yoga mat. Julia graduated with a degree in journalism in 2004 and spent eight years working as a radio presenter in Kansas City, Vermont, Boston and New York City before discovering the joys of the Rocky Mountains. She then detoured west to Colorado and enjoyed 11 years teaching yoga in Vail before returning to her hometown of Glasgow, Scotland in 2020 to focus on family and writing.
