Camping kitchen setup ideas: 9 tips for fuss-free cooking
Our camping kitchen setup ideas help you to design and organize a practical outdoor kitchen where you can finally realize all of your culinary dreams

If you're the type of camper who rolls into camp, tosses a few grocery bags on the ground and starts haphazardly cooking, figuring you’ll deal with the mess later, you’re by no means alone. But after tripping over the stove for the hundredth time, you’ve probably gazed enviously over at that family of ultra campers, whose immaculate camp kitchen somehow looks better organized than your kitchen back home, and wondered how they manage to make it all look so effortless and tantrum-free. Well, covet thy camping neighbor no more, friend – our camping kitchen setup ideas help you to design and organize a practical kitchen where you can finally realize all of your outdoor culinary dreams.
When you’ve finished reading this article, make sure to read our ideas for the best camping meals to make the most of your new camping kitchen.
What do you need for a camping kitchen?
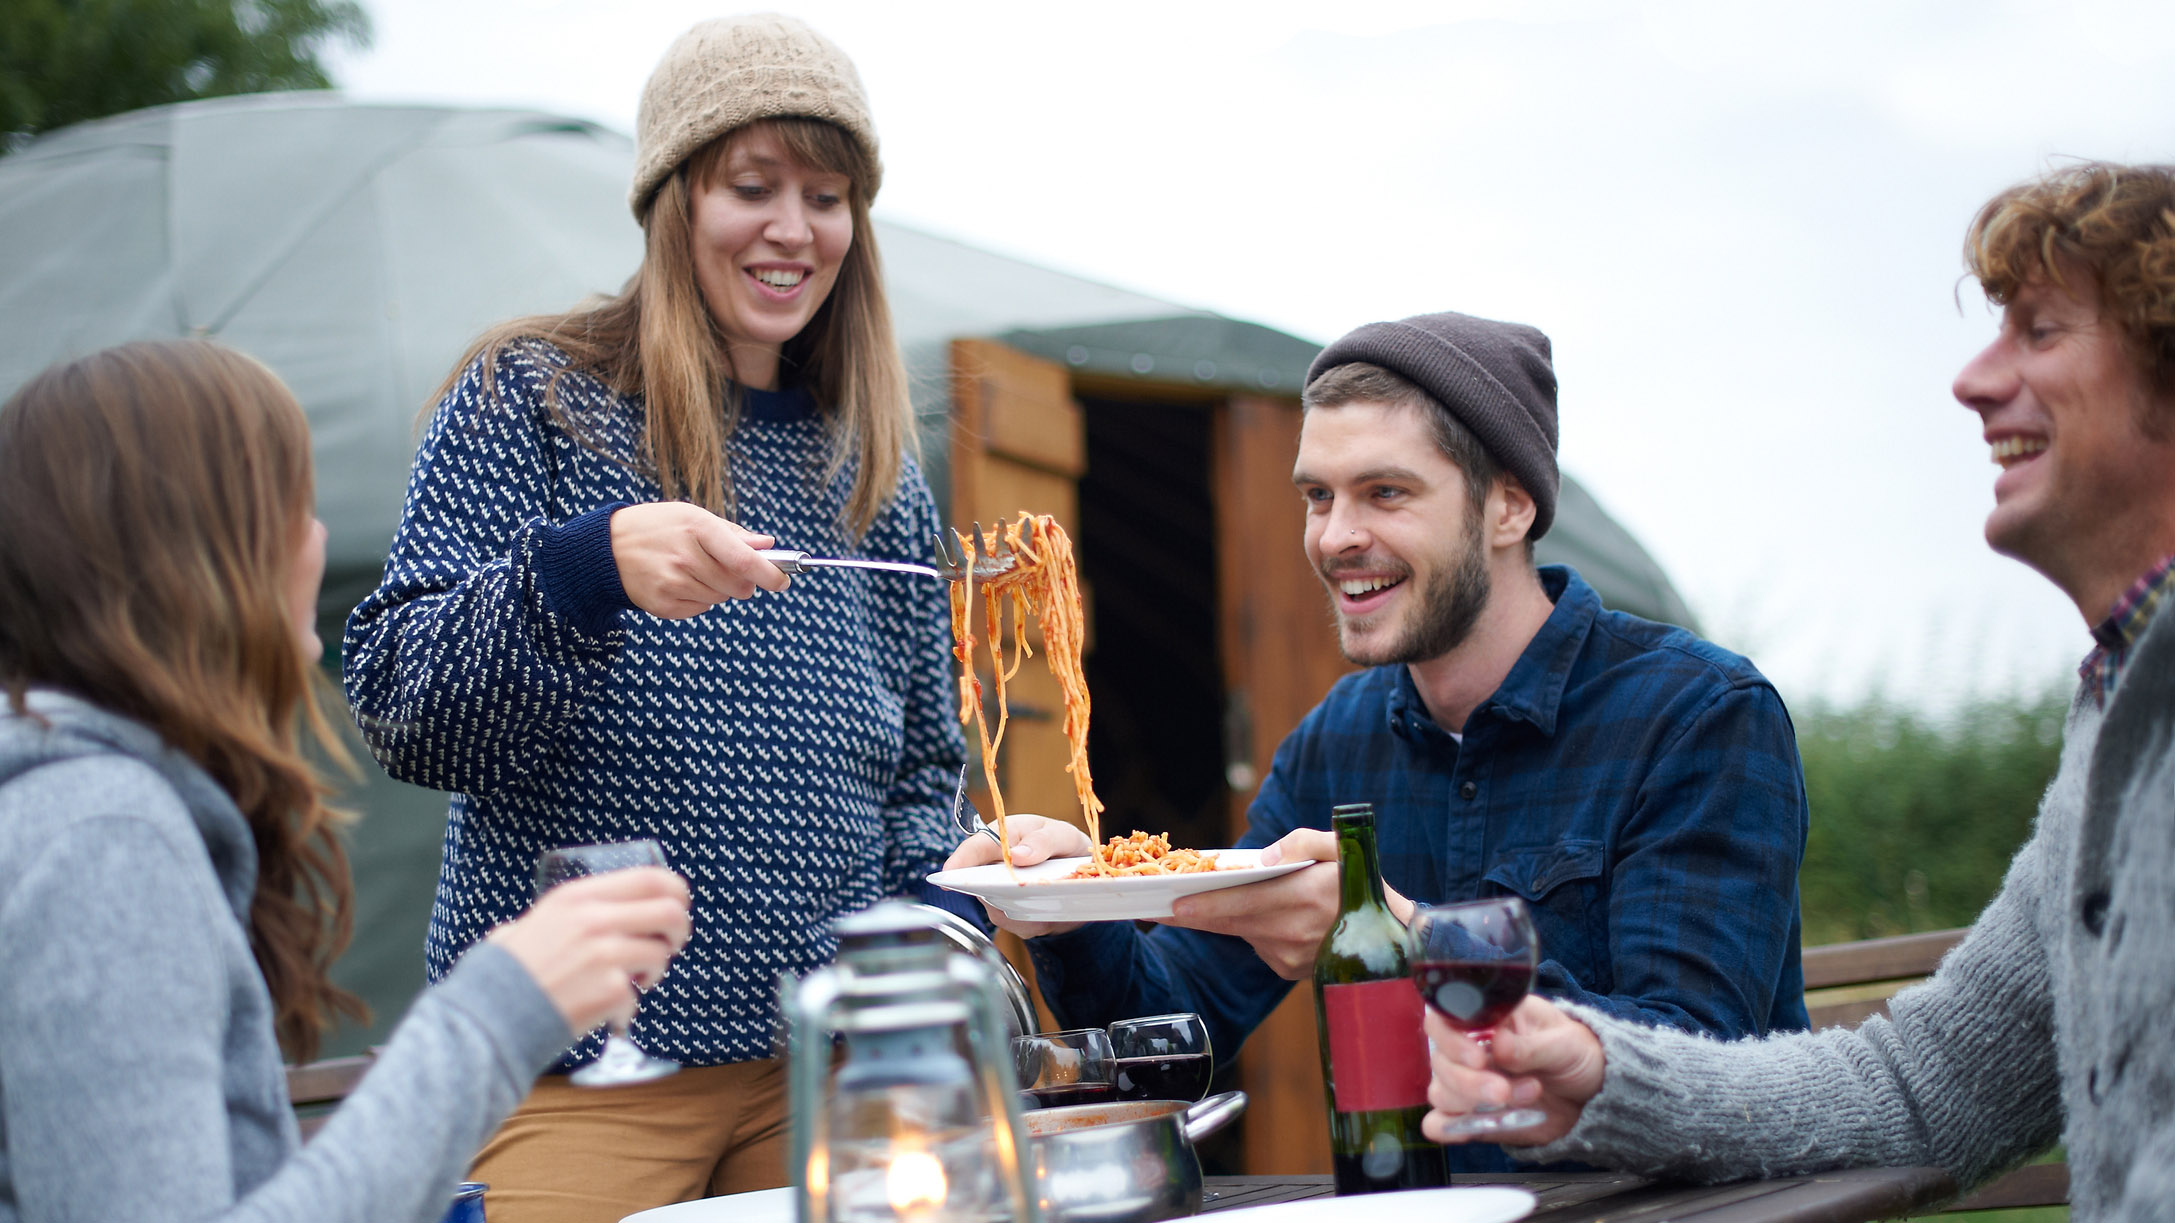
Making sure that you have everything you need for an easy setup is half the battle when it comes to setting up your camping kitchen. The key is to have a full setup of kitchen gear that you only use for camping (which even includes items like condiments, spices and knives) that you keep clean and organized at home, separate from your regular kitchen. Keep all of these items clean and packed away in a camping bin at home, using storage cubes and mesh bags to organize the items inside the bin. When it’s time to head out into the woods, you won’t need to worry that you’ve forgotten anything. Your bin should include:
- Camping bin to pack and transport your gear
- Camping table to set everything up on
- Tarp or pop-up canopy to keep your kitchen sheltered from the elements
- Camping stove, grill or double-burner stove for cooking
- Fuel for your stove
- Lighters (always bring extra!)
- Camping pots and pans
- Camping kettle
- Camping cookware utensils such as a camping knife, chopping board, a spatula, serving spoon, corkscrew, can opener
- Camping plates, bowls and eating utensils
- A water jug and fresh water for cooking
- Coolers: one for food and one for drinks
- Trash bags
- Washing up supplies such as a camping basin, dish soap and sponge
- Water bladder (if no running water available) and hand soap
In addition to all of those essential items, you may want these optional extras for an added touch of luxury at camp:
- Camping coffee maker
- Dutch oven (and oven mitts for handling)
How do you organize a camp kitchen?
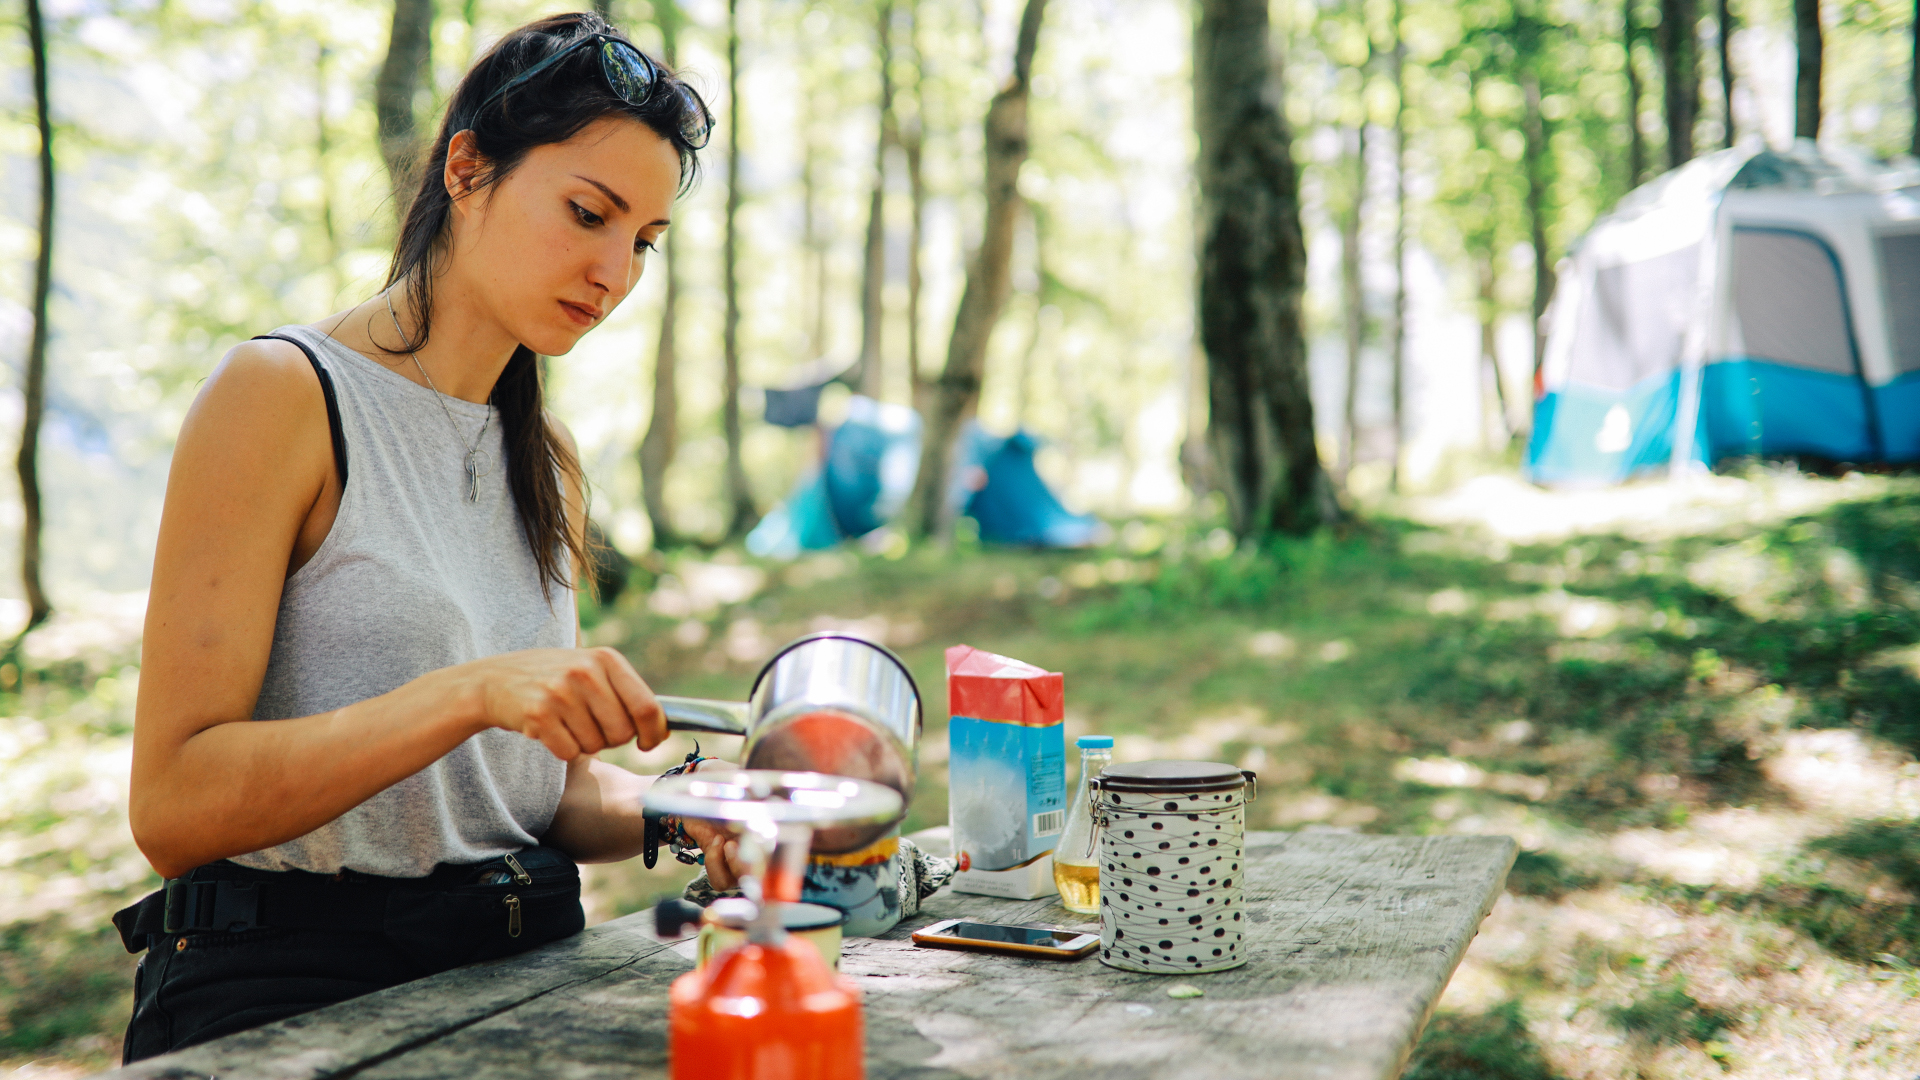
Setting up your camping kitchen is definitely the most labor intensive part of camping, so as soon as you arrive, get on it while others take care of pitching tents and building the campfire. Here are our best tips to approach your camp setup:
1. Pick a flat, sheltered spot
First things first, find a flat, clear spot to set up your kitchen, ideally where there’s some shelter from the wind. A good spot would be no more than 10ft from the picnic table where you’ll be eating, and not less than 10ft from the fire so people have room to move between the two safely. If you are going to be covering your kitchen with a tarp, keep in mind that you’ll need trees nearby to tie your tarp onto.
2. Position your tables
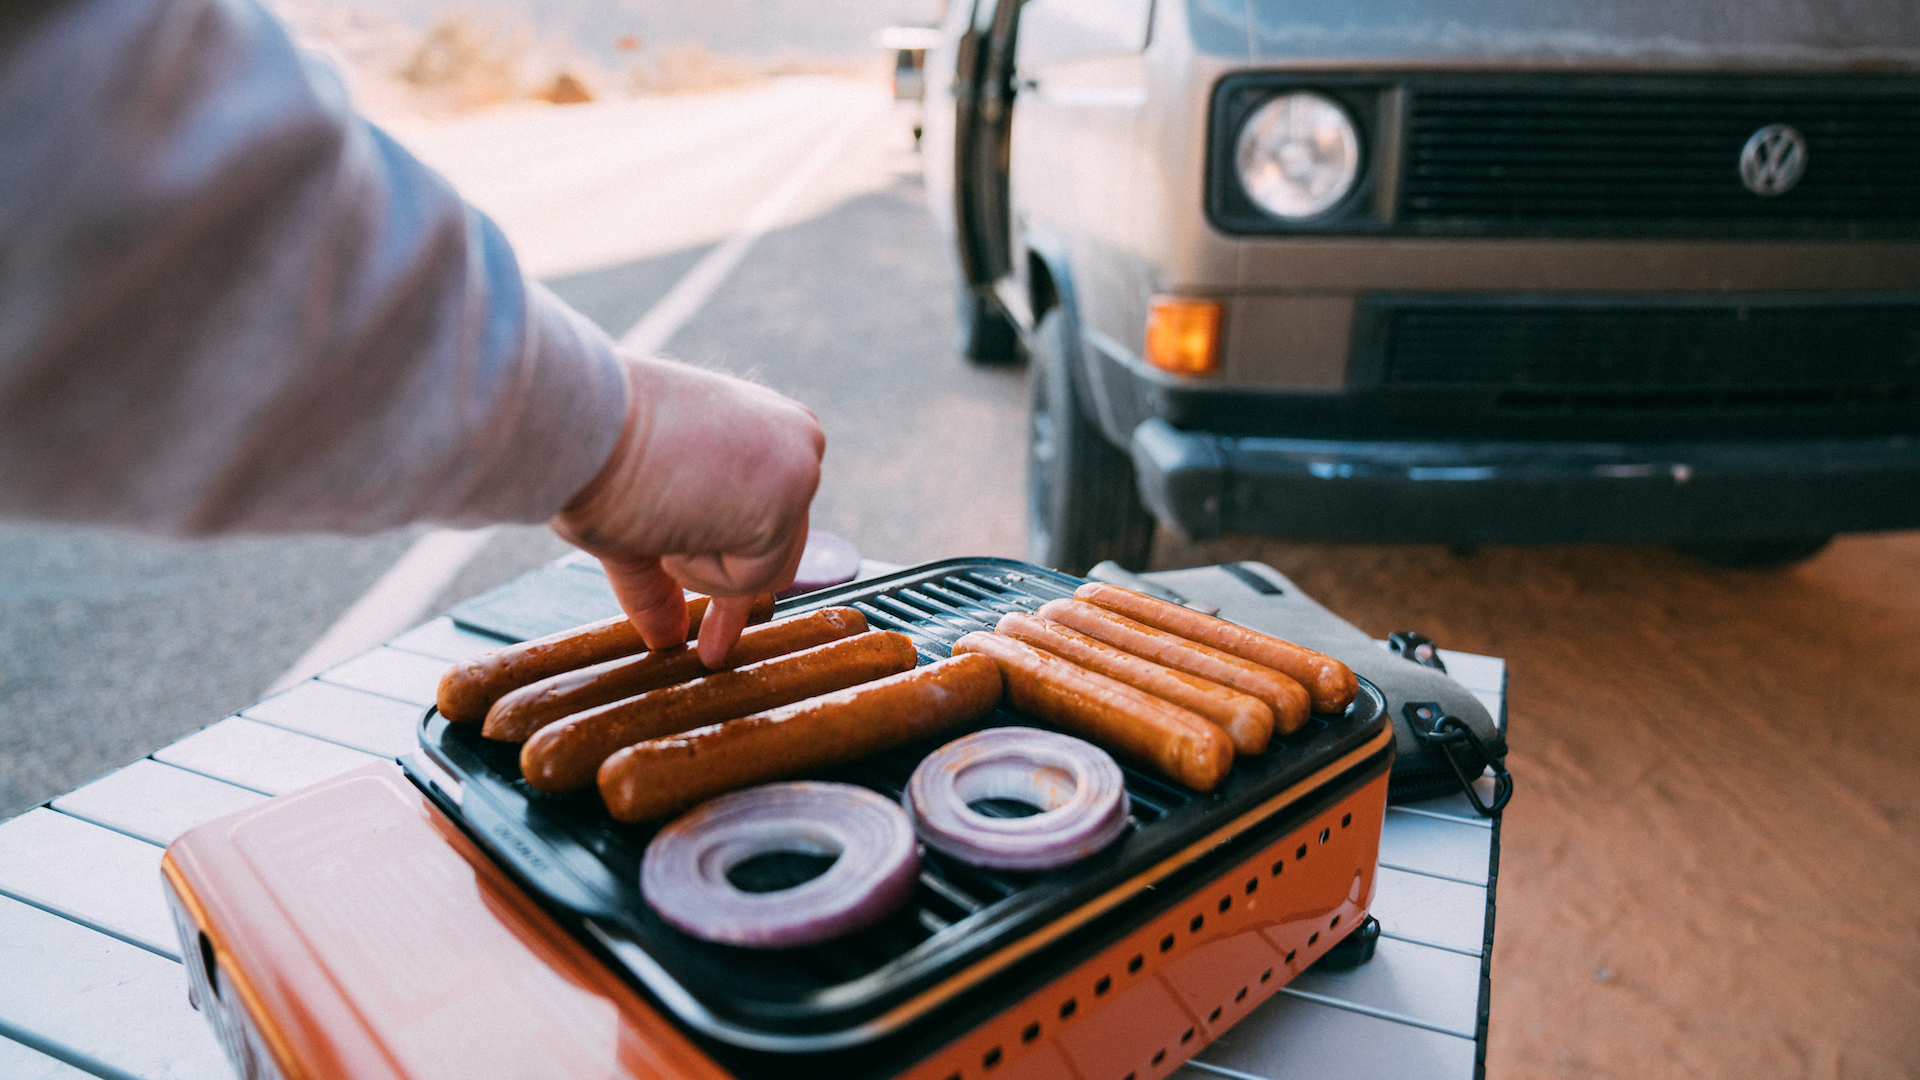
Next, set up your camping table which will be your main workspace – if you’ve brought two tables, set them up in an L formation and if you have three, a U formation, to give you easier access to everything. If you want to be able to chat with other campers while you cook, position yourself so that you’ll be able to face them while you’re cooking and they’re hanging out round the campfire.
Advnture Newsletter
All the latest inspiration, tips and guides to help you plan your next Advnture!
Finally, if you don’t have enough tables, you can supplement using your camping bins, coolers and the picnic table to prepare food on.
3. Create a shelter for your gear and food
As soon as you have your tables laid out, cover up your kitchen using a pop-up shelter or tarp. This way, if it rains, your food and gear will stay dry, and if it’s sunny, you won’t get overheated with the combination of UV rays and heat from the stove.
If you’re using a pop-up shelter, make sure there’s enough room between the pillars of the shelter and the edges of the table that you can move around easily – and so that you’re protected from the elements while you work. If you’re rigging up a tarp, make sure that the center of the tarp is positioned a little higher than the edges, so rainwater doesn’t pool in the roof overhead.
4. Set up your workspace for optimal flow
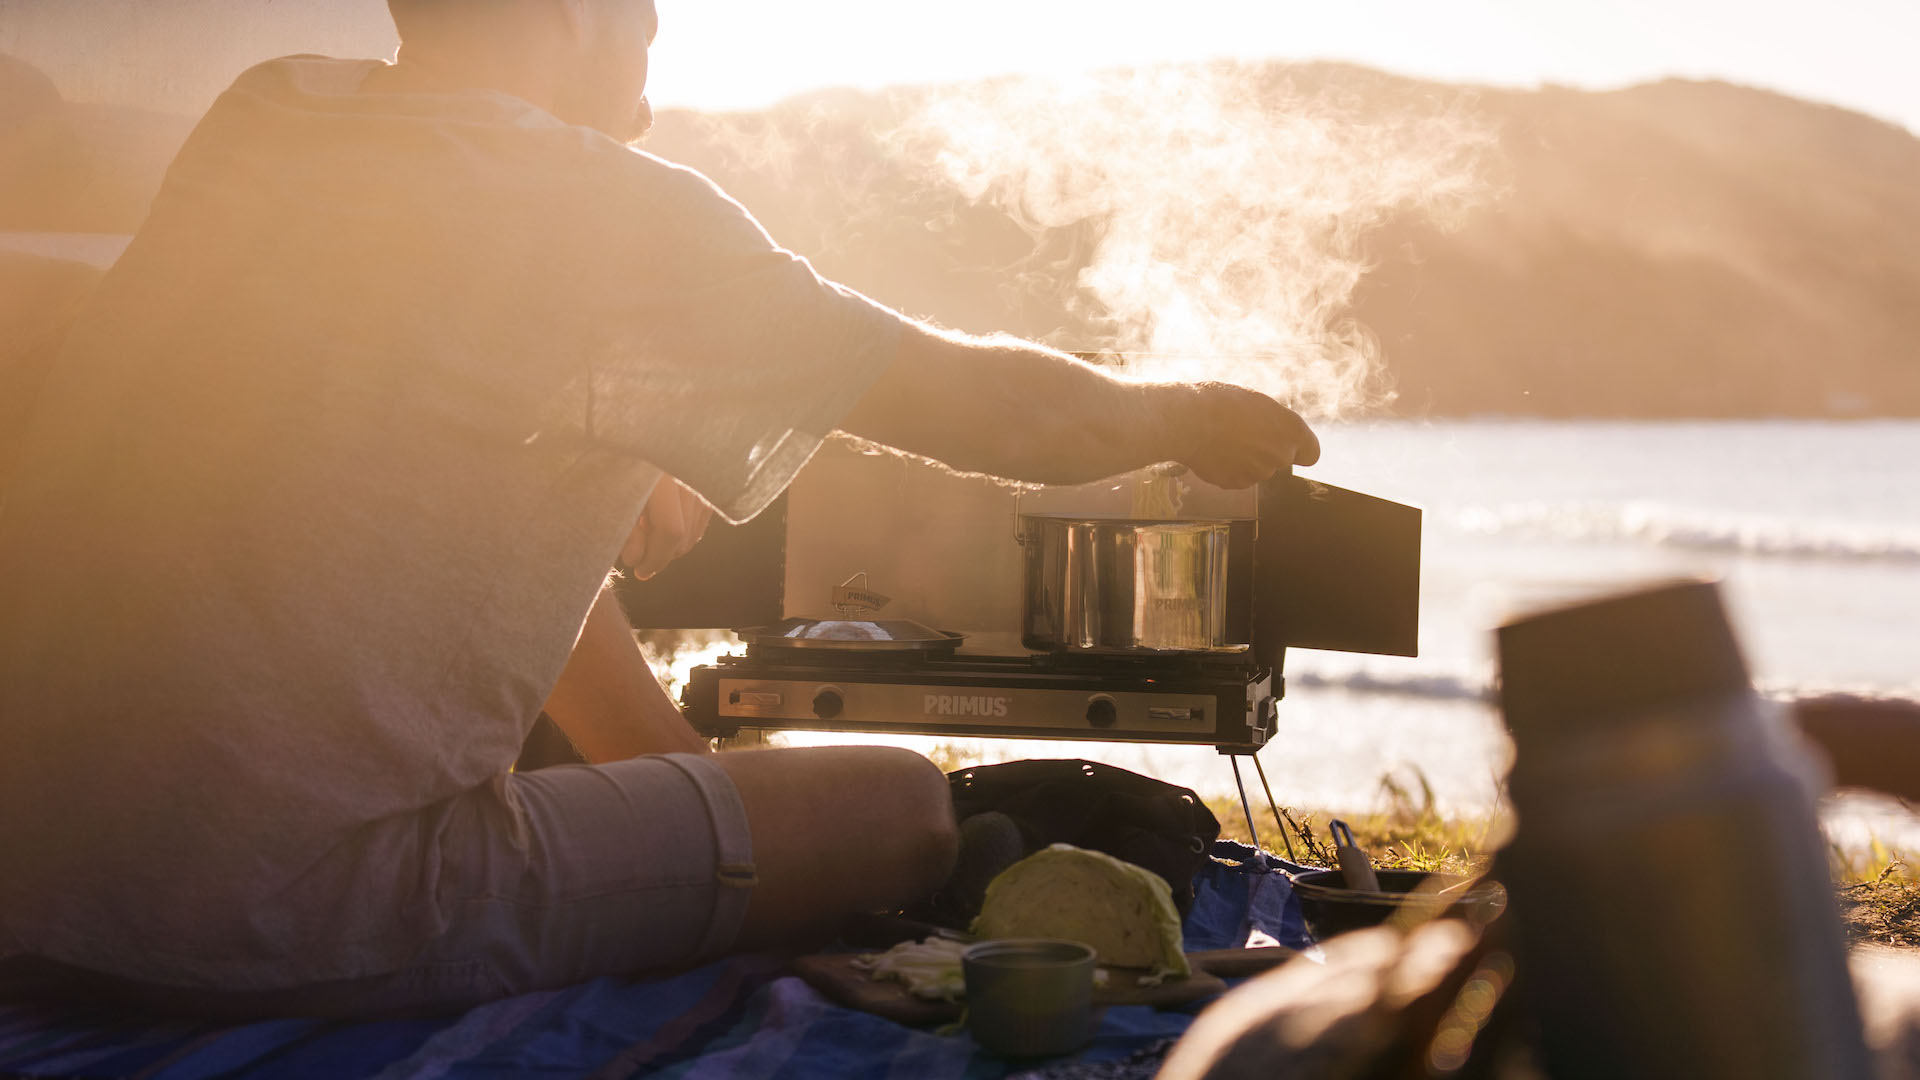
Now, it’s time to start setting up your actual kitchen. Basically, you have to think about how you organize your setup from two angles: the chef, and the campers. On one side, you need to be able to work efficiently to chop, cook and serve, and on the other side, the campers need to be able to move through the line easily from grabbing a plate to seasoning their food.
Here’s a failsafe method: at one end of the table, lay out all of your camping plates and bowls. Next to that, set up your prep area with chopping boards and next to that, your stove or grill. Place your pots and pans on it so they’re not taking up surface area. Next to the stove, lay out condiments and sauces, napkins and knives and forks. Pull everything a little closer to your side of the table so that on the other side, there’s space for campers to set down their plates while they add salt and pepper.
Once it’s all set up, walk around to the other side and imagine yourself as a diner. You want to be able to pick up a plate, move directly to the stove or grill to dish up some food, then add any condiments, grab a knife and fork, and head to the picnic table with minimal fuss or backtracking.
5. Store your bins and coolers under the table
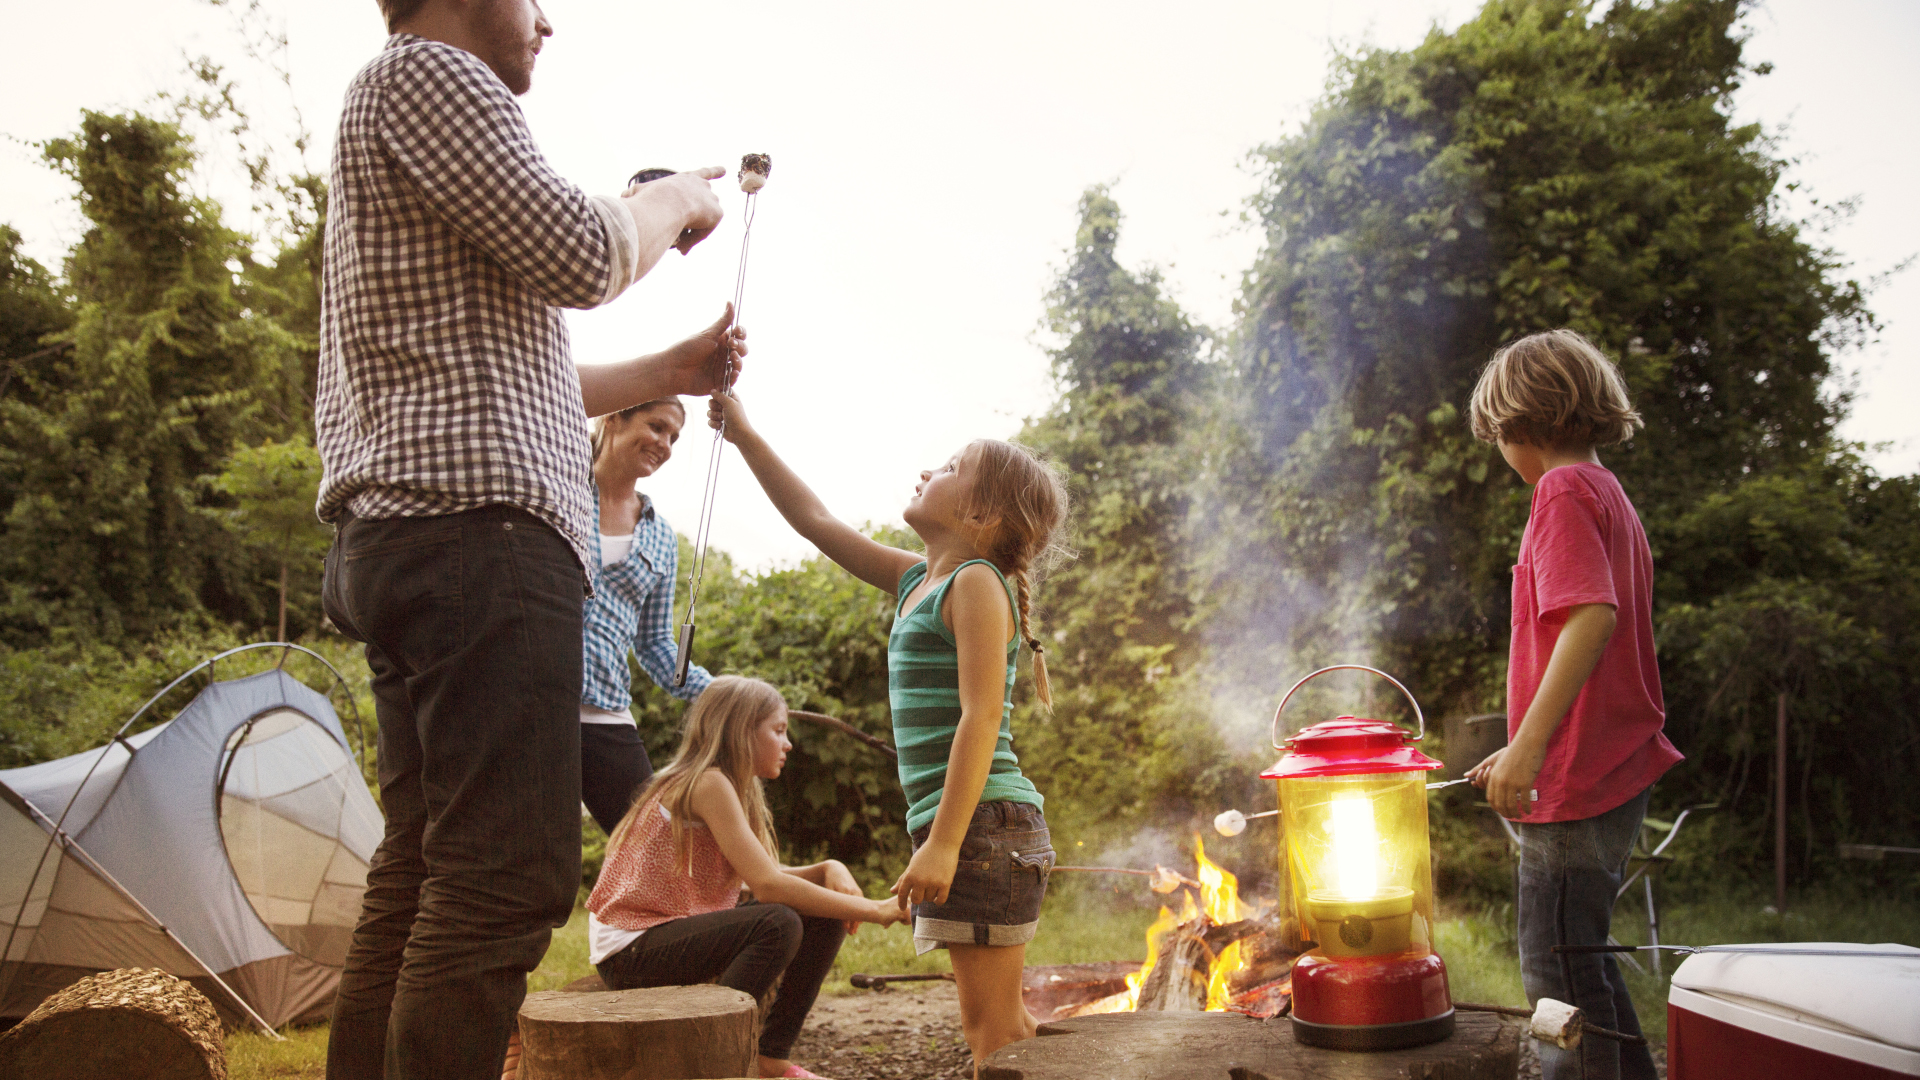
Not everything needs to be unpacked at once and underneath the table is a great place to store your bins and coolers so they’re out of the way, but you still have easy access to their contents. The best place for your food cooler is under the area where you’ve set up your chopping boards, while the bin containing your camping utensils can go directly under the stove so you can grab a spatula when it’s time to cook.
It’s best to keep your drinks cooler in the shade, but make sure it’s not somewhere that other campers are constantly getting under your feet to grab a cold one while you're trying to cook.
6. Have a separate drinks station
Speaking of cold ones, if you have the space, it’s best to set up a separate drinks station. Camping can be thirsty work, and if people are getting lots of drinks you don’t want them getting in the way of your cooking. If you have more than one table, set up your water, tea, coffee and mugs on a separate table, or at the end of your table but facing a different direction, so people grabbing more tea aren’t blocking those trying to season their meals. You also want to make sure it’s all close enough that you can easily fetch water for cooking.
7. Streamline the dish washing process
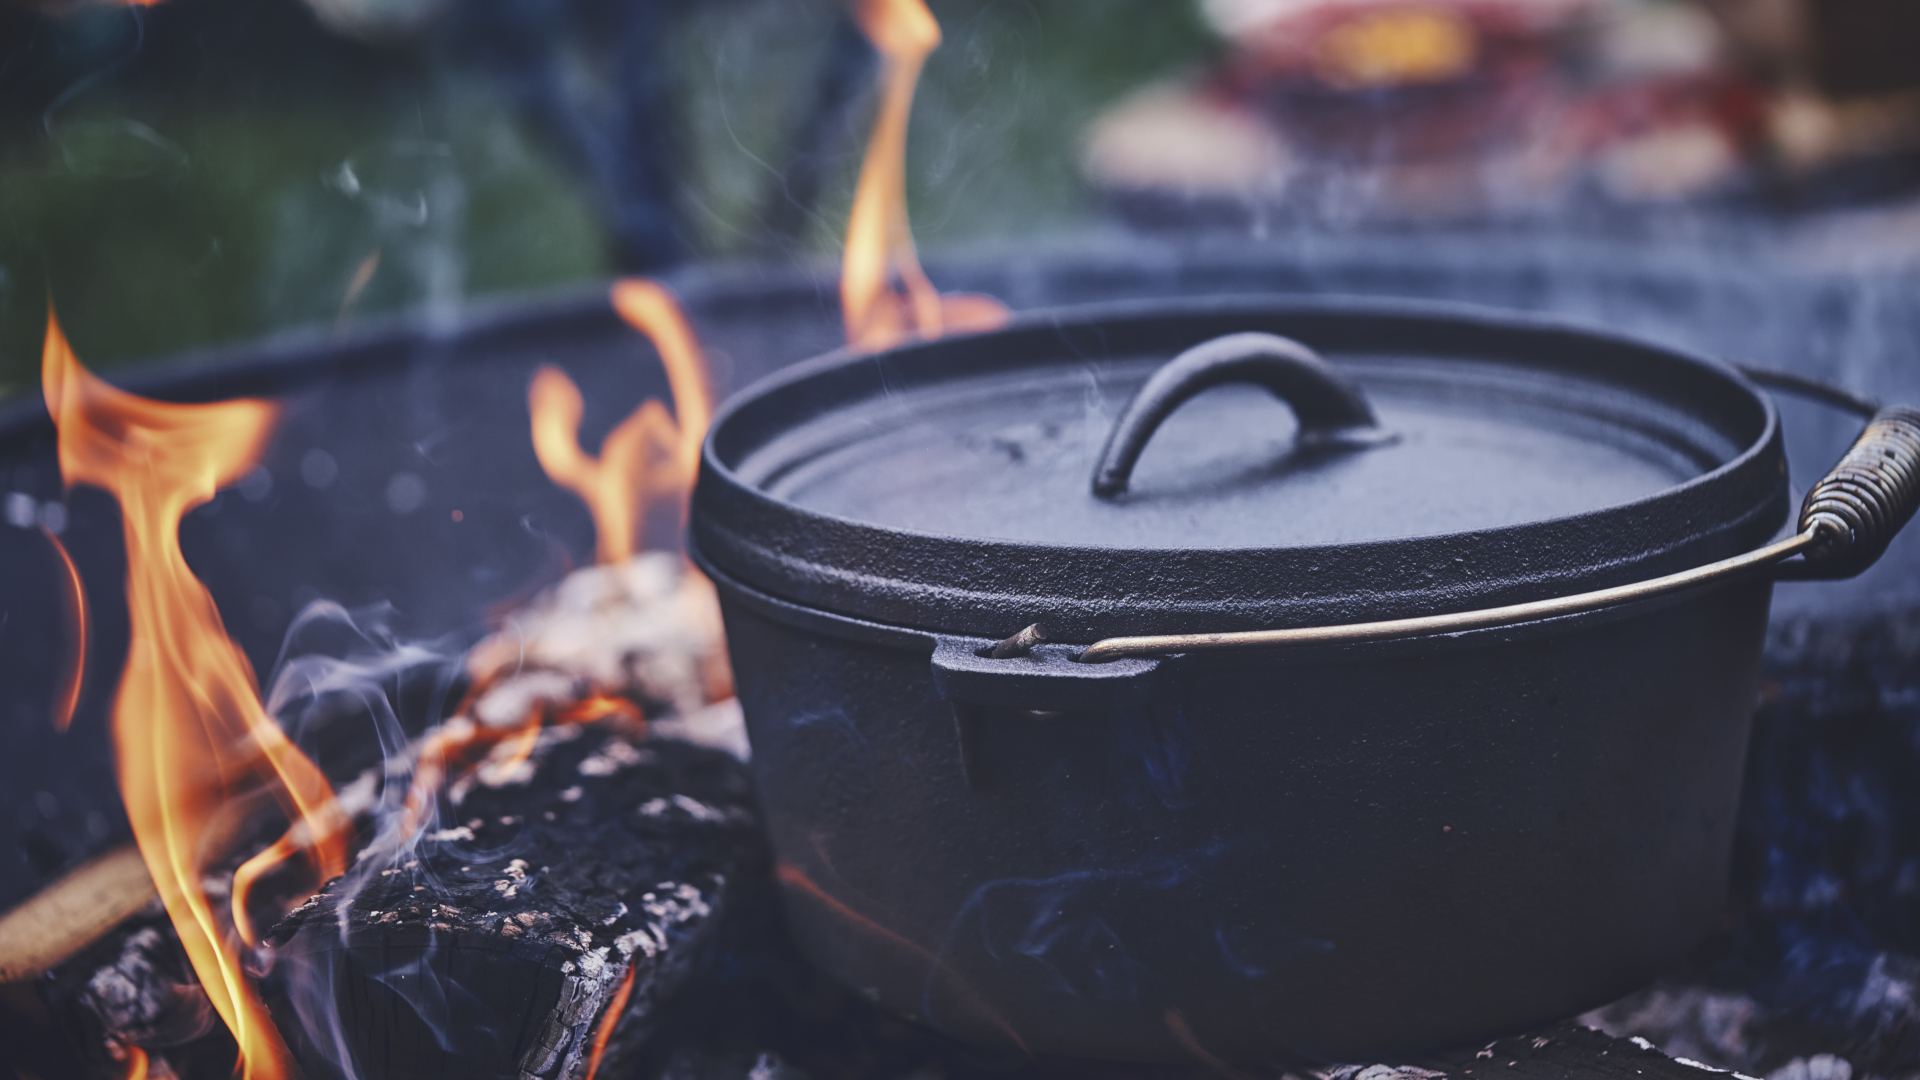
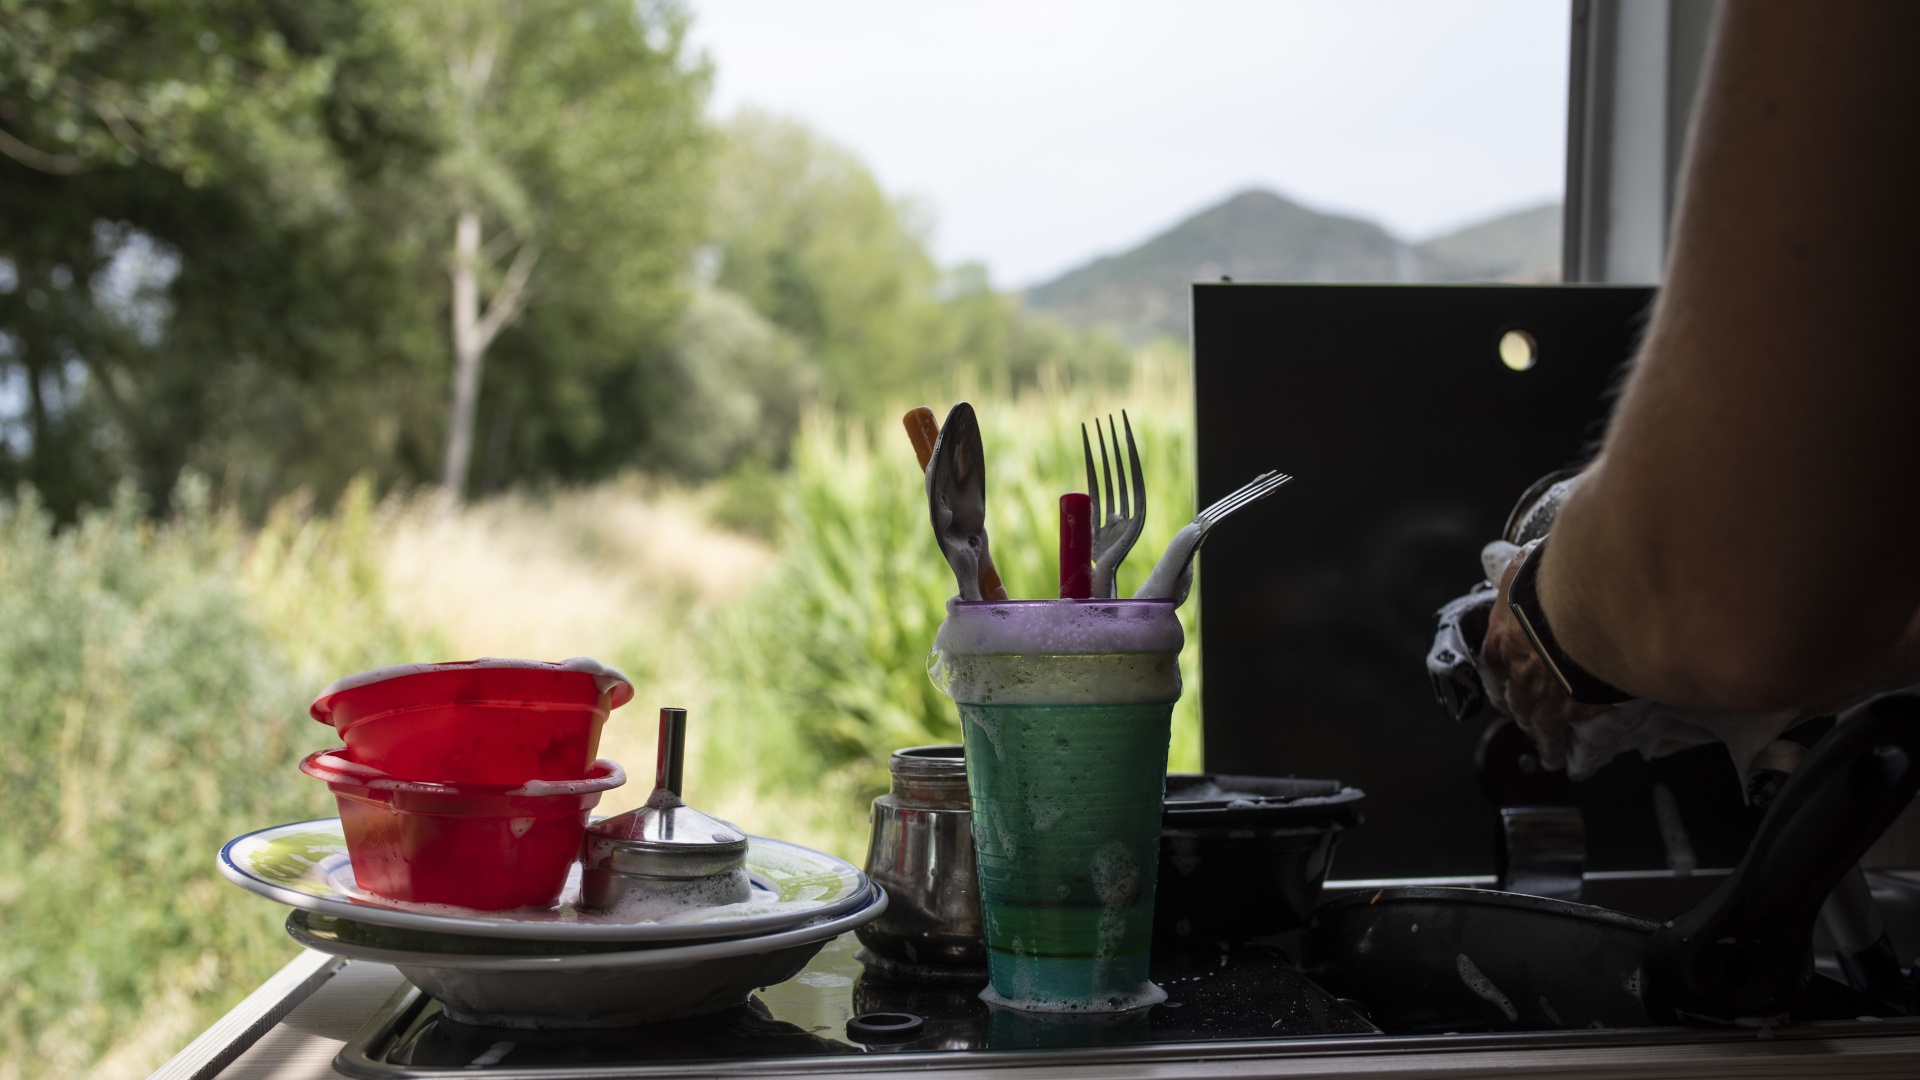
No matter how you do things at home, at camp it’s every man for himself when it comes to dish washing duty. If you have room, use the end of one of your tables to set up a basin and sponge for dishes. Heat up some water while you’re cooking and when dinner is ready, dump the warm water and some biodegradable soap into the basin and put any dirty pots, pans and utensils in to soak while you cook. Scrub them after dinner and let the campers take care of washing their plates and returning them to the table when they’ve finished eating. That way, you’ll have a stack of clean dishes in place for the next meal.
When the dishes are all done, use the dirty dish water to douse your campfire before bed.
8. Sort your trash
Ideally, you’ll have a trash bag for food scrapings and another for recycling. Set these up away from where people are eating, but close to the dish washing station so campers can scrape their plates, then wash them. Remember that these need to be locked away at night to protect local wildlife, and packed out with you when you leave.
9. Provide a hand washing station
If there aren’t toilets with running water, you’ll want to set up a hand washing station, but don’t worry – this doesn’t have to take up more precious real estate on your table. You can use a carabiner to attach a water bladder to a nearby tree, positioned so that the spout points down, then when you need to wash your hands you can soap up, unscrew the spout and rinse your hands. Of course, a bottle of hand sanitizer on the table works too.
Julia Clarke is a staff writer for Advnture.com and the author of the book Restorative Yoga for Beginners. She loves to explore mountains on foot, bike, skis and belay and then recover on the the yoga mat. Julia graduated with a degree in journalism in 2004 and spent eight years working as a radio presenter in Kansas City, Vermont, Boston and New York City before discovering the joys of the Rocky Mountains. She then detoured west to Colorado and enjoyed 11 years teaching yoga in Vail before returning to her hometown of Glasgow, Scotland in 2020 to focus on family and writing.
