Bikepacking for beginners – how to handle a loaded bike
8 expert tips for smooth and efficient riding on a bikepacking adventure
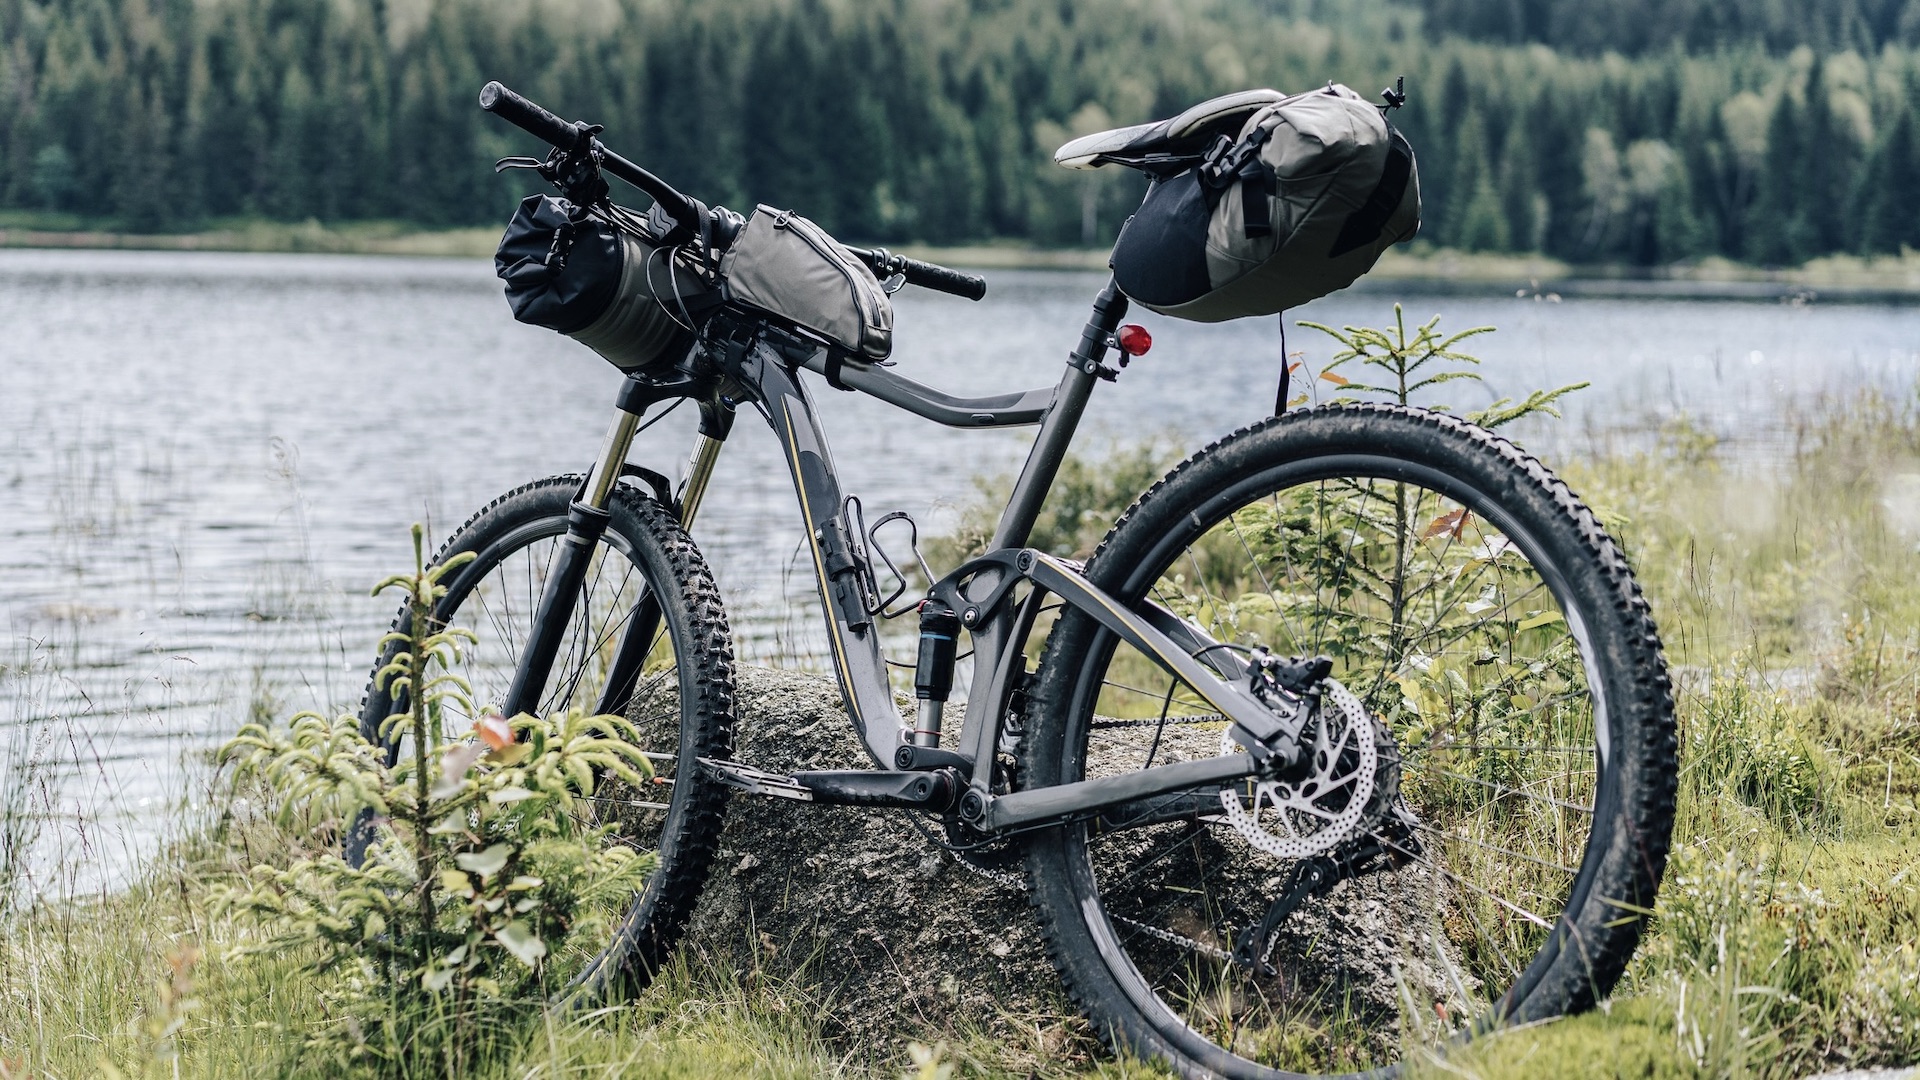
Bikepacking is a great way to go on an adventure, and as the name suggests, it involves loading your bike with all the kit you'll need for a trip away. This could be for two days or two years of ultra bikepacking, and it might include camping, hostels, stays in B&Bs or a mix of all three.
However grand your plans, one of the first things that bike packers will notice is that their bicycle feels heavier and, in some cases, over-weighted in odd places. Thankfully, it won't feel that way for long, particularly if you follow these tips to help you adjust your riding to suit the extra weight.
1. Pack carefully
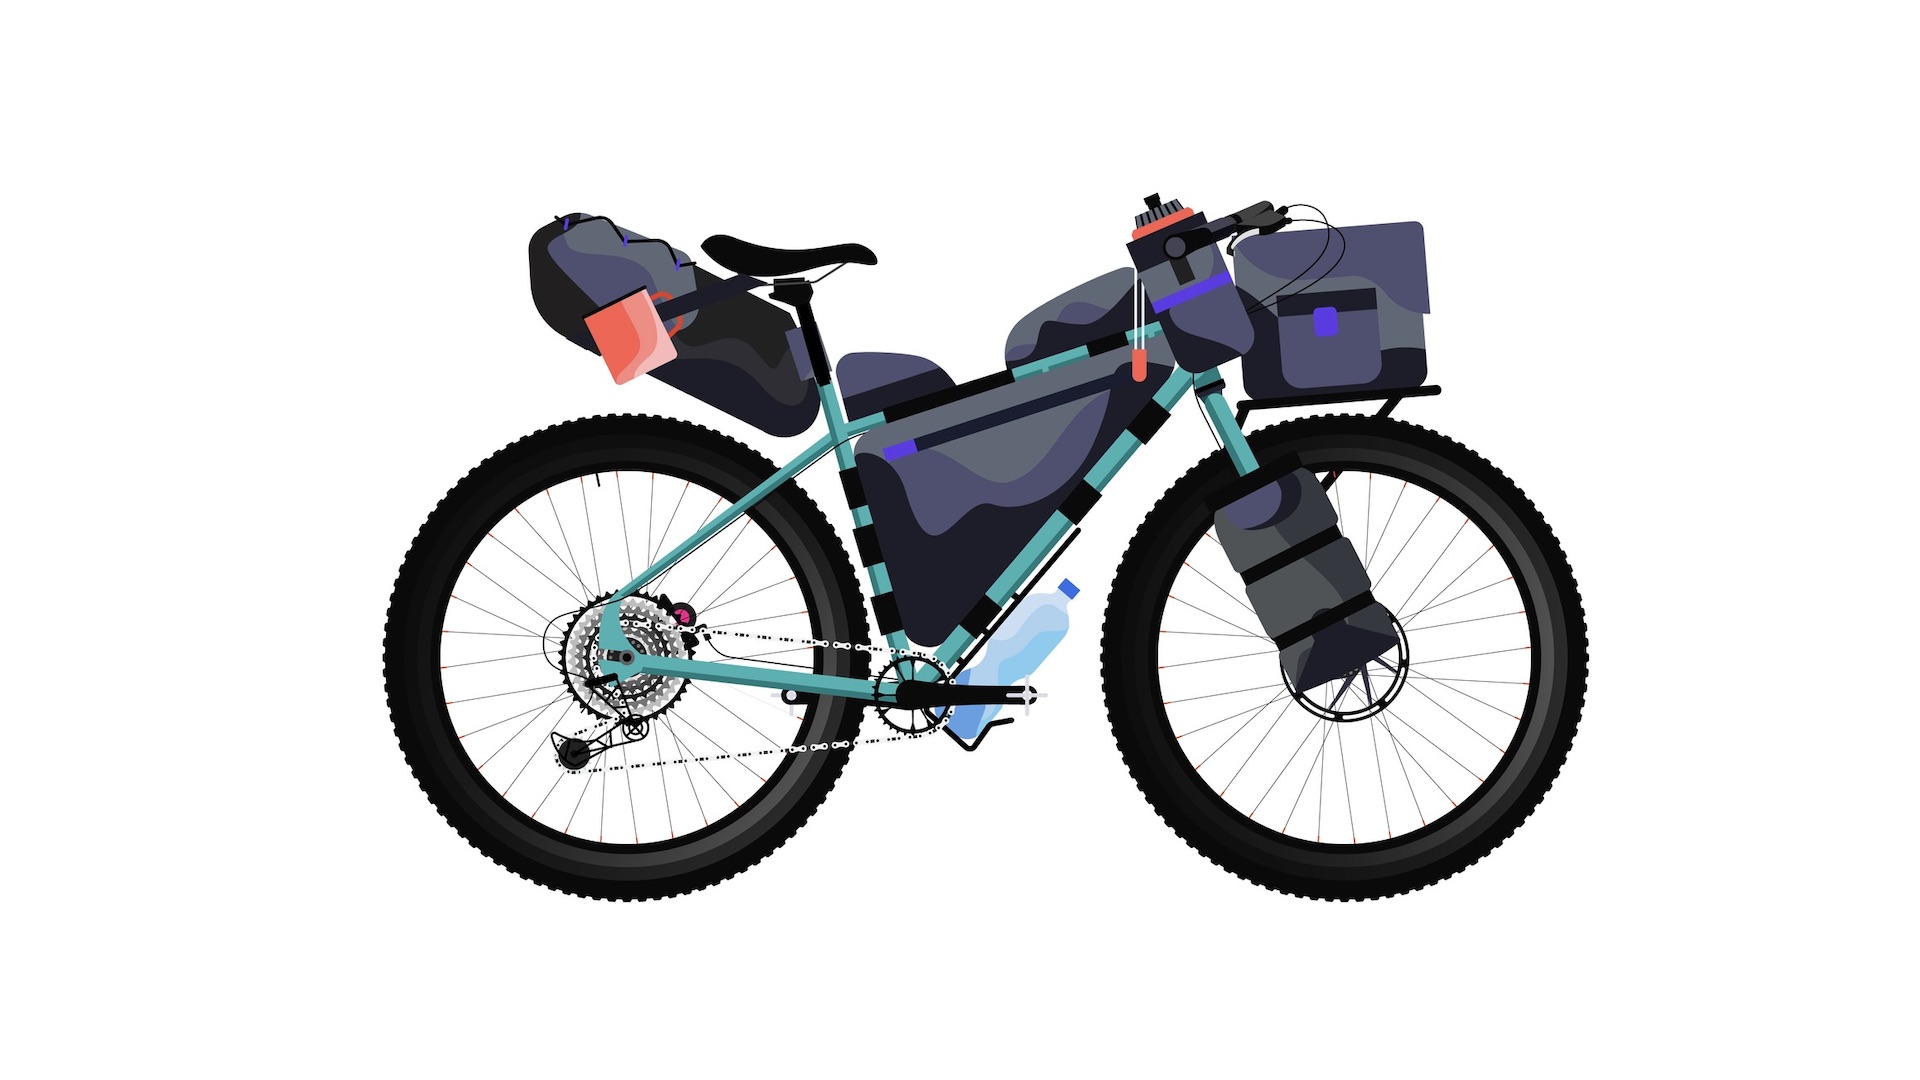
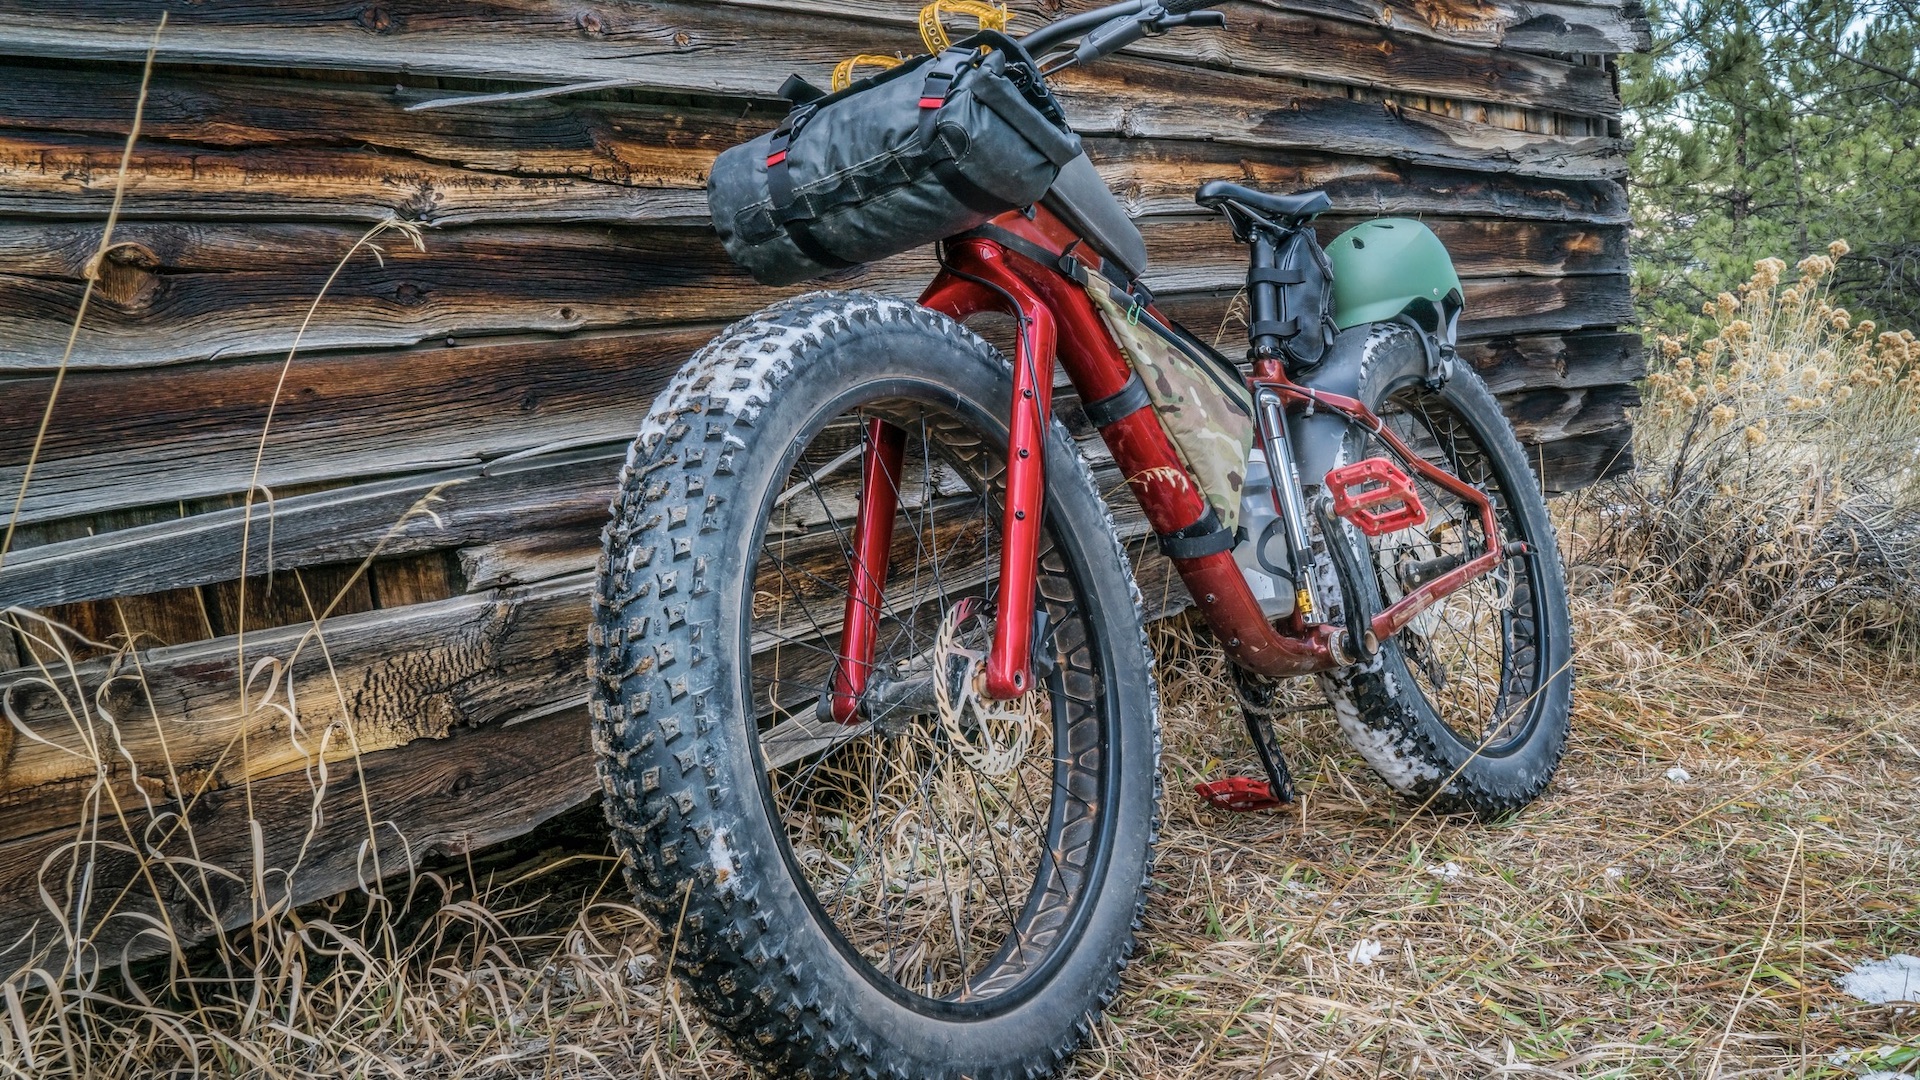
The best way to ensure you can handle a bikepacking bicycle is to add packs evenly and in the right place. There are a range of different bikepacking bags that fit on and around the bicycle, and provided they're loaded correctly, your bike should actually feel more stable than before.
The best place to add the heaviest load is in the middle of the bike, for example, in a pack under the top tube. This is likely to be items such as bike tools, repair kit and other bikepacking essentials.
Another pack that can cope with extra load is the saddle bag that sits off the rear of the seat post. This is the best place for items such as a cooking stove, clothing, a sleeping mattress etc.
The saddle bag should be fitted securely to the bike and evenly positioned. If you have heavier items packed to one side, the pack will naturally lean and this will cause you ton be a bit off balance.
Bikepacking is different from cycle touring, where riders traditionally carry two panniers. In this case, one pannier might end up being much heavier than the other and this will cause obvious weight and balance issue on the bike.
Advnture Newsletter
All the latest inspiration, tips and guides to help you plan your next Advnture!
But, even so, when bikepacking you should take care to make sure the saddle pack sits in the middle behind the seat post and above the wheel and that it is evenly affixed to the bike.
It’s the same with the other packs. Most of the packs are designed to be attached along the centre line of the bike, in front of the handlebars, under or on top of the top tile, etc, so they should remain evenly loaded but it is worth paying attention to how you pack these bags for best balance left and right.
A very laden handlebar bag will make the handlebars feel heavy and unwieldy so the best idea is to reserve lighter items, such as a sleeping bag for this area of the bike.
2. Go for the squeeze
Make sure all your kit is well packed and compressed into the bikepacking bags. Many packs have roll-top fastenings to allow you to remove as much air from inside and also compress the items into a more compact load.
The last thing you want is to have items inside bags moving about as you ride.
3. Fix it tightly
Strap the packs to your bike as tightly as you can. This will stops the bags moving about as you ride.
4. Adjust – then readjust
After a few miles of riding, you should stop pedalling and get off the bike to check that the straps are still tight. The chances are the packs and straps will have settled a bit and require to be tightened.
5. Keep the weight off
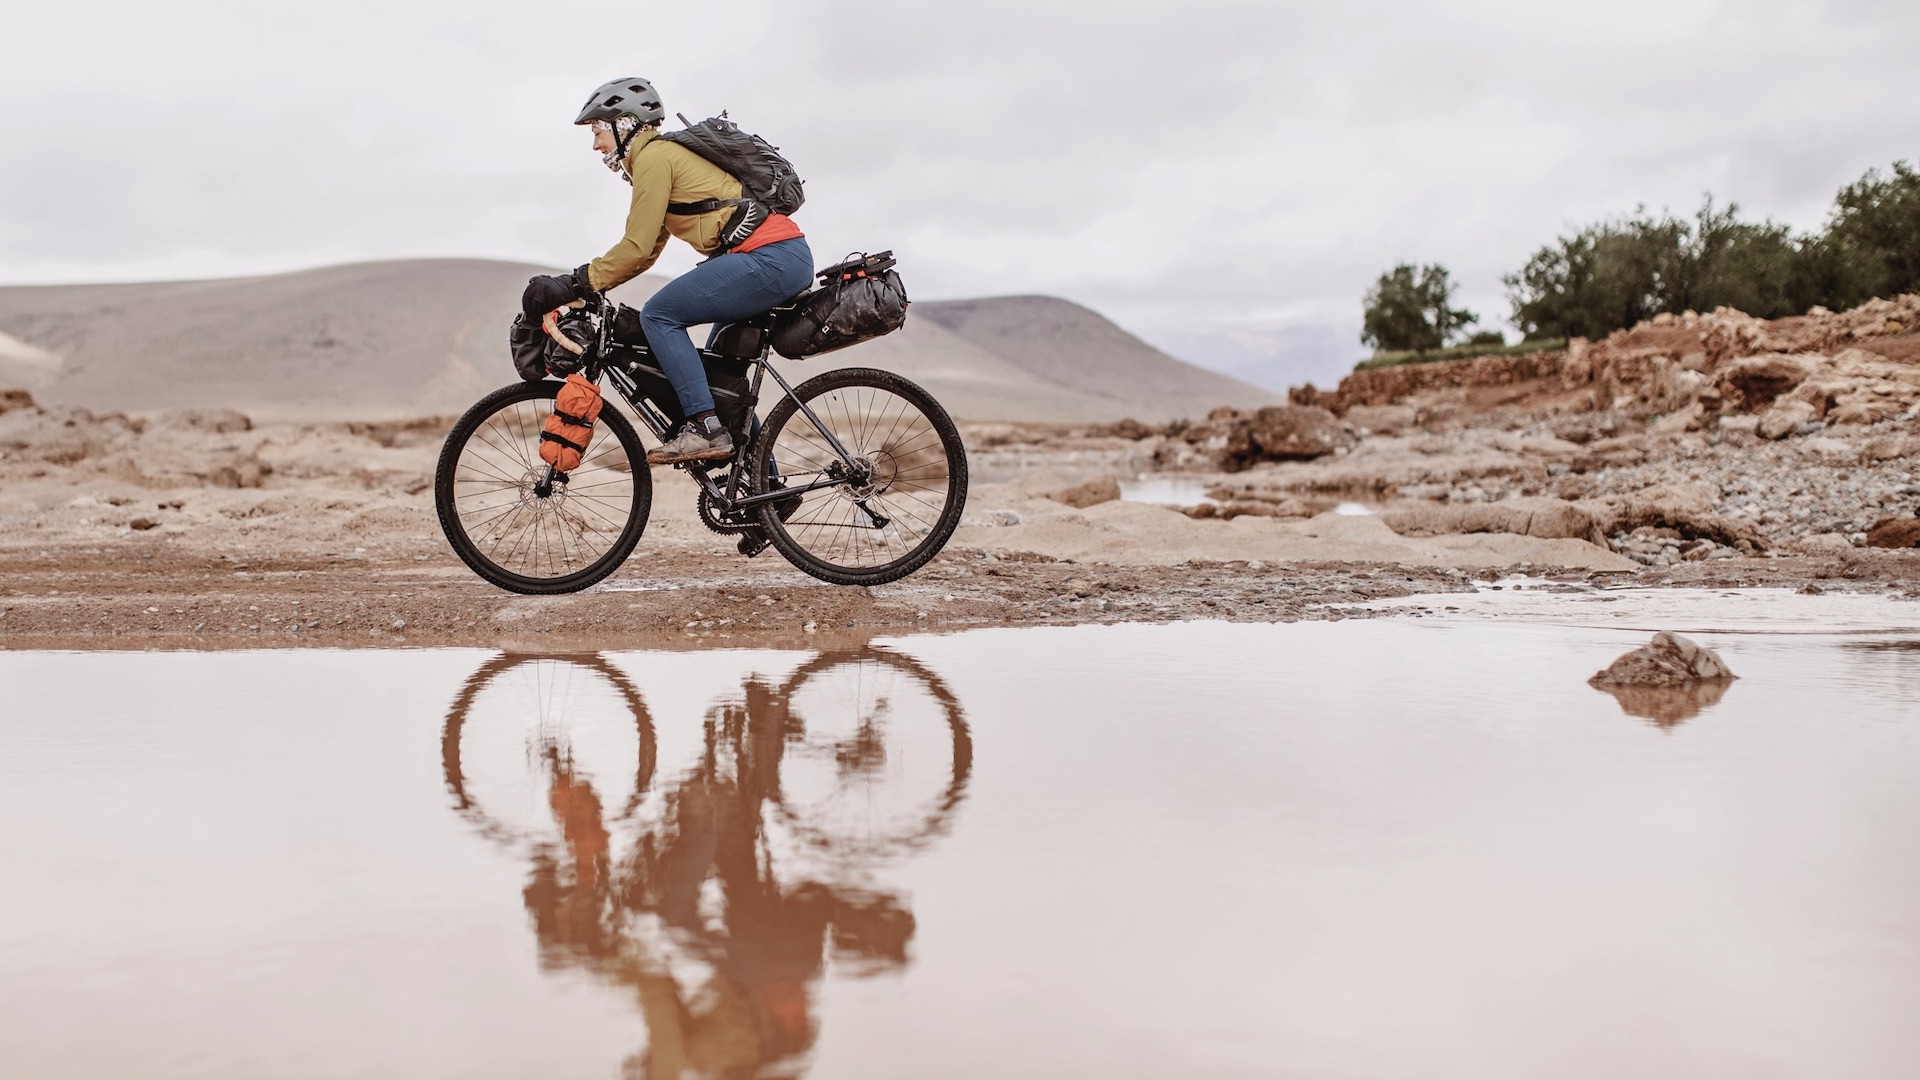
Remember that a heavier bike will be harder to ride simply because of the weight. Try some of these weight-saving hacks to lighten the load. They include swapping a tent for a bivvy bag, taking a camp blanket instead of a sleeping bag, taking items that are multi-functional and sharing the load with your bikepacking companion.
One thing, though, don’t risk safety and warmth for a lighter bike.
6. Go for a test ride
If you are used to riding a pack-free bike that is lightweight, as soon as you start cycling your laden bike with all its packs, you will no doubt feel like the handling is sluggish and slow.
However, the more you ride the bike, the more you will become familiar wiht this new style of cycling.
When cornering, take the corner more gradually and choose a wider arc. Do all your braking before you get to the corner because if you brake while on a corner the bike will try to sit up straighter and feel very awkward.
Try to ride smoothly and efficiently, rather than accelerating and braking all the time. The smoother and more efficient you are with the gears and brakes while on a bikepacking trip, the less fatigued you’ll become.
7. Learn to climb
It is obviously going to be harder on the body to ride a heavier bike uphill. But the best tip is to simply accept it. Don’t fight the weight, just go down a few gears and settle into an easier pace.
You can still stand up on the pedals with bike packs on the bike, but you need to be aware that the movement and dynamics will feel different. It’s best not to swing the bike underneath you, but rather you should aim to move the body side to side over the top of the bike.
8. Learn to descend
The heavier bike will add to the momentum of riding downhill. Remember to think about braking sooner than you might on an unladen bike and try to keep the speed to a reasonable level so you don’t need to do any sudden braking. A heavier bike takes longer to slow down.
These tips should give bikepacking beginners the confidence and know-how to ride and handle a loaded bike.
- Can you ride e-bikes in National Parks? Everything you need to know
Fiona Russell is a widely published adventure journalist and blogger, better known as Fiona Outdoors. She is based in Scotland and is an all-round outdoors enthusiast with favorite activities including trail running, mountain walking, mountain biking, road cycling, triathlon and skiing (both downhill and backcountry). Aside from her own adventures, Fiona's biggest aim is to inspire others to enjoy getting outside and exploring, especially through her writing. She is also rarely seen without a running skort! Find out more at Fiona Outdoors.
